Over the past few months, I’ve shared a few baby-friendly painting projects using variations of putting paint into a plastic bag along with a cardboard shape. Your little one gets to mush the paint around without any mess and you get really fun keepsakes out of it! Today’s technique is definitely messier but just as fun since we’ll be using DIY edible paint to achieve a similar effect. I originally looked to buy edible paint online and realized the answer was right in front of me – nearly any food can be turned into edible paint! The downside is that since the “paint” is actually food, the finished art won’t last forever so today I’m sharing a few ideas on how to use scanned versions of the art to make simple DIY cards and postcards.
what you need:
- Yogurt
- Baby food
- White cardstock
- Masking tape
- Paintbrush
- Scanner or scanning app
- Printer
- Scissors
- Pencil
- Glue
- Mod Podge
- Cardboard
how-to:
Step 1
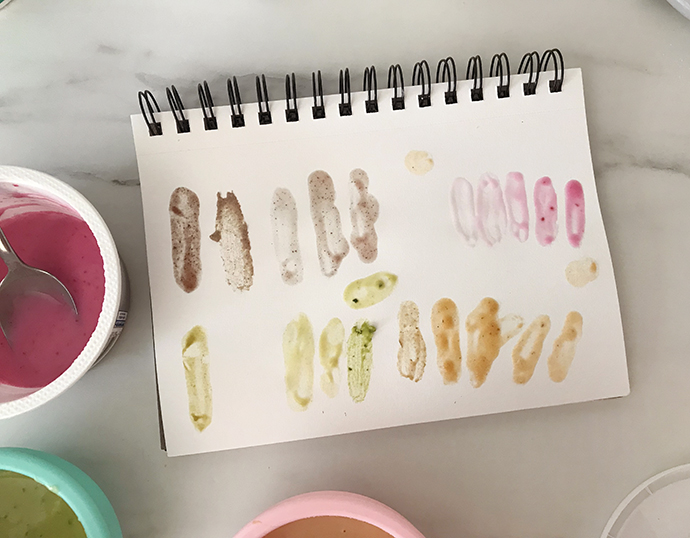
Start by preparing your edible paint. There are lots of ways to adjust this to suit what you have on hand, so don’t worry about an exact recipe. The yogurt I had was on the runny side, so I ended up adding in a little bit of mayonnaise which I found made it a bit easier to work with and helped the colors show up better once I added those later. If you have a creamier/thicker yogurt though, this likely won’t be necessary. And then of course is the fun part: mixing the colors! Start by checking out what baby food you have – some are great colors as they are (peas!) and others might be a bit duller (blueberry). Mix and match baby foods and any other baby-safe foods in your fridge until you have colors that you’re happy with.
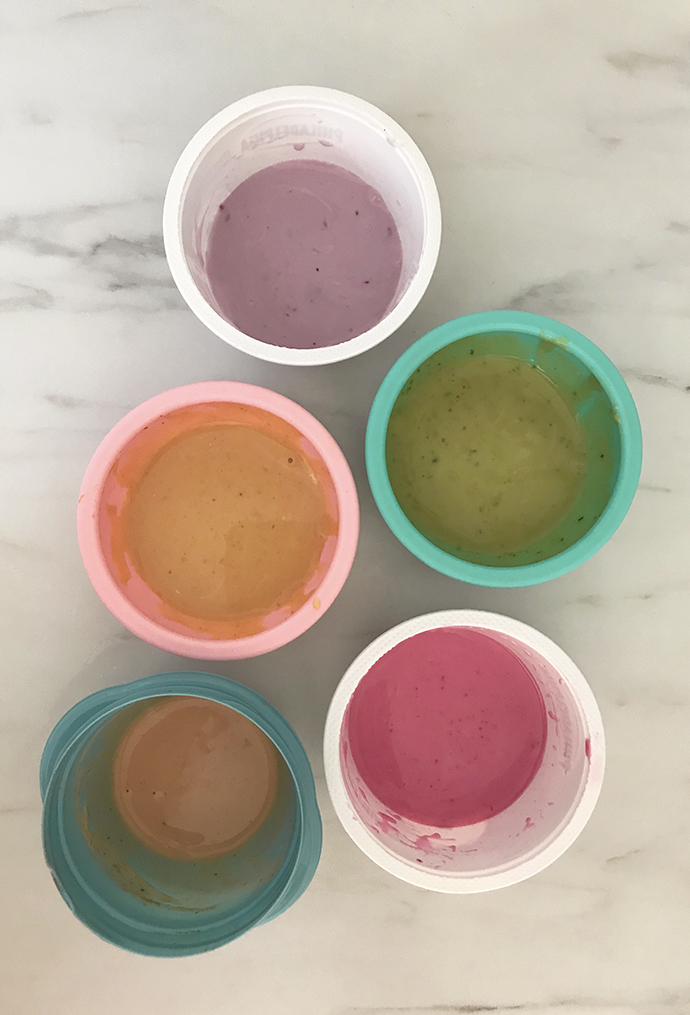
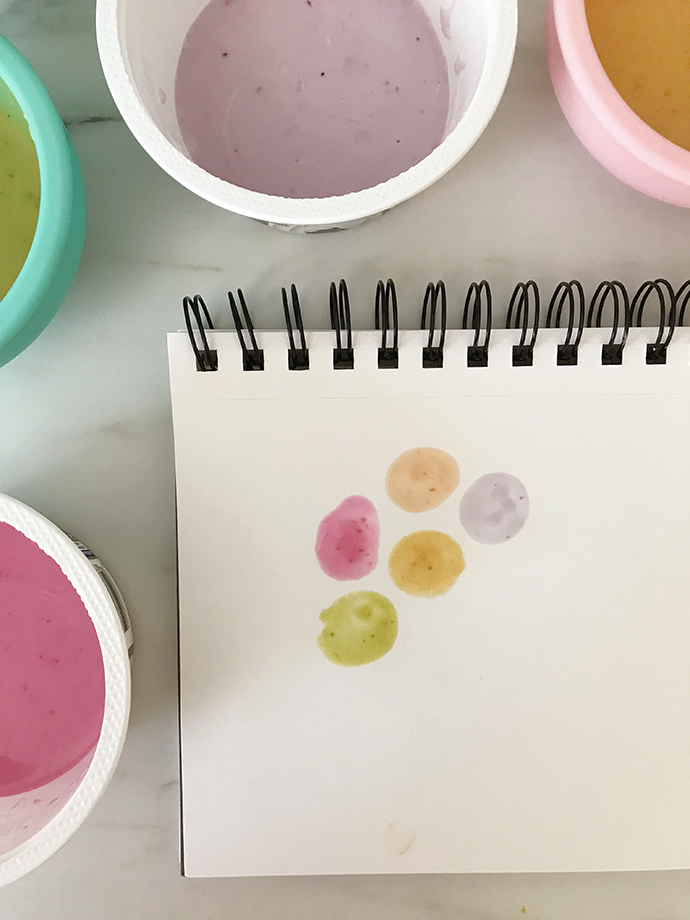
For the colors pictured, this is what I did:
Pink – a few drops of liquid from pickled beets, along with a small amount of beet mashed up
Purple – blueberry jam
Green – pea baby food, along with some spinach hummus
Yellow – carrot baby food, along with a small amount of yellow mustard
Orange – tomato paste
Step 2
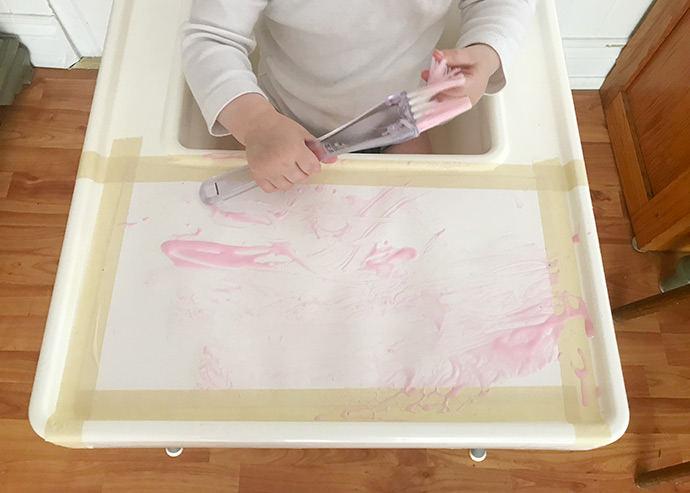
Prep your workstation. This will vary depending on the age of your little one, so do what you think will be best. The first time we tried this, I taped up white paper onto the wall, set up a vinyl tablecloth underneath to catch any mess, and let her at it. She didn’t quite know what to do with the whole situation, so it was a bit of a bust that day so we tried again a few days later using the highchair set up pictured here. Just use masking tape to secure the paper down onto the tray, load a brush (we used a pastry brush) with paint, and see what happens! You can dollop more paint directly onto the paper once the first bit has been spread out. Once done with the first color, remove the paper, do a quick wipe down, tape down more white paper and go again. Of course, you can have your little one use all the colors on one paper too!
Step 3
Let the painted papers dry completely. Depending on how big some of the blobs are, this may take a few hours. Once dry, scan the art using a scanning app on your phone or a scanner so that you have a digital version of your little one’s masterpiece. Because the paint is edible, you don’t want to keep the original papers are keepsakes themselves as they’ll likely start to smell or grow moldy over time.
Step 4
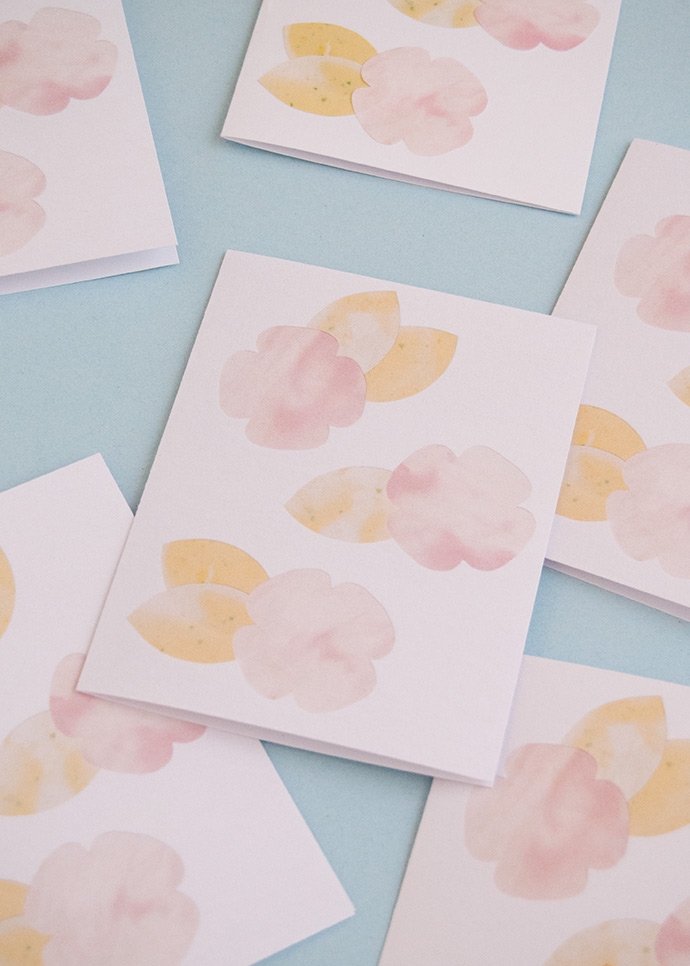
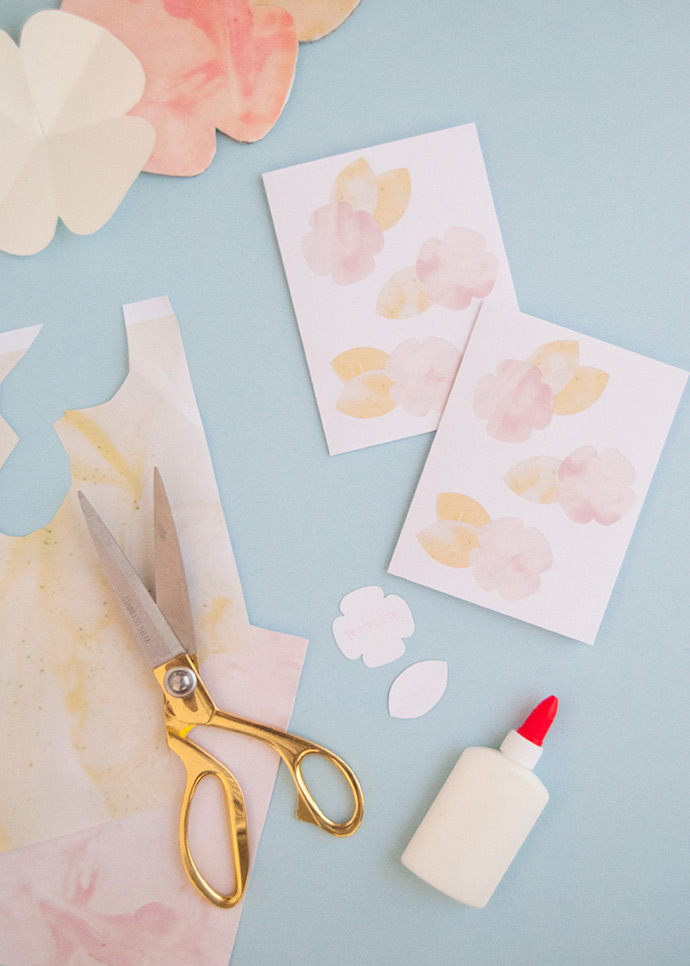
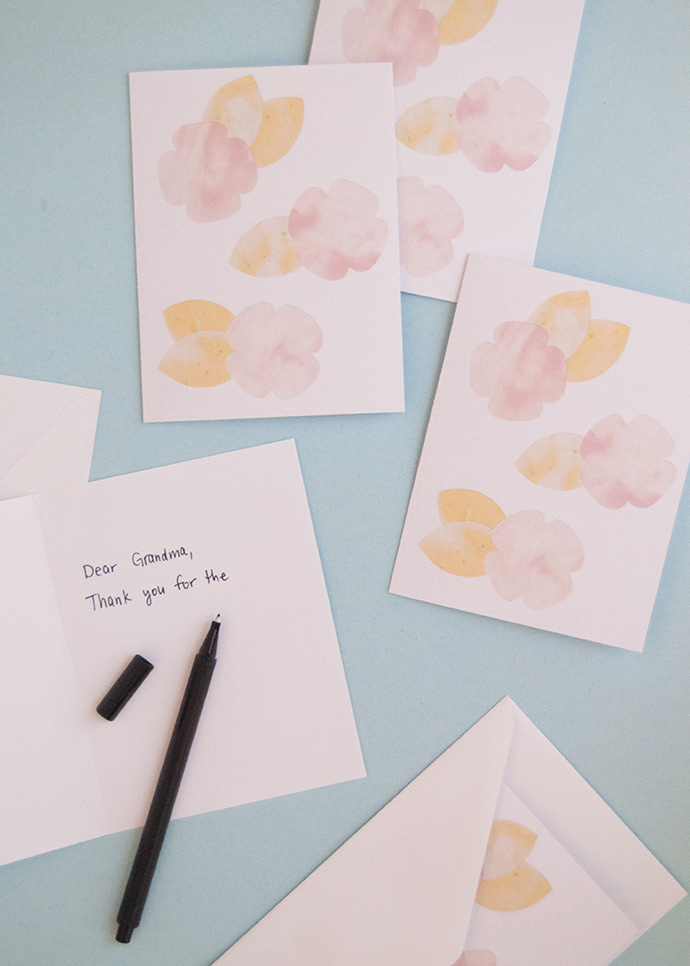
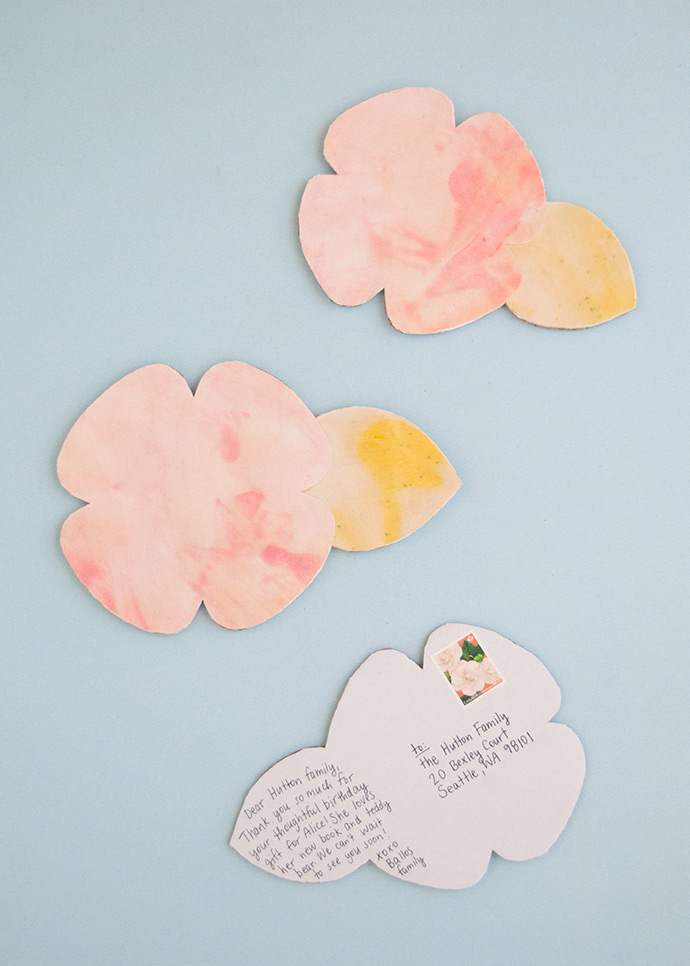
Print out the scanned files and cut out fun shapes. I went with simple flowers and leaves that I glued onto white cardstock and then scanned into my computer again. Using this scan, I made color copies of this one card and printed out a whole bunch to cut and fold into cards I can use for any occasion! The sky is the limit with what designs you and your kids can create.
Step 5
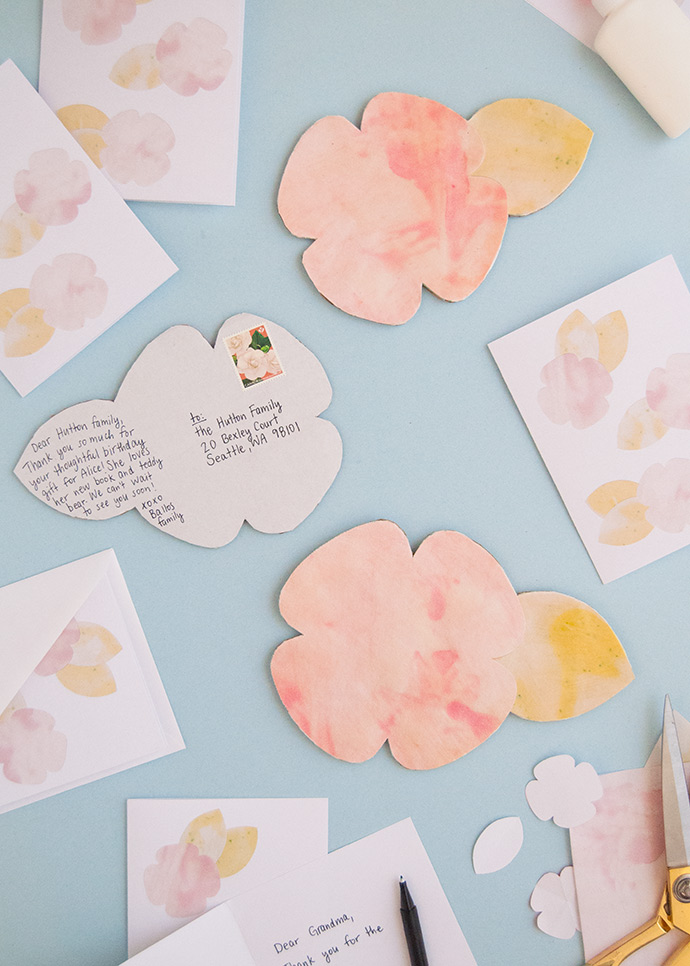
Alternately, you can make postcards in a similar way – just make sure to cut out larger shapes so you have room to write! Apply Mod Podge onto cardboard, attach your paper shape, and seal with more Mod Podge. Let dry and then use a craft knife/scissors to cut the shape out. Write your message on the blank back.
