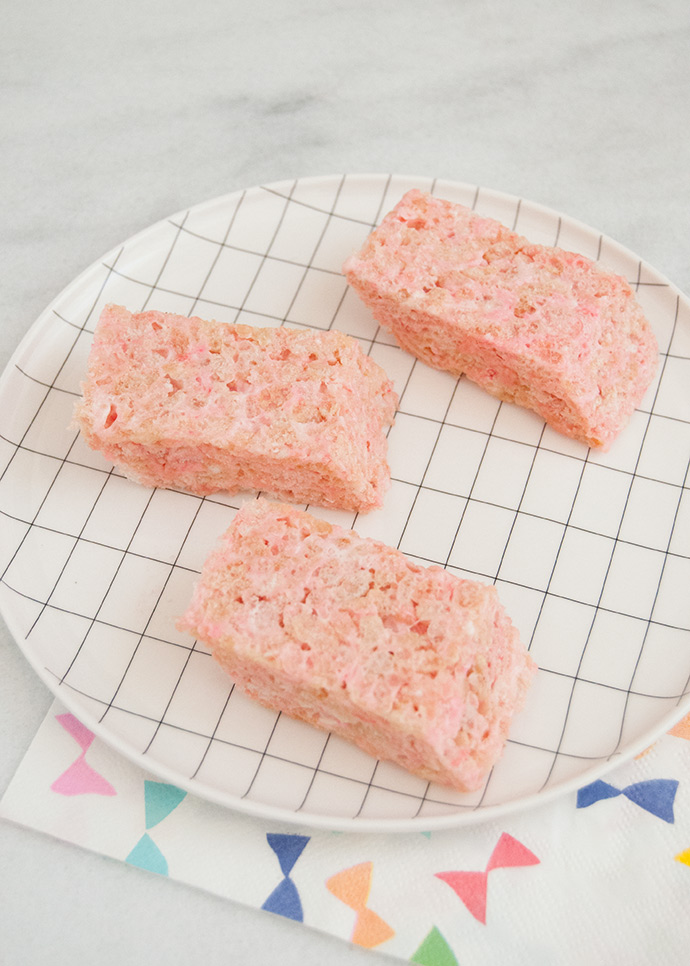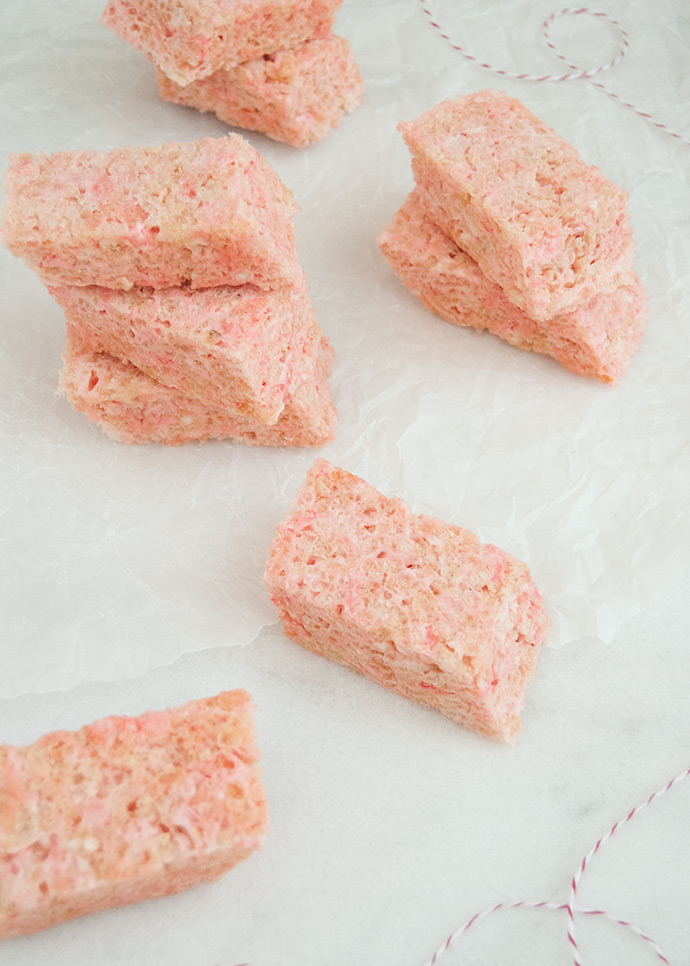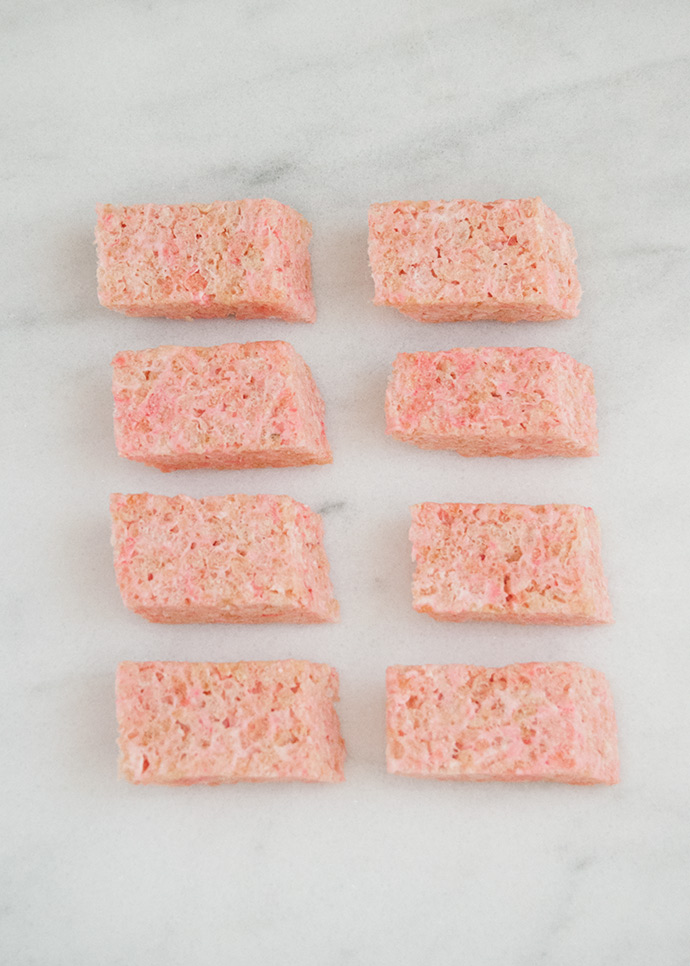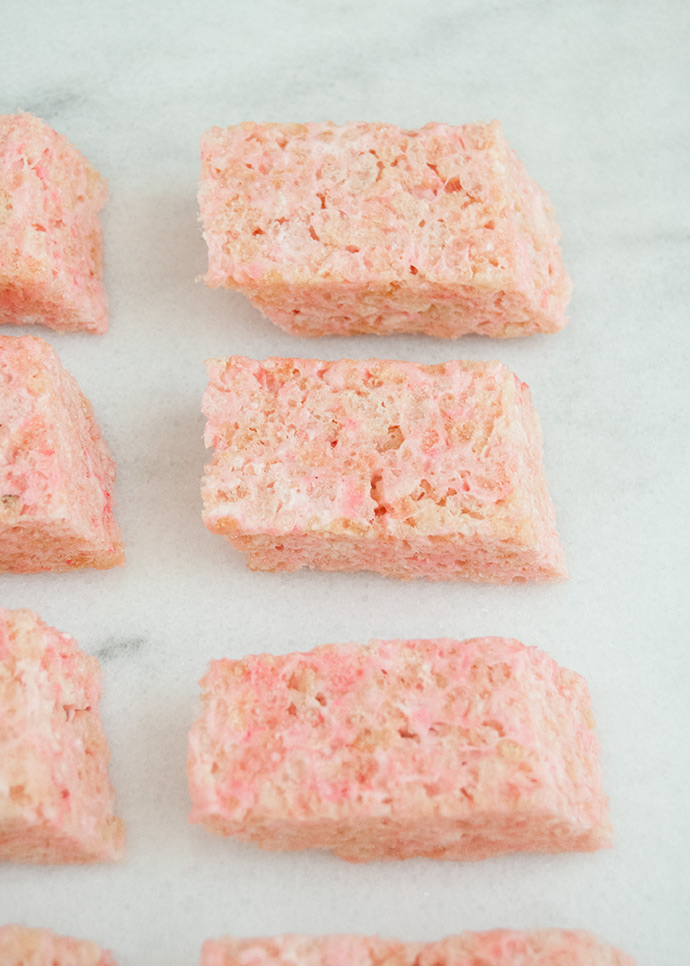
Who doesn’t love a classic rice krispie treat? They’re one of my dad’s favorites and growing up, whenever we made them we didn’t dare make any swaps or adjustments to the original recipe. Chocolate on top or peanut butter mixed in? Probably very tasty, but we stuck with them plain and simple! Today’s post very nearly follows the recipe to a t, but I’ve added a few drops of food coloring and cut the treats on an angle to resemble the iconic Pink Pearl erasers. These small changes make them the perfect, quick addition to your kids’ lunchboxes especially now as back-to-school season is here!

what you need:
- 6 cups Rice Krispies cereal
- 40 marshmallows (full-sized)
- 3 Tbsp Margarine
- Red/pink food coloring
how-to:
Step 1
Grease a 13″x9″ pan with cooking spray.
Step 2
Melt margarine in a large bowl in the microwave.
Melt margarine in a large bowl in the microwave.
Step 3
Add all 40 marshmallows into the large bowl and stir to coat with margarine. Microwave for 2 minutes, stir, and microwave for 1 more minute. Stir.
Add all 40 marshmallows into the large bowl and stir to coat with margarine. Microwave for 2 minutes, stir, and microwave for 1 more minute. Stir.
Step 4
Add a drop of red/pink food coloring into the melted marshmallows and stir well. Add more food coloring until you’re happy with the color.
Add a drop of red/pink food coloring into the melted marshmallows and stir well. Add more food coloring until you’re happy with the color.
Step 5
Add Rice Krispies cereal to the bowl and stir well to combine, until all the cereal is coated with the melted marshmallow.
Add Rice Krispies cereal to the bowl and stir well to combine, until all the cereal is coated with the melted marshmallow.
Step 6
Use a spatula to scrape all of the Rice Krispie and marshmallow mixture into the greased pan and press down evenly. Set aside to cool and harden.
Step 7
Once cool, use a knife to cut rows into the Rice Krispies treats in one direction only. Remove the long strip and place on a cutting board or plate. Use the same knife to cut the strip into eraser-shaped pieces by cutting on an angle on both ends of each treat. There may be odd-sized pieces left-over – you can cut these into mini erasers or just eat the scraps! You can also choose to cut a very thin layer off of the top of each eraser, which is what I did for the treats pictured. This just gives the top of the “eraser” a smoother look that matches the look of the cut sides. Plus, more scraps for you to eat!
Once cool, use a knife to cut rows into the Rice Krispies treats in one direction only. Remove the long strip and place on a cutting board or plate. Use the same knife to cut the strip into eraser-shaped pieces by cutting on an angle on both ends of each treat. There may be odd-sized pieces left-over – you can cut these into mini erasers or just eat the scraps! You can also choose to cut a very thin layer off of the top of each eraser, which is what I did for the treats pictured. This just gives the top of the “eraser” a smoother look that matches the look of the cut sides. Plus, more scraps for you to eat!
Step 8 – optional
Use black icing or melted chocolate to write “Pink Pearl”, “Back to school!”, or another customized message onto the top of each treat. This can be tricky to do neatly, so practise a little bit on some scrap wax paper first. I wasn’t completely happy with how the words turned out on mine, so I decided to leave them plain instead!
Step 9
Wrap each treat with wax or parchment paper and they’re ready to be added into your kids’ lunches.


Enjoy!