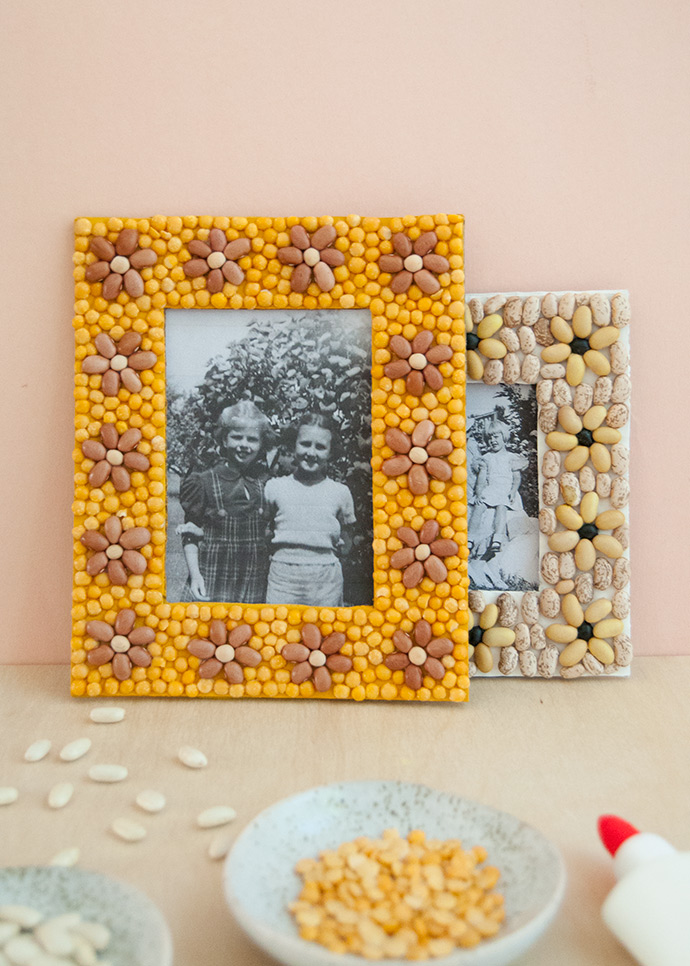
It’s bean a little while (ha!) since we’ve shared a DIY bean art craft, but with fall sneaking up I thought it would be the perfect time! There’s something about using dried beans as-is, without adding colorful paint on top, that really makes me think of fall. I love how these floral bean art frames turned out and you can of course use whatever dried beans you have on hand. Make sure to check your grocery store too for even more fun colors and shapes!
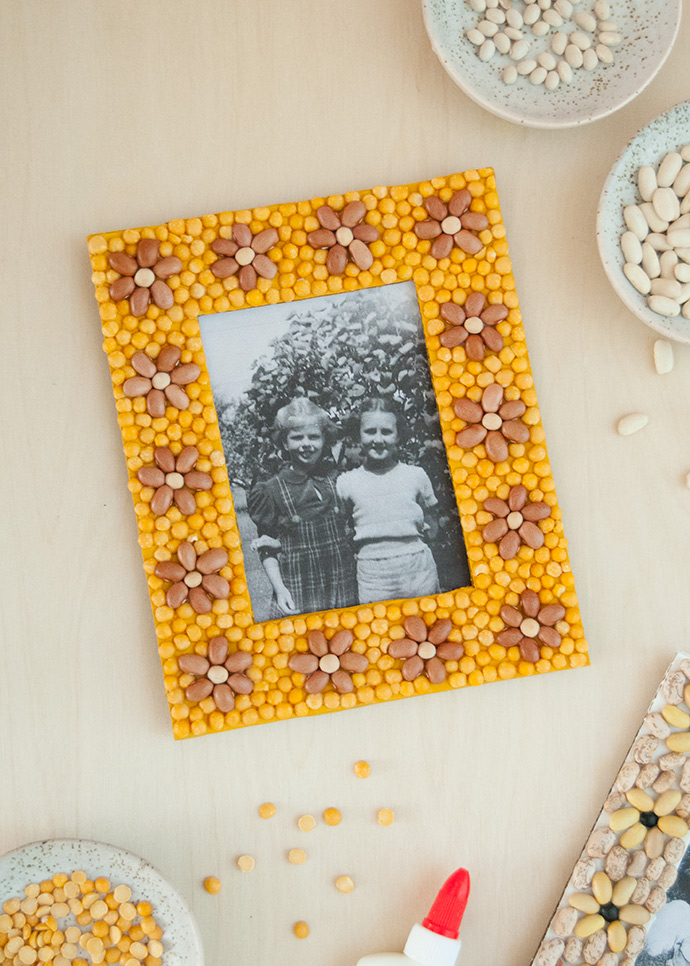
what you need:
- Corrugated cardboard
- Craft knife and cutting mat
- Pencil
- Ruler
- Beans and lentils (various types)
- White glue
- Acrylic paint and paintbrush (optional)
how-to:
Step 1
Use a pencil and ruler to draw out the desired size of your frames onto scrap corrugated cardboard. Using thinner cereal box style cardboard doesn’t work as well for this project – the combination of the beans and glue will most likely warp the frame, so thicker cardboard is your best bet. Cut out the frames using a craft knife and cutting mat.
Use a pencil and ruler to draw out the desired size of your frames onto scrap corrugated cardboard. Using thinner cereal box style cardboard doesn’t work as well for this project – the combination of the beans and glue will most likely warp the frame, so thicker cardboard is your best bet. Cut out the frames using a craft knife and cutting mat.
Step 2
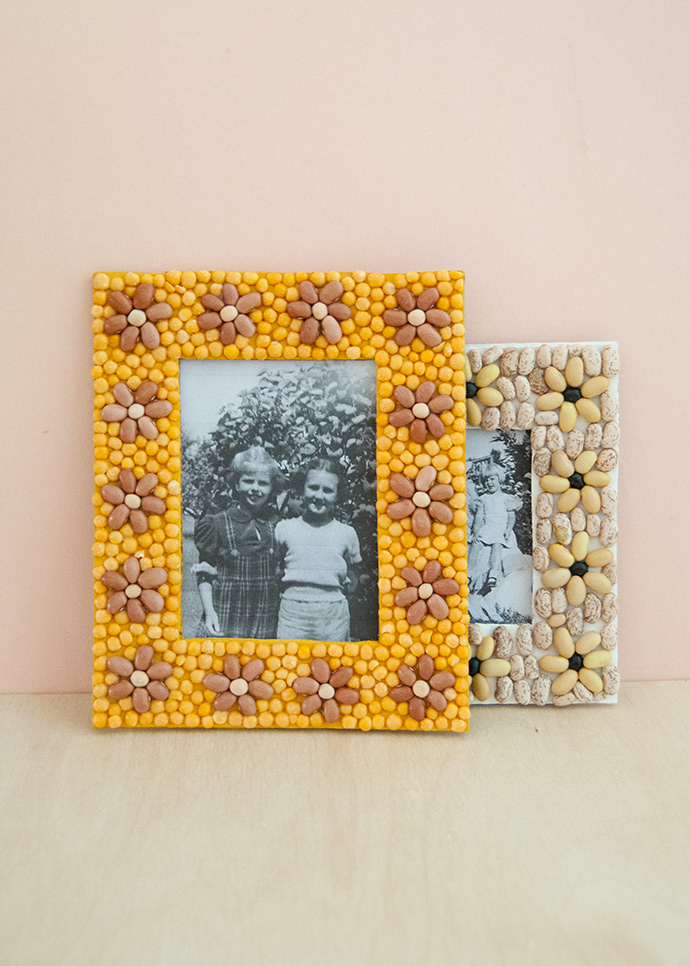
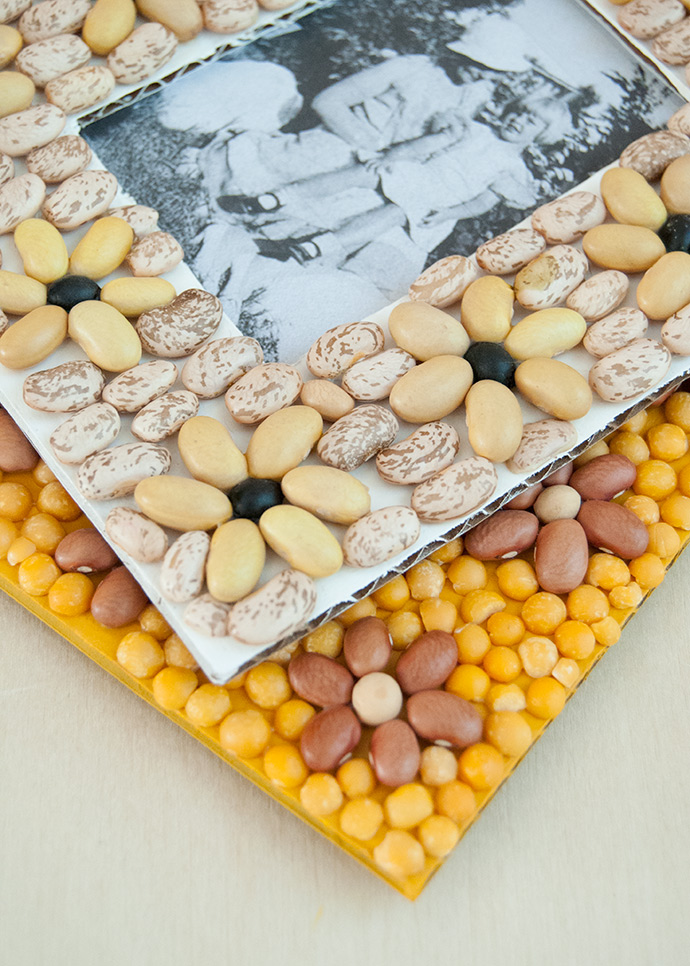
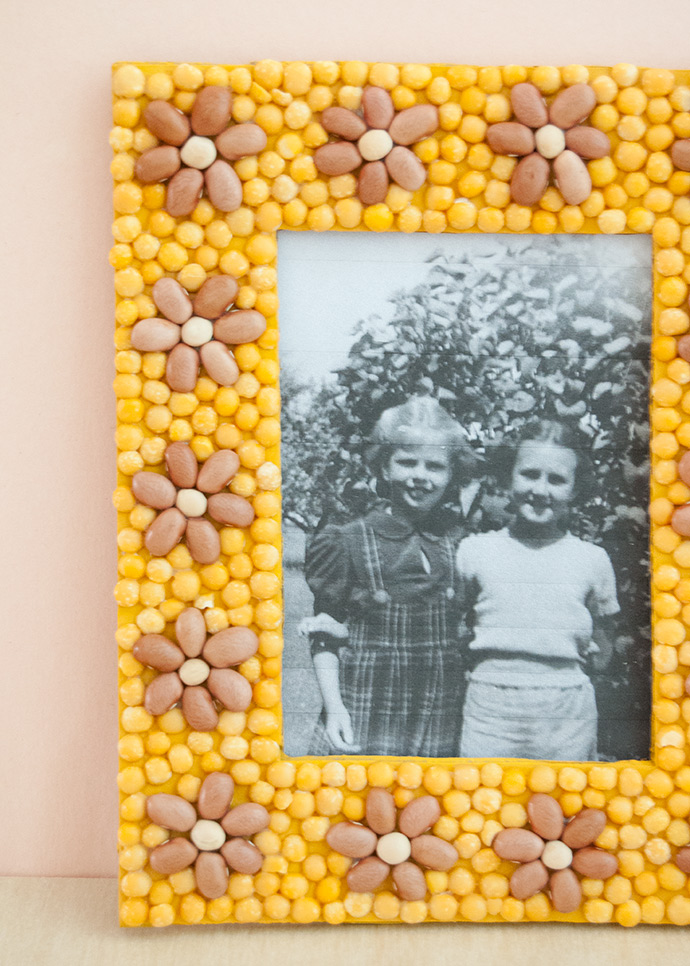
Decide what design you would like to create on the frames. We made these fun flowers using pinto beans (white & brown), adzuki beans (black), and canary beans (yellow) on one frame and yellow split peas, pink beans, and whole yellow peas on the other. Have fun mixing and matching different beans to make different color combinations!
Decide what design you would like to create on the frames. We made these fun flowers using pinto beans (white & brown), adzuki beans (black), and canary beans (yellow) on one frame and yellow split peas, pink beans, and whole yellow peas on the other. Have fun mixing and matching different beans to make different color combinations!
Step 3
Apply a coat of paint onto the frame matching the color you’re using as the background filler bean. This will help the background fade away a bit putting the focus on the flowers instead. Let dry completely.
Apply a coat of paint onto the frame matching the color you’re using as the background filler bean. This will help the background fade away a bit putting the focus on the flowers instead. Let dry completely.
Step 4
Attach the beans onto the frame using white glue. Once done, set aside to dry completely.
Step 5
Print out your photo and attach to the back of the frame with glue or tape.
Attach the beans onto the frame using white glue. Once done, set aside to dry completely.
Step 5
Print out your photo and attach to the back of the frame with glue or tape.
Step 6 (optional)
Add a triangle of cardboard to the back of the frame to make a simple stand, tape a piece of string to the top if wanting to hang this frame from a nail on the wall, or leave as is and prop up on a ledge or surface.

Happy crafting!