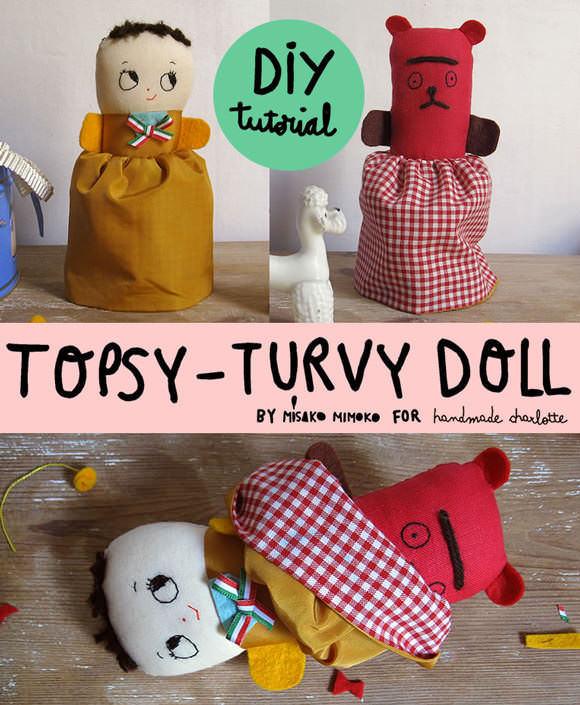
Looking for an easy handmade gift to sew this year? This take on the traditional topsy-turvy doll by Misako Mimoko is simple, super fun, and sure to bring smiles on Christmas morning.
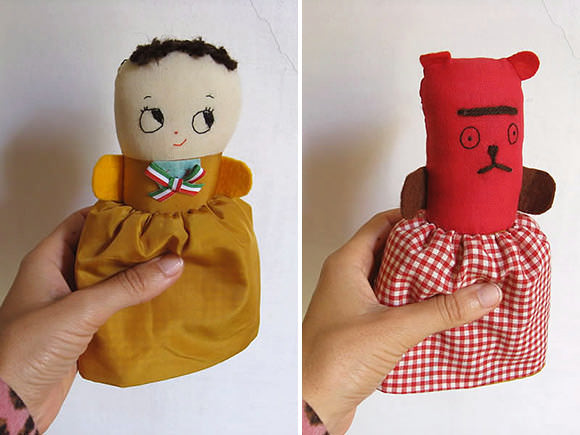
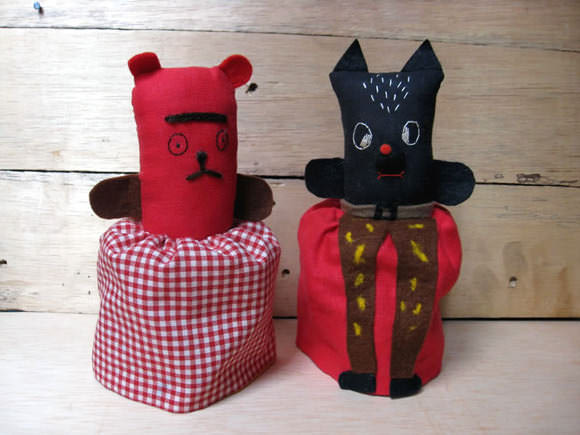
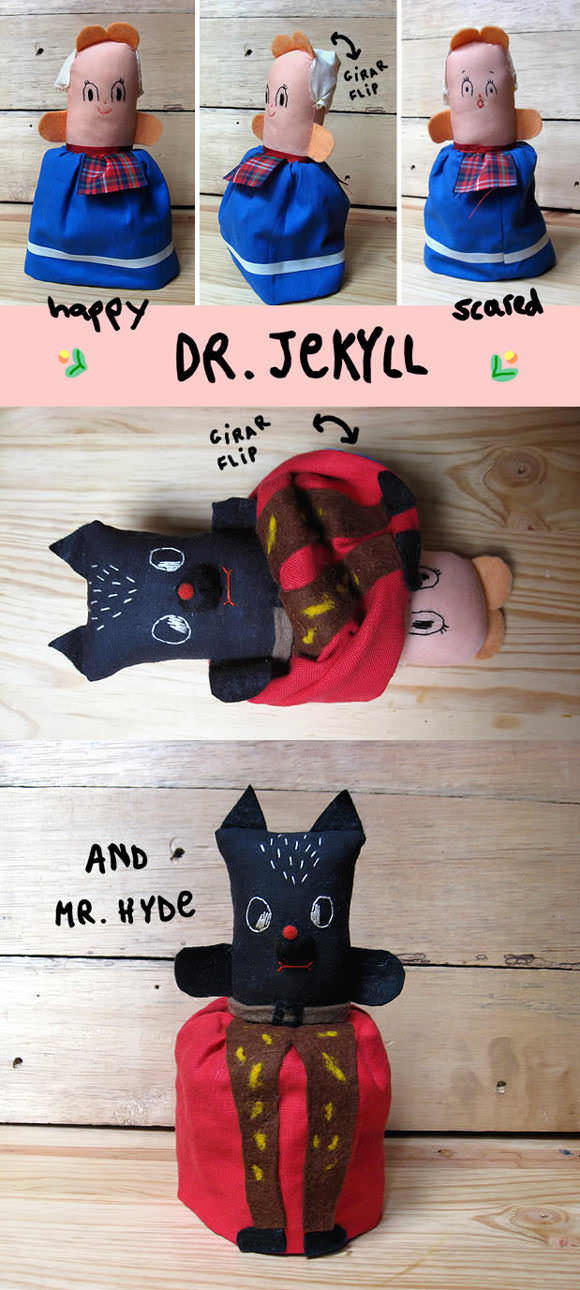
The reversible doll is really two dolls in one: flip the skirt, turn the doll upside down, and another doll magically appears.
Materials
- Printable template (download here)
- Fabric
- Felt
- Needle
- Embroidery thread
- Strong thread
- Scissors
- Water-soluble pen
- Polyfill
- Heavy yarn
- Ribbon and trim
- Pins
- Sewing machine
- Iron
Step 1
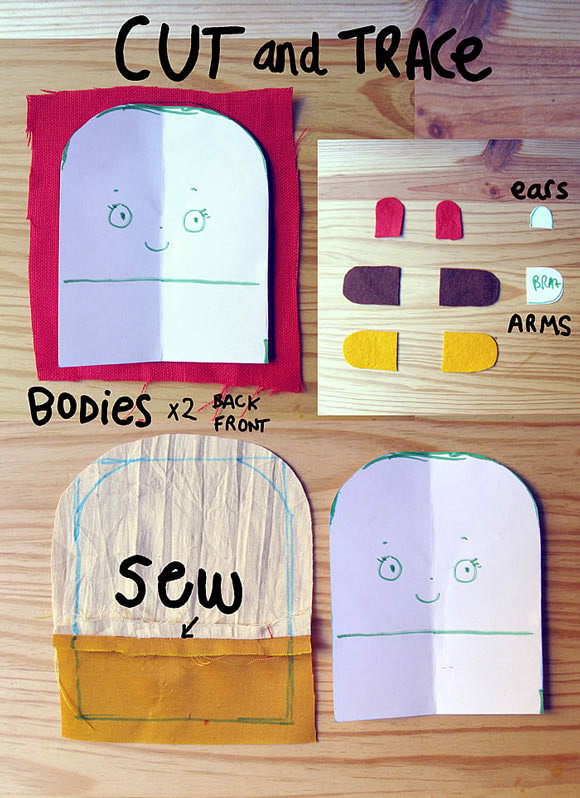
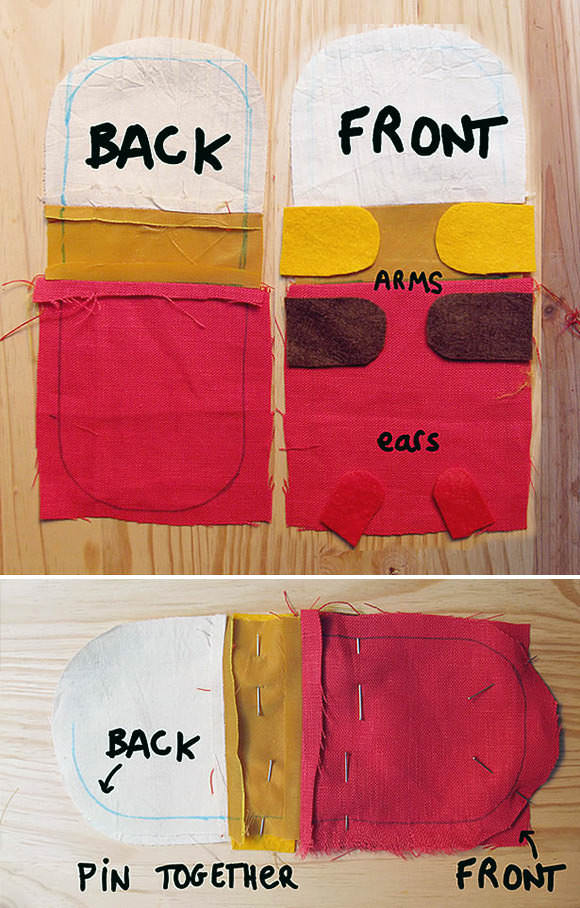
Download and print the doll pattern. The pattern includes two options for the ear and body shapes that you can choose from.. You will need felt for the ears and arms as well as fabric for the bodies, heads, and skirts. Transfer all marks and cut out the templates. Make sure to leave a 1/4-inch seam allowance when cutting.
The Girl Doll uses two different fabrics for the face and body. Sew them together and iron. The bear uses one fabric for both the face and body.
Step 2
Lay the Girl Doll’s waist against the Bear Doll’s waist and seam across. Now the back of the two dolls will be stitched together. Repeat to create the front of the dolls. Place the arms and ears between the the front and back of the body and pin.
Step 3
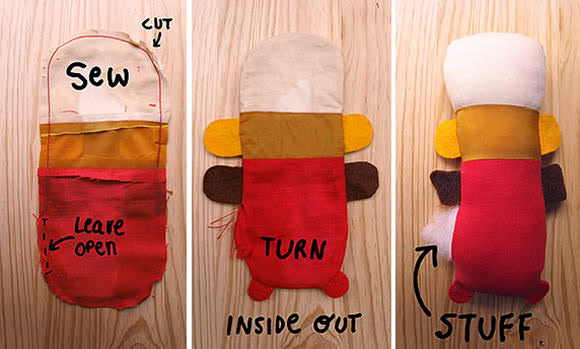
Sew around the edges, leaving an opening down one side to allow for turning. Clip the curved seam allowances and turn right-side out. Stuff with polyfill.
Step 4
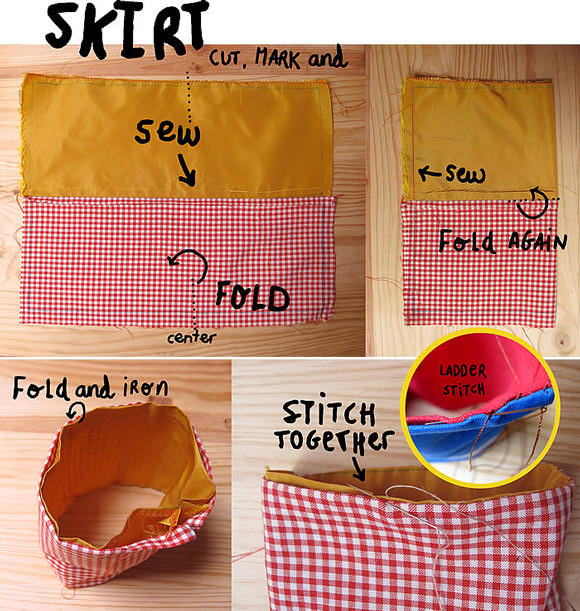
Now it’s time to make the double-sided skirt – the secret of the whole doll. Follow the skirt pattern and cut out both skirts. To make your own skirt pattern, measure from the waist to at least one inch below the head and double the width of the waist.
Sew the bottom edges of the to skirts together. Next, fold in half with the right sides together and sew back seams (short sides together). Turn the double-sided skirt right side out.
Step 5
Fold the inside top edges, hem, and iron. Slip stitch the two sides together all the way around.
Step 6
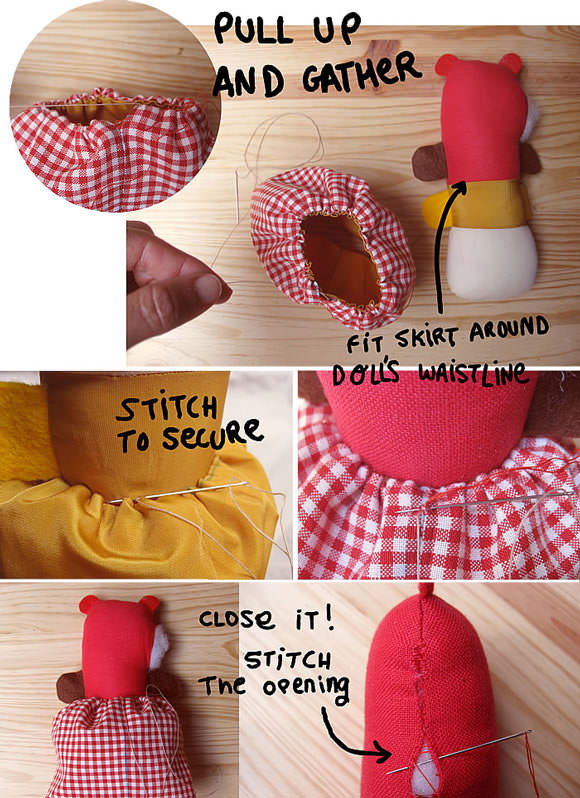
Pull up the thread and gather until skirt waist fits the waistline of the doll. Stitch it to the body to secure. Sew up the opening to close.
Step 7
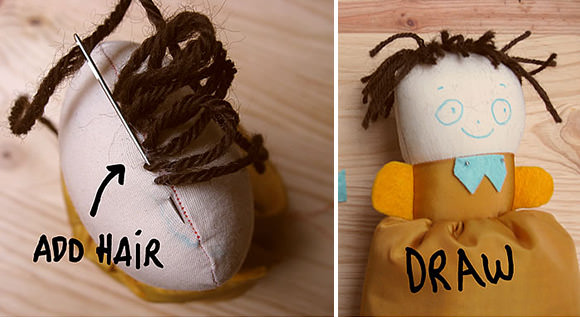
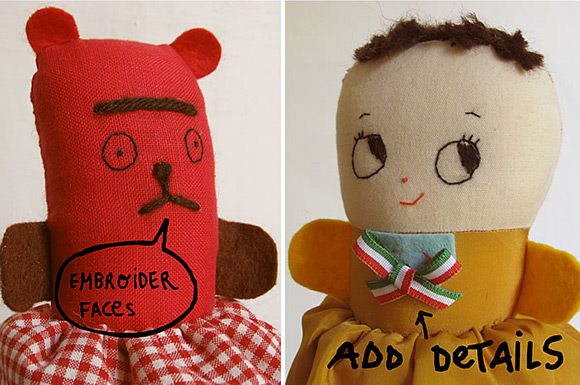
Decorate both dolls. Add ribbons and any other embellishments, then stitch yarn to make the hair. Draw a smiling face and embroider. That’s it!
Happy crafting!