Recycle a cardboard envelope into a super cool kaleidoscope in only 5 minutes! It’s a blast to make, and kids will have fun exploring their surroundings with it afterward.
Let’s get started!
What You Need
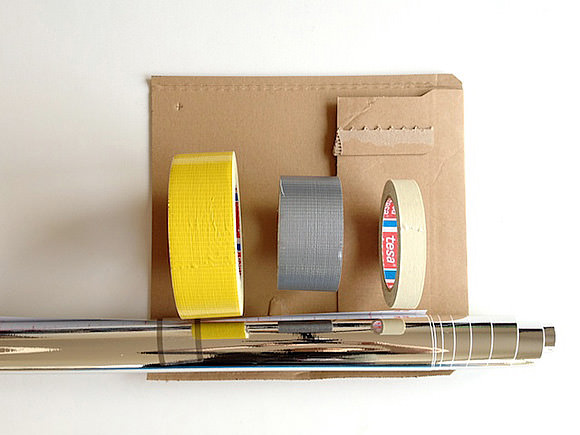
- 1 thin cardboard envelope or a piece of cardboard
- Metallic adhesive paper
- Duct tape (I used metallic and yellow)
- Painter or Scotch tape
Tools
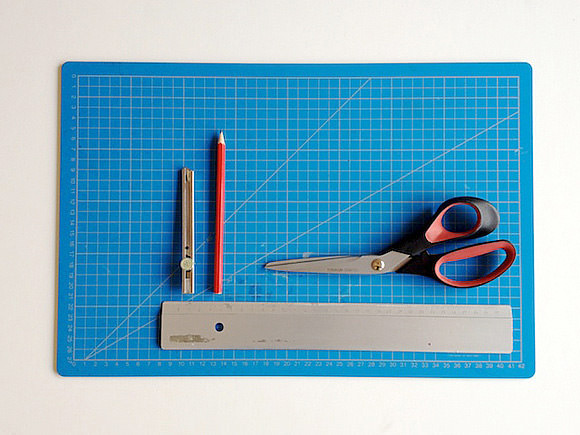
- Craft knife
- Ruler
- Cutting mat
- Pencil
- Scissors
Note: Children 7 years and older can make this project with adult supervision. Children 3 years and up can help with putting it together and will have fun exploring with it!
Step 1
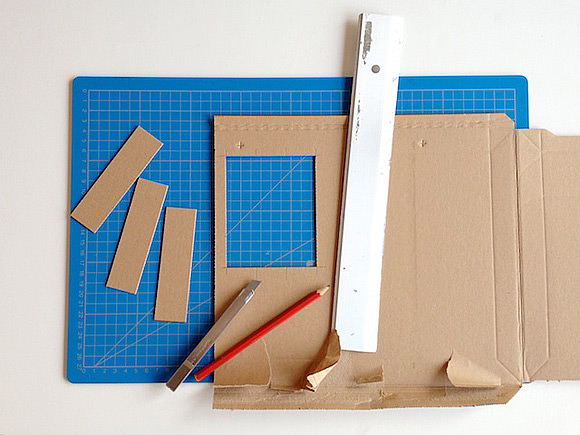
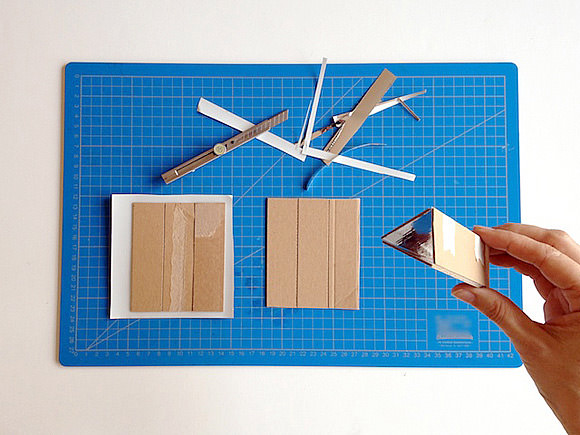
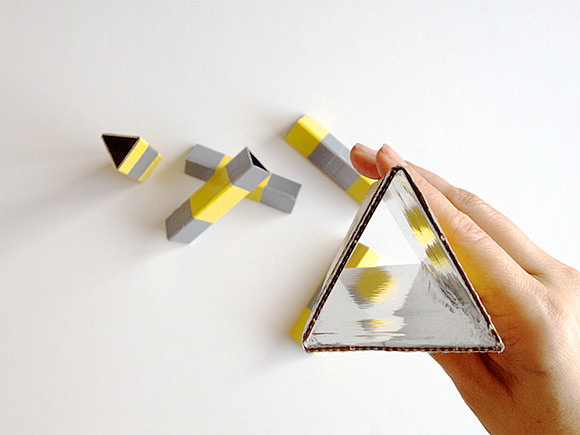
To make your triangle tube, you need to start with 3 pieces of cardboard sized 1 x 4 1/3 inches (3 x 11 cm). Mark the dimensions on the cardboard and cut each piece out with knife and ruler.
Step 2
Cut a piece of foil a little larger than your three cardboard pieces combined, about 4 1/3 x 5 inches (11 x 13 cm). Lay the three cardboard pieces on top of the foil and trim away the overhang. Fold the cardboard (with the foil inside) into a tube. Tape it together.
Step 3
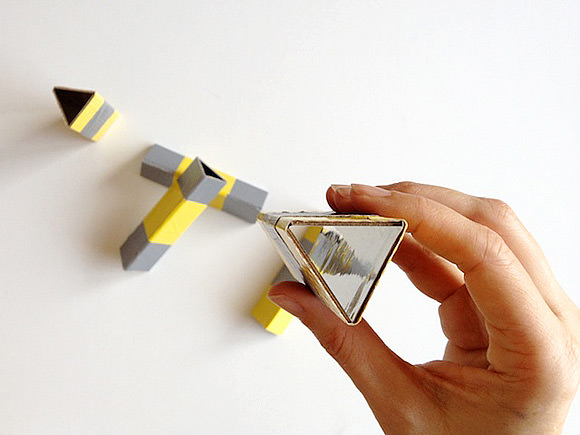
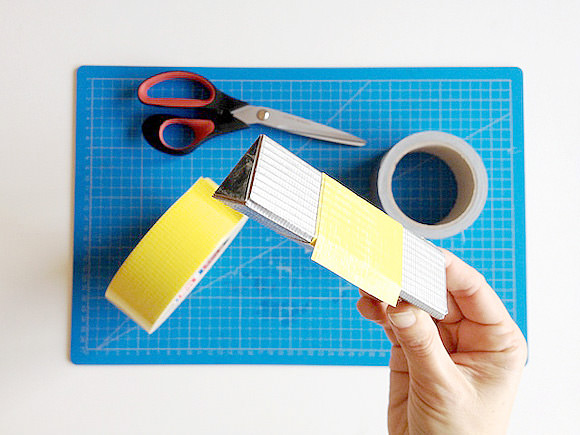
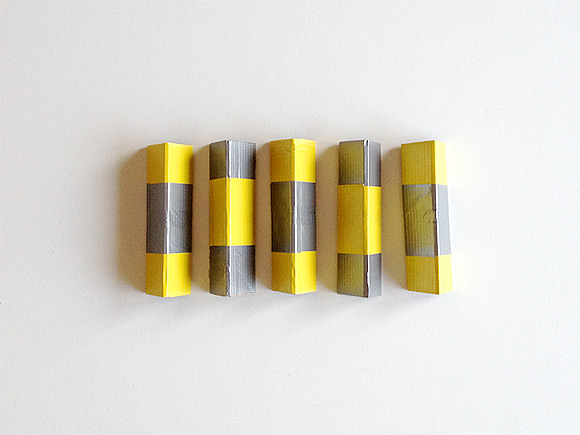
Decorate your kaleidoscope with different colored duct tape. I used silver and yellow. Tape a strip one time around and trim with scissors.
Your kaleidoscope is ready! Let’s start exploring!
How To Make Kaleidoscope Photos
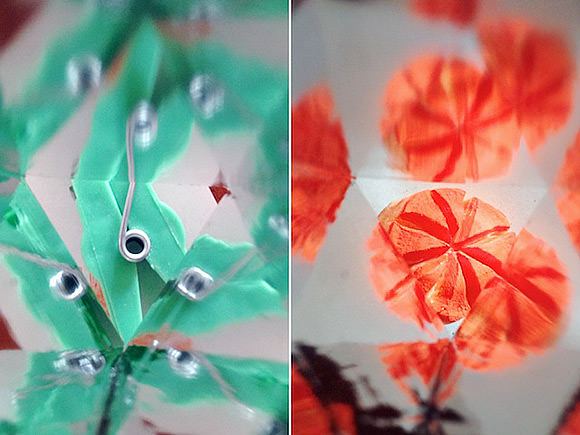
Because the kaleidoscope is open at the end you can search for different objects to make interesting motifs. Here are some photos I took with my iPhone while looking through the kaleidoscope. The one above shows a clothespin and a carrot stamp.
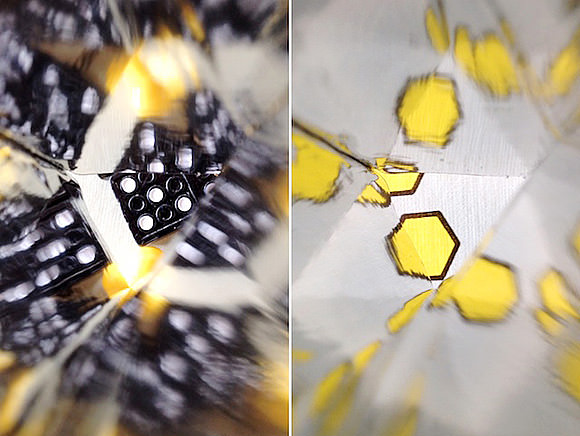
This one shows domino pieces and a game board.
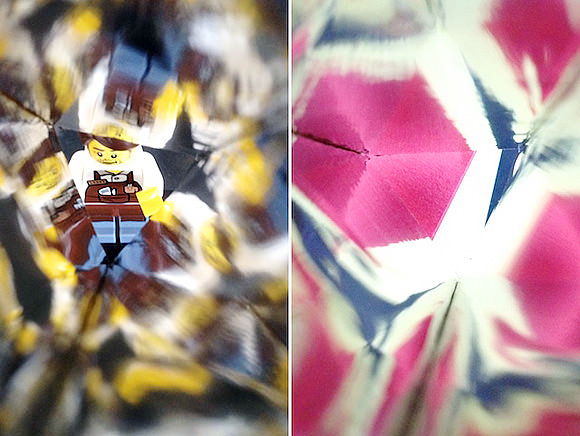
And here’s a Lego man on the left and a tissue box on the right.
Make these fun kaleidoscopes for a birthday party and have guests picture hunt with them. If you double the size of the tube, you can use them with a bigger camera.
Have fun!