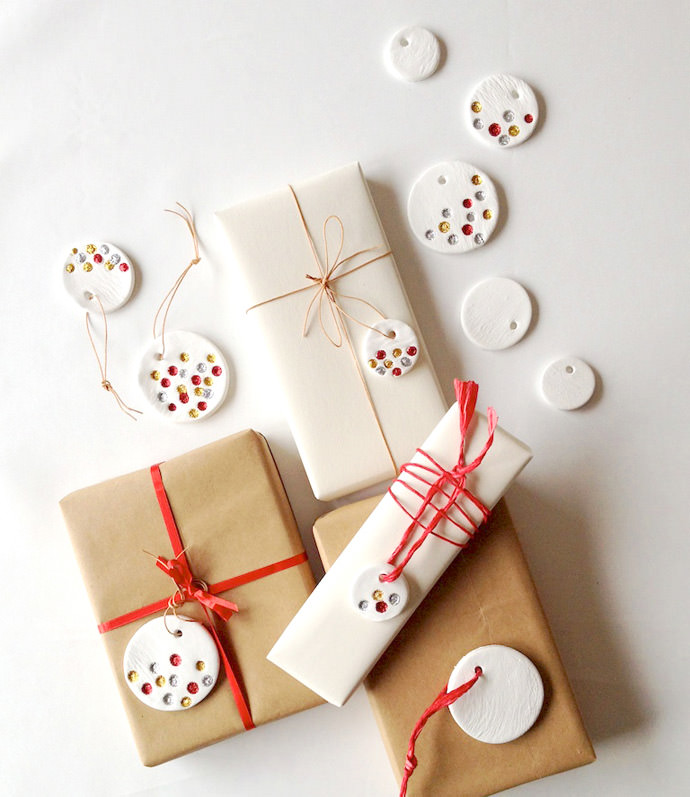
Christmas is all in the details. The simplest of ornaments can turn bare branches into a beautifully decorated Christmas tree, and an everyday paper package becomes the perfect present with the addition of a ribbon and tag. These Glitter Christmas Pendants are incredibly easy to make and used as ornaments, gift tags, or decorative buttons, will give a festive flair to any holiday.

What You Need
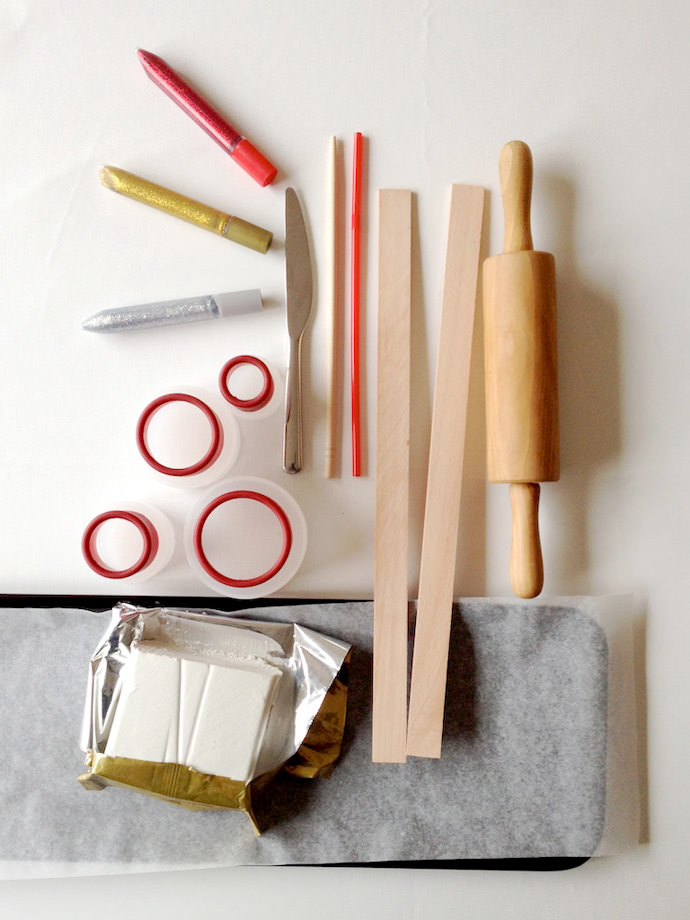
- Air-Dry modeling clay (white)
- Glitter glue pens (gold, silver and red)
- Cookie cutters (circles, 1.5″ to 3″)
- Rolling pin
- Sticks (0.2″)
- Knife
- Drinking straw
- Chop stick
- Tray
- Wax paper
How-To
Step 1
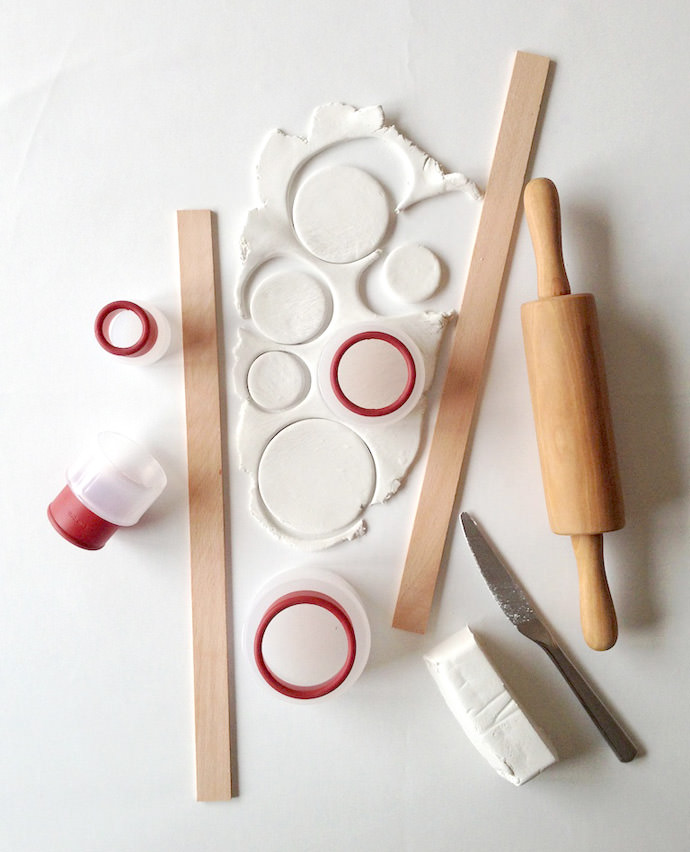
Roll out the clay until flat (keep two sticks underneath the rolling pin to help from rolling the clay too thin). Cut out the circles using different sized cookie cutters and place them on a tray with baking paper.
Step 2
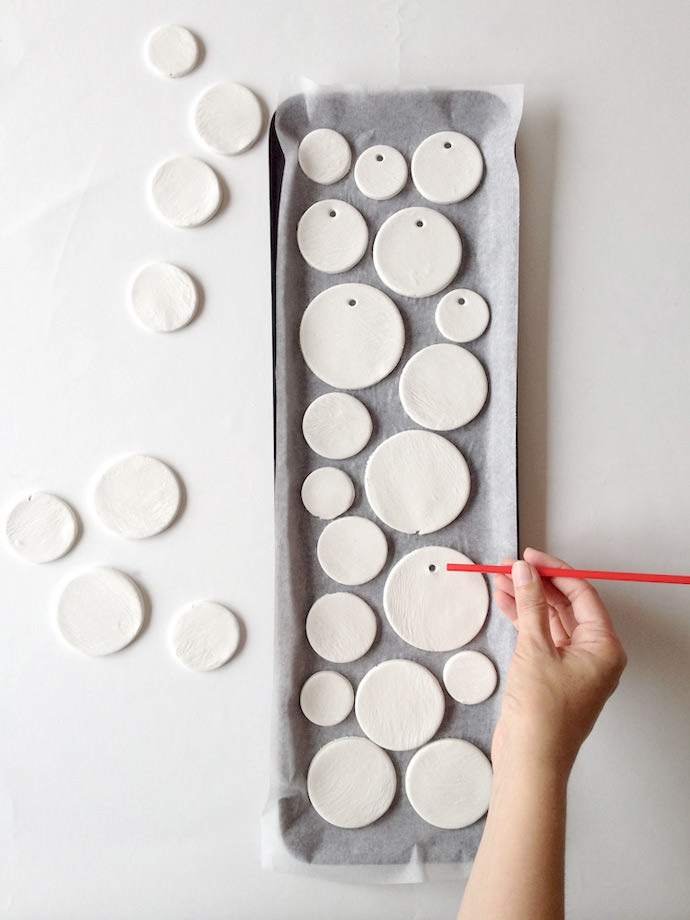
Using the straw, punch holes into each piece of clay. For ornaments, just punch one hole. For buttons, punch two or four.
Step 3
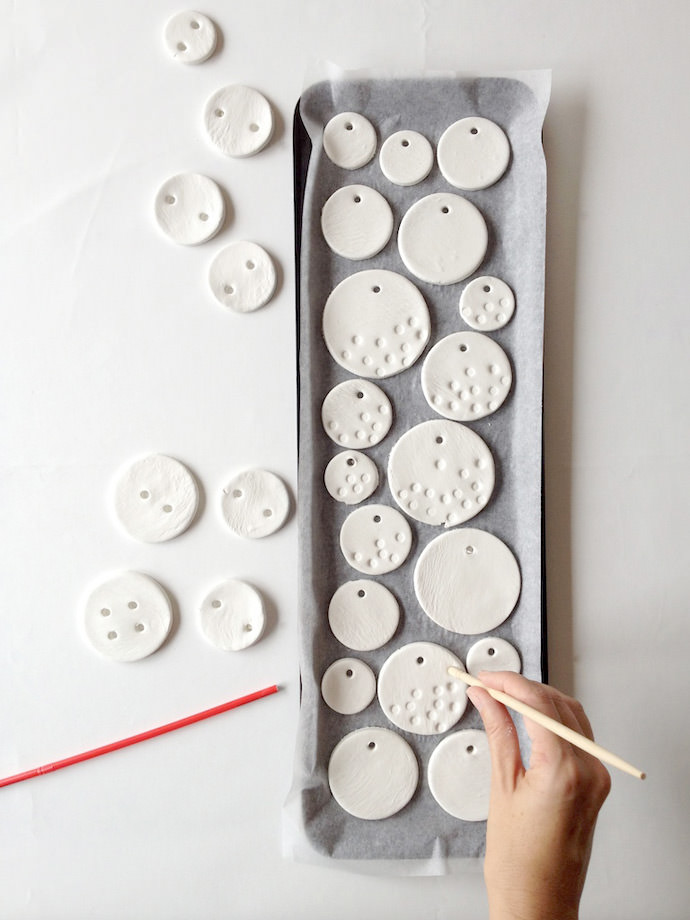
Use the tip of the chop stick to create circle imprints in the clay. Place the tray somewhere out of the way and let the clay dry for about 48 hours. I put mine on an upper shelf.
Step 4
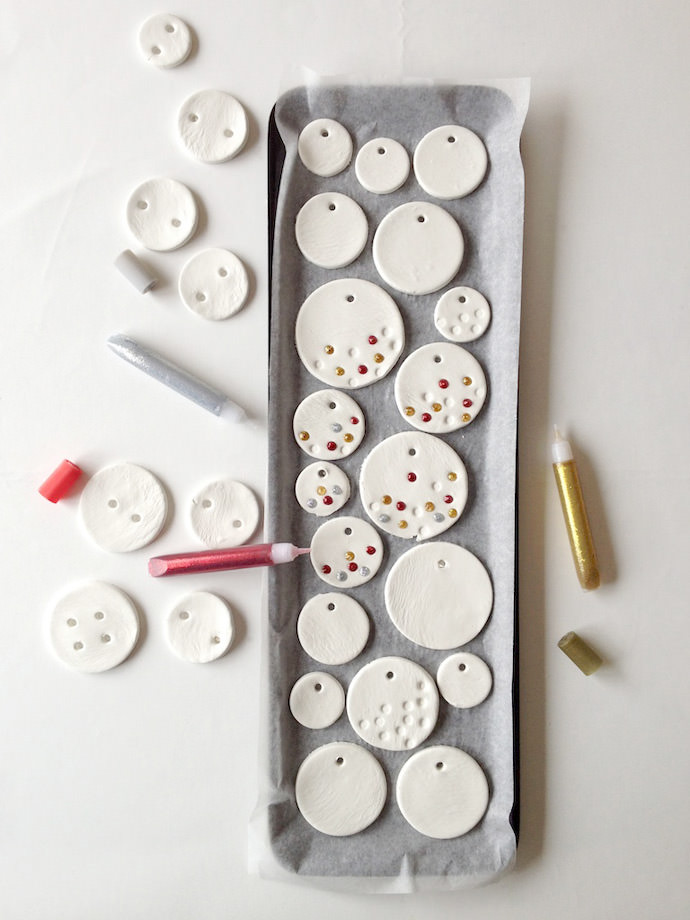
Decorate with glitter glue! We made crazy squiggle lines on some of the ornaments, but it might be nice to leave some plain.
Step 5
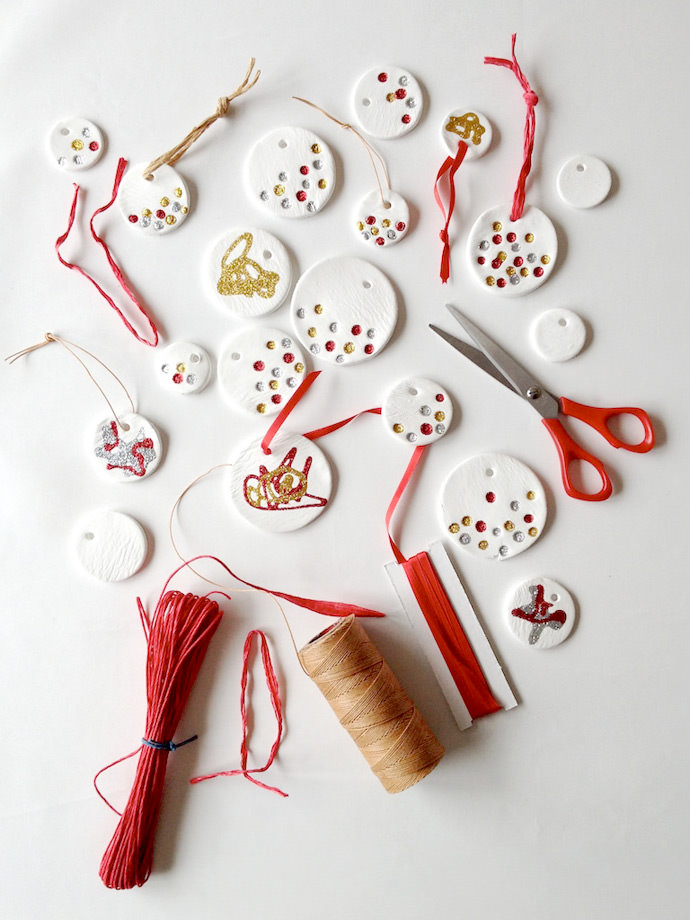
I used paper cord, silk string, and wax string (natural or red) to thread the pendants, and I wrapped the presents with brown paper and sketching paper. The ornaments look great threaded on packages!
Extra Fun with Glitter Glue
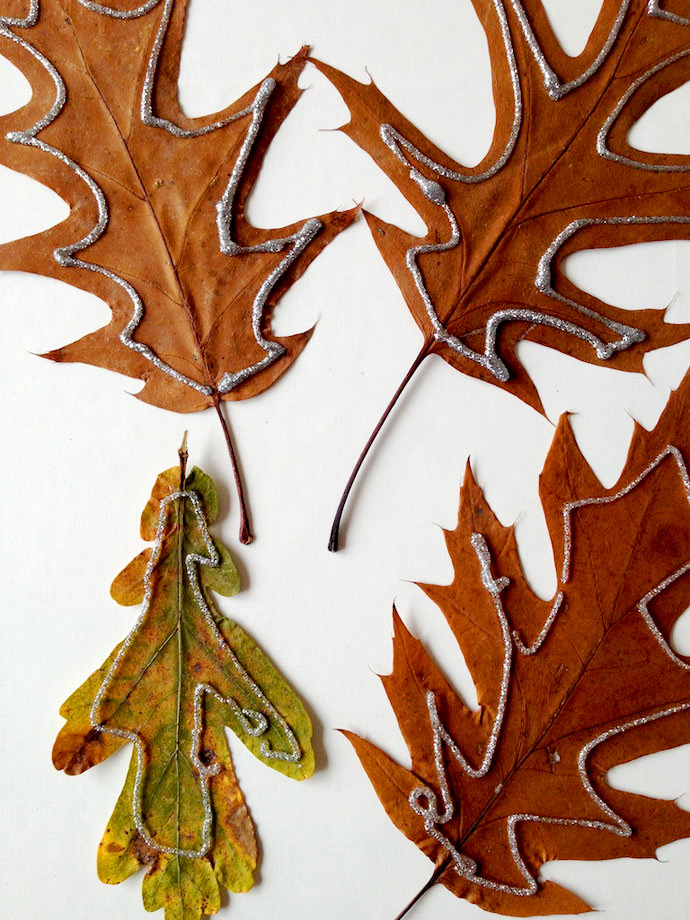
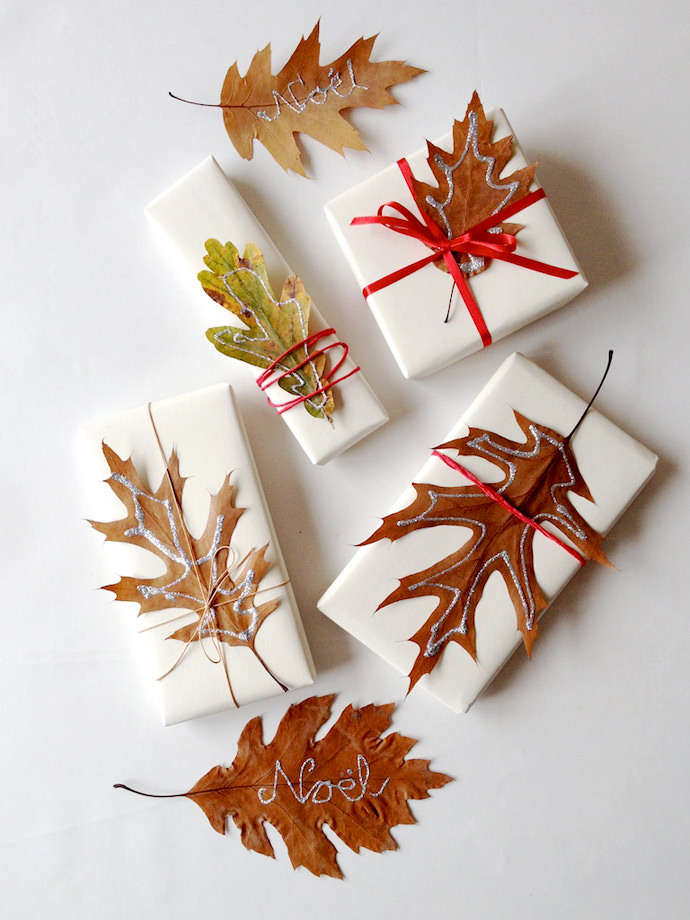
There was a little glitter glue left over, so I decided to have some more decorating fun with scattered leaves! Trace the leaves with the glitter pens then set them aside to dry. You can also write on them and make them into gift tags.
Happy holidays!