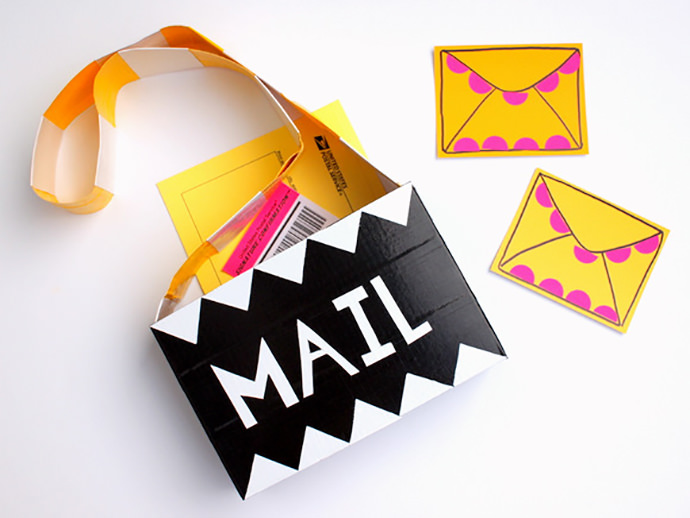
One of my preschooler’s favorite afterschool activities is to check the mailbox with me. I’m not sure why he loves it so much. Maybe it’s the fact that we have to use a key to open it up? Or maybe it’s the anticipation to see what’s inside? Either way, he just loves the mail! So I thought it would be fun to create a mail carrier’s bag for him to use around our house. Now he can write letters, lick envelopes, stick on stamps, and deliver goodies to all his stuffed animal friends.
Here’s how you can make one of your own!
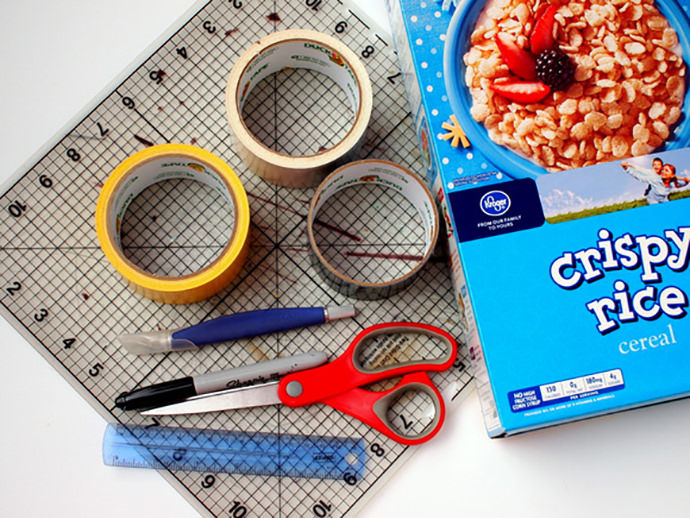
What You Need
- Duct tape in various colors
- Cutting mat
- Cereal box
- Scissors
- Sharpie
- Craft knife
- Ruler
- Stapler
How-To
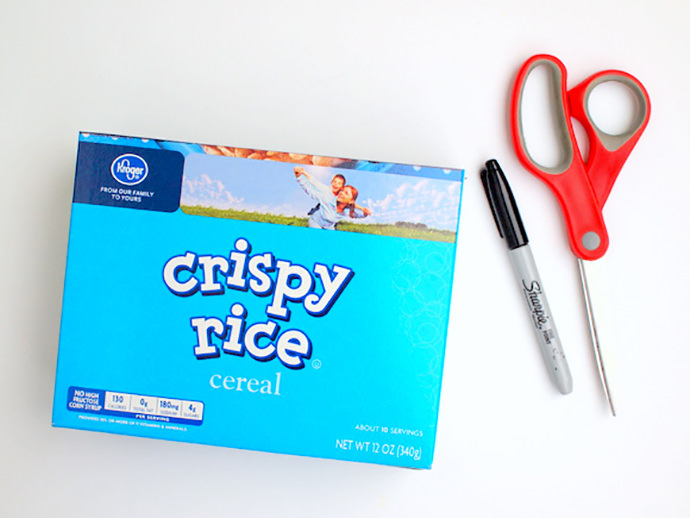
Step 1
Trim your cereal box.
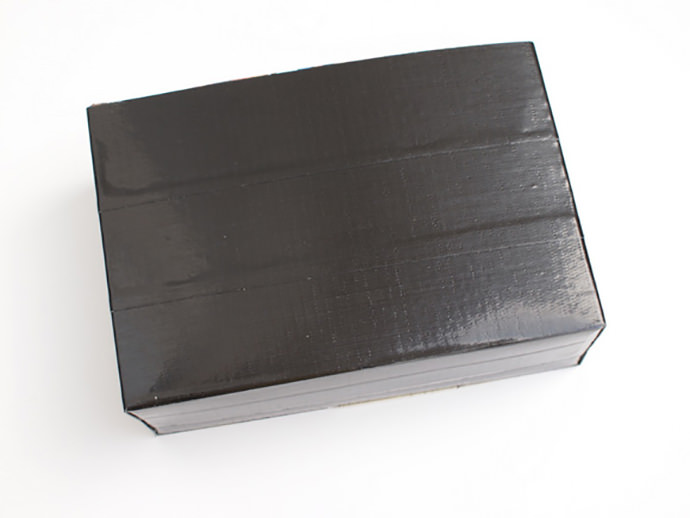
Step 2
Cover your cereal box with duct tape. (I started off by covering the bottom with duct tape. Then, I wrapped the sides.)
Step 3
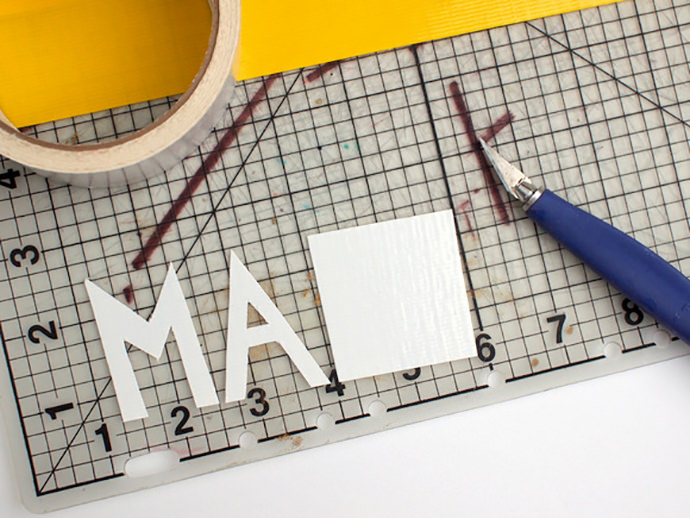
Now it’s time to add your letters and any other decorative items.
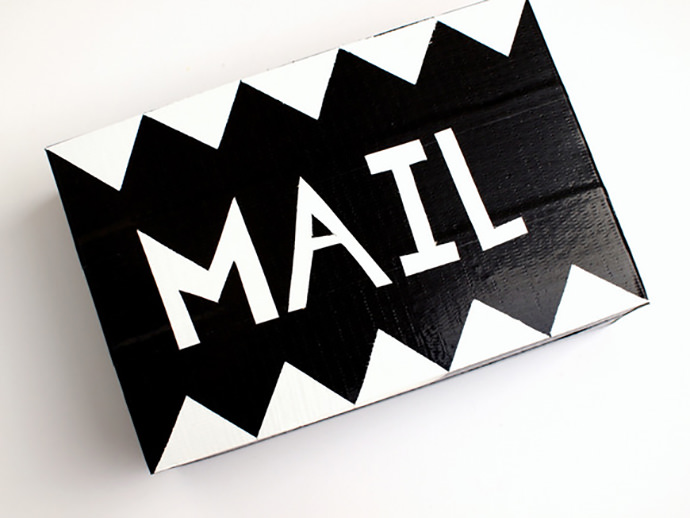
To cut out your letters and shapes, pull off a piece of duct tape and stick it to your cutting mat. Use a craft knife to trim the tape and cut out your letters.

Step 4
Now make the strap! First, stretch out two pieces of duct tape and lay them so that one is slightly on top of the other. Repeat this with two other pieces. Now you have two duct tape “sheets.”
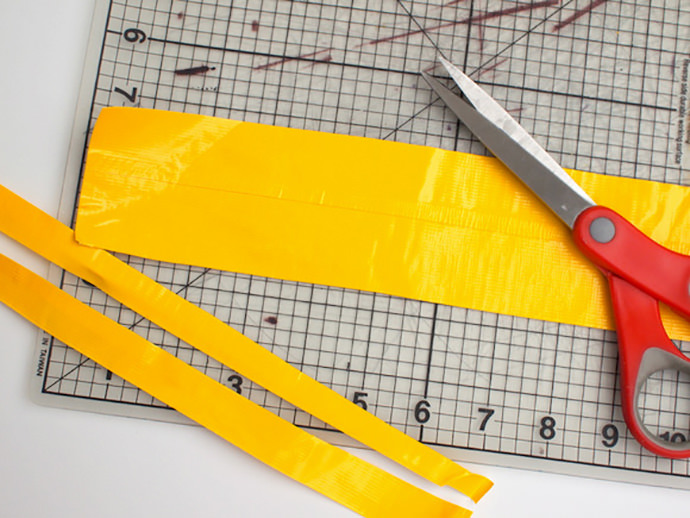
Pull off both sheets of duct tape and stick them to each other (sticky sides in). Use a scissor to trim your sheets to the width of your box. This is how you will make the rest of your strap.
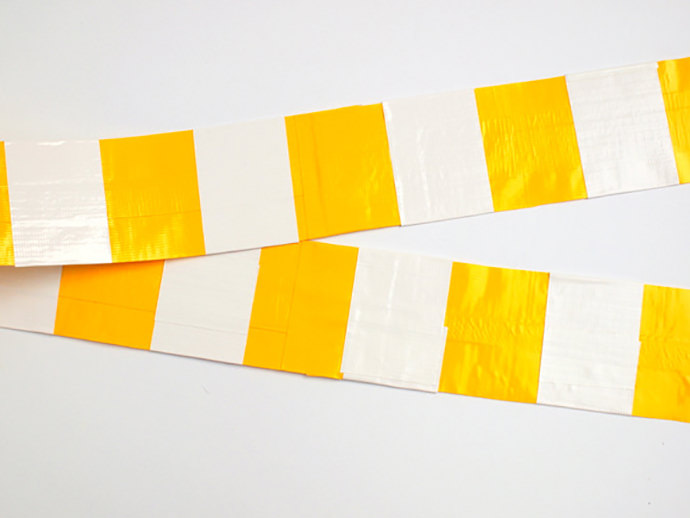
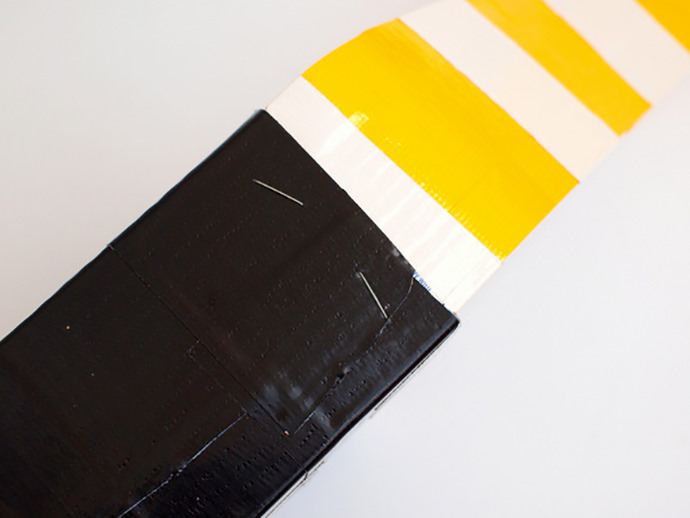
Repeat this process to create more duct tape strips, then tape them all together to create a long strap. To add on decorative stripes (mine were white), cut off a piece of duct tape that’s slightly longer than 2x the width of your strap. Wrap it around your strap. Repeat this process in even intervals to create stripes.
Step 5
Once your strap is long enough, staple it to the sides of your mail carrier bag. Use duct tape to hide the staples.

And you’re all set! With just a few everyday items, you have a great little bag to encourage your child’s imaginary play.
Happy making, friends!