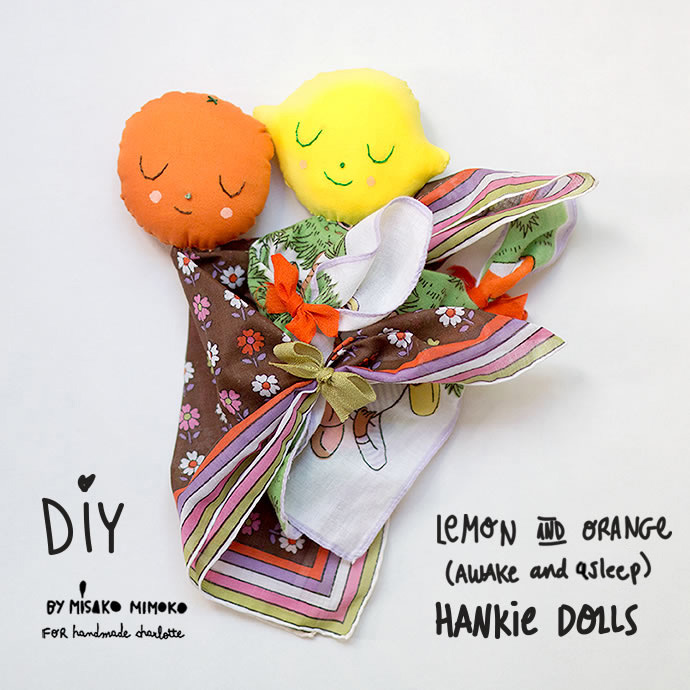
If you love vintage handkerchiefs and dolls as much I do, you will be smitten by this easy sewing project! Grab some fabric scraps and recycle an old fashioned handkerchiefs (they come in such amazing patterns!) for making a new and improved version of traditional church dolls – a sweet craft made during the American Revolutionary War to help keep children calm, quiet, and happy. Fun fact!
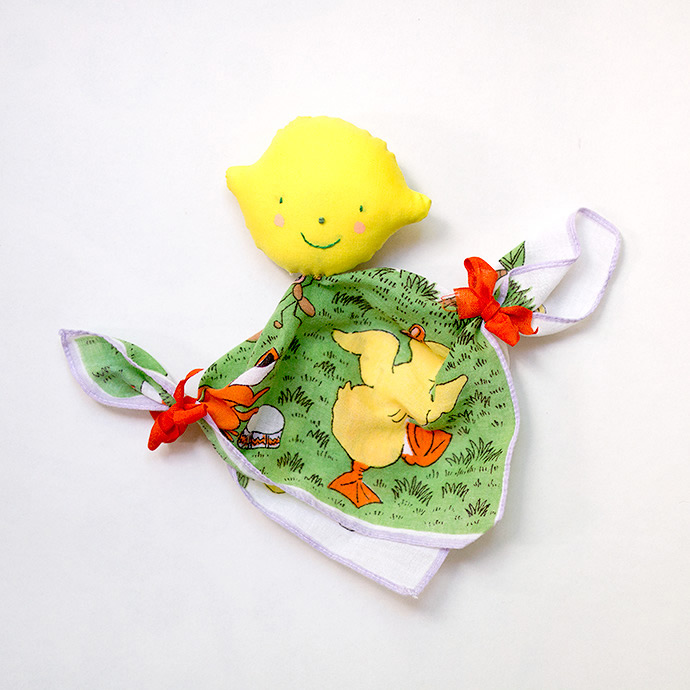
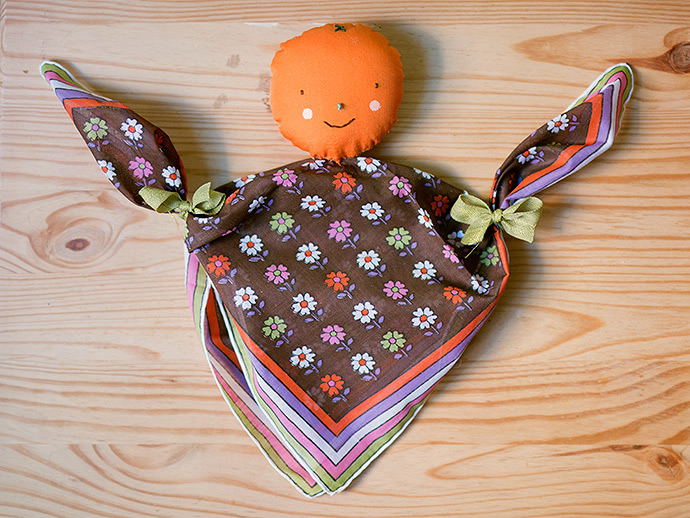
I thought it would be cute to give mine a summer spin, and what says summer quite like fresh fruit! I designed these lemon and orange characters, and then chose hankies and ribbons to match. I embroidered my dolls’ faces, but drawing them on with permanent markers would work just as well (and be a bit easier). Kids will love using them as puppets because, guess what – they are really TWO dolls in one! They both have sleepy and awake faces… surprise!
It’s a super quick, super simple craft, perfect for keeping kids entertained when stuck inside during one of those wonderful summer storms. Also, what a great baby shower gift, right?
Let’s get started!
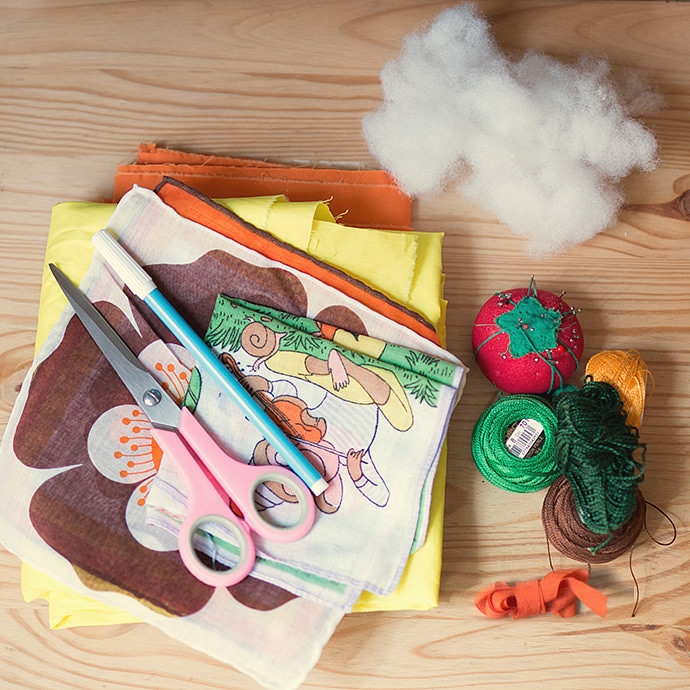
What You Need
- Printable template (download here)
- Handkerchief
- Fabric scraps
- Ribbon
- Stuffing
- Needle & pins
- Cotton embroidery thread
- Washable pen
- Paint and brush (optional)
- Scissors
How-To
Step 1
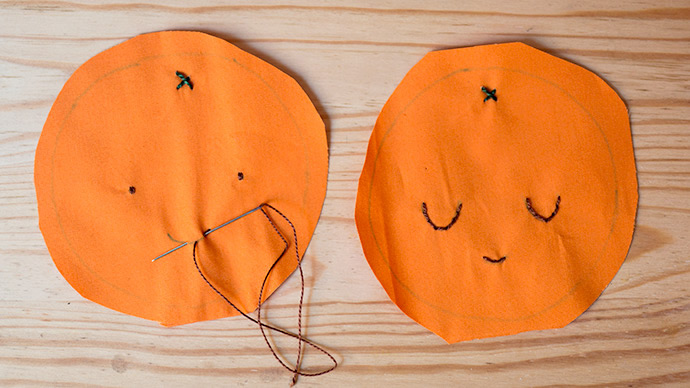
Download fruit templates here. Print and cut out. Then trace the templates onto fabric and cut out. Make sure to leave an extra 1/4-inch seam allowance when cutting. Now embroider faces with a thick cotton thread.
Step 2
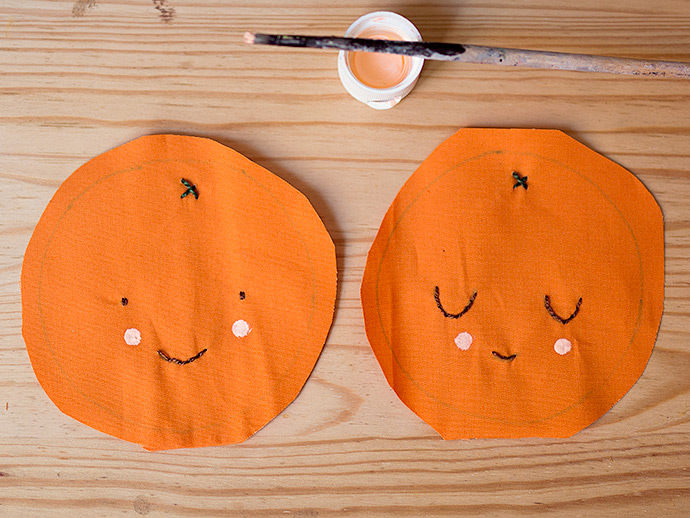
Use two tiny straight stitches to create the “awake eyes” and a french knot (or a tiny straight stitch) for the noses. Work back stitches to make the “asleep eyes” and little smiles. Use a big cross stitch to make a stem at the top of the orange head.
Now paint two rosy cheeks on each face :)
Step 3
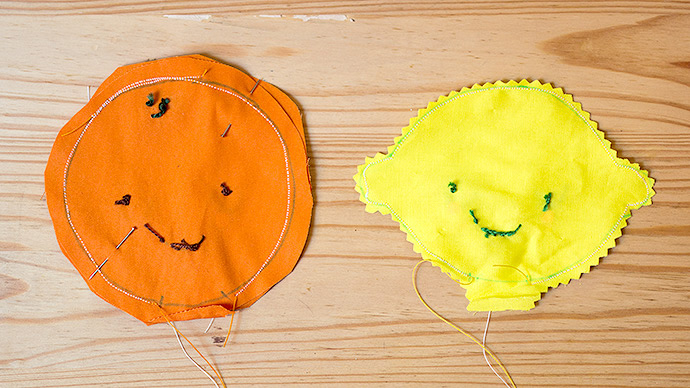
Using a running stitch, back stitch, or sewing machine, sew the front and backs of your fruit pieces together, with right sides facing into each other (you will soon turn them right-side-out). Leave a 1-inch (3.5cm) opening at the bottom so you’ll be able to stuff them.
Clip the curved seam allowances and cut off all excess fabric.
Step 4
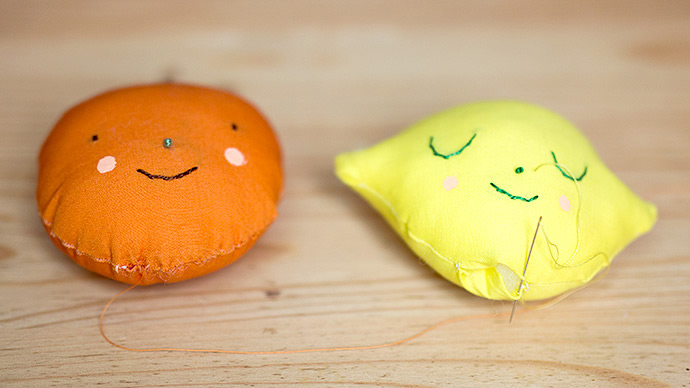
Turn your fruits right-side-out and fill it with stuffing. Then, stitch to close up the opening.
Step 5
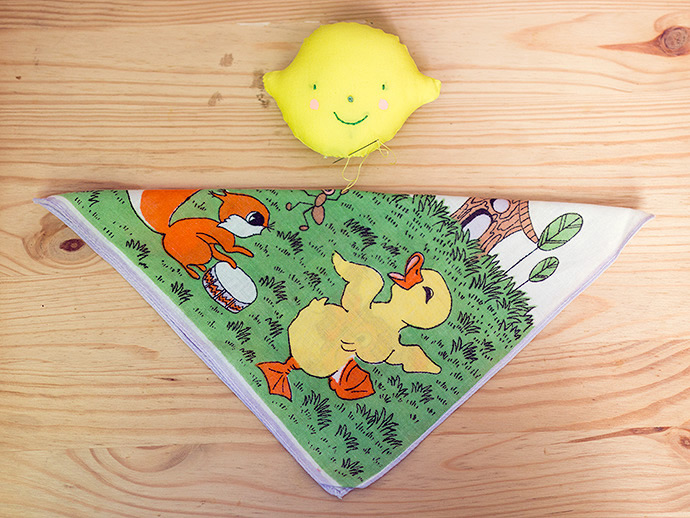
Now, iron your chosen handkerchief out flat so that there are no visible wrinkles. Fold the hankie once diagonally, so that it forms a triangle.
Now sew the bottom of your fruit head onto the center of the folded handkerchief (in the middle of the fold – not on a point!)
Step 6
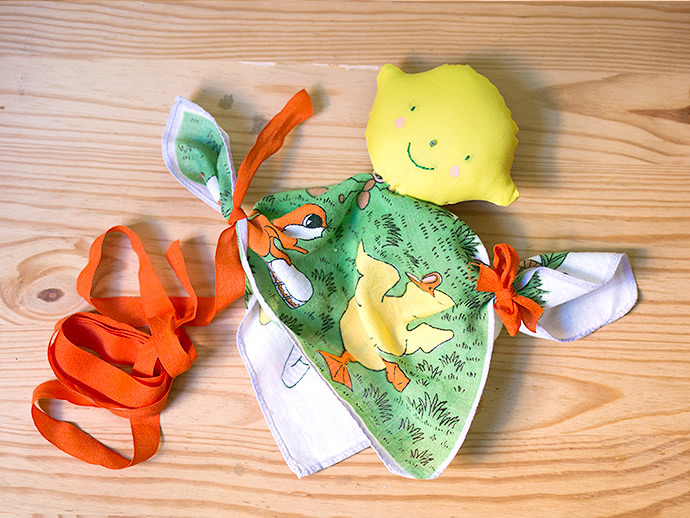
To make your arms, tie a piece of ribbon about 1.5 inches in from one of the two folded ends of the hankie. Repeat this at the opposite point, as well.
Look, two arms!
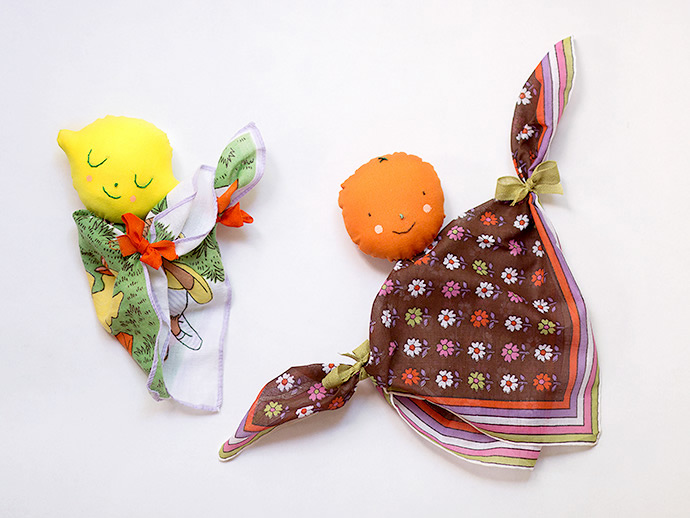
That’s it! You’ve got a precious pair of reversible lemon and orange hankie dolls :)