
It’s about that time of year: time to decorate the Christmas tree! Every year, we like to come up with a theme and decorate our tree according to that theme. We’ve already done an all-red tree, a white one, a “nonsense” one, and several others. But one thing remains consistent for all: the decorations are always handmade!
During October and November, we prep for the holiday season and craft all the decorations: garlands, ornaments, stars, etc. This year, we decided to have a COLORFUL Christmas tree! I used to shy away from putting too many colors on my tree during the holiday season, but this year, I changed my mind!
I have to say, Christmas is my favorite time of the year. I am still a kid at heart – all the magic around me is so exciting! We will not be with our family in France this year for Christmas, so I figured we will have to celebrate as we decorate our bright, colorful tree.
The kids and I did these simple and easy cardboard painted ornaments. You should not need to buy any supplies – just take some scrap cardboard, draw a few ornament shapes on it, cut and paint. Add a string and voila! It’s as simple as 1-2-3. My kids have spent a few afternoons having some serious fun with this craft!
What You Need
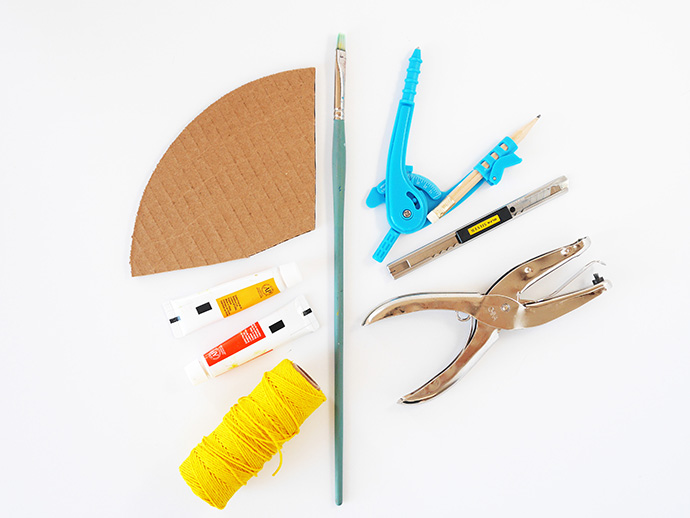
- Scrap cardboard
- Paint & paintbrushes
- Compass
- Scissors or craft knife
- Hole punch
- Twine
How To
Step 1
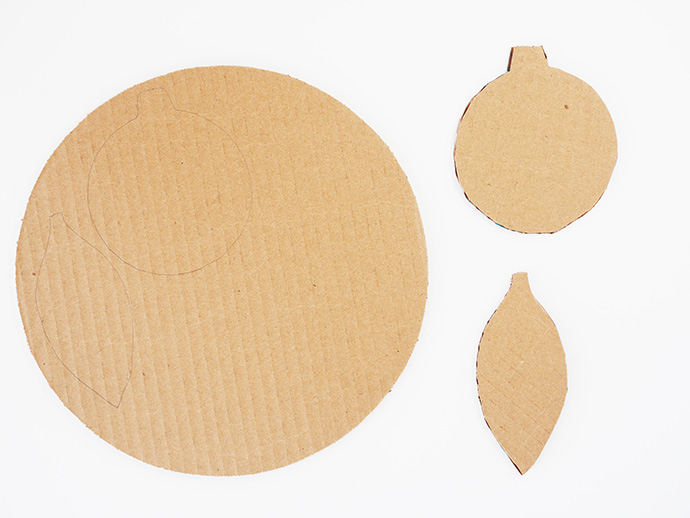
Have all your supplies ready to work with. Draw some ornaments shapes on your cardboard. Use your compass to assist you making perfect shapes, or you can freehand them! Cut each of them out using a craft knife or a pair of scissors.
Step 2
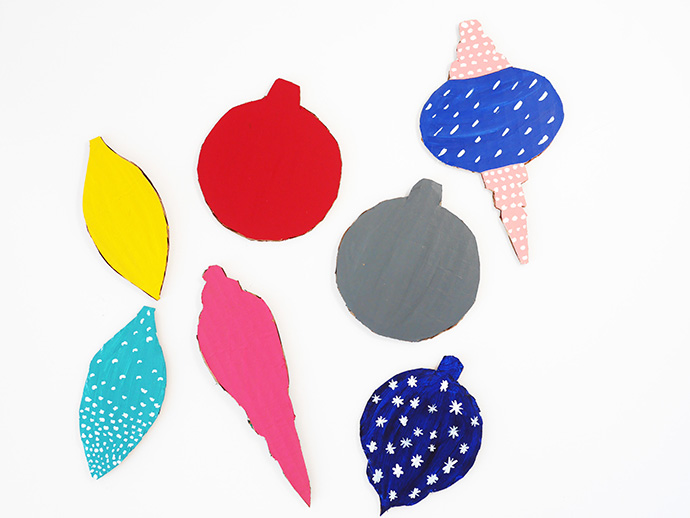
Now you can begin to paint! Apply your base coat, and then let dry. Then you can layer a second color on top, or simply add your decorative elements: pom-poms, beads, or painted stars. Make each one unique!
Step 3
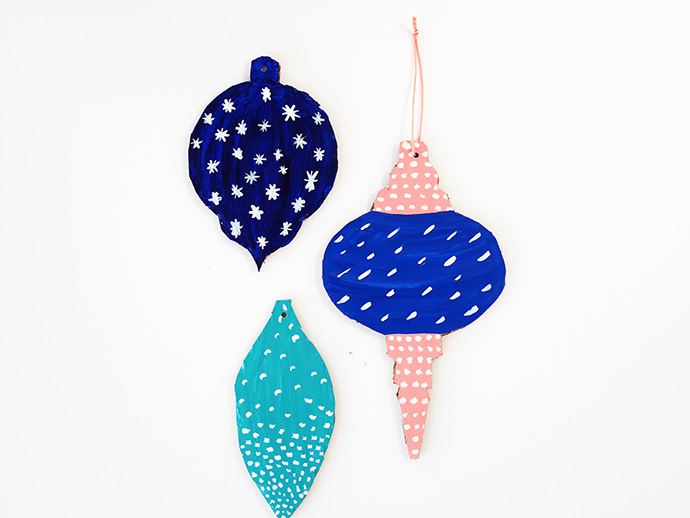
When you are finished painting, and your ornament has dried, make a hole with the help of your punch. Pass your twine through and make a knot.
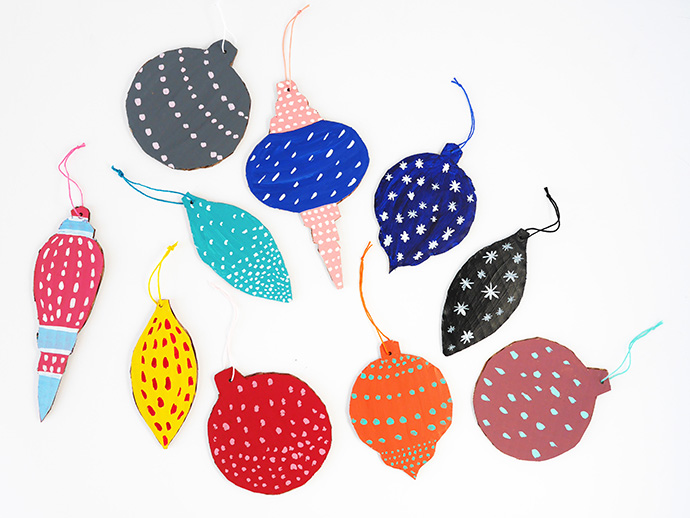
You are done! Make as many ornaments as you want.
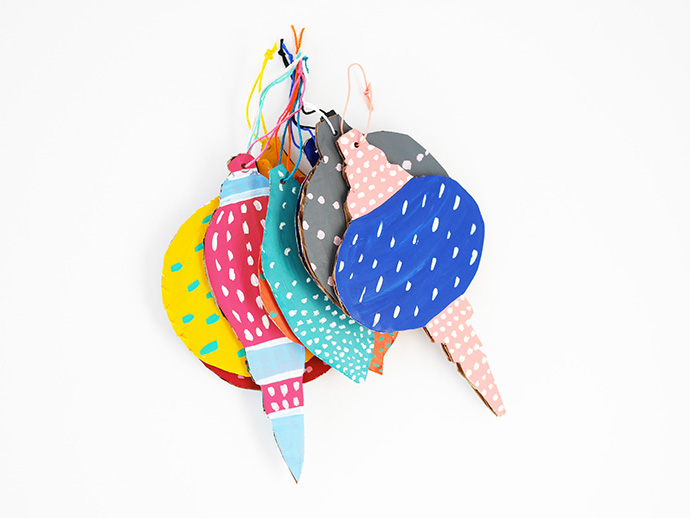
Now you can decorate your Christmas tree.