No matter the occasion, a piñata is always a fantastic idea in my opinion! If I hear the words “birthday party” my mind immediately goes to piñatas. For my birthday this summer, I decided to host an ocean themed party so of course, I had to make a seahorse piñata! I love all animals, especially sea creatures – recently I went scuba diving for the first time, and it was amazing! Since then, I’ve loved seahorses even more.

For this DIY seahorse piñata, I kept it simple and quick. No crepe or tissue paper is needed – just paint! I had my kids help out for this step, and it was a lot of fun to work on it together. I love the final result so much that part of me doesn’t want to smash it at the party after all!

What You Need

- Large cardboard box
- Craft knife
- Scissors
- Tape (white)
- Paint & paintbrush
- Construction paper (color & white)
- Pencil
- Glue
- String
- Candies and treats for inside
How-To

Step 1
Draw a seahorse silhouette onto your cardboard and use the craft knife to cut it out.

Step 2
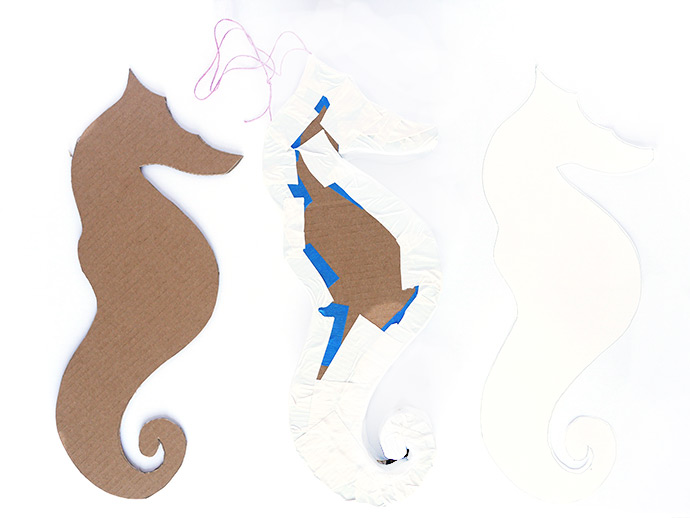
Use the first seahorse to trace two more onto cardboard, and cut these out as well. You should now have three identical seahorses.

Step 3
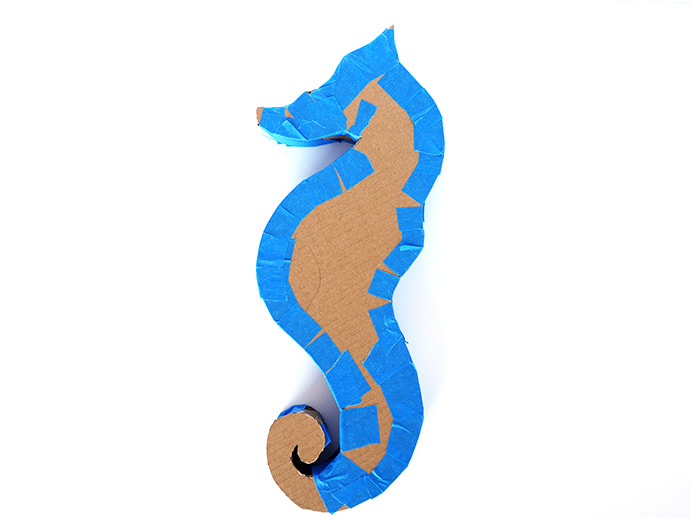
Cut the cardboard into long strips that are about 2” wide. Start to tape the strip onto the edge of the seahorse, curving the strip and taping as you go, as shown in the photo. When you’ve taped the strip around the whole thing, put the treats inside.

Step 4
To close the piñata, put the second cardboard seahorse on top and tape it in place.

Step 5
Use white tape to cover the sides of the piñata and trace the remaining cardboard seahorse onto a piece of white construction paper. Cut it out and glue the white seahorse onto the back of the piñata.

Step 6
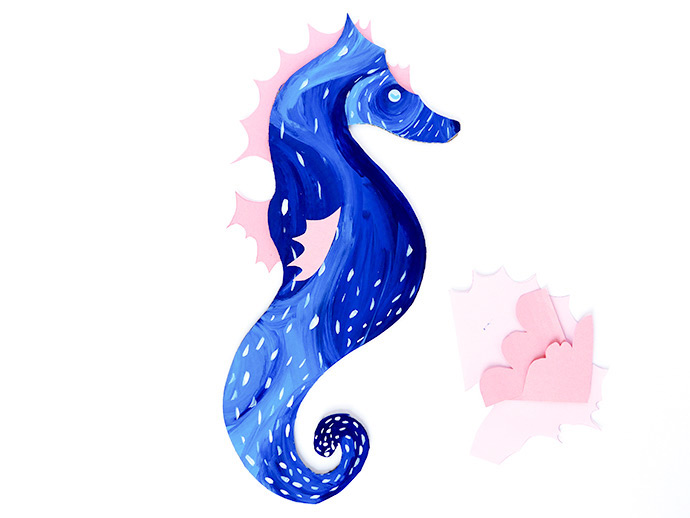
Now the fun part: decorating the seahorse! Paint the last cardboard seahorse in fun colors and patterns. Use colored construction paper to make the spikey fin details and glue them down. Let the paint and glue dry completely.

Step 7
Glue your painted seahorse onto the front of your piñata. Use white tape to add a string on the top for hanging and voila!


Happy crafting!