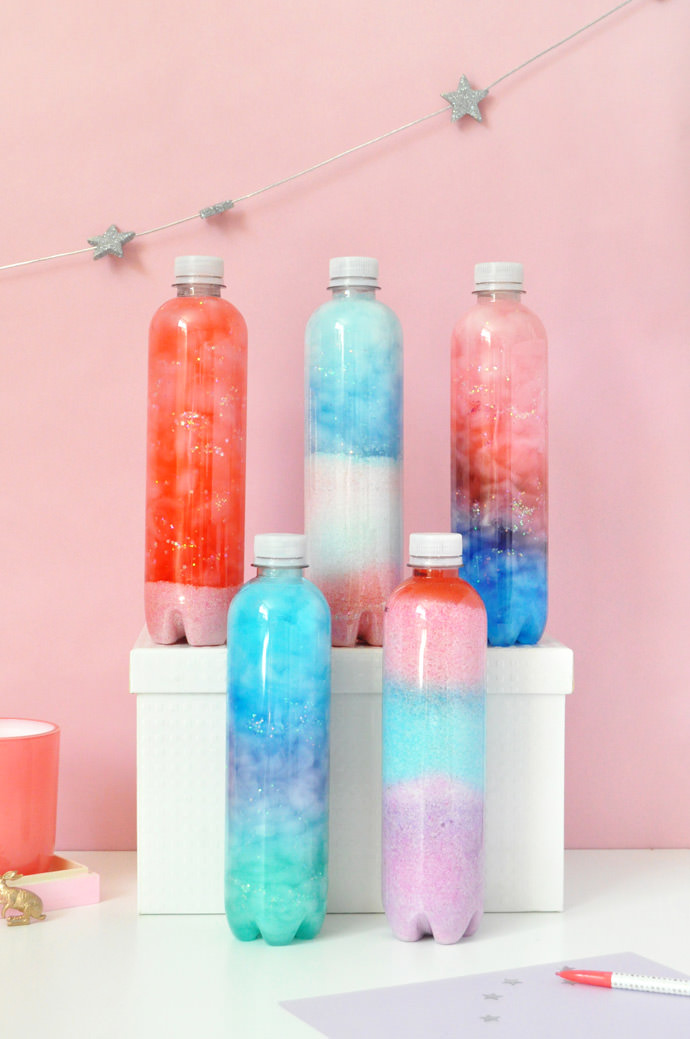
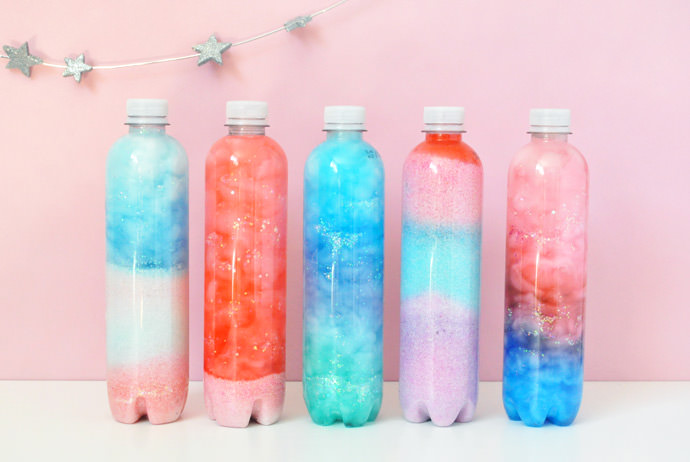
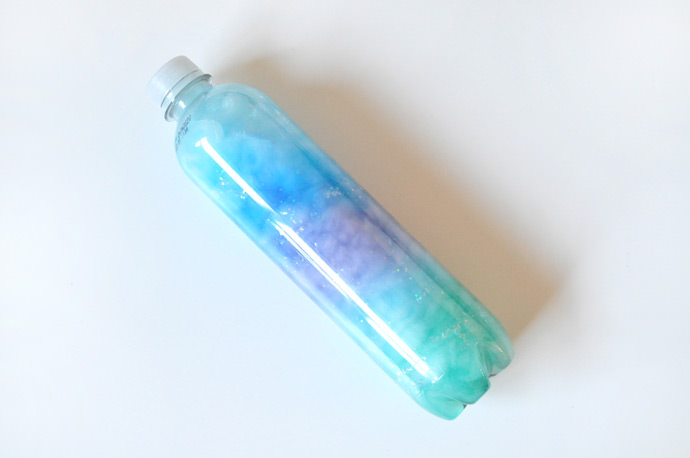
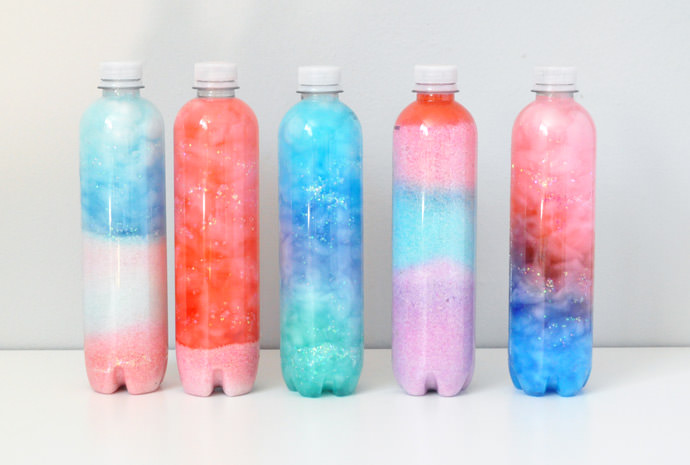
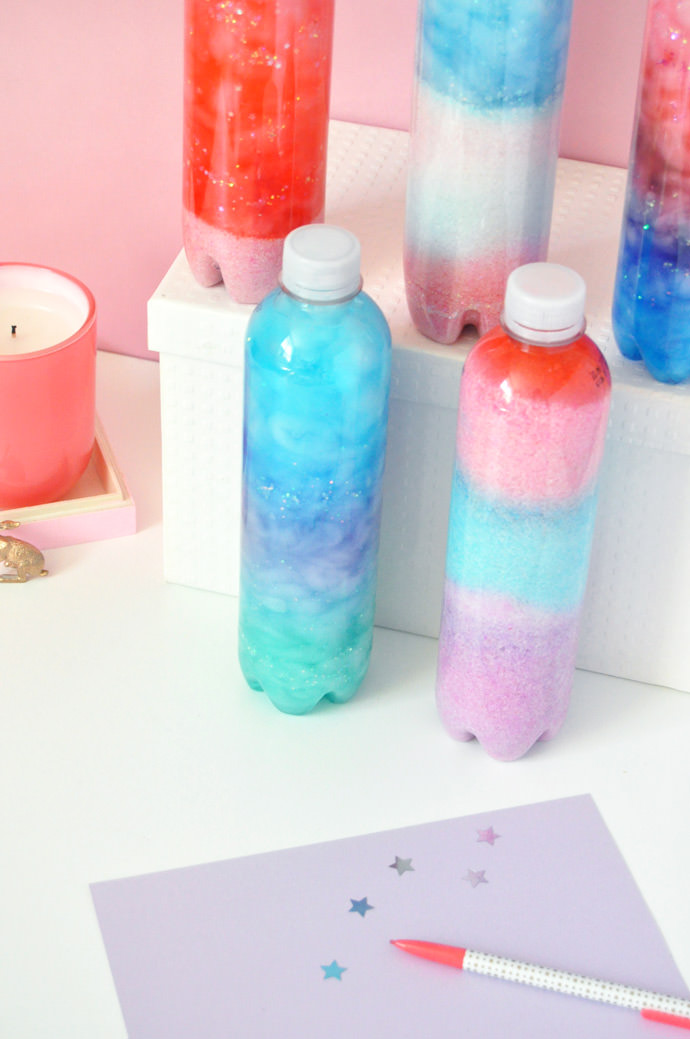
When I saw this amazing photo of bottle art on Pinterest, I fell in love! It looks like retro bottled sand art combined with those DIY nebula jars. I couldn’t find a source for the image, so for today’s project I played around with a few materials to try to recreate it
I mostly used cotton balls, sand, food coloring, and water in the empty plastic bottles. It’s so much fun to experiment with materials and colors! The finished bottles look great as art for kids bedrooms, and I bet they’d look awesome on the windowsill with light shining through!
What You Need
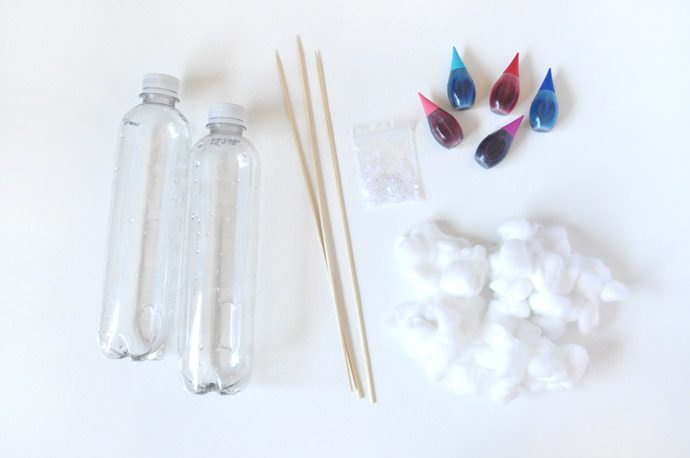
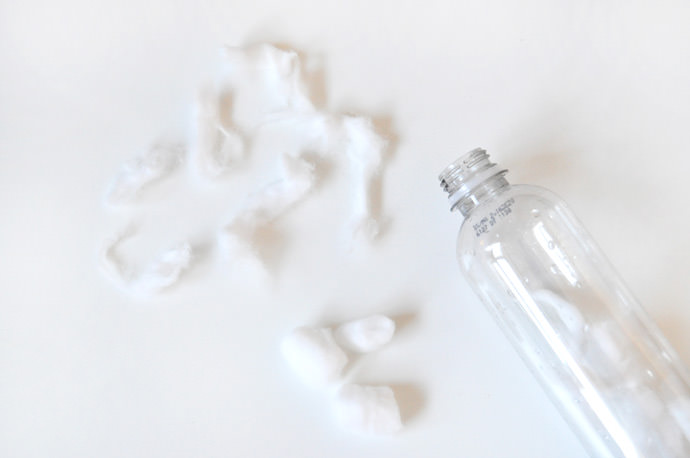
- Empty plastic bottles
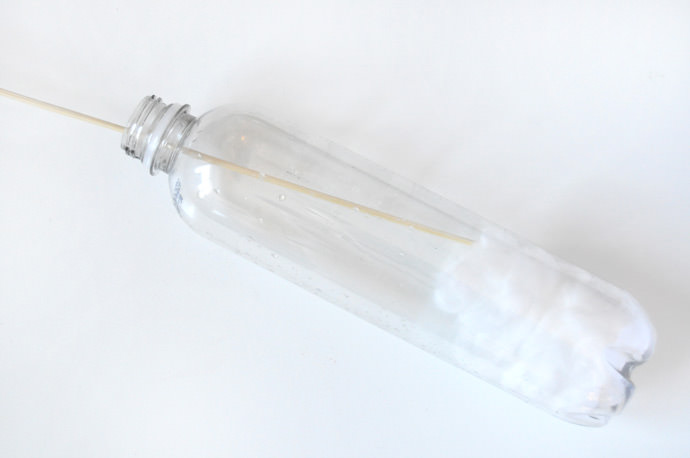
- Long wooden skewers
- Glitter
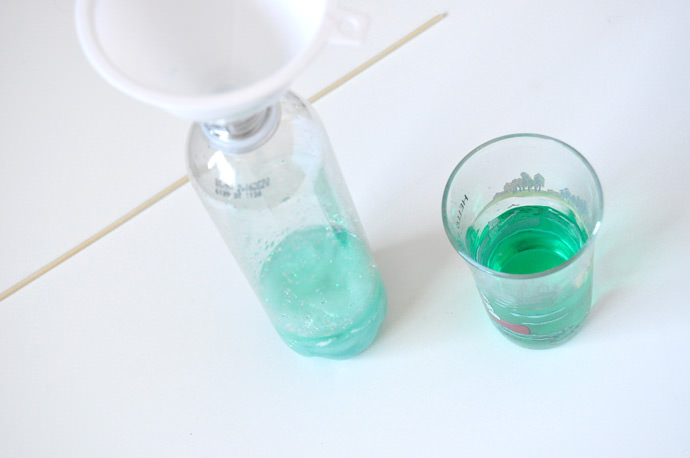
- Food coloring
- Cotton balls and sand
How-To
Step 1
Gently tear apart the cotton balls into wispy strips.
Step 2
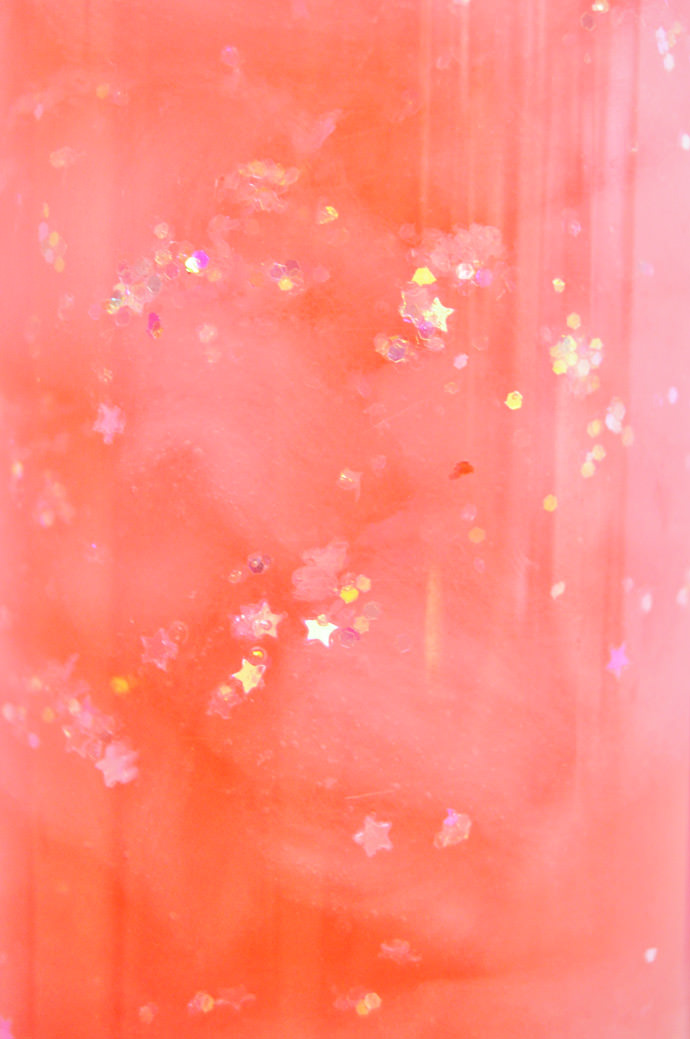
Put them into the bottle and use the wooden skewer to push them to the bottom, not compressing them together too tightly. Sprinkle glitter in with the cotton if you like.
Step 3
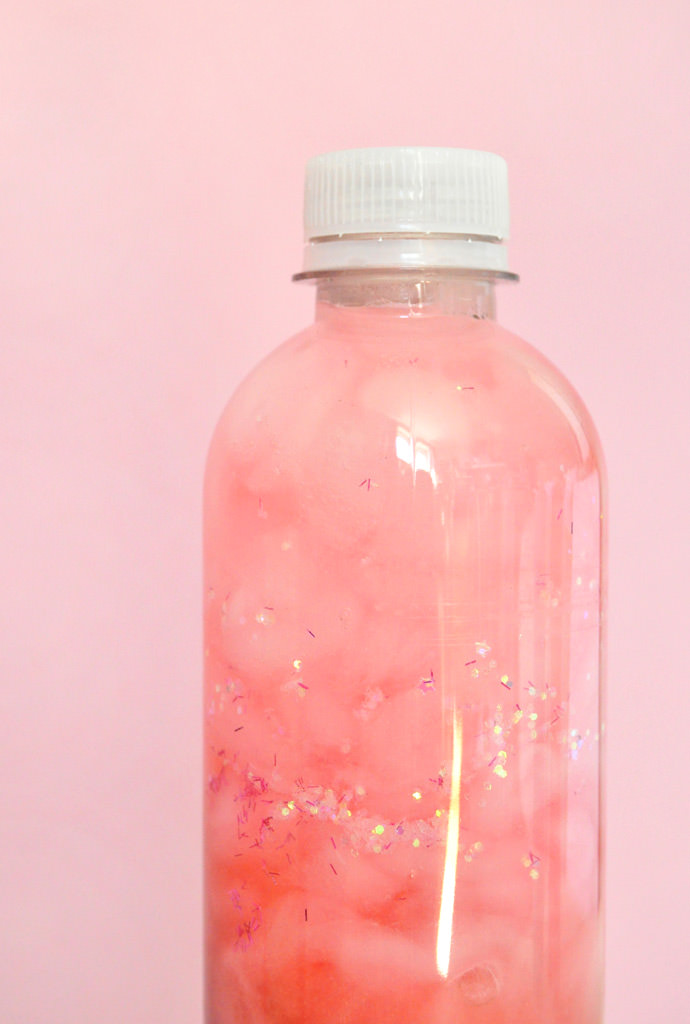
In a cup, mix food coloring with water and pour into the bottle until the cotton is covered.
Step 4
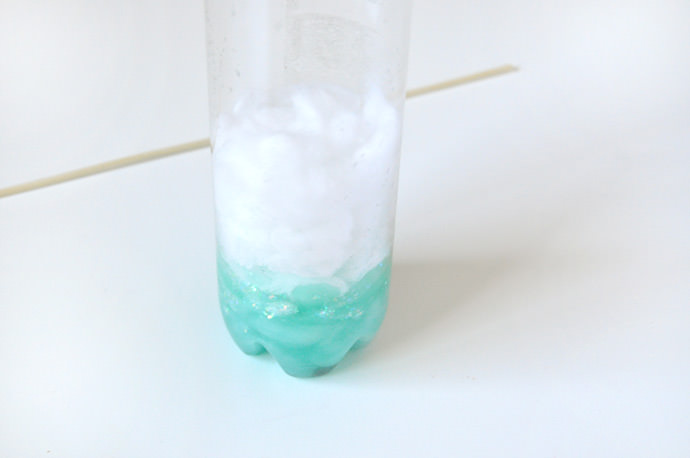
Add more cotton on top of the layer you just made. Add more colored water on top, in a different color, adding glitter, and experimenting with how much water and coloring you use. There’s no right or wrong way to do this!
Step 5
When the bottle is full, put the lid on securely and you’re done!
Step 6
Repeat with other bottles – to use the sand, I poured sand into the bottle and then pour colored water on top until the sand was covered. Have fun experimenting with materials and methods!

Happy folding! :)