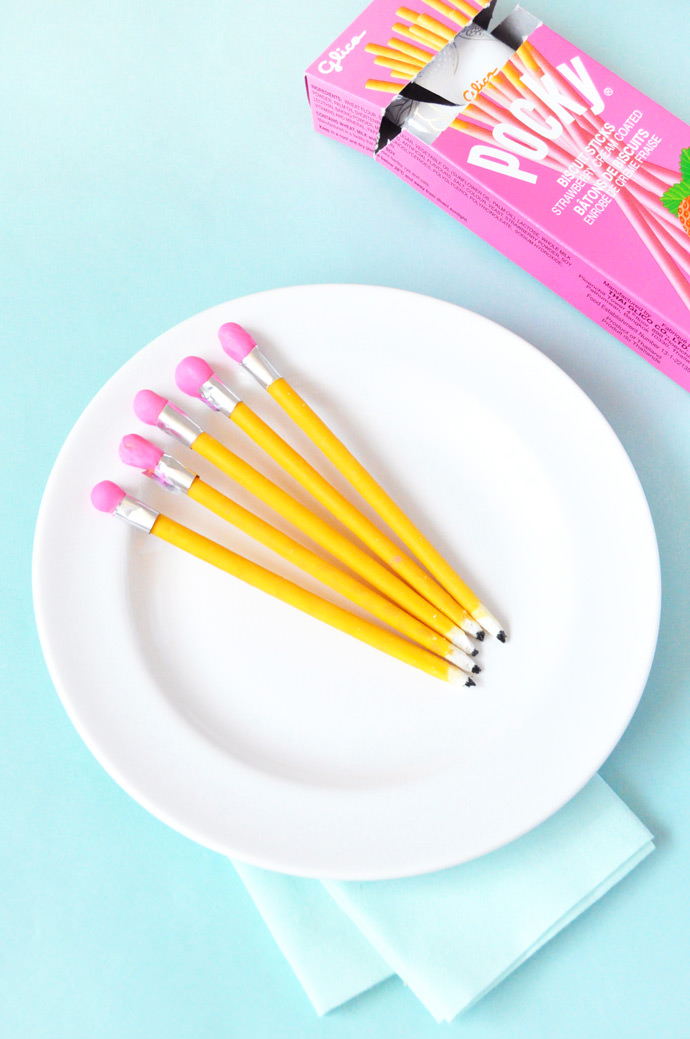
It’s getting close to back to school season! As much as I love summer, I’m looking forward to some cooler fall weather. And of course there’s back-to-school shopping – buying brand new pencils and starting a fresh notebook is just so satisfying.
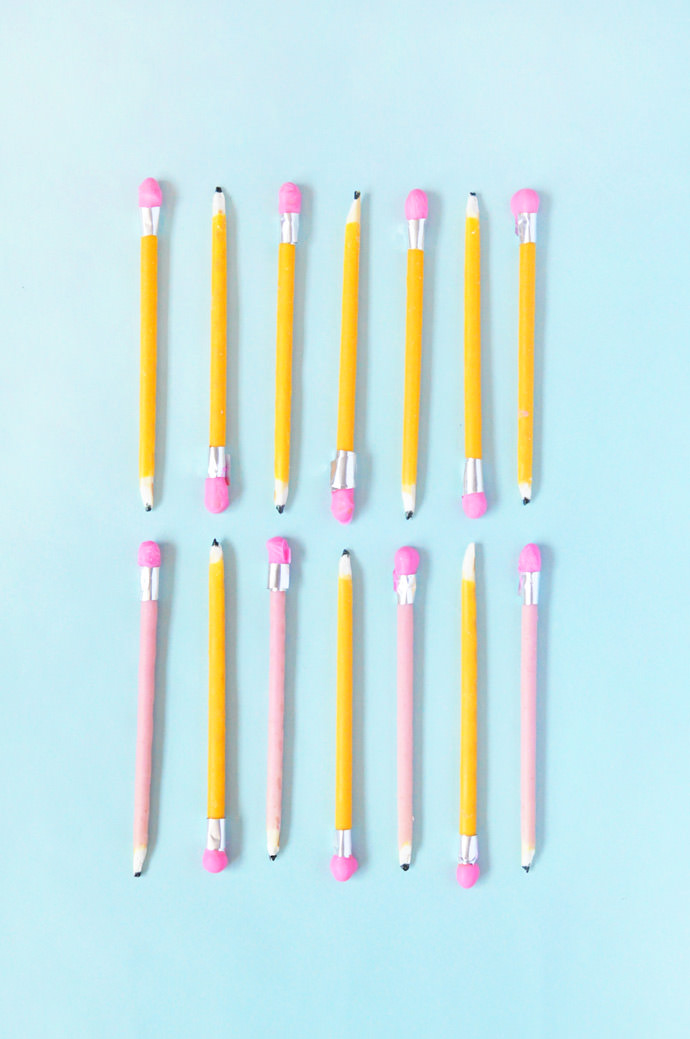
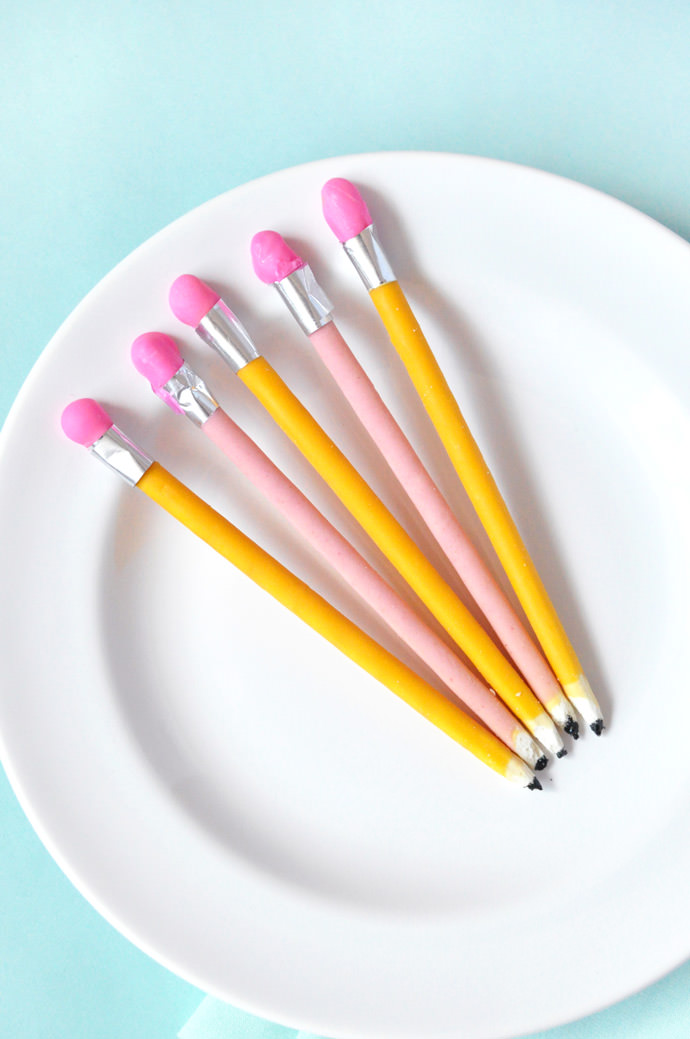
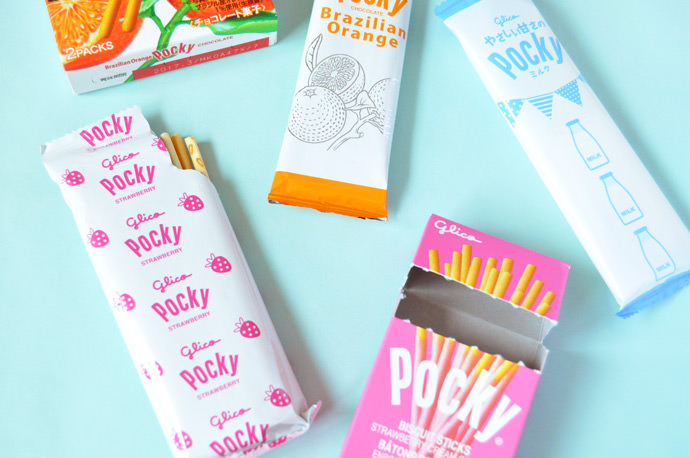
Whether you’re excited for back-to-school or wishing summer would last a little bit longer, these DIY Pocky pencils are sure to put a smile on anyone’s face. I was thrilled to find orange flavored Pocky at an Asian supermarket near me that are the perfect color for pencils. Don’t worry if you can’t find the orange ones though – pink Pocky look cute as pencils too!!
What You Need
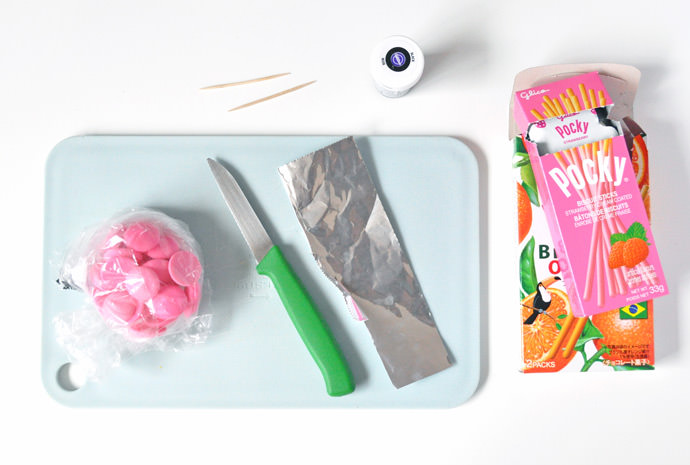
- Cutting board
- Knife
- Pink candy melts
- Tin foil
- Toothpicks
- Black food coloring
- Pocky
How-To
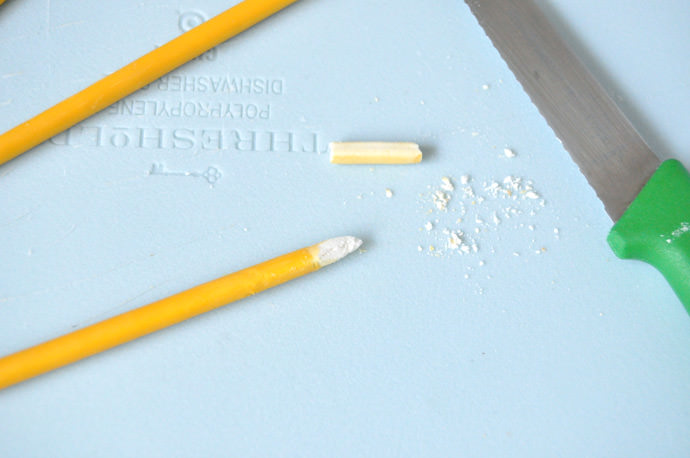
Step 1
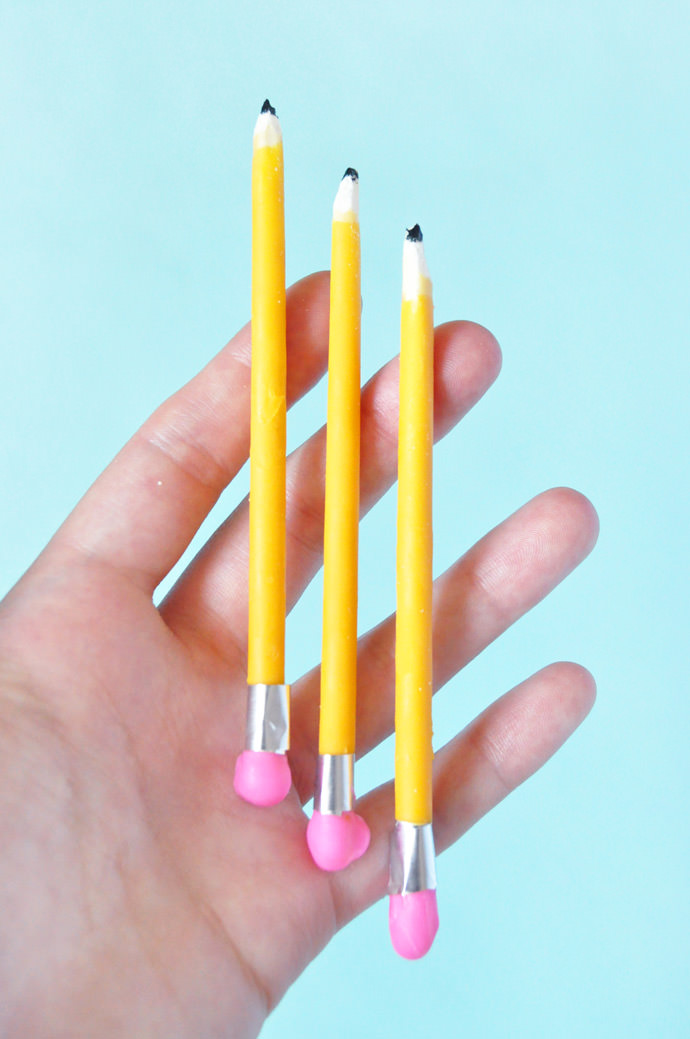
On the non-dipped end of the Pocky, carefully use the knife to shave down the stick to look like a sharpened pencil.
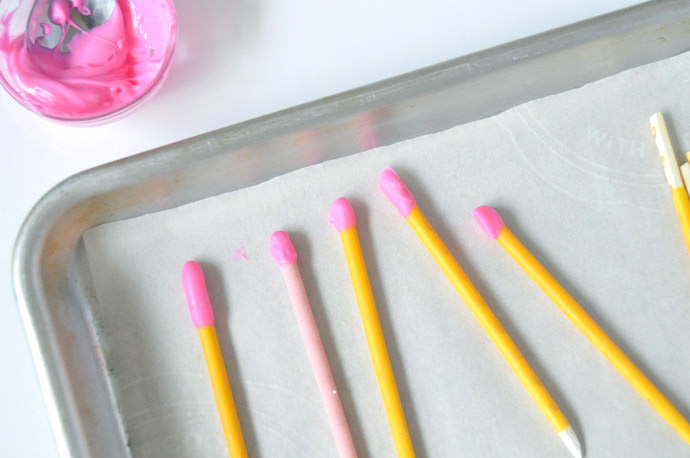
Step 2
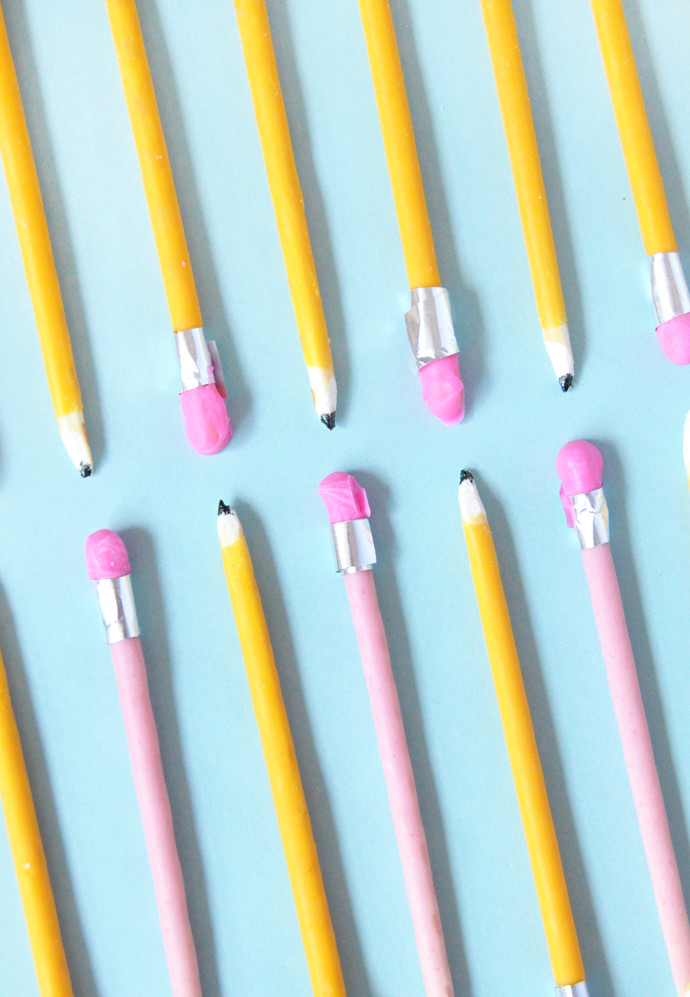
Melt a few pink candy melts in a bowl and dip the ends in to look like erasers. Put in the fridge to harden.
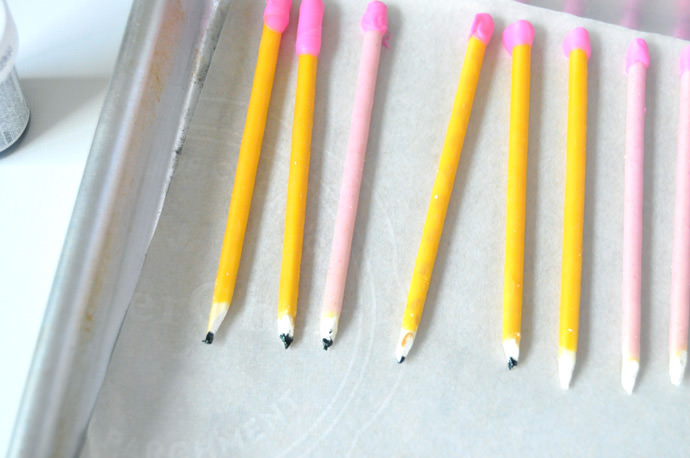
Step 3
Use a toothpick to dab black food coloring onto the Pocky to imitate pencil lead.

Step 4
Cut small strips of tin foil and wrap around the pencil where the pink eraser begins. Use a tiny dab of melted pink chocolate to secure the foil if it doesn’t stay on its own.
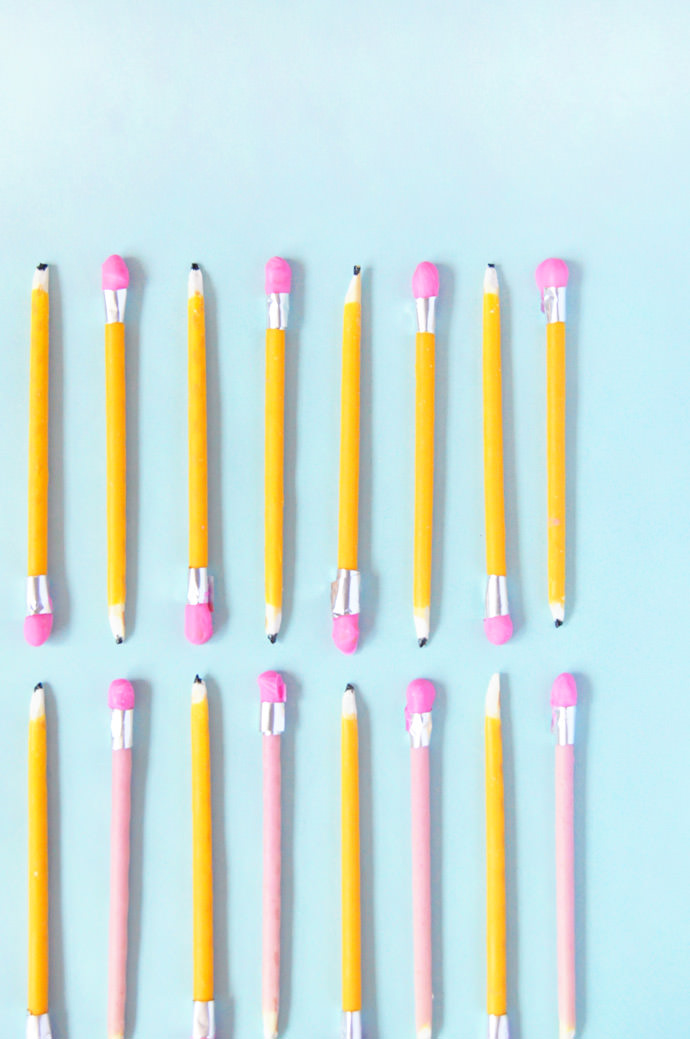
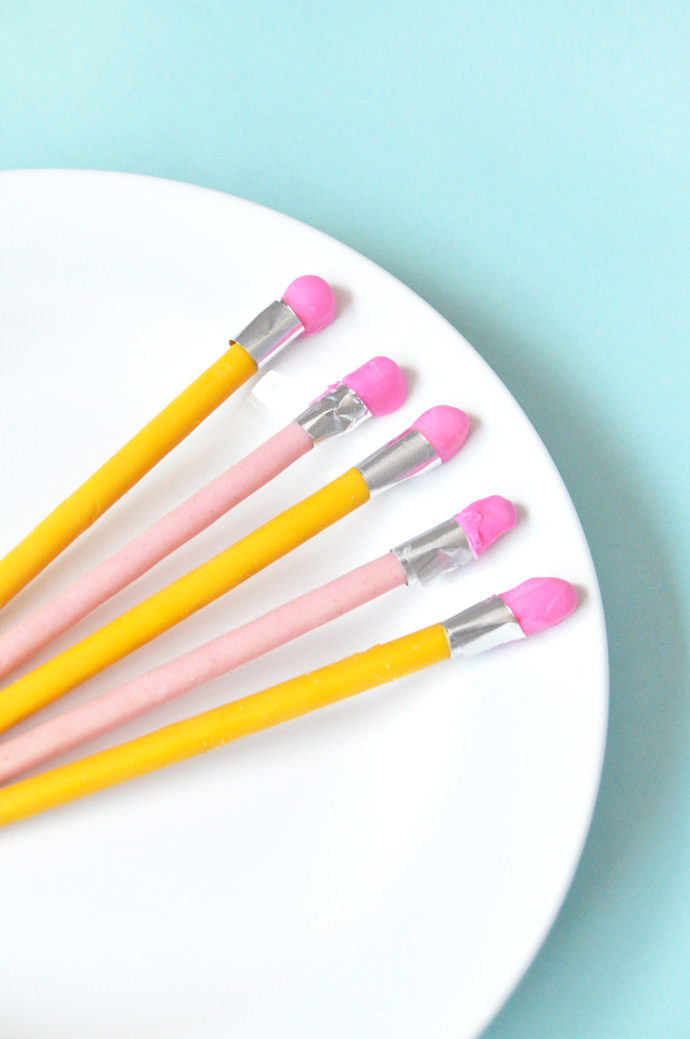
Enjoy! :)