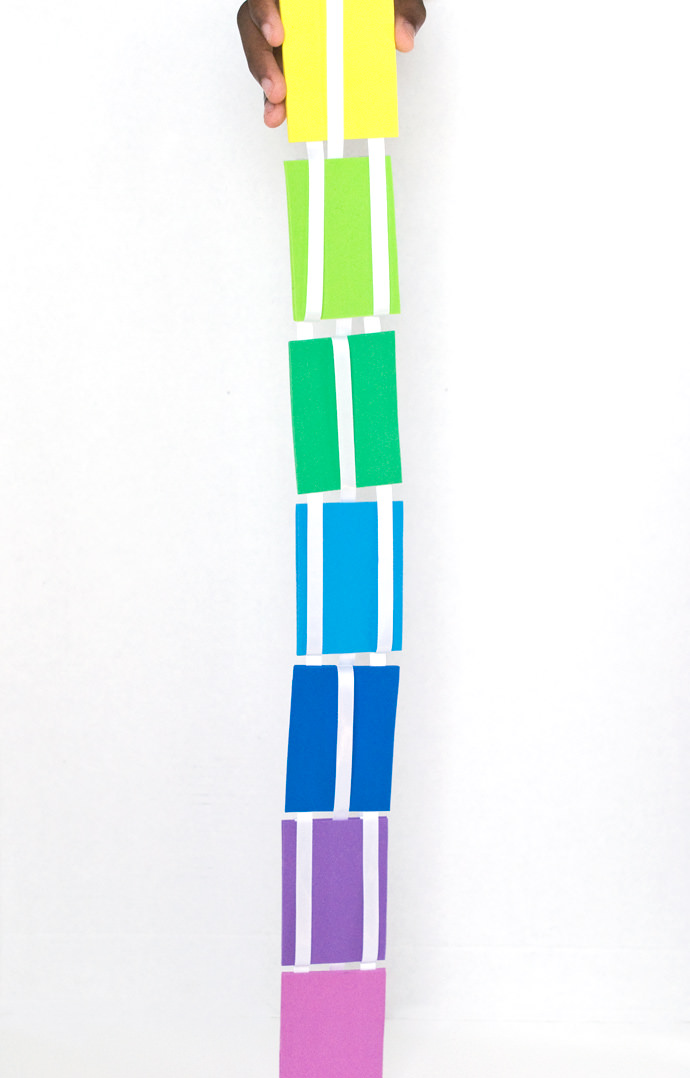
Jacob’s ladder toys have been around for at least a few hundred years. Some even believe that King Tut had one of these! They flip and flop and sometimes astound. And with this tutorial you can make your own from craft foam!
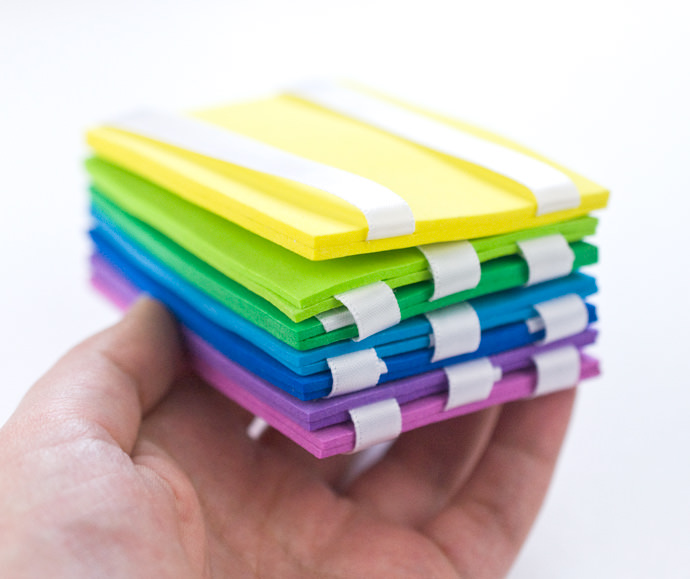
Some kids will look at this and just think it looks cool and that’s okay. But it’s fun to get them thinking about how this works. If you have a child with the mind of an engineer, they’ll probably be thinking about this on their own. They might even be a little baffled!
Even as an adult, I know that I never really understood how these toys worked until I learned how to make one. You may just learn something along with your kids!
What You Need
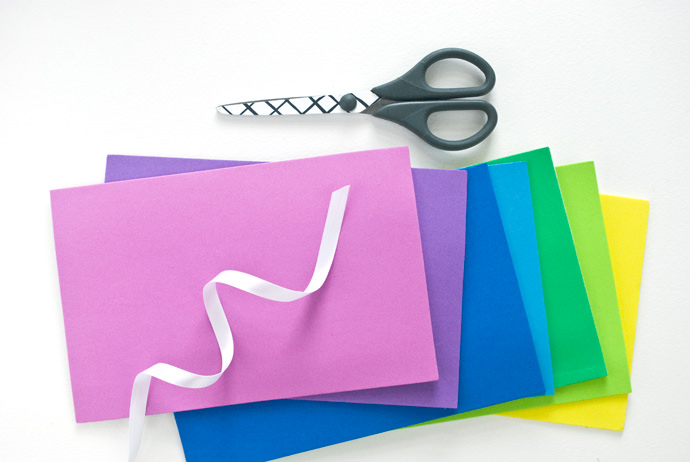
- Peel & stick craft foam
- Satin ribbon (1/4in or 3/8in wide) – 4-1/2 yards
- Ruler
- Pencil
- Scissors
Note: you can also use regular craft foam and craft glue
How-To
Step 1
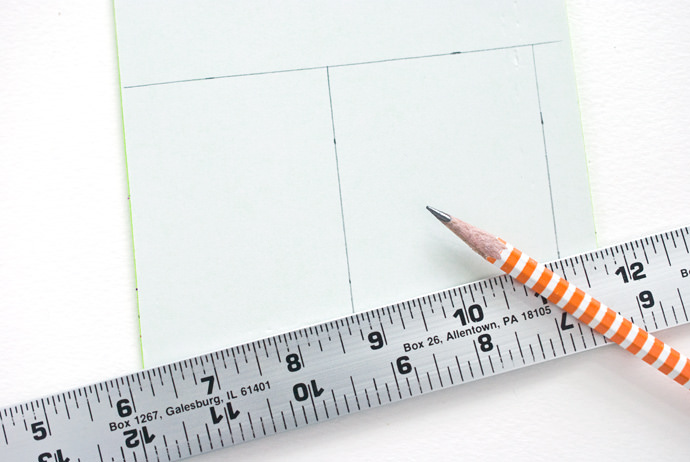
Measure and mark 2-1/2in x 3-1/2in rectangles on the back of the craft foam sheets. You will need a total of 14 pieces. Cut out the pieces.
If you are making each section of the Jacob’s ladder a different color, cut two pieces each of seven colors.
Step 2
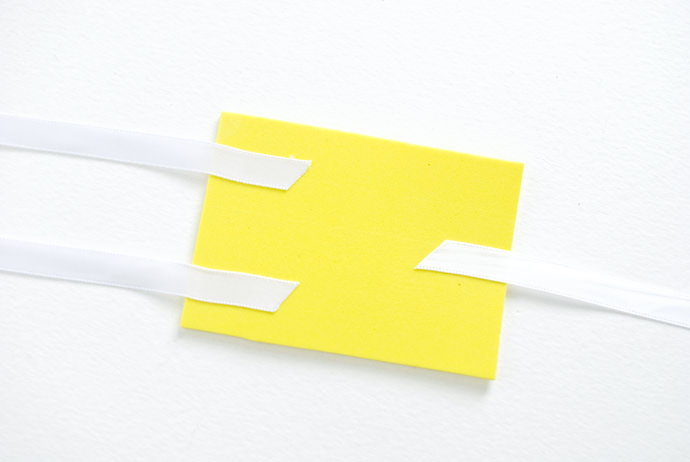
Cut three pieces of ribbon, each 1-1/2 yards long. Peel off the paper backing from the first piece of craft foam and stick the ends of the ribbon down as shown. Center the end one piece coming off one side and place the other two pieces about 1/4in from the edges.
Peel the backing off of the matching piece of craft foam and attach it on top of the first, matching up the edges.
Some self-adhesive craft foam can be very sticky and once you stick it to another piece, it won’t come apart without ruining the foam. Keep this in mind as you are working and be prepared to cut more rectangles if needed.
Step 3
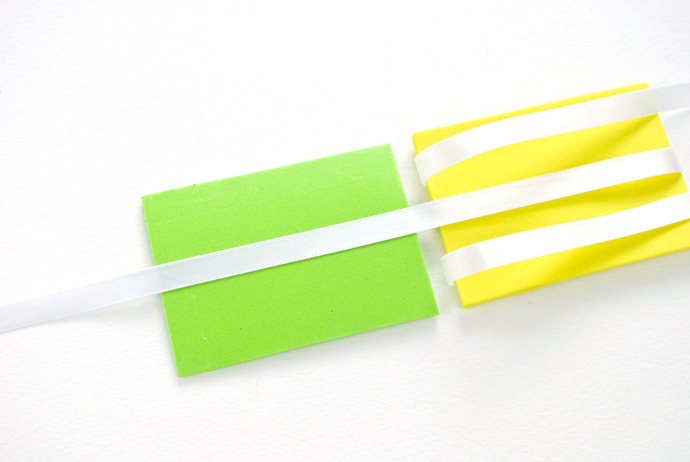
Fold the two pieces of ribbon back over the previous section and fold the center ribbon down across the piece.
Peel the paper off the next foam piece and place it no more than 1/4in from the first. Stick the center ribbon down so it is as straight as possible.
Step 4
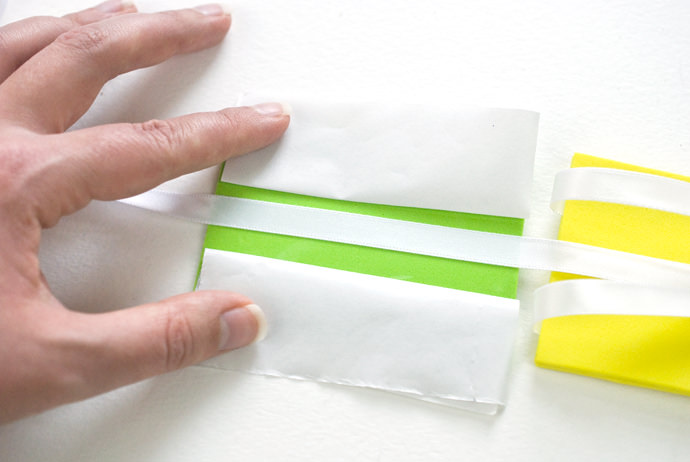
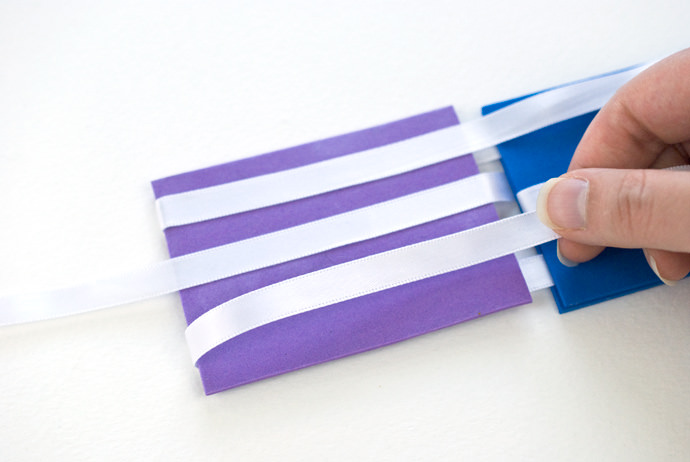
Fold two of the paper backing pieces in half with the non-stick, shiny sides facing out. Place them on each side of the sticky rectangle.
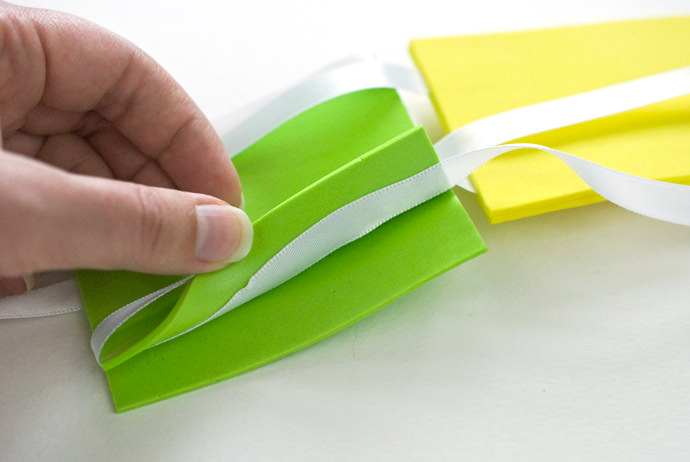
Peel and stick the second piece of foam on top so it is sticking in the middle, but not at the edges. Fold back the two pieces of ribbon so they lay across this second section. Then working one side at a time, wrap the ribbon around so it it between the layers. Try to keep the ribbon as even as possible. Press the layers together.
Alternate Steps 3-4
Fold the two pieces of ribbon back over the previous section and fold the center ribbon down across the piece.
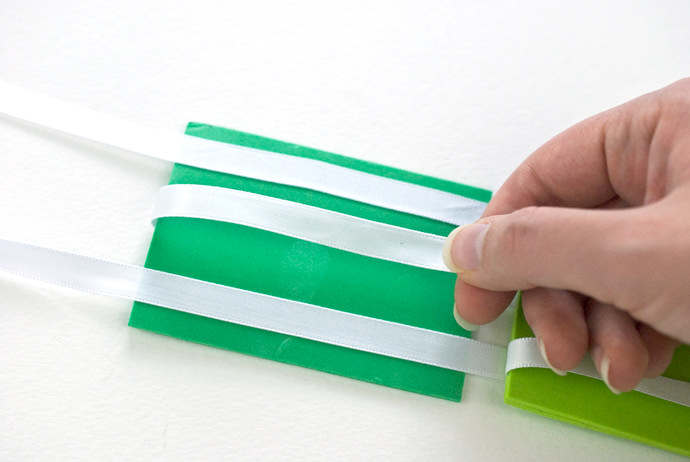
Flip the Jacob’s ladder over and move the center piece out of the way. The outside ribbons should be laying flat. Remove the paper backing from the next piece of craft foam and place it on the outside ribbons.
Bring the center ribbon down and bring the outside ribbons up and around from the back, pressing them onto the adhesive. Add the second piece of foam and flip the Jacob’s ladder over again.
Step 5
Wrap the two outside ribbons behind the second section.
Peel the backing off the next piece of foam and lay it sticky side up on top of the middle ribbon. Press the outside ribbons in place and attach the top piece of foam.
The position of the ribbons is now like they were at the end of step 2. Repeat steps 3-5 two times.
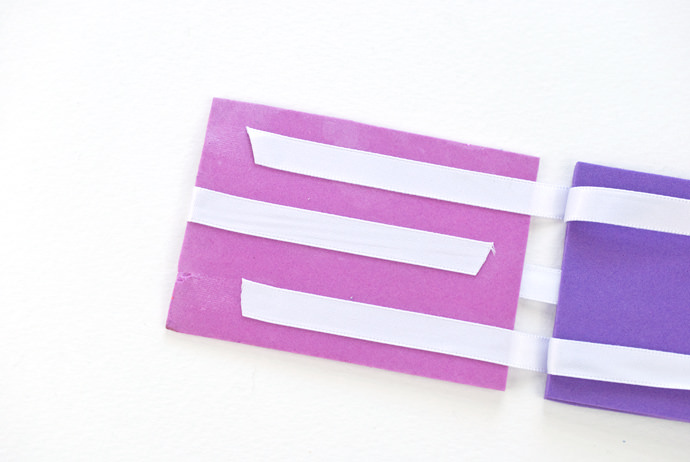
On the last piece (the last step 5), trim the ends so they are enclosed between the layers of craft foam.
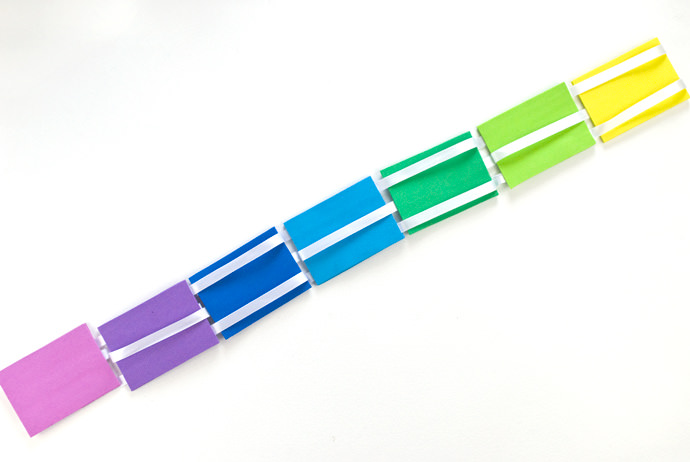
When completed, the toy should look like this on the one side.
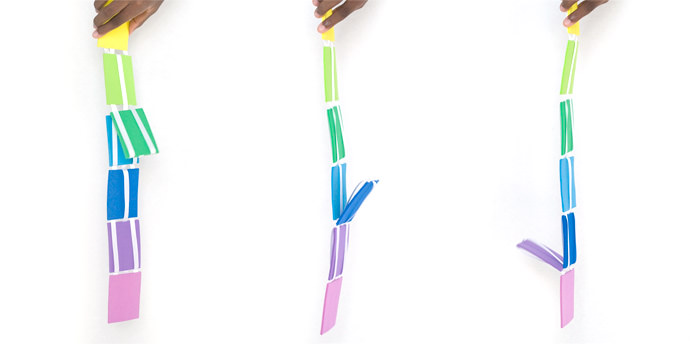
To use it, hold the first section by the sides. Tip it down toward the second section and the pieces should start flipping their way to the bottom.
Flip the first section back up the original position and it will do its flipping and flopping again.
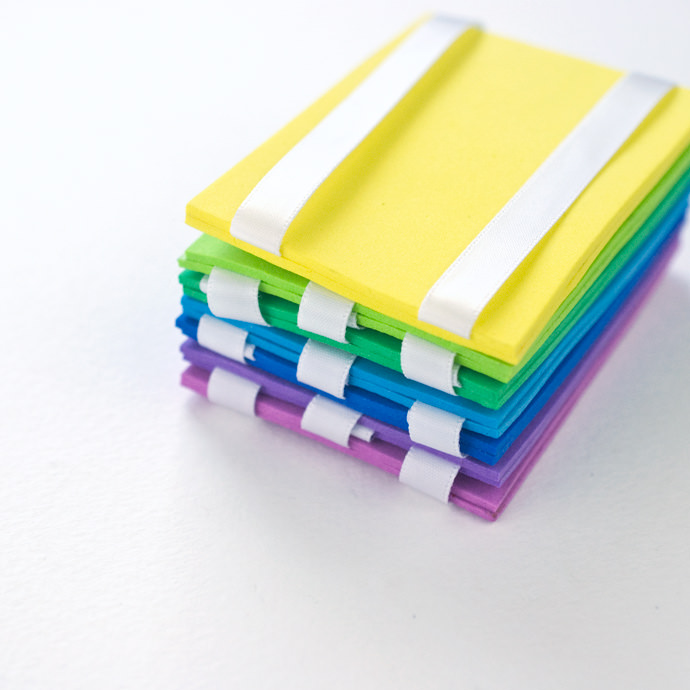
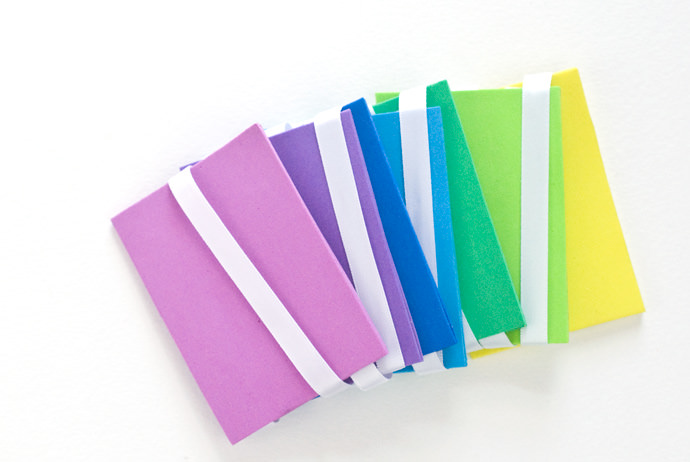
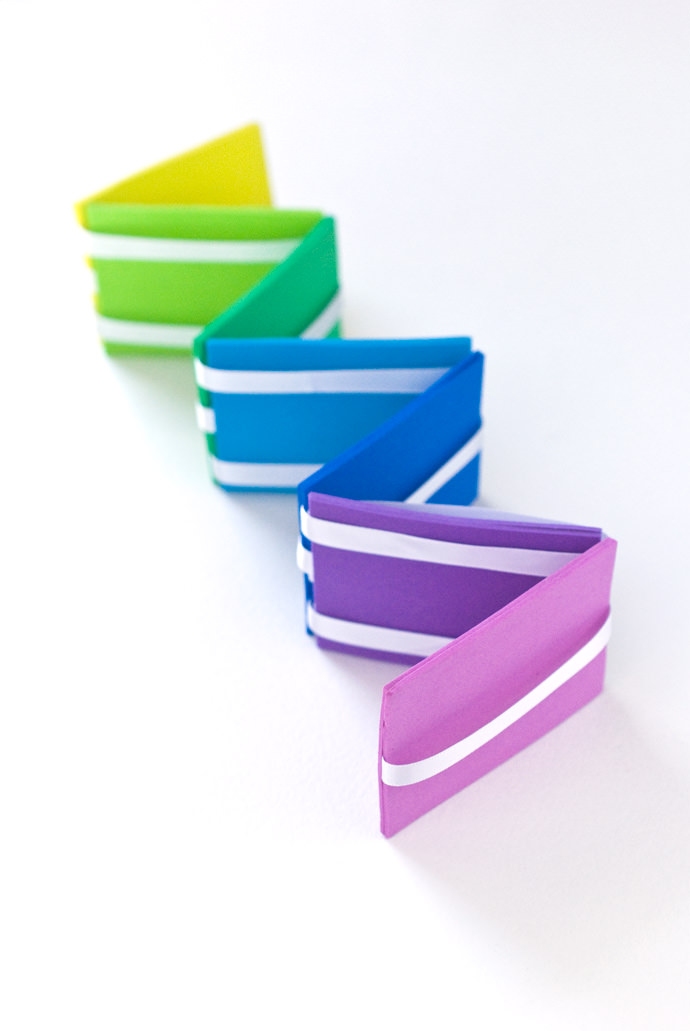
This is a project that’s best for older children or for adults to make with or for kids. It might even take two tries to get it all fitting and working right.
For a practice Jacob’s ladder, or if you’re just looking for a different material to use, try making this with colored card stock and double-sided tape. Just make sure you get tape on both sides of the ribbon.
The process of making this is such a great learning experience, and even after you’ve made one, you might still be amazed!
Happy crafting!