
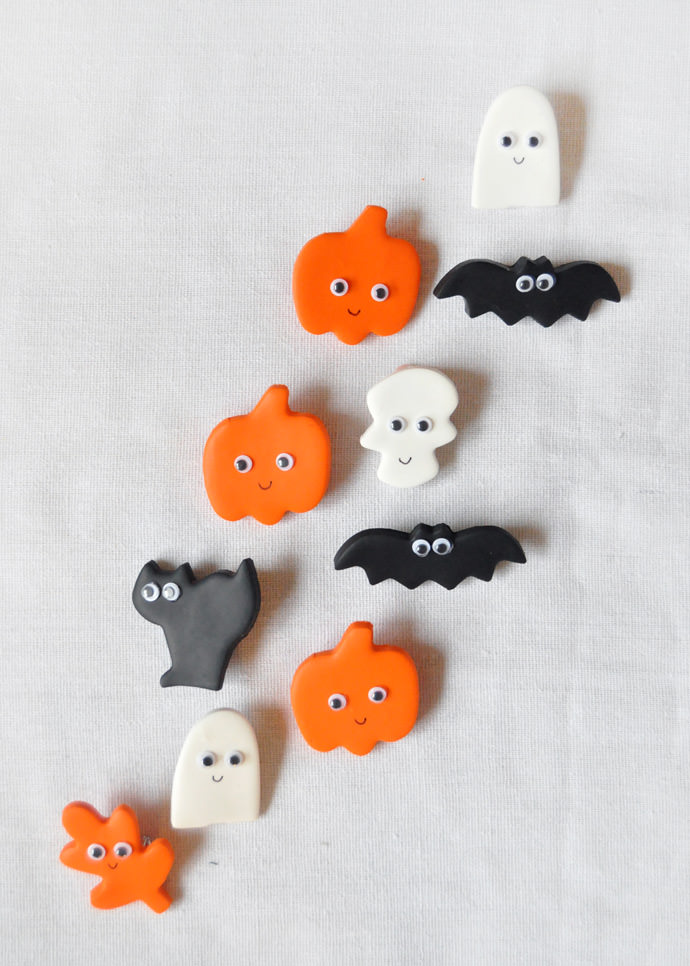
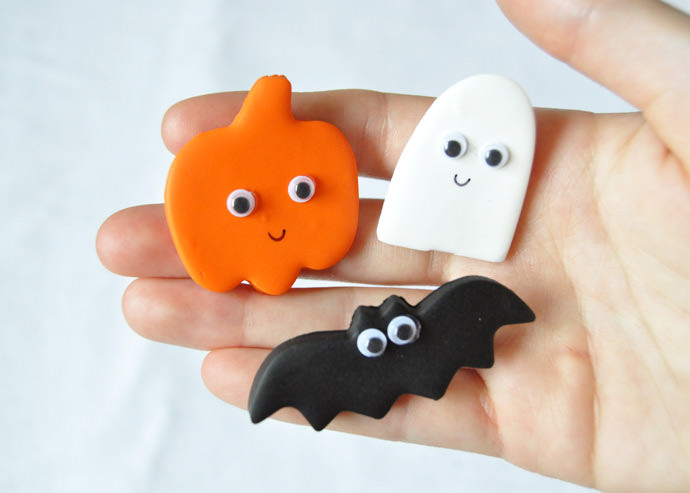
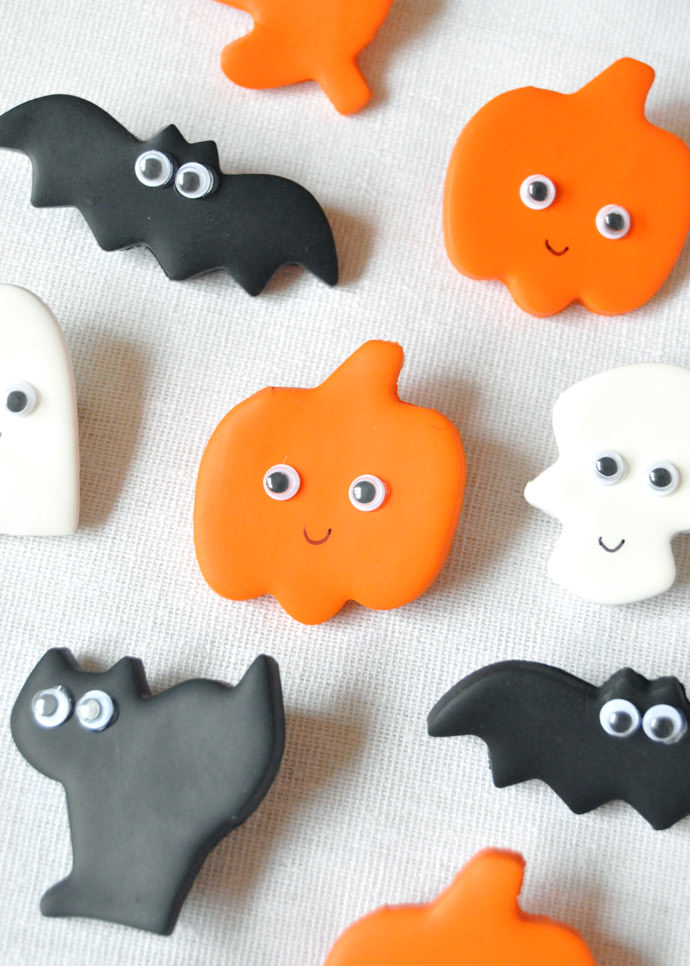
Who says Halloween has to be scary? Not me, that’s for sure! I love getting ready for Halloween, so even though there’s still a week until the big day I made these little pins and hair clips to wear in the meantime. They’re small and kind of subtle, but once you see their smiling faces you can’t look away!
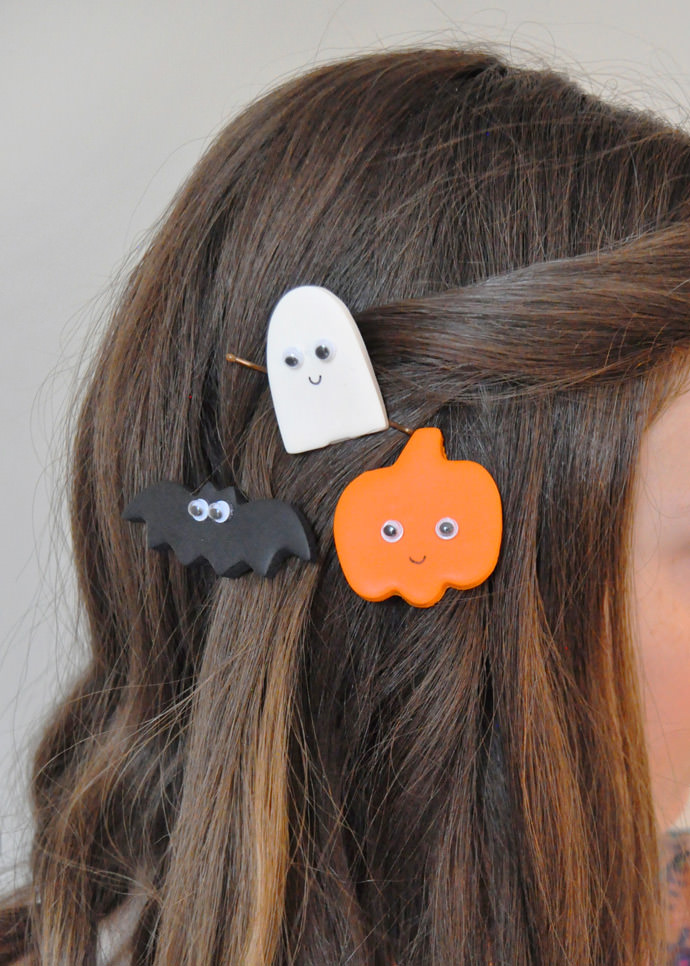
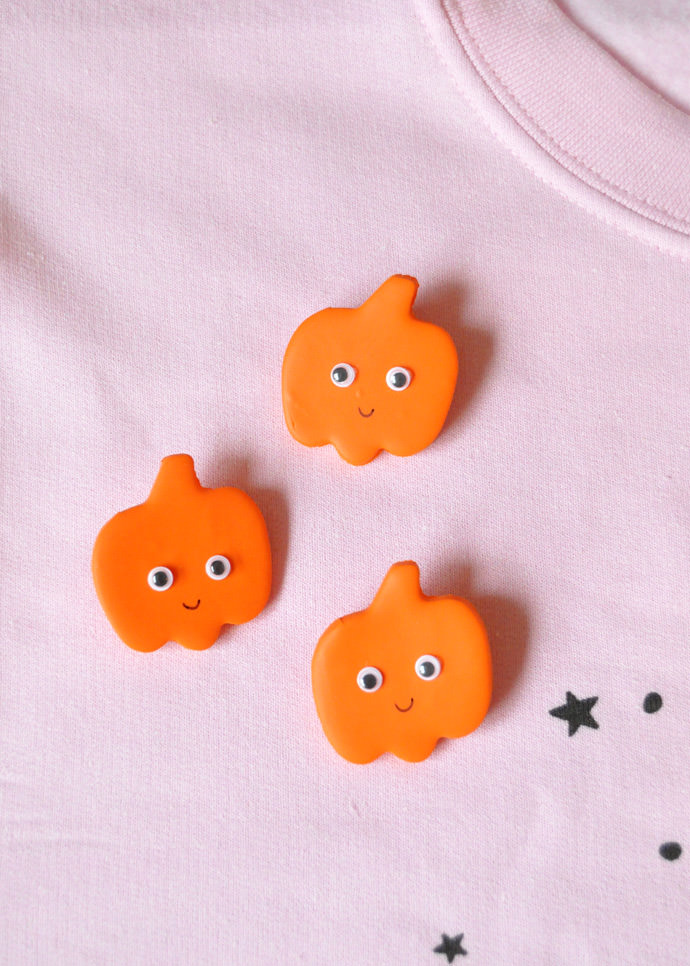
I was inspired by these heart-shaped hairpins – don’t googly eyes make everything 100 times cuter? My personal favorites are the pumpkins. These are super quick to make, so it doesn’t take long to whip up a bunch. They’d make great party favors for a Halloween party!
What You Need
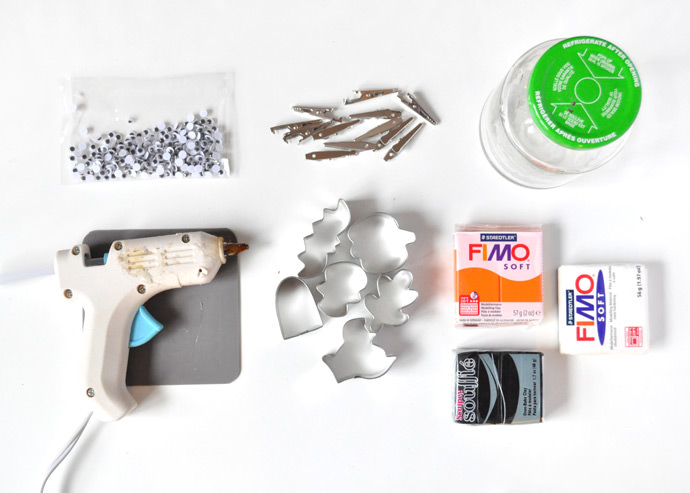
- Mini googly eyes
- Hot glue gun
- Plain hair clips or brooch pins
- Small Halloween cookie cutters
- Oven-bake clay
- Smooth glass jar / rolling pin
How-To
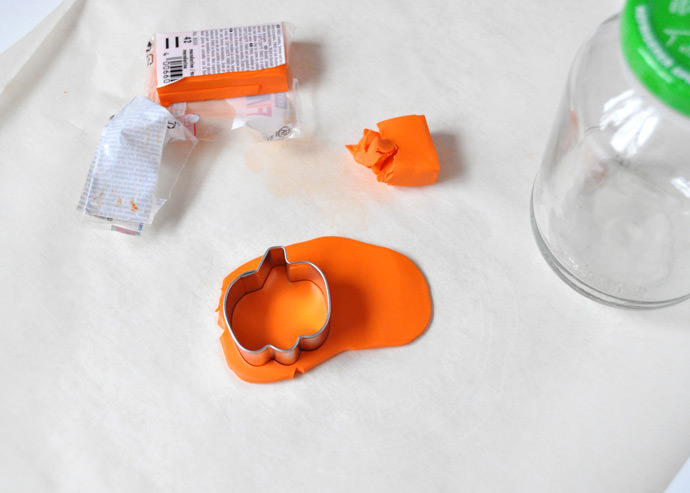
Step 1
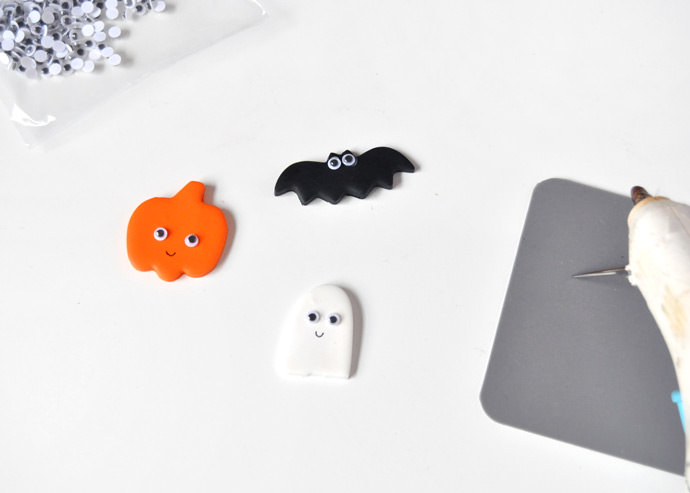
Warm the clay in your hands by kneading it. Once it’s a bit softer, use your jar / rolling pin to roll the piece flat until it’s about 1/4” thick. Use the cookie cutters to cut out the Halloween shapes.

Step 2
Put all your clay shapes on a baking sheet and bake in the oven following the directions on the clay package. Once done baking, let cool.
Step 3
Hot glue the mini googly eyes onto each shape – use a fine-tip permanent marker to draw on tiny smile too if you like!
Step 4
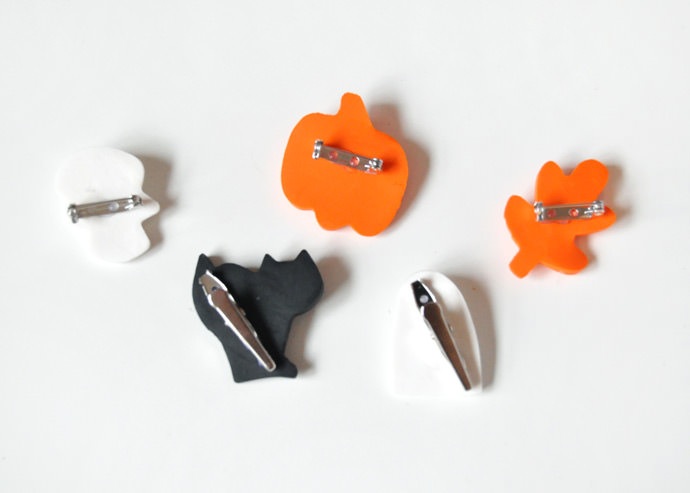
Hot glue hair clips or brooch pins onto the backs of the shapes.
Happy Halloween!! :)