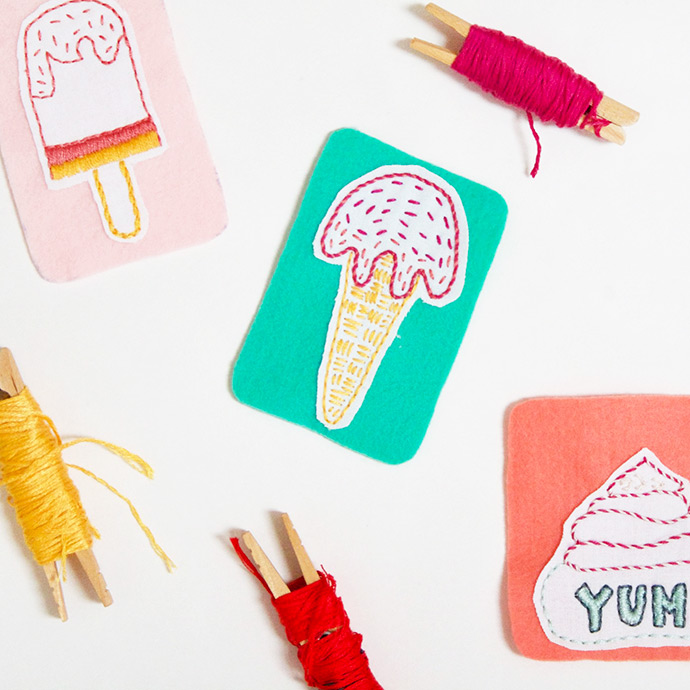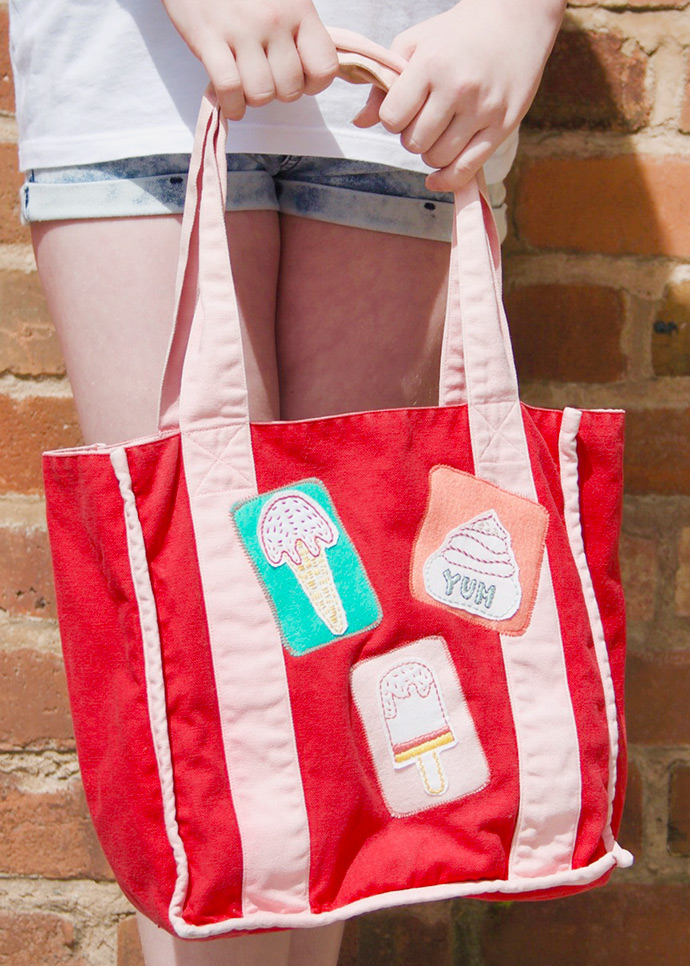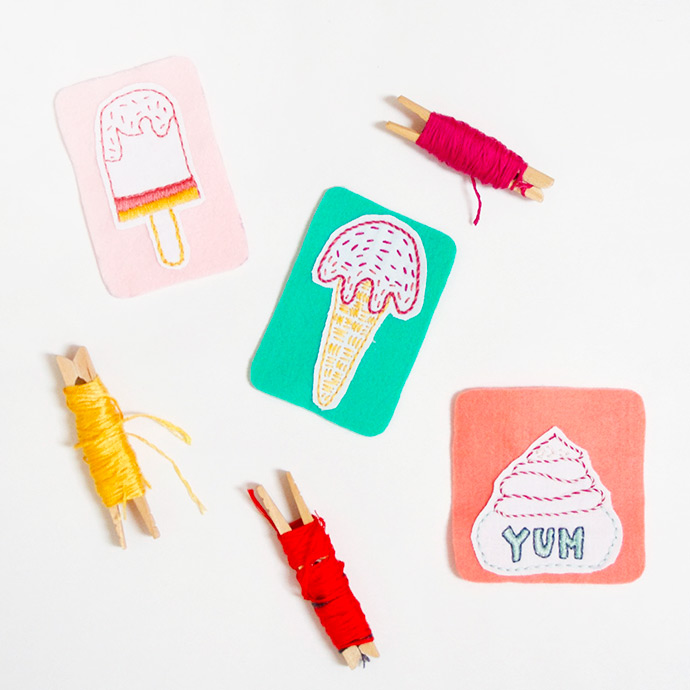
Embroidered patches are everywhere! Here’s an embroidery tutorial that’s perfect for beginners and colourful for summer. Download the pattern and then follow the stitch guide to make this lovely set of embroidery patches. Use them to personalize kids clothes or accessories to take ice cream with you wherever you go!
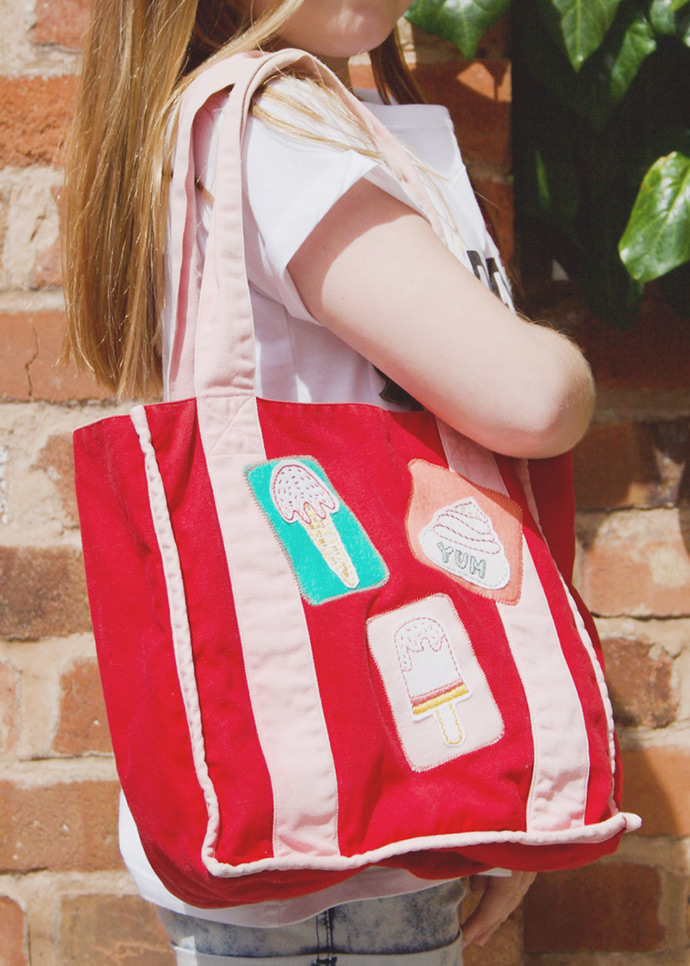
what you need:
- Fabric scissors
- Small, sharp scissors
- Needle
- 3 squares of felt in different colours, approx. 6” x 6”
- 1 square of calico or cotton, approx. 15” x 15”
- 8” embroidery hoop
- Embroidery threads in a variety of ice-cream colours
- A piece of clothing or bag to customize
- Printable embroidery pattern template
how-to:
Step 1
Download the paper pattern. Use some bright washi tape to stick it to a window, then tape your square of calico over the top. Make sure your calico is crease free and ironed flat before you begin. Use a sharp pencil or air erasable pen to trace each of the designs onto the fabric.

Step 2
Next, cut out each of the three paper patterns and draw around them onto your felt. Cut out the felt shapes.
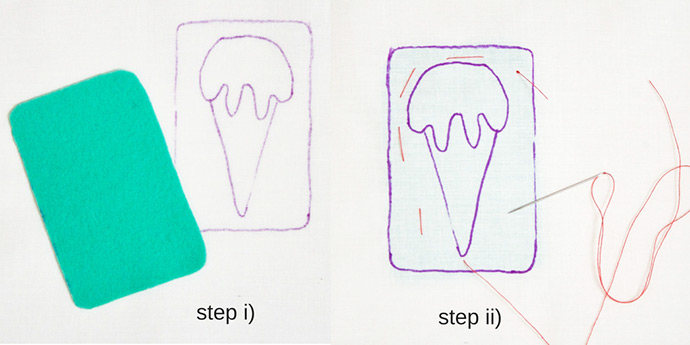
Step 3
i) Line up your felt shape behind the design you have traced onto the cotton base.
ii) Baste (or just sew with big stitches you can take out later) to fix the felt to the cotton base.
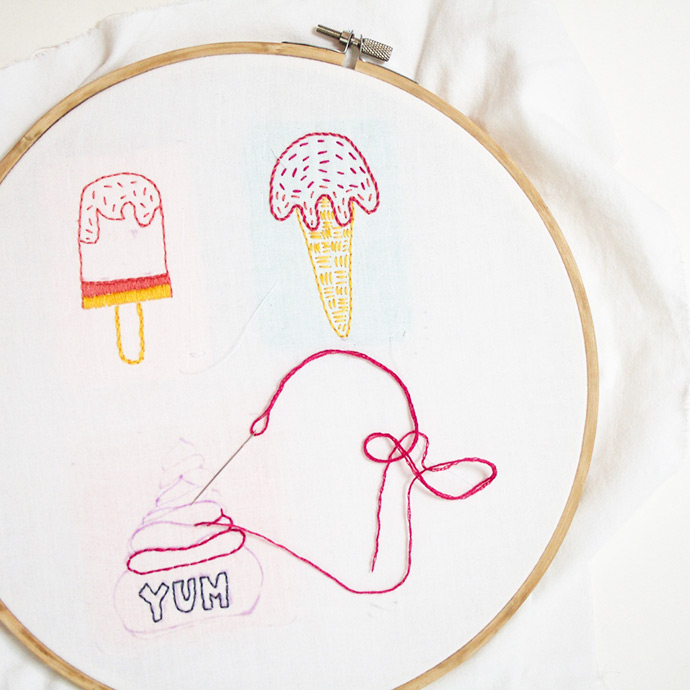
Step 4
Now fix the fabric in your embroidery hoop and follow the stitch guide on the embroidery pattern to complete each of the sweet ice creams
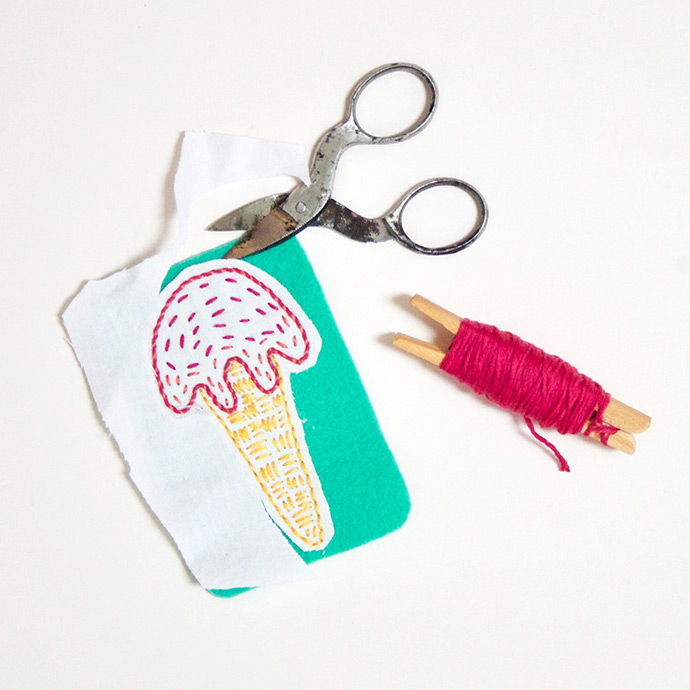
Step 5
When you have finished sewing, take the work out of the hoop. Use a small, sharp pair of scissors to carefully cut around the design, taking off the excess cotton to show the felt behind.
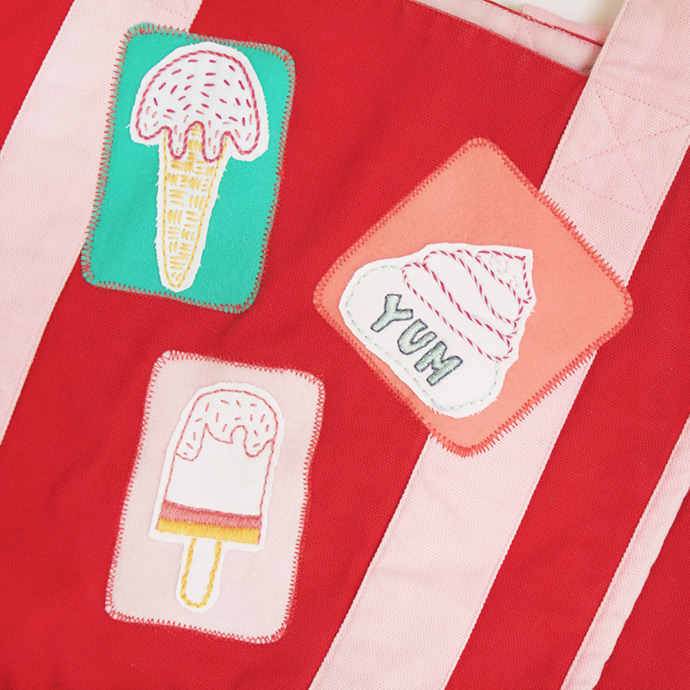
Step 6
Use a sewing machine to zig zag stitch the patches onto a jacket or bag or sew by hand with a simple running stitch.
