
Make a show-stopping dessert table this holiday season with this DIY donut Christmas tree!! We were inspired by a vintage 1960s craft book from Better Homes and Gardens – they showed how to make a giant donut tree to hold close to 100 donuts, so we made a mini version that holds closer to 30. Make your own homemade donuts, or just decorate some store-bought ones like we did to look fun and festive.

The great thing about this donut tree is that you can disassemble it and use it again next year! Keep reading to see the full instructions.
what you need:
- 1″ wooden dowel
- 1/4″ wooden dowels
- Square wood scrap for base
- Pencil
- Drill (with 1″ and 1/4″ drill bits)
- Wood glue
- Ruler / tape measure
- Chop saw or hand saw
how-to:
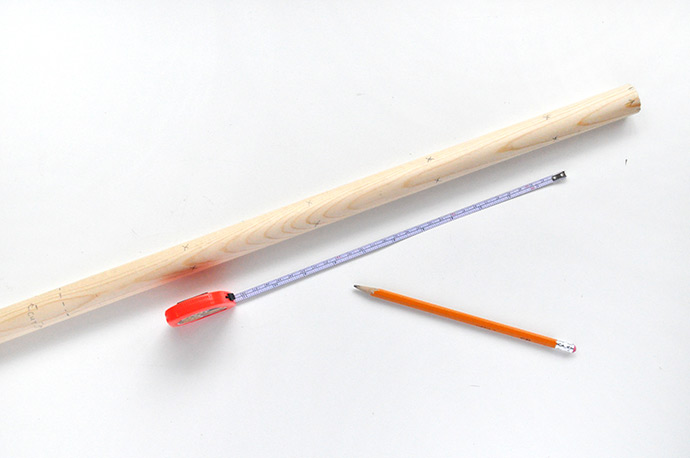
Step 1
Measure out your distances on the 1″ dowel. This can be adapted to fit however many donuts you like but this is what we did for this one: mark the 1″ dowel to be 19 1/2″ tall (1/2″ will be sitting in the base). From the top, mark an X at 3″ down, and from there mark 3 more X’s 4″ down from each other. This will give you a tree with 4 levels. It also helps to know what size/shape of donuts you’ll be using – these measurements should work fine for all standard donuts, but larger handmade ones might be a touch big in this case.
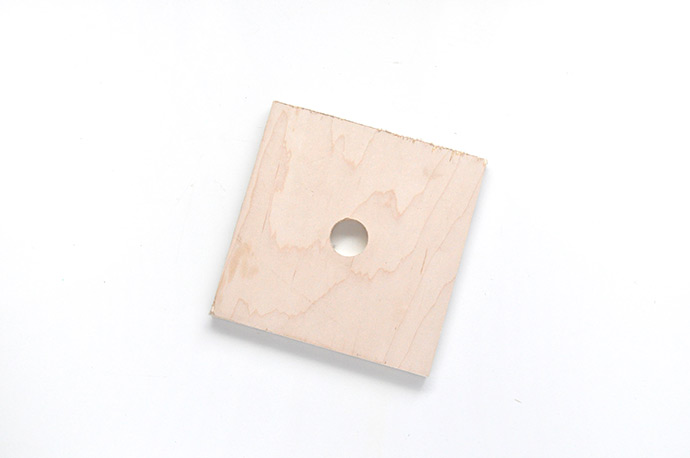
Step 2
If you have a scrap of wood leftover from another project, that’s perfect. We used this piece that was a 6″ square. Use a pencil to draw an X from corner to corner to find the center. Use a 1″ drill bit to make a hole in the center for the dowel to sit in later.
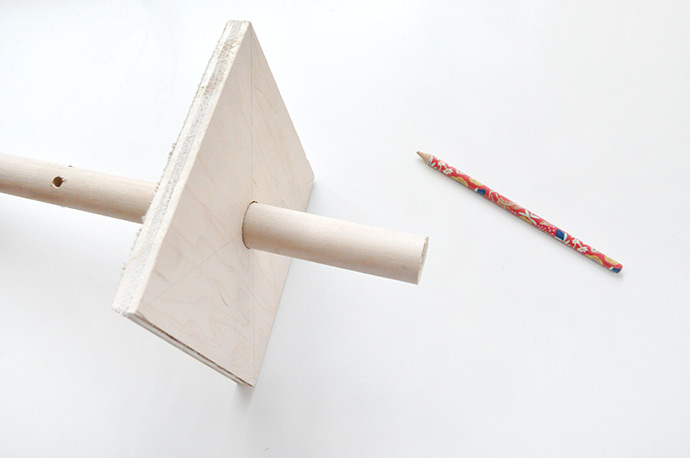
Step 3
Since you have the pencil markings already on one side of the 1″ wooden dowel, slide the base down the dowel and sit it at each marking. Use the pencilled X on the base to mark evenly spaced ticks on the dowel – this is the best way to make sure the rungs on the tree are as even as possible.
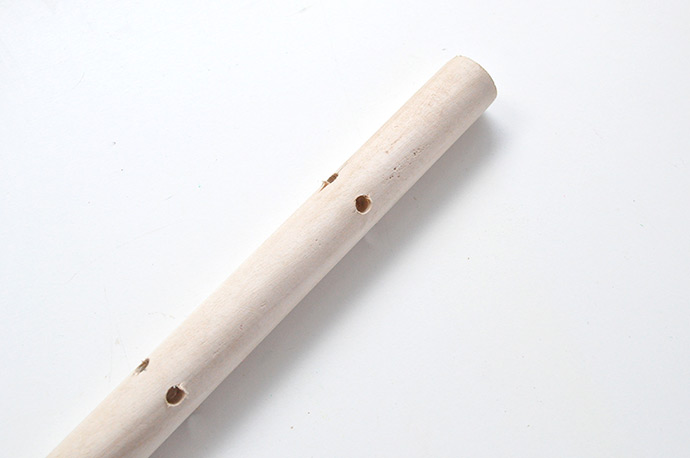
Step 4
Drill those holes with a 1/4″ drill bit. Make sure to use a clamp to keep the dowel secure and drill over a scrap of wood so that you don’t damage your work surface.

Step 5
Cut the 1/4″ dowel into rungs – cut four pieces for each of these lengths: 2″, 3 1/2″, 5″, and 6 1/4″.

Step 6
Insert the small wooden dowels into the drilled holes – they should fit in tightly and not need glue. This allows you to take these out for easy storing, but if your dowels are a bit wiggly feel free to glue them in to secure.
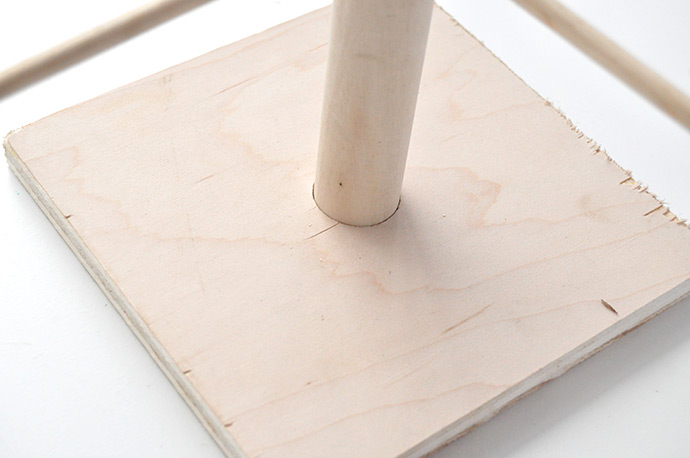
Step 7
Use glue to secure the 1″ dowel into the base. Let dry.

Step 8
Decorate your donuts with green icing and sprinkles! Let the icing harden up a little bit before arranging on the tree.