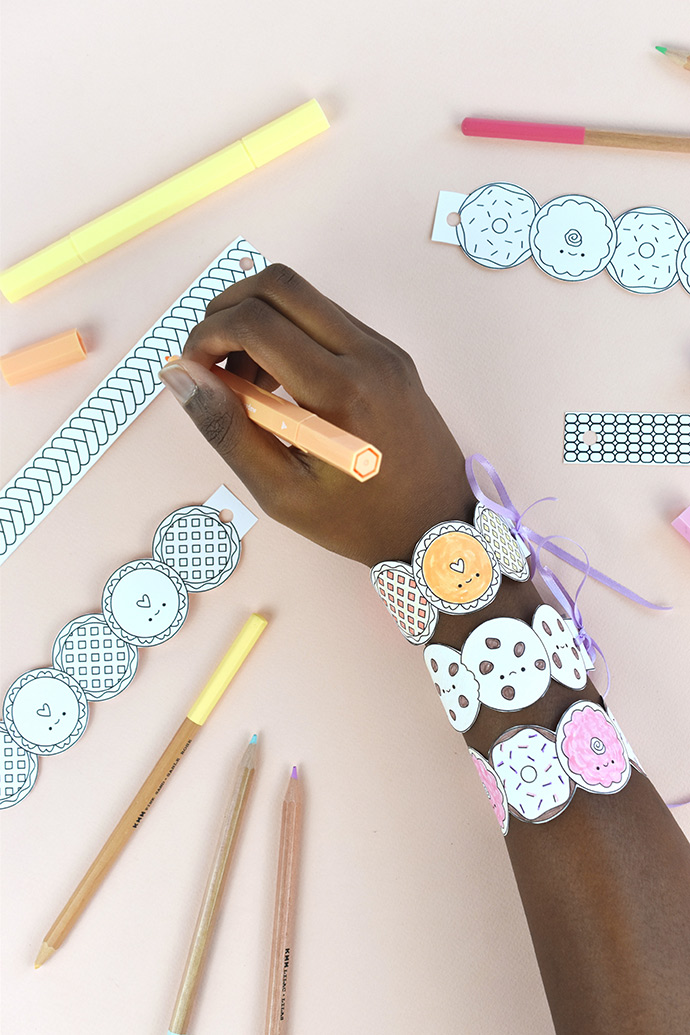
Craft your own kawaii accessories with these printable bracelets! You can make some that look like traditional friendship bracelets and others with adorable baked goods. They’re sweet to look at and simple to make.
And even though they’re only made of cardstock, they have some secret support to help them last.
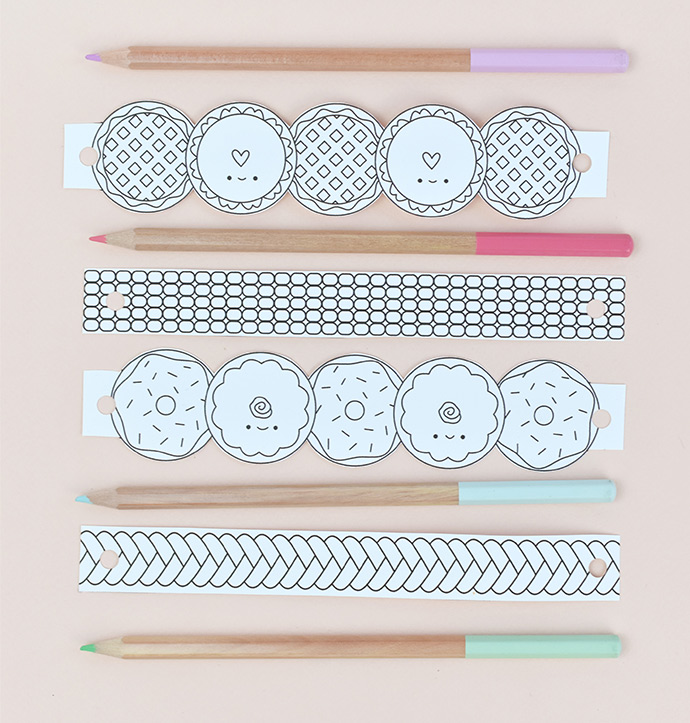
Print out some pages of bracelets for the next time you’re hosting a get-together for kids. It’s a great way to get them engaged in a project when they need a little extra something to stay focused. Kids can hang out and decorate the designs, then wear and trade them with each other!
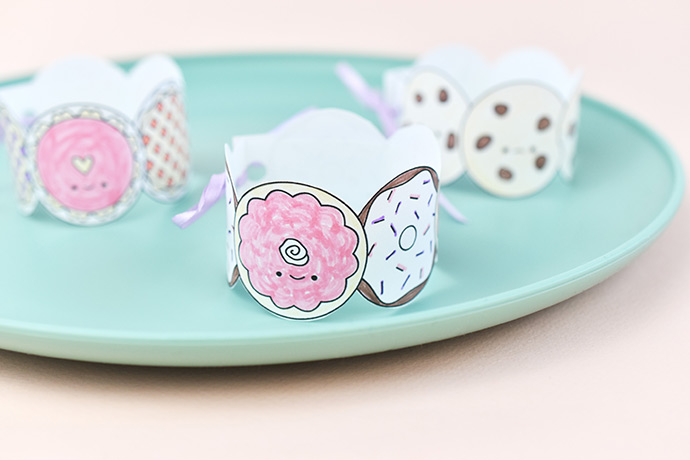
Ready to craft your own sweet ‘n’ simple bracelets? Let’s start making!
what you need:
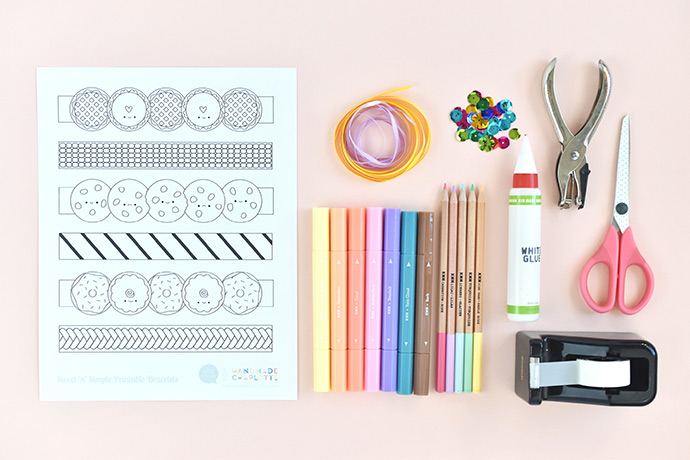
- Cardstock
- Markers and/or Colored Pencils
- Scissors
- Tape
- Hole Punch
- Thin Ribbon
- Sequins (optional)
- Glue (optional)
- Printable bracelet template
how-to:
Step 1
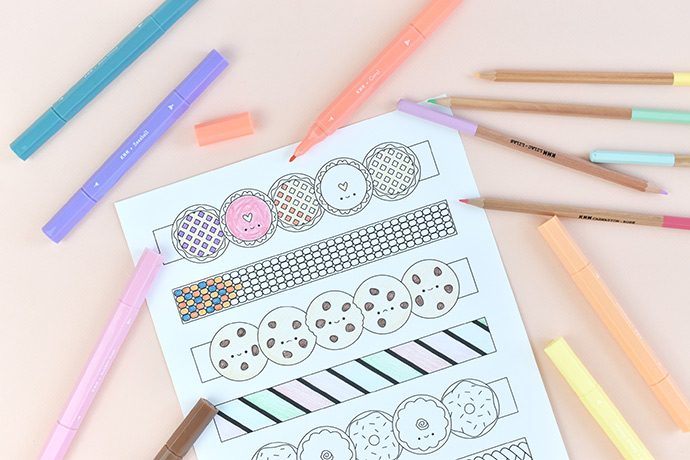
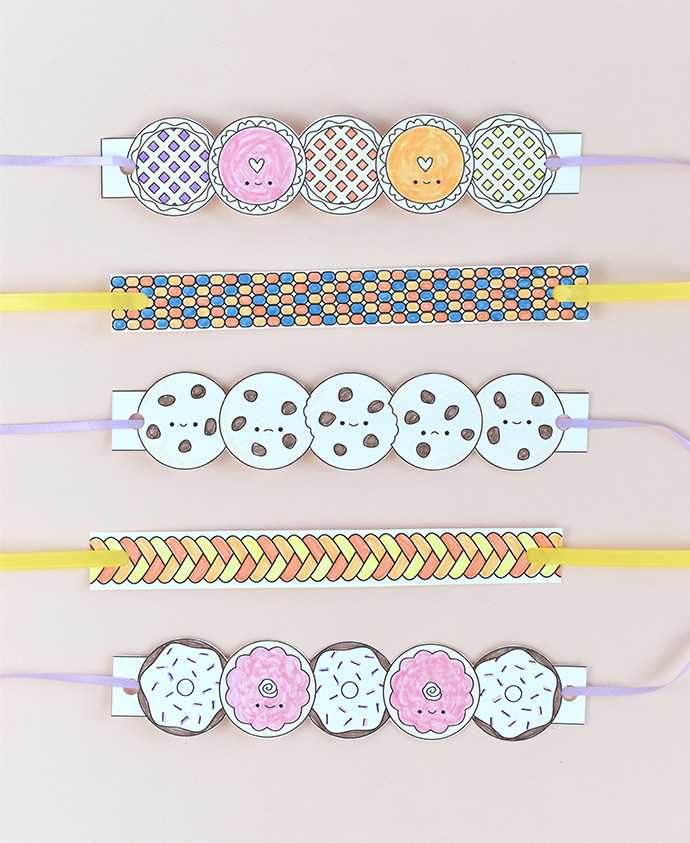
Print the bracelet PDF on cardstock. Color the designs any way you like.
The bracelets with straight edges are perfect for designing a friendship bracelet. Kind of like the ones you make with embroidery floss!
Step 2
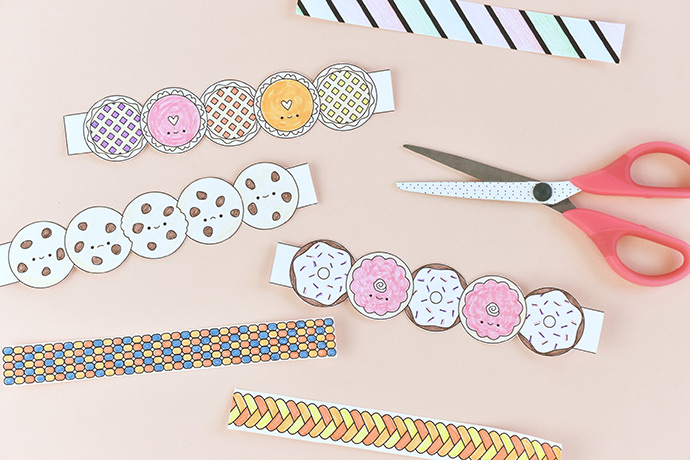
Cut out the bracelets.
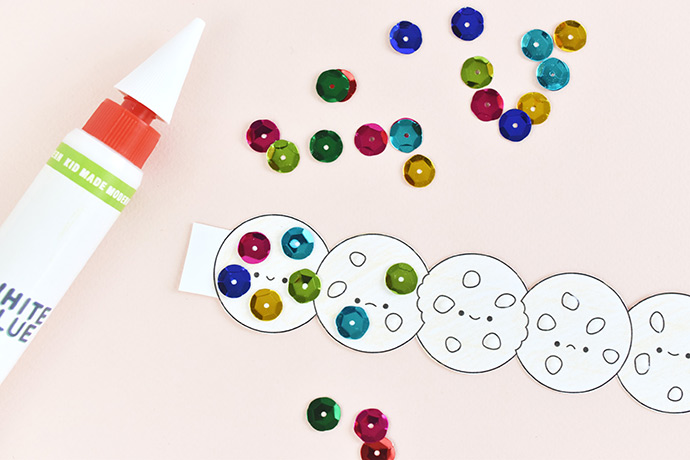
After they’re cut out, you can also add some sequins as decorations. For this one, I glued sequins over the chocolate chips!
Step 3
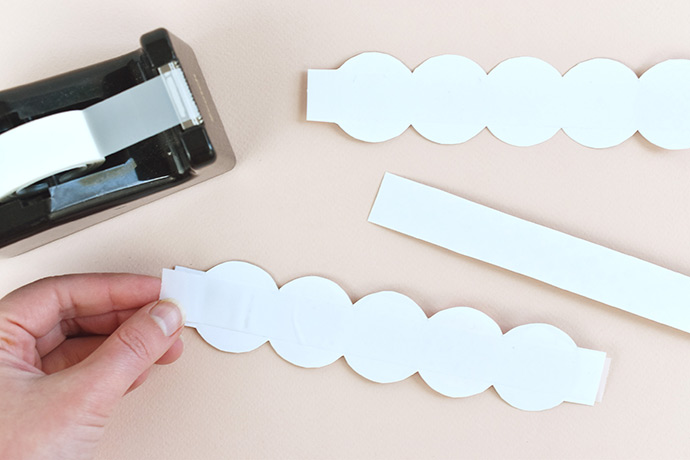
Add tape to the back of the printed strips to reinforce them. Pull out a long strip of tape and place it on the back of the bracelet. Try to keep it from showing on the long edges.
Smooth out the tape and trim away any excess tape that shows on the front. Repeat this step for each bracelet.
Step 4
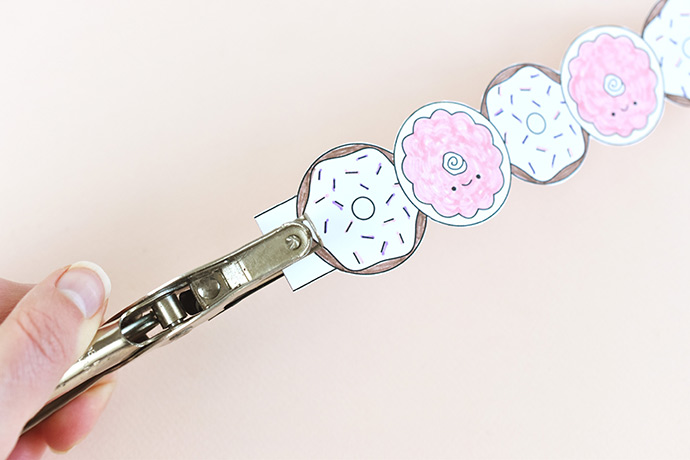
Use a hole punch to make a hole at each end of the bracelet. Make sure you punch the hole at least 1/4″ from the end. It should also be through the tape, which reinforces the hole too.
Step 5
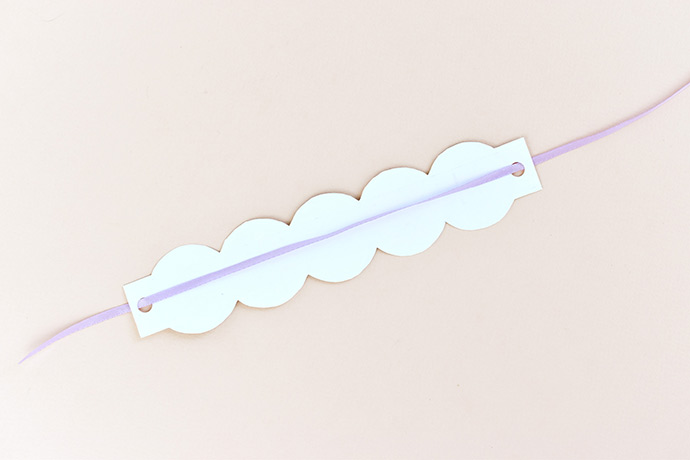
Cut a 12-inch piece of ribbon. Going from back to front, thread each end through the holes in the bracelet.
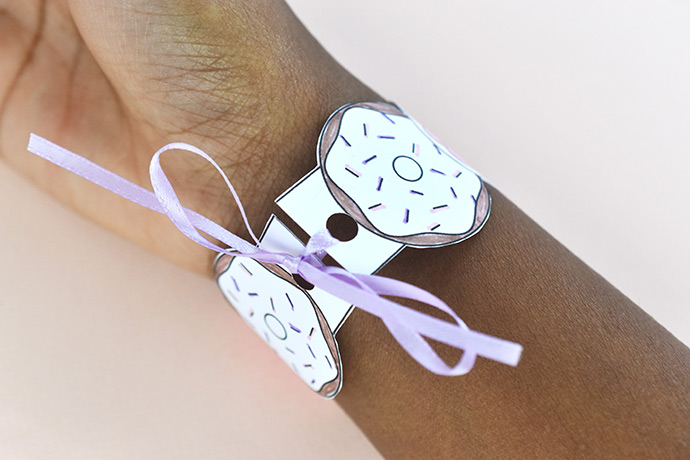
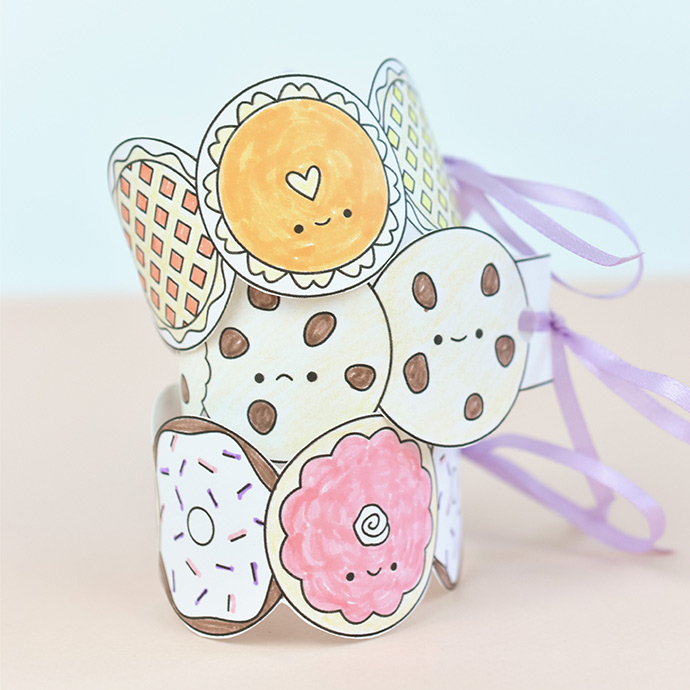
Pull the ribbon ends to draw the ends of the bracelet together. Slip your hand through the bracelet, then tie the ribbon with a bow.
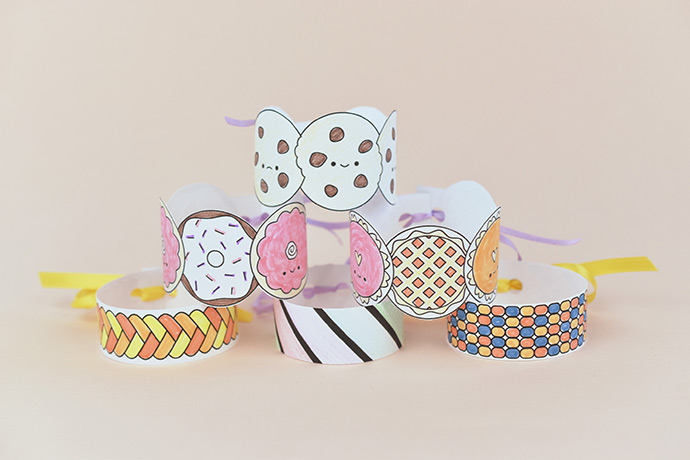
Wear one bracelet or a whole stack of them!
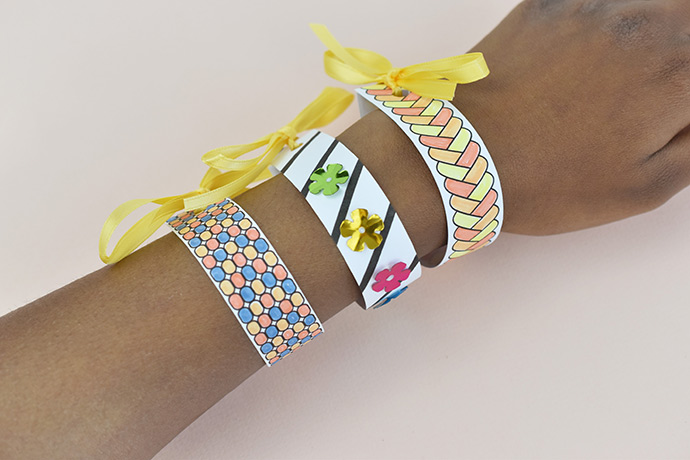
These bracelets are about 7 inches long, which fits most wrists. To make them fit larger wrists (or so they slide over your hand without untying), tie them a little looser. For very small wrists, print the page at 75% using your printer’s settings.
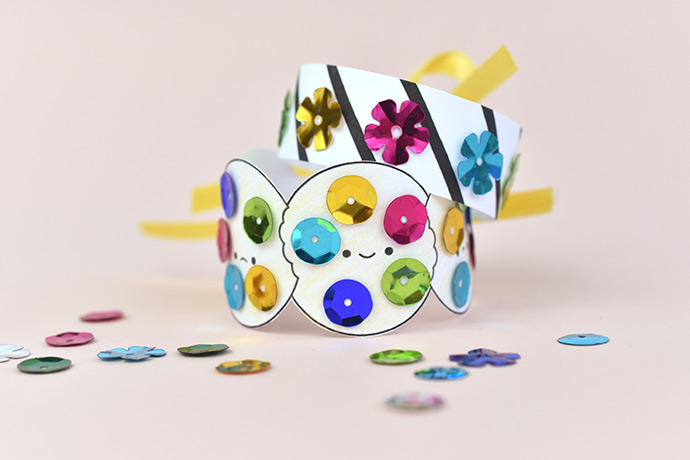
If you want to make these last longer (and feel soft inside), glue the cardstock to felt. Or, use the designs as embroidery patterns and stitch them onto felt or fabric. Sure, it will take some time, but you’ll have something truly special!
Happy crafting!