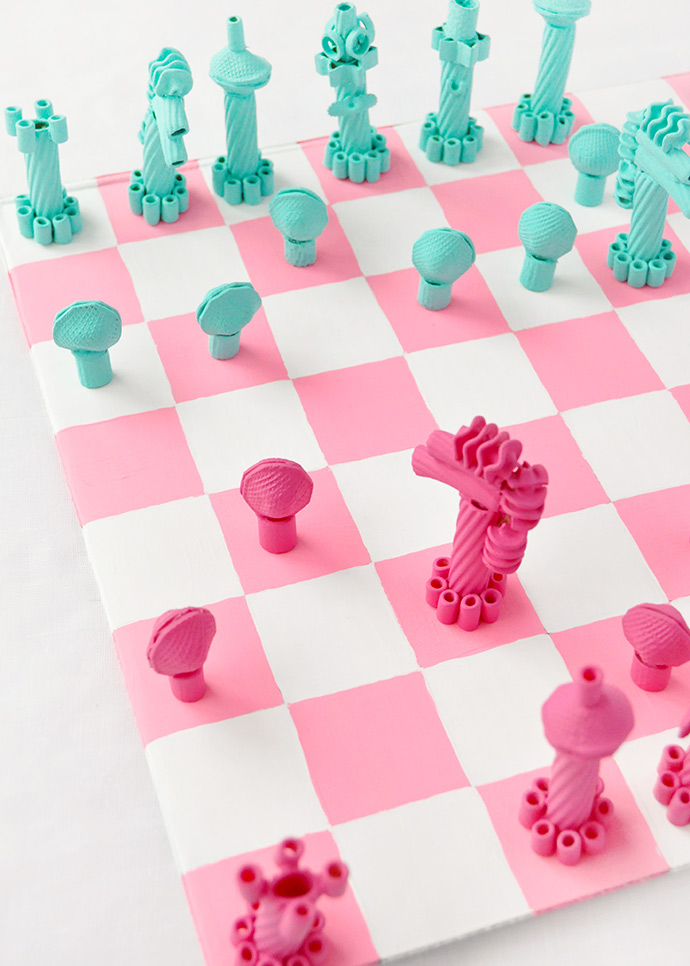
Get ready for the holiday season with this DIY painted pasta chess set! We love making as many homemade gifts as we can, and this one is a really fun one to make together with your kids. Older kids can help with the assembly of the pasta chess pieces, and younger ones will love painting up the pieces.
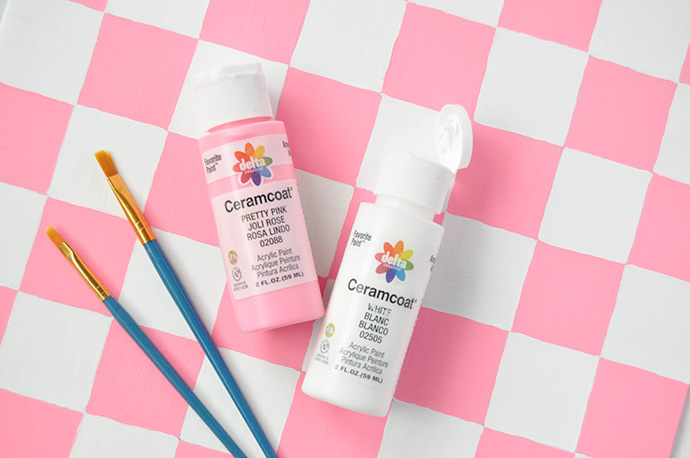
Since this pasta chess set already has a super unique look, we knew right away we should skip the traditional black and white pieces and use a few of our favorite shades from Delta Ceramcoat® Acrylic Paint instead! You can find all 22 shades and 6 Flash Metallic colors in the craft aisle at Target.
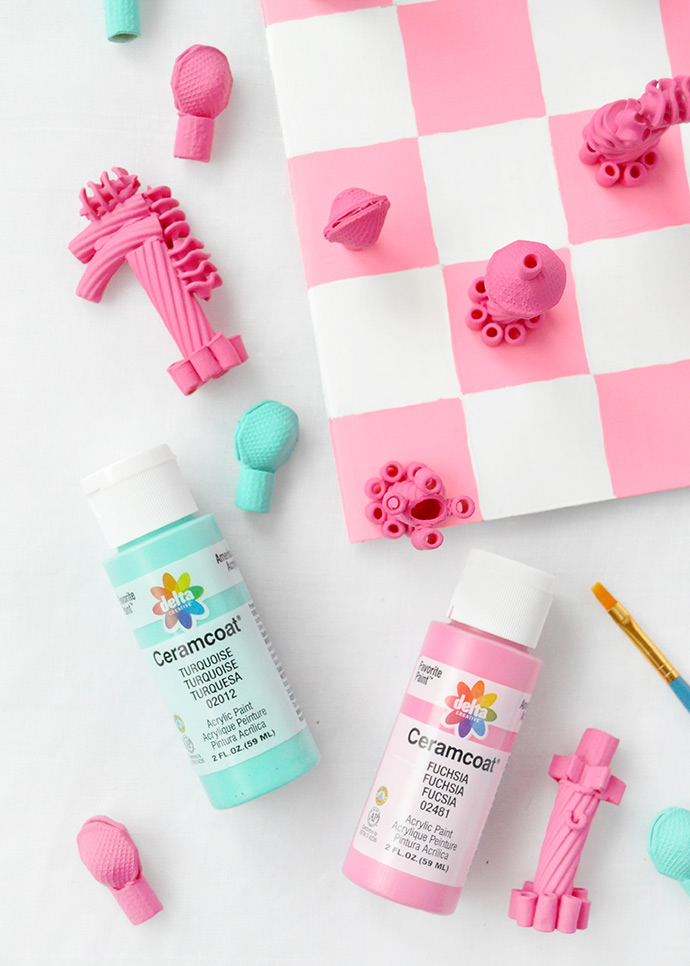
Since there are so many pieces to be painted, this is a great craft to set up on a snowy afternoon while watching a Christmas movie with the family. Build the pasta pieces ahead of time, and then spread the pieces, Delta Ceramcoat paints, and brushes out on your coffee table and get started.
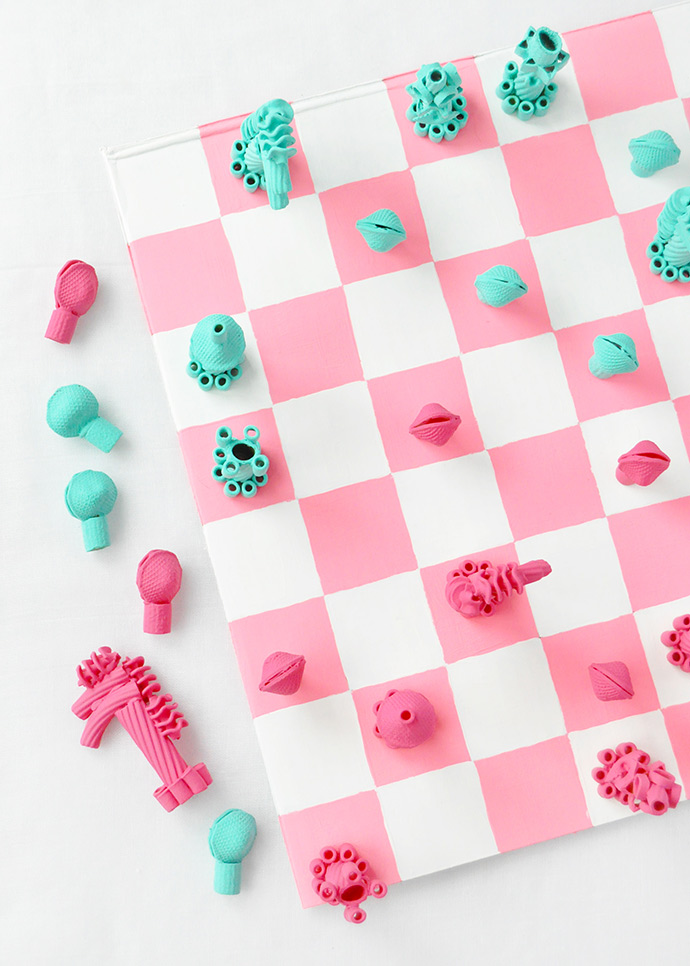
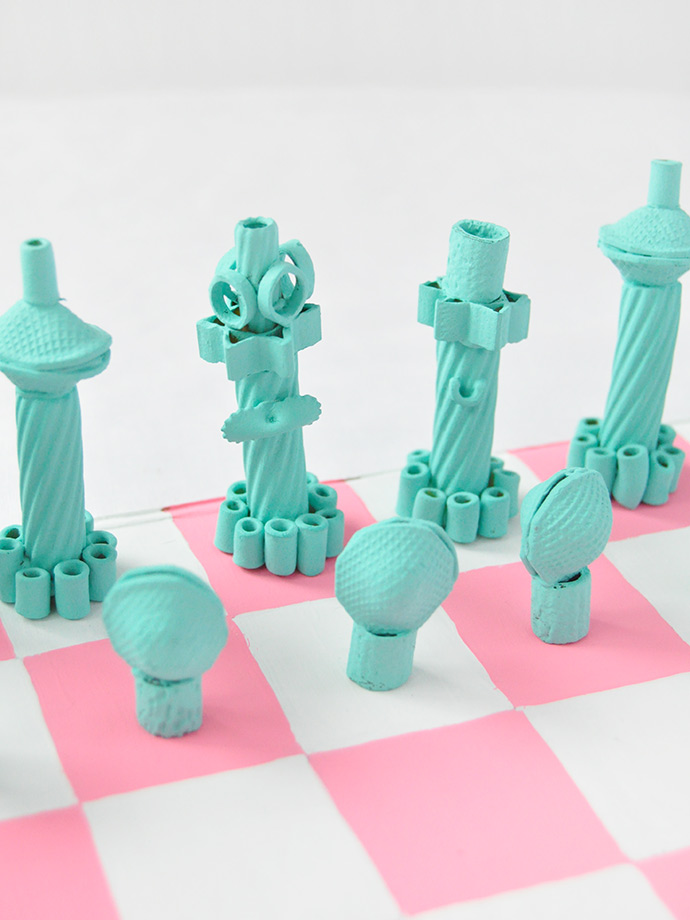
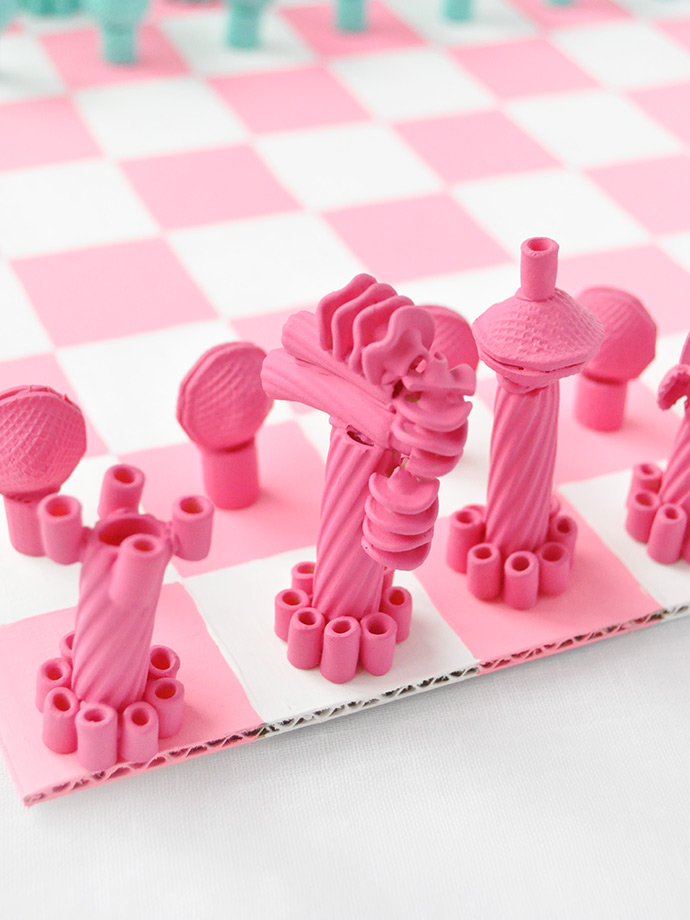
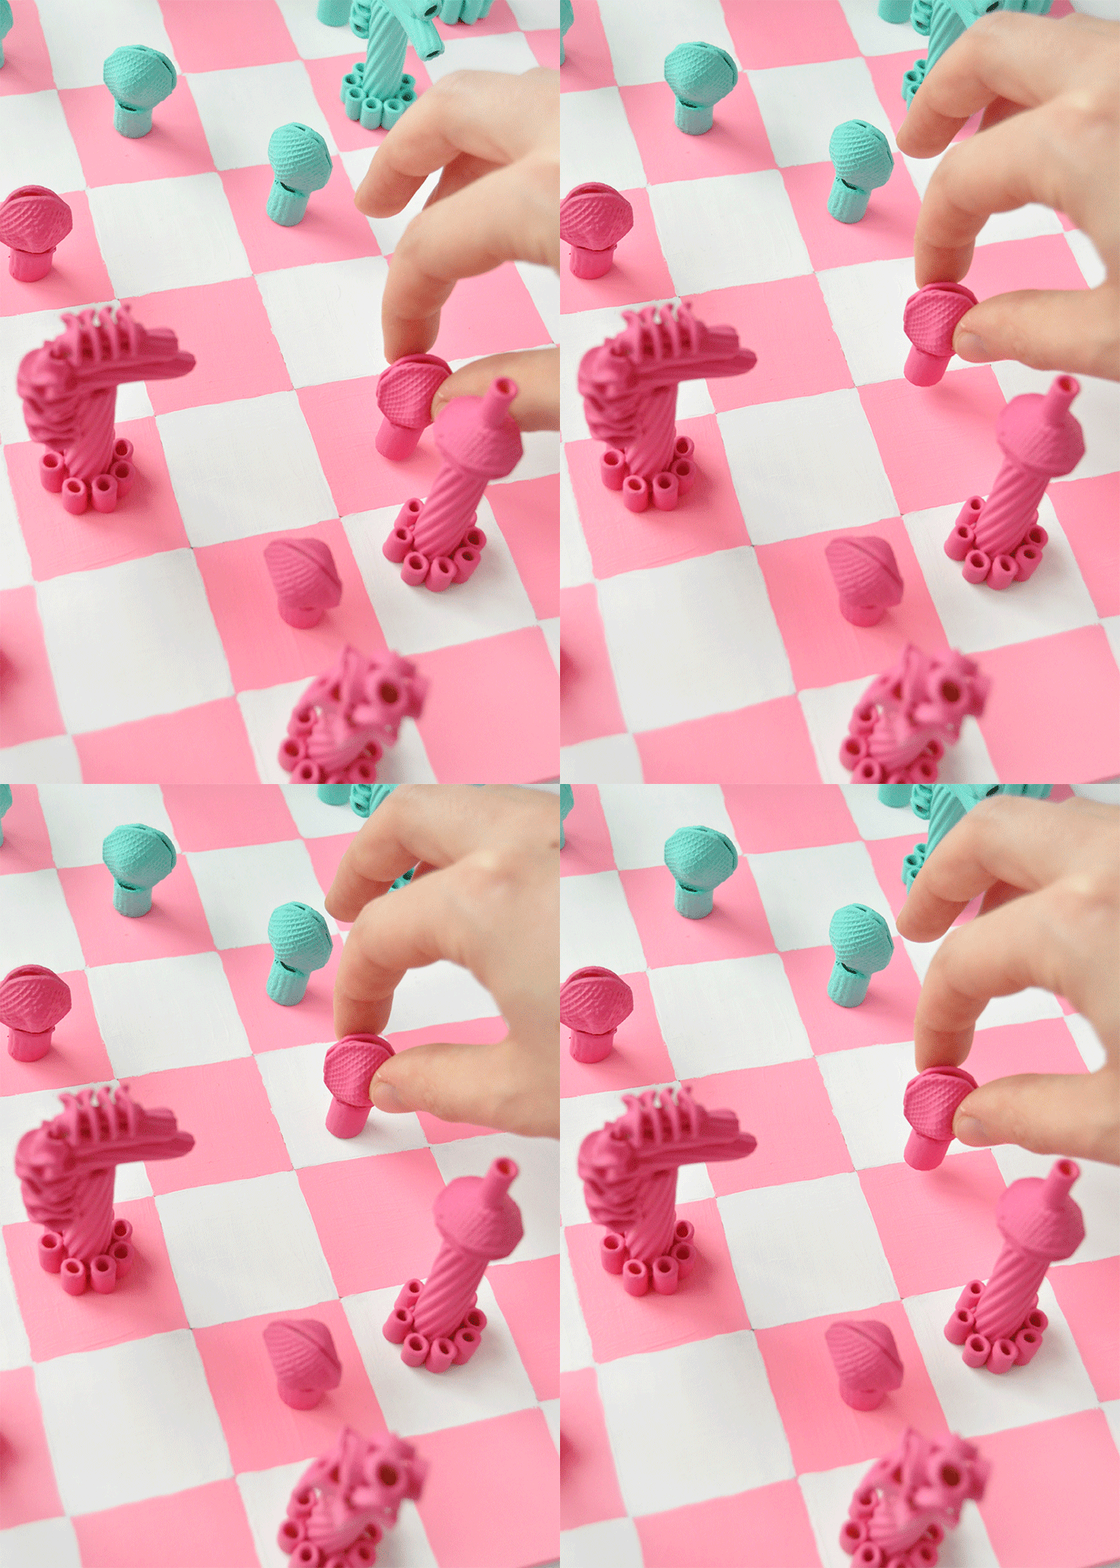
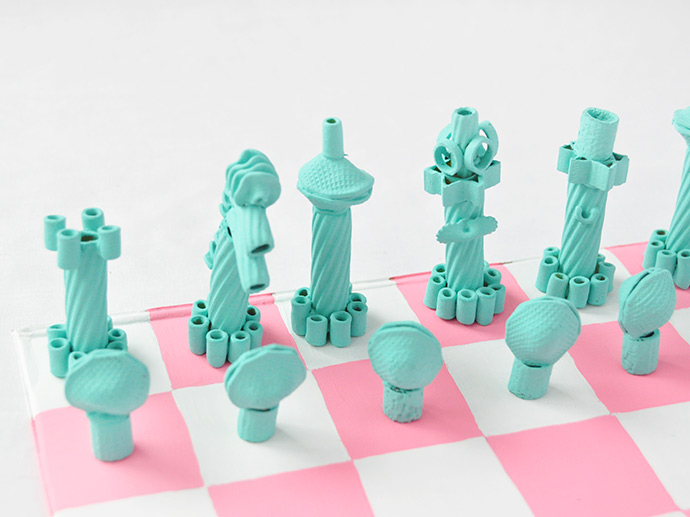
A coat of colorful paint gives these pasta pieces a whole new life – we love how untraditional and playful they are! They’re a great kid-made gift to give to family and friends this holiday season, or keep it for yourself and have it out at your next holiday party for guests to play! See the full instructions for this below.
what you need:
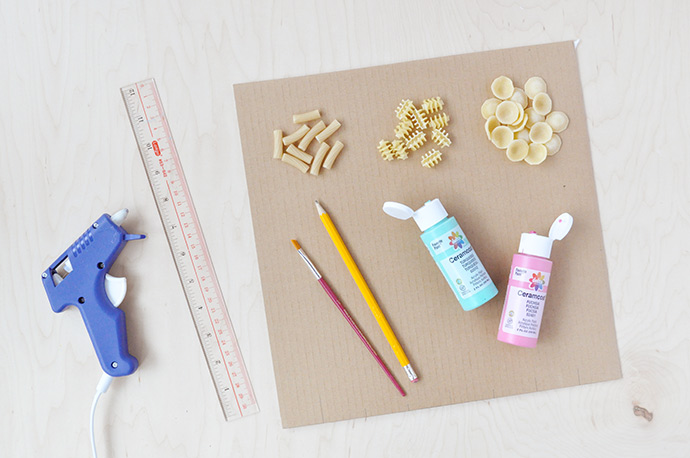
- Delta Ceramcoat Acrylic Paint
- Paintbrushes
- Assorted pasta noodles
- Cardboard
- Pencil
- Ruler
- Hot glue gun
how-t0:
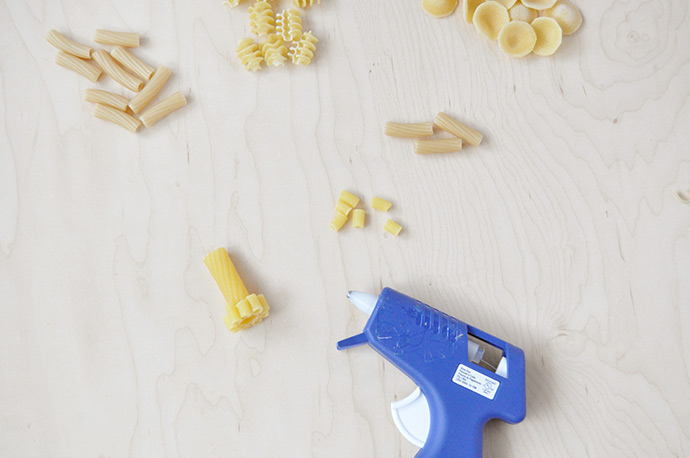
Step 1
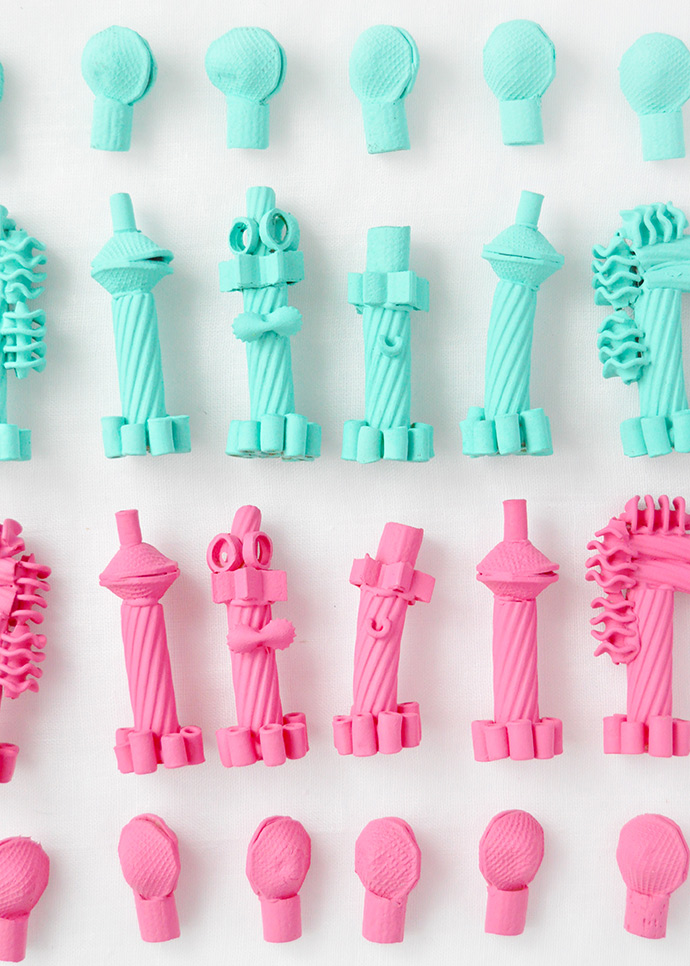
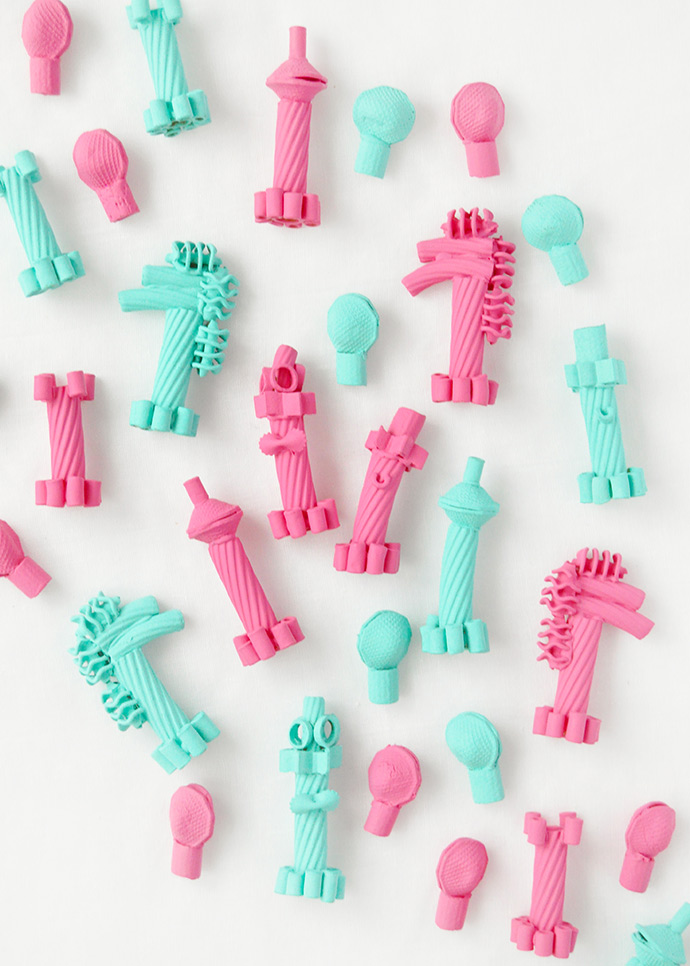
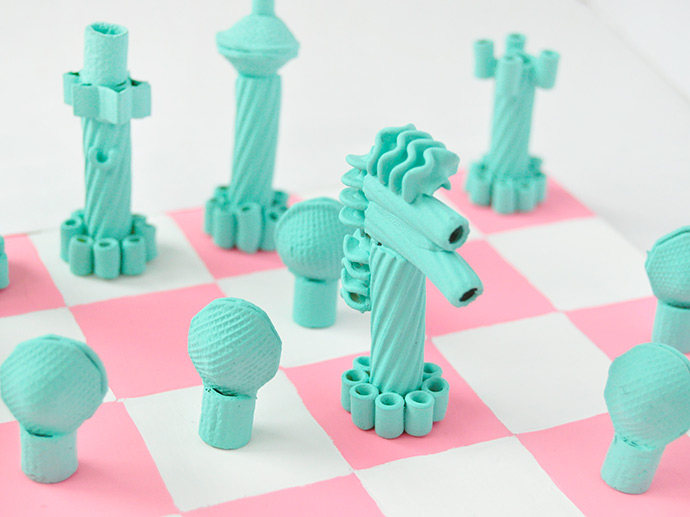
Begin by making your pieces – for all the pieces other than the pawns, we started with this base. All you need to do it attach a circle of mini noodles around the base of a piece of rigatoni so that it stands up nicely without wobbling. Make 16 of these.
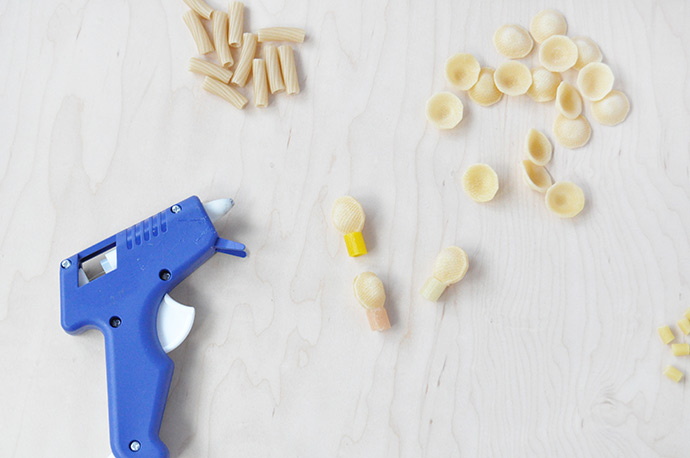
Step 2
Next, you can get all your pawns made – you’ll need 16 in total. For this, we use a short wide noodle as the base and then attached two orecchiette on top.
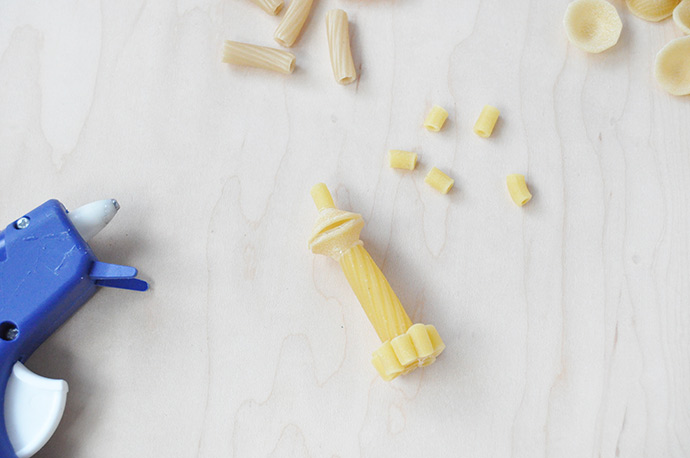
Step 3
For the bishop, we attached two orecchiette together and glued those to the top of the base. Then glue a mini noodle on top – you’ll need 4 bishops.
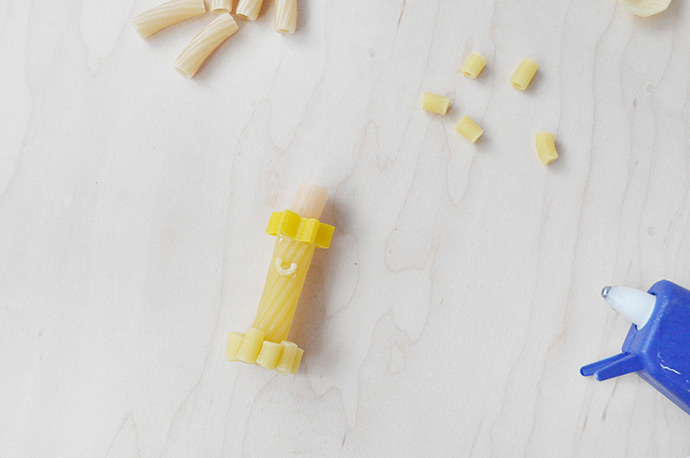
Step 4
For the queen, we attached a star-shaped noodle and a short tube noodle on top to form a sort of crown. Then we found a C-shaped alphabet pasta and glued that on as a mouth. Make two queens.
Step 5
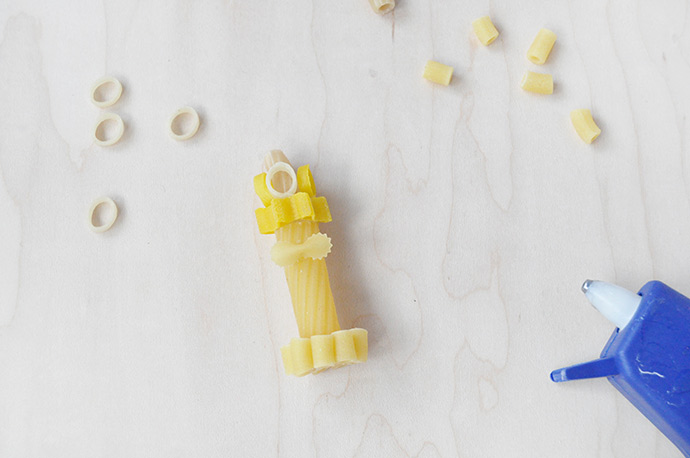
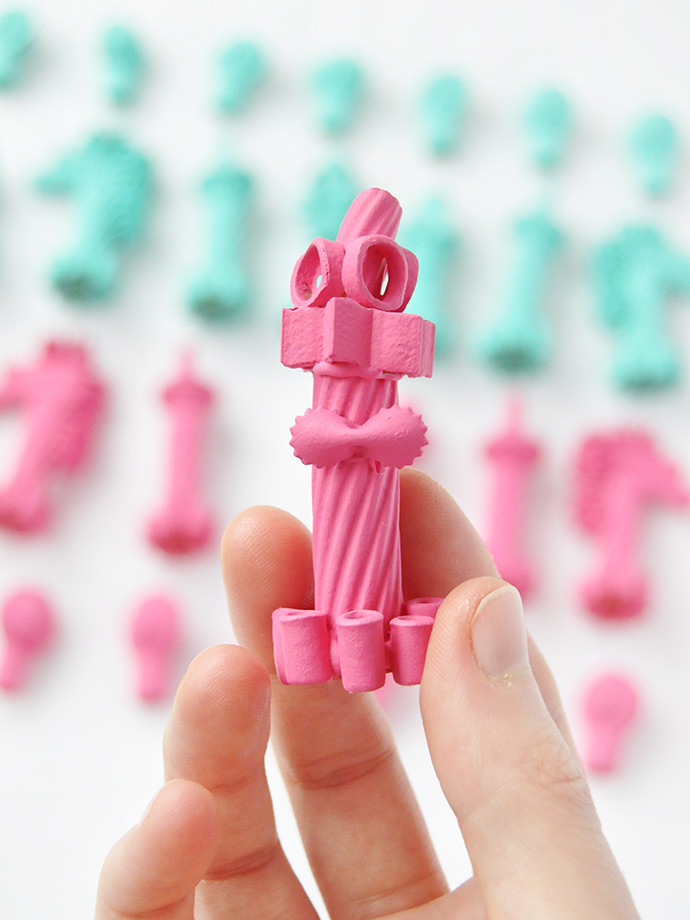
The king is similar to the queen, but make sure to make it different enough that you can tell them apart. For the king’s crown, we glued 4 circle noodles around it, and instead of a mouth we attached a little bow pasta as a moustache.
Step 6
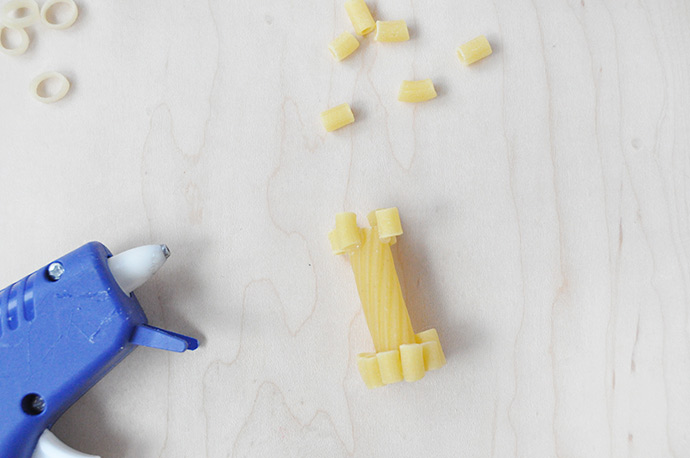
For the rook, we simply glued 4 mini round noodles around the top of the base. Don’t forget to make four rooks in total. Glue 3 pieces of radiator pasta along the face and neck to make the mane.
Step 7
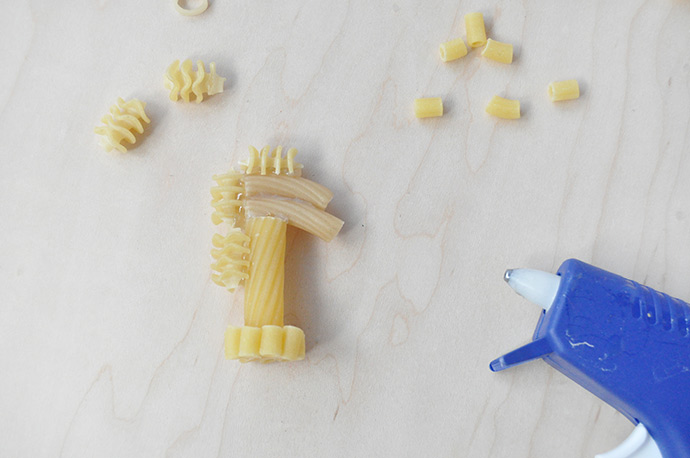
And finally, for the knights, we glued two tube-shaped pasta noodles on top of the base to form the horse’s face.
Step 8
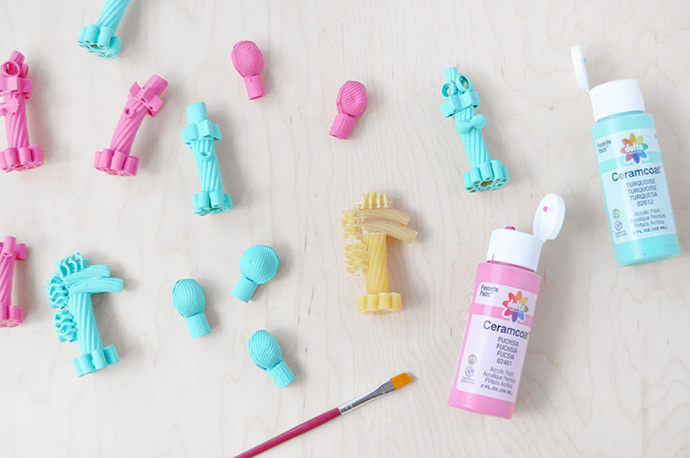
Once you have all your pieces built, it’s time to paint! We picked out fuschia and turquoise for a super colorful set, but you can use whatever colors you like. Let the pieces dry completely, and if desired, apply a coat of Mod Podge to give them a glossy finish.
Step 9
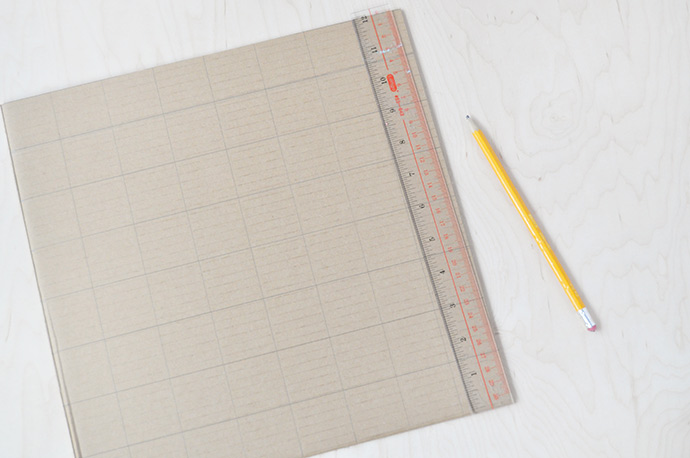
While the pieces are drying, cut a piece of cardboard into a 12” by 12” square. Use a pencil and ruler to make a grid with 8 squares on each side. Each square should be about 1 ½” on each side.
Step 10
And finally, paint your board – we used white and pretty pink on ours. Let dry and you’re reading to play chess!
Find all 22 shades of Delta Ceramcoat® Acrylic Paint at your local Target along with the six new Flash Metallic shades in the craft aisle or at Target.com. We’re betting these painted paper pockets would be even more adorable with some metallic details.
Happy crafting!