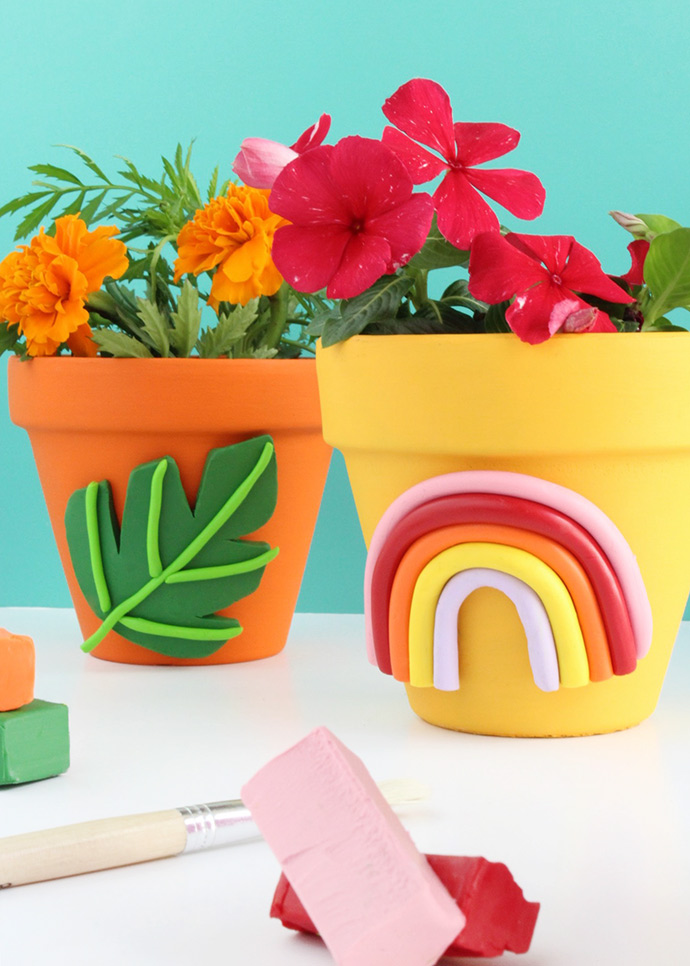
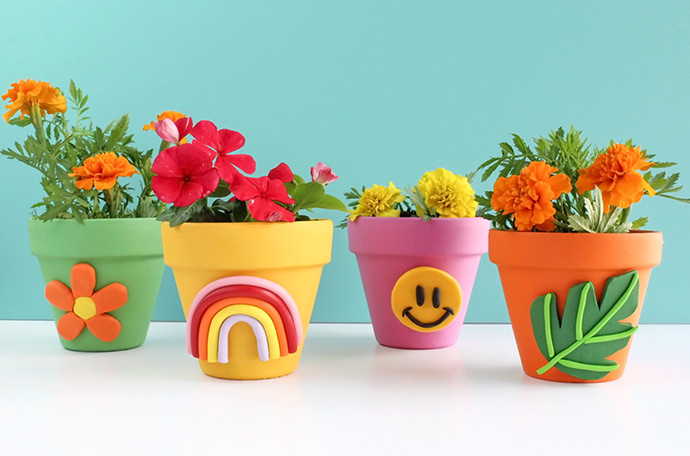
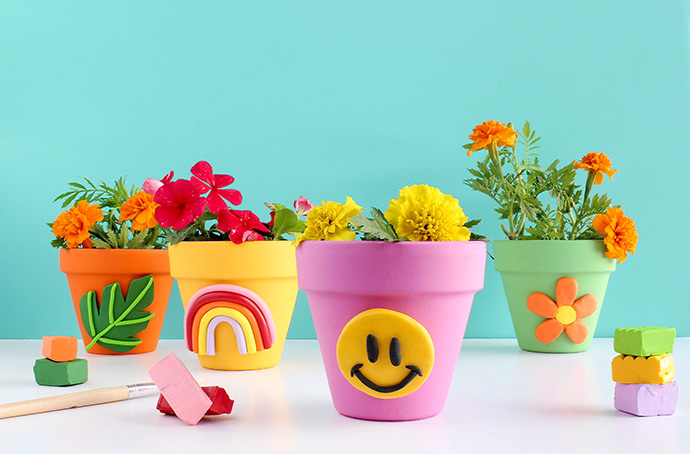
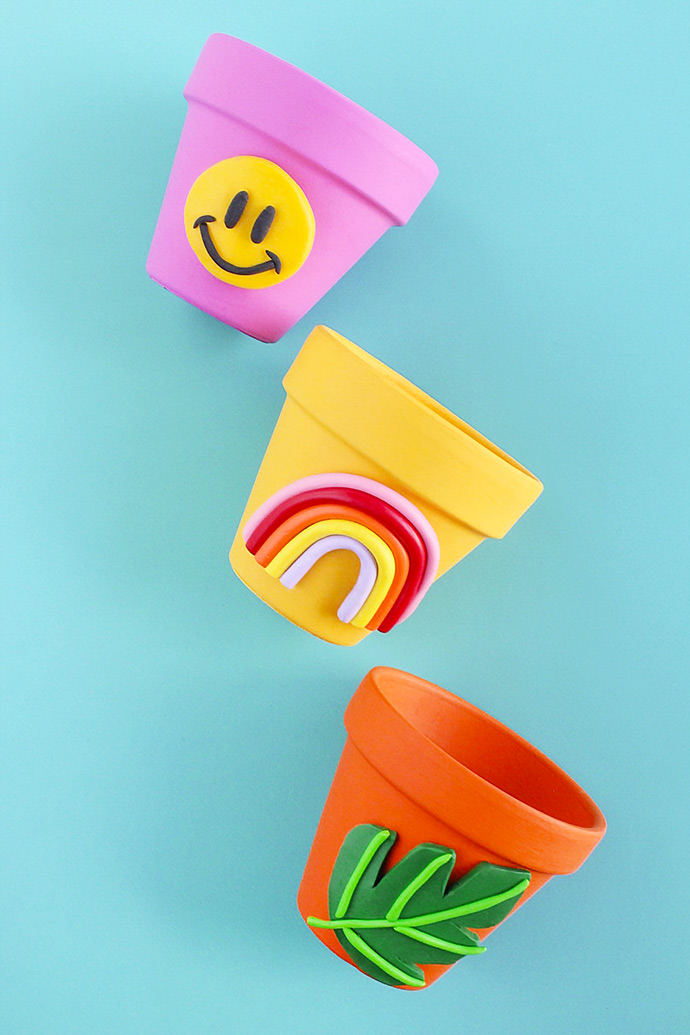
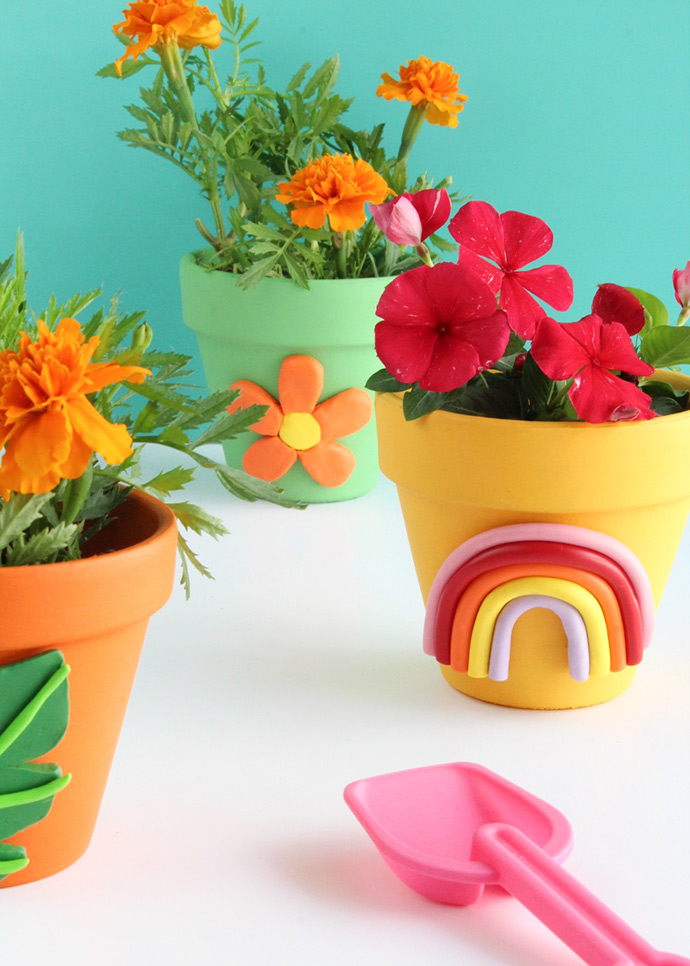
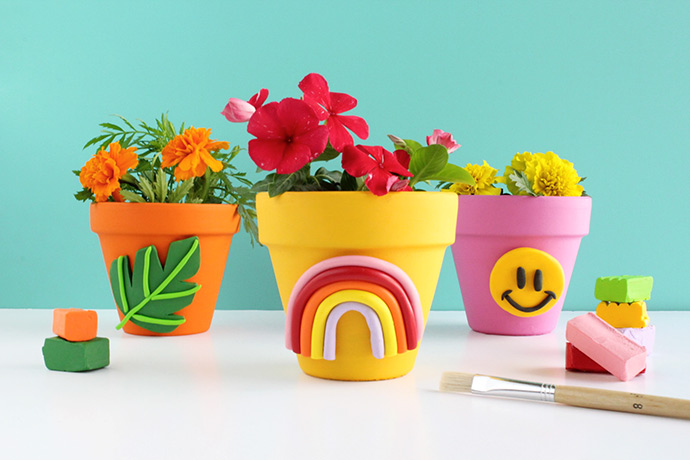
Add a pop of color to your greenery this summer with these DIY colorful clay planters! These little guys are so fun to make – and aren’t they just adorable, too? You can make these at a craft night with friends, give them as gifts, or keep them for yourself! Whatever you choose, some lucky plants will have a cute new home to grow into.
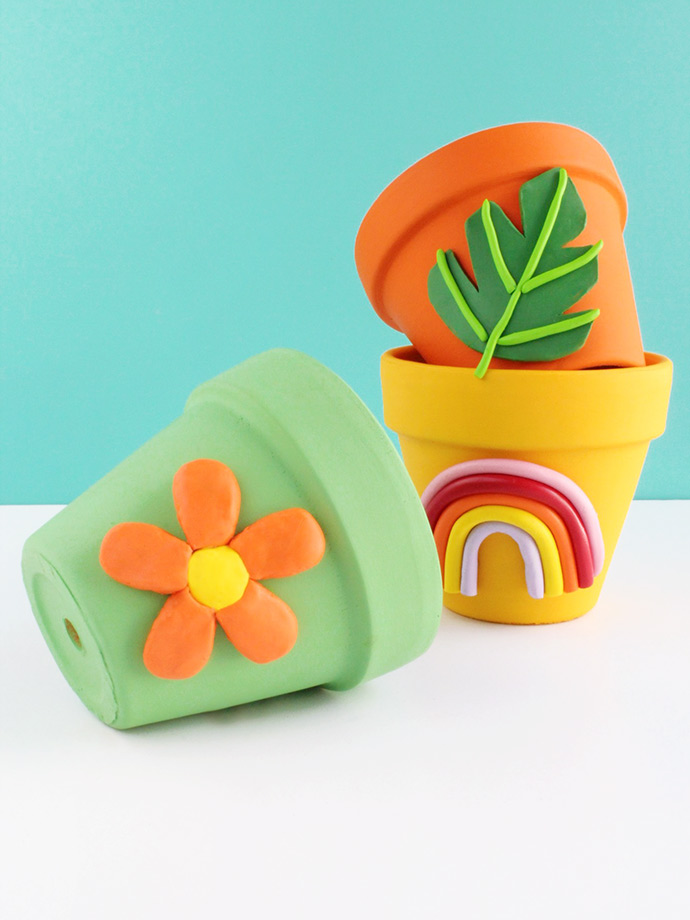
For this project, I used clay to create 3D shapes for my planters. The shapes are fairly simple to make, so if you’re not super comfortable handling clay, this is a great way to practice. Like I always say, don’t worry about perfection and just have fun with it. Here’s to a summer in full bloom!
what you need:
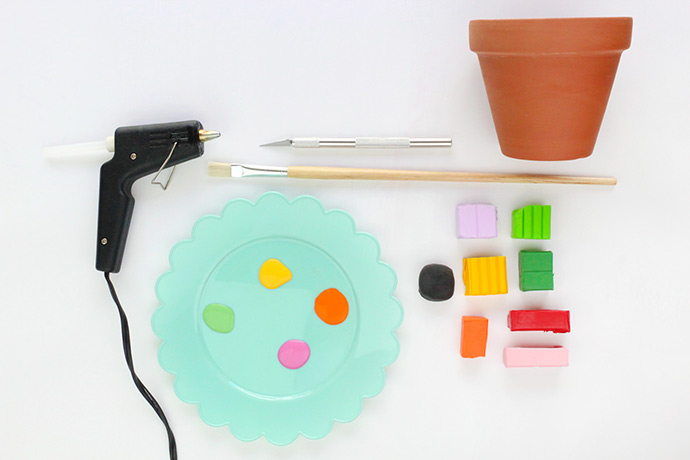
- Terra cotta pots
- Paintbrush
- Waterproof Acrylic Paint (yellow, green, pink, orange)
- Clay (red, orange, yellow, light green, dark green, light purple, pink, black)
- Hot glue gun
- Cutting tool (for the clay)
how-to:
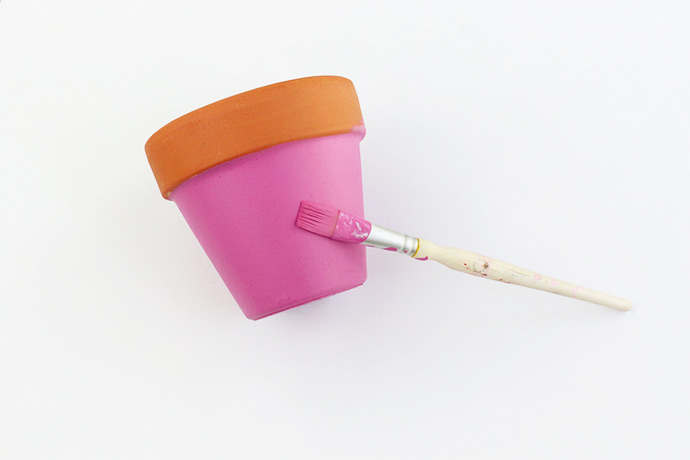
Step 1
Paint your terra cotta pots and allow them to dry completely.
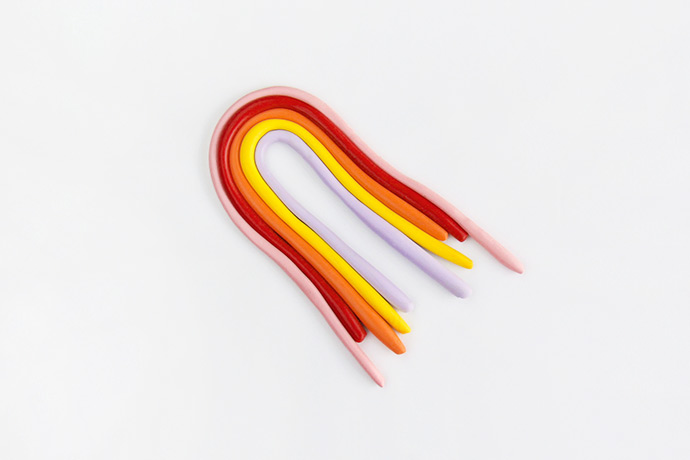
Step 2: For The Rainbow:
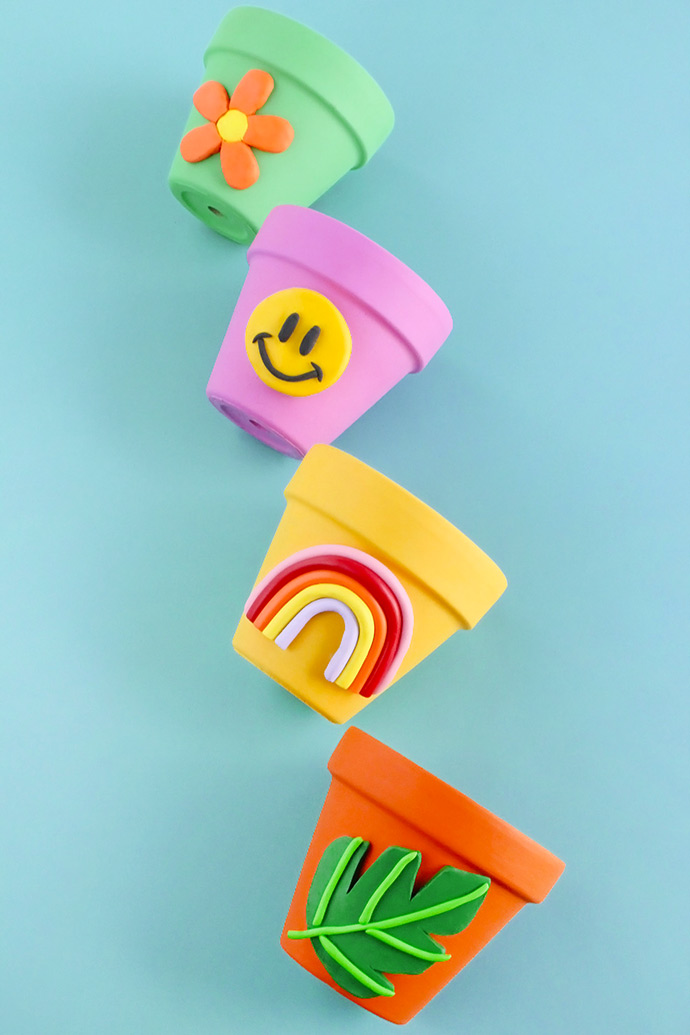
Roll the pink, red, orange, yellow, and light purple clay into long strips. Then, fold the colors on top of one another to form a rainbow.
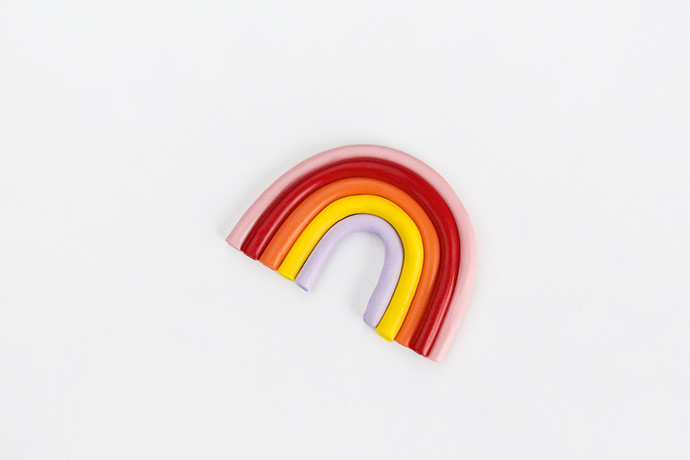
Cut off any excess and bake according to clay package instructions.
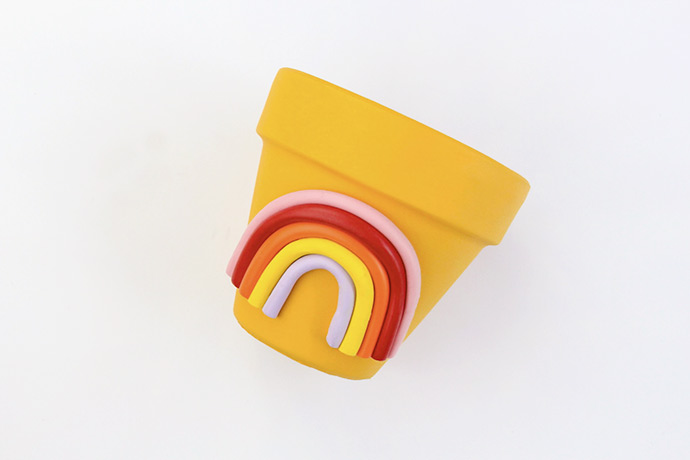
Glue onto the planter.

Step 3: For The Flower:
Create a small circle out of yellow clay. This will be the center of the flower. Then, cut small pieces of orange clay and shape them into petals. Work the petals into the yellow center and bake according to clay package instructions.
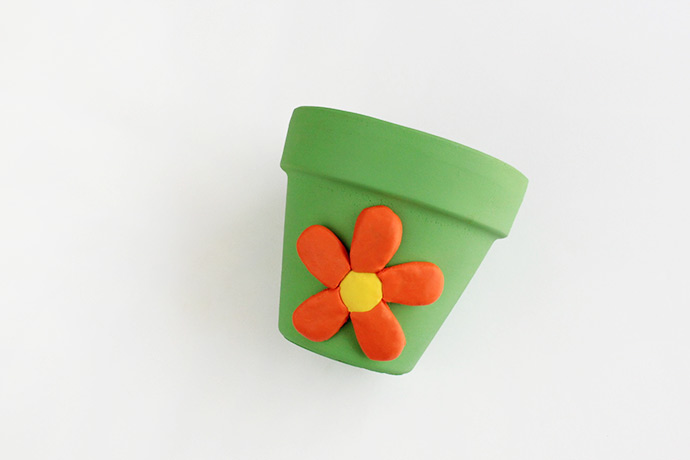
Glue onto the planter.


Step 4: For The Happy Face:
Using yellow clay, create a circle to be the base of the happy face. Then create details for the face using black clay.
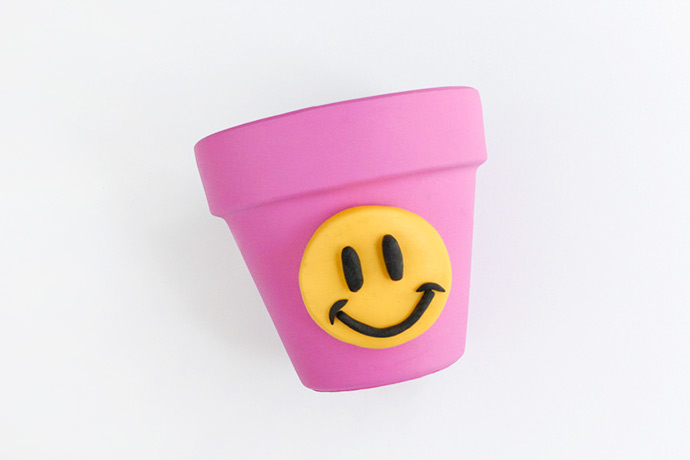
Bake according to clay package instructions and glue onto the planter.
Step 5: For The Leaf:
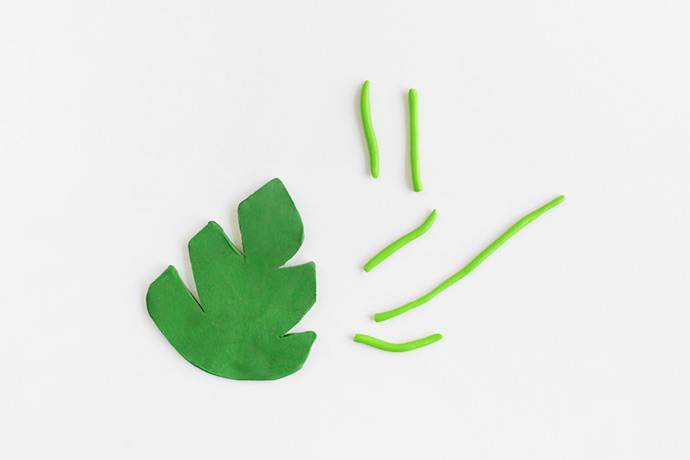
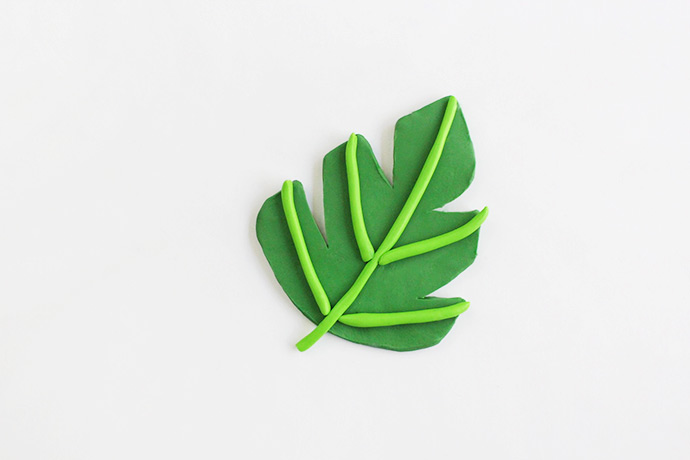
Using a cutting tool, cut out a leaf shape using dark green clay. Then, with light green clay, create details to go on the leaf.
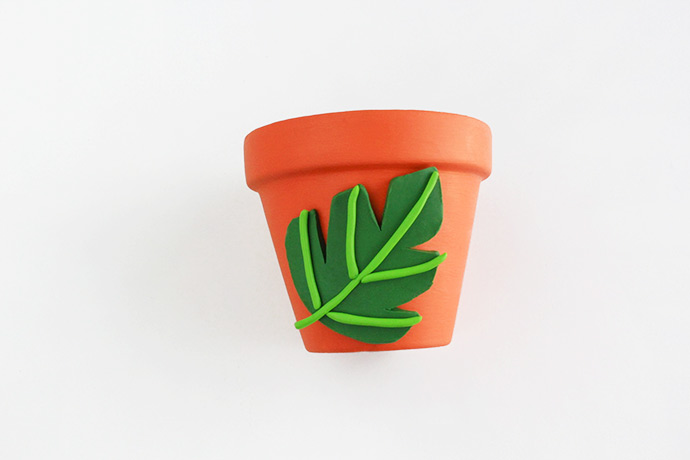
Bake according to clay package instructions and glue onto the planter.
Happy crafting!