This post is sponsored by Plaid Enterprises.
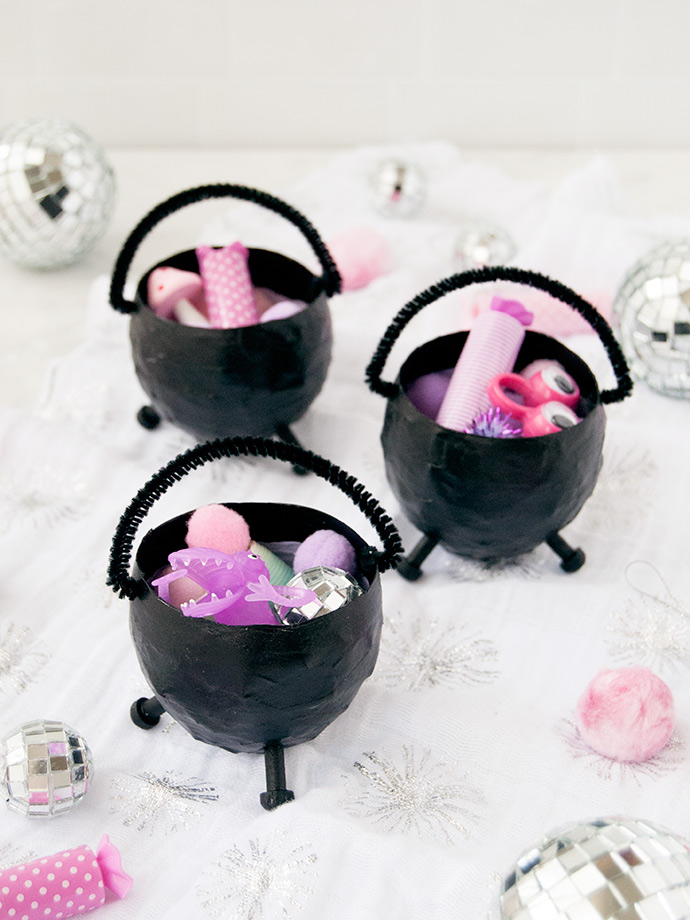
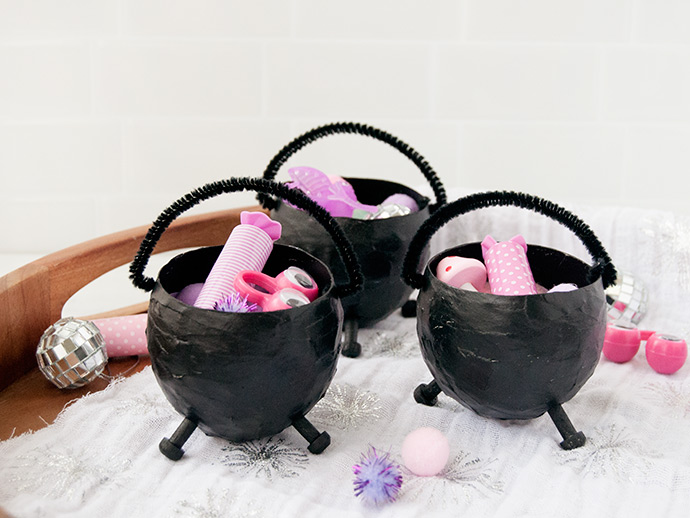
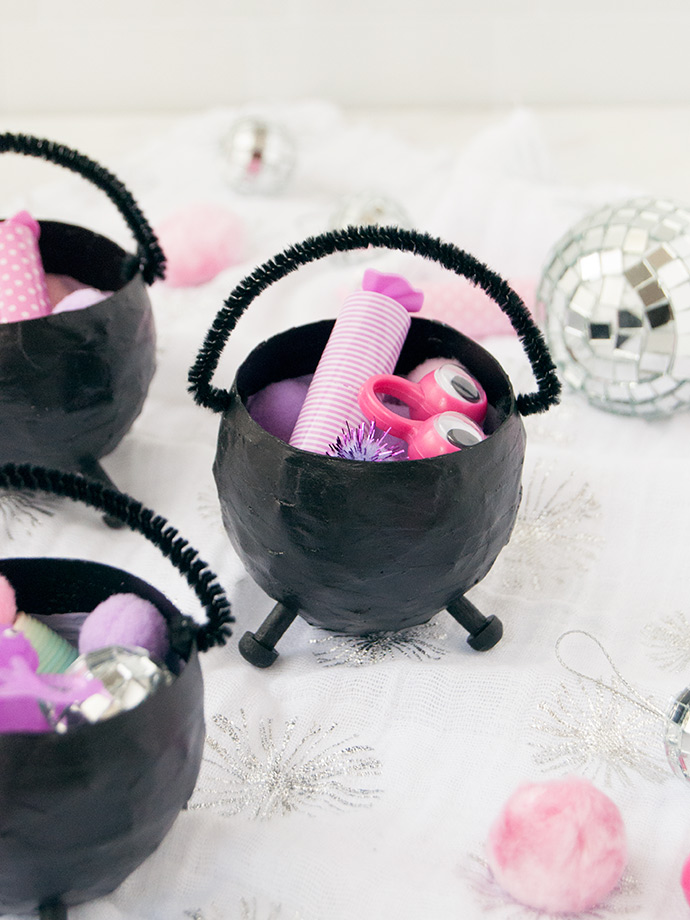
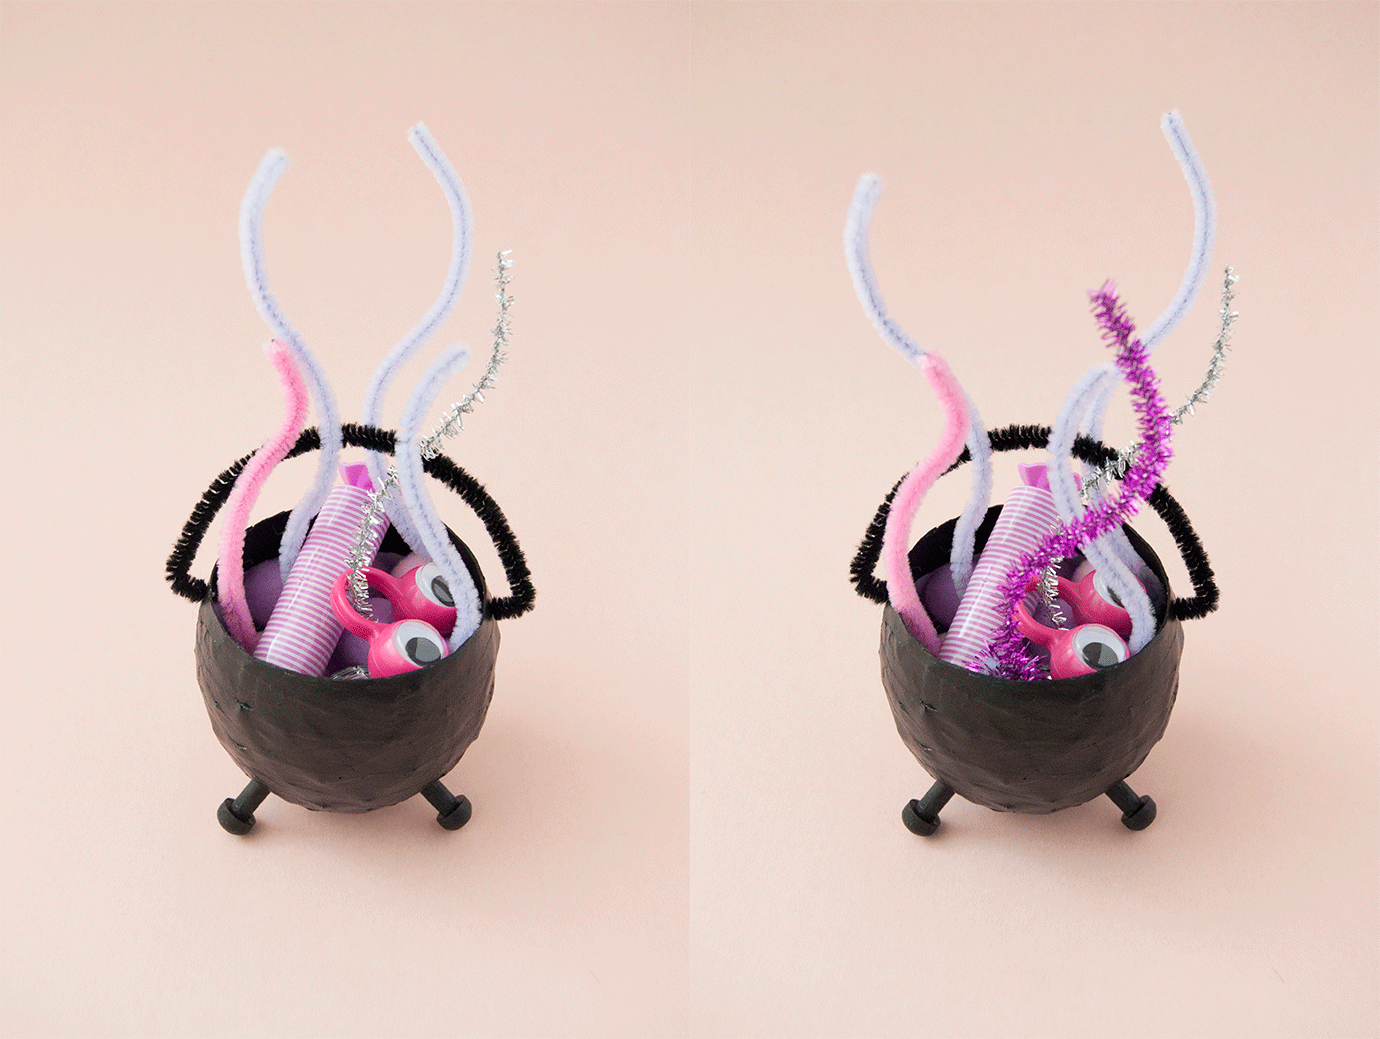
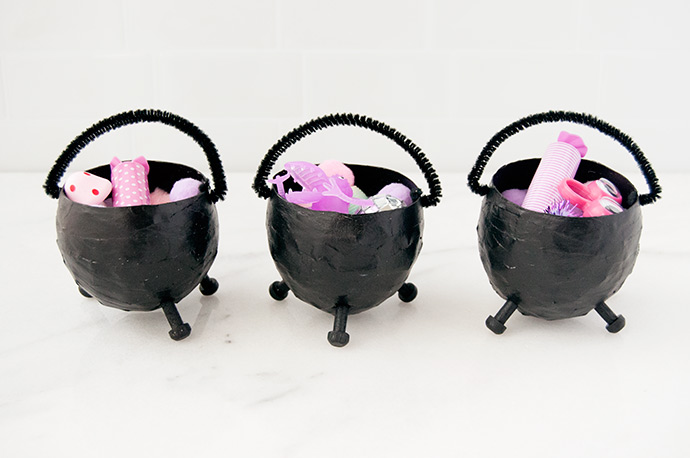
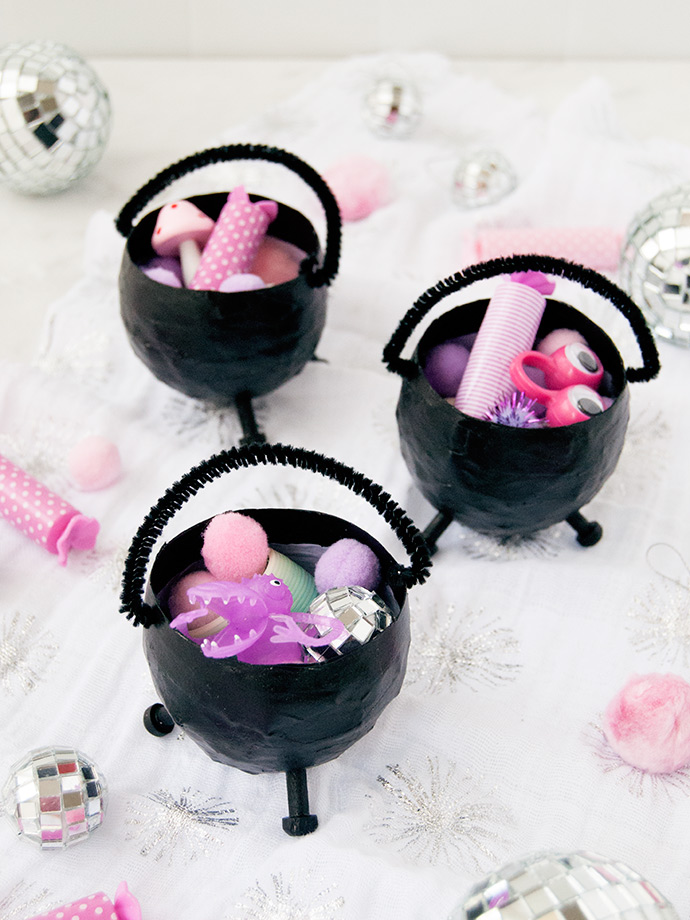
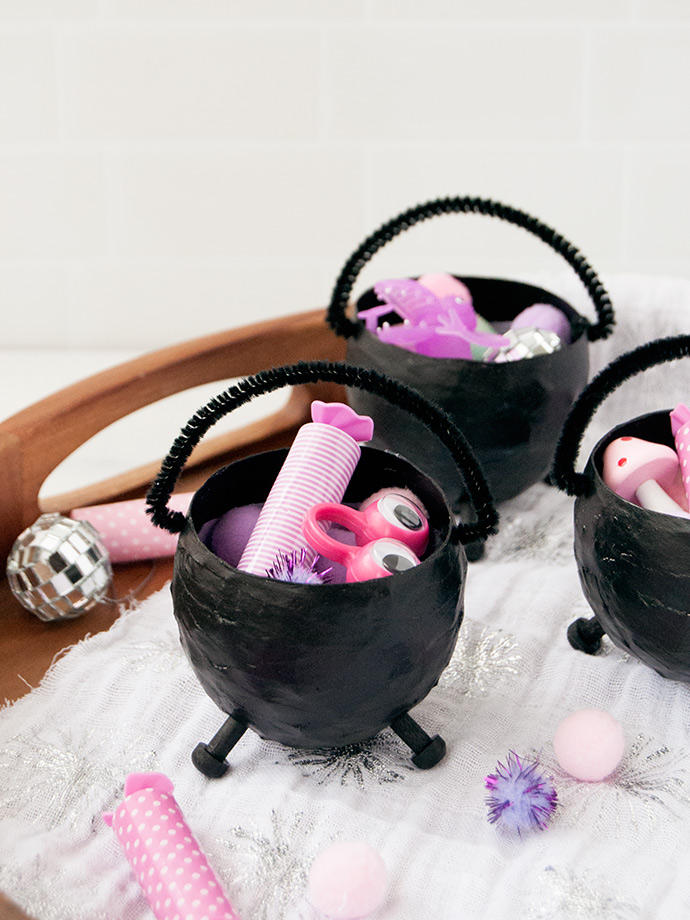
Double double, toil and trouble, fire burn and cauldron bubble! These mini paper mache cauldrons are the perfect touch for your Halloween party this year – every witch and wizard in attendance is sure to want one of their own! Fill them up with sweet treats, creepy crawlies, and magical fun for all the party-goers to bring home.
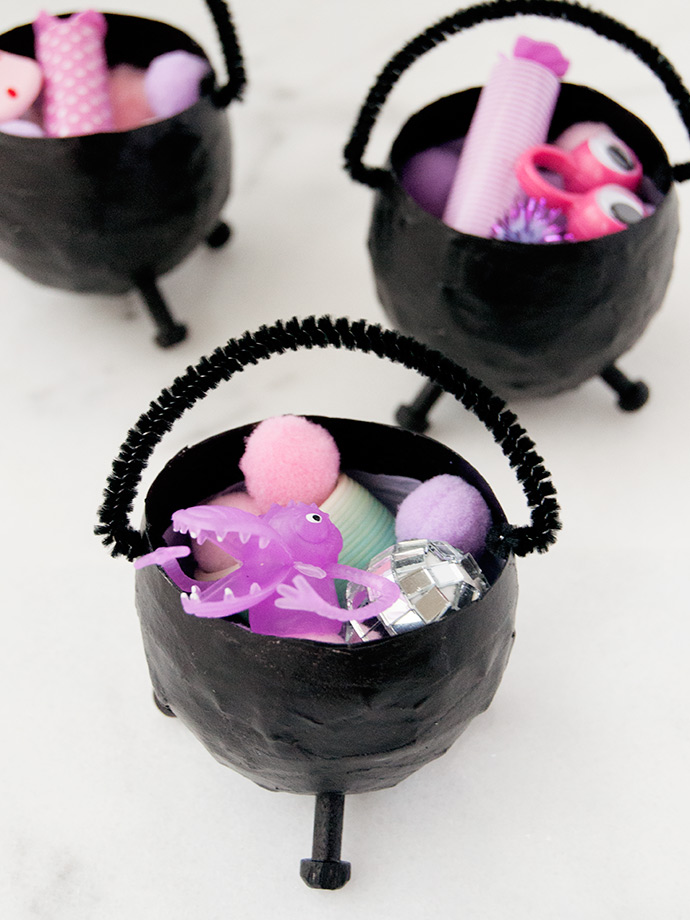
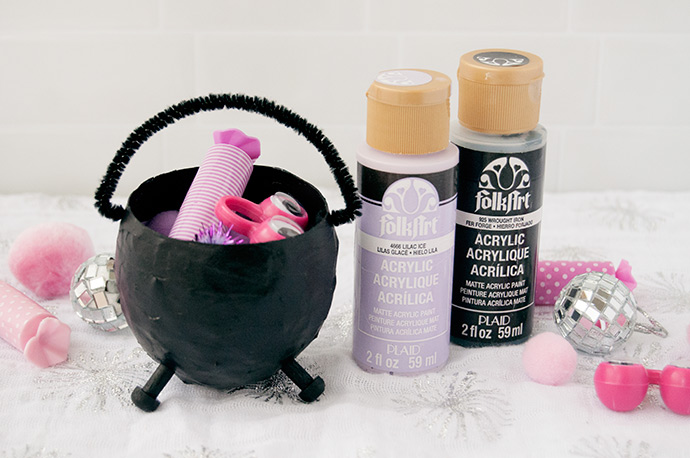
With the help of Mod Podge, some water balloons, and of course a few shades of Folk Art Acrylic Paint, these mini cauldrons come together in no time! You could even make a few extras to use as a centerpiece or decorate around the house. Learn how to make your own below!
what you need:
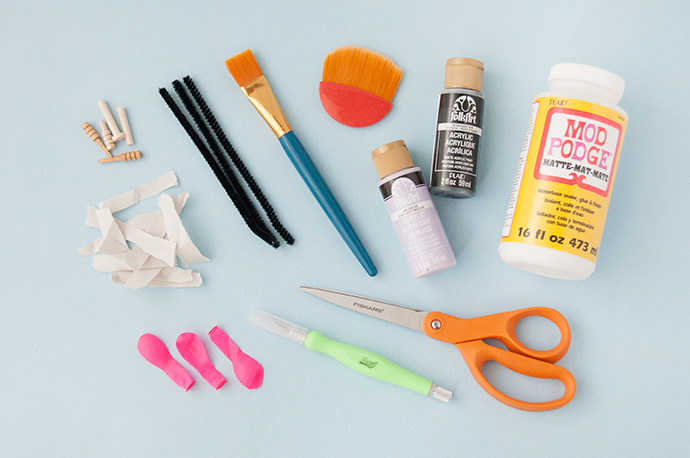
- Mod Podge Matte
- Mod Podge Brush
- Folk Art Acrylic Craft Paint
- Paintbrush
- Water balloons
- Newsprint (torn into small strips)
- Hot glue gun
- Wooden pegs (or similar)
- Black pipe cleaners
- Scissors
- Craft knife
how-to:
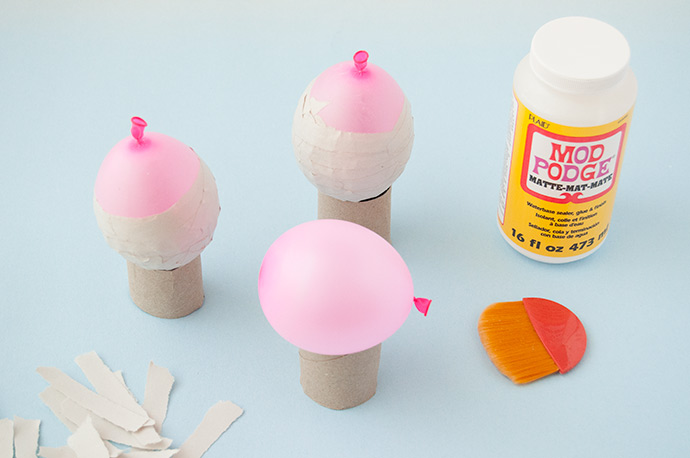
Step 1
Inflate your water balloons and set on small bowls (or cut up paper towel rolls as shown here). Apply a coat of Mod Podge onto the balloon, lay down a small strip of newsprint, and follow up with another coat of Mod Podge. Continue this process, overlapping each piece slightly, until the bottom two-thirds of the balloon is covered. Allow to dry to the touch and repeat with two more layers, again letting dry.
Tip: Make sure your newsprint is torn in narrow strips – if the pieces are too wide, they won’t sit flat on the balloon and create unwanted texture.
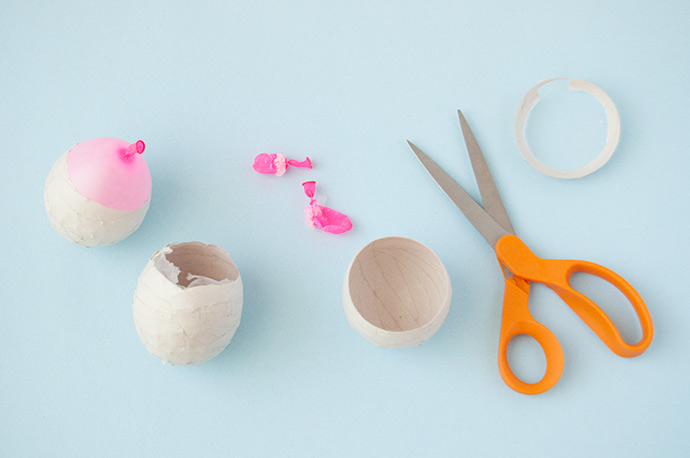
Step 2
Once the paper mache has dried completely, use scissors to pop and remove the balloon. Then trim the top edge to make it even and the size and shape you’d like for your cauldrons.
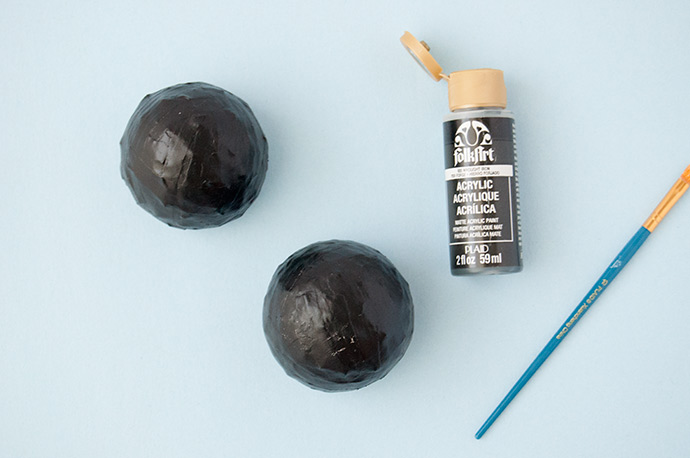
Step 3
Apply a coat of black paint on the outside of the cauldrons. Let dry.
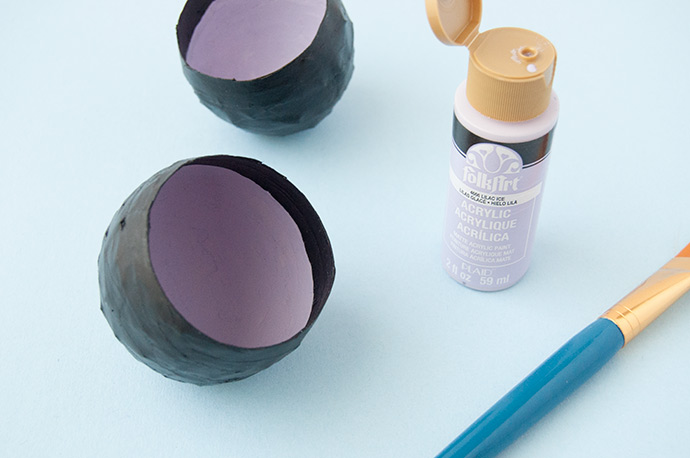
Step 4
On the inside, pick another color to look like a potion and apply a coat. Once dry, paint the top edge of the inside black as well so that it looks like your cauldron is almost full of the potion. Let dry.
Step 5
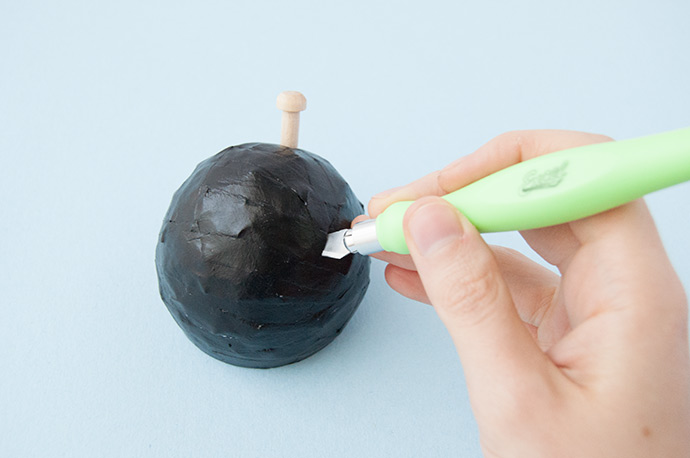
Use a craft knife to poke three small holes in the bottom of each cauldron, keeping them as equally spaced as possible. Carefully insert a wooden peg into each hole, adjusting them so that the cauldron sits evenly. You can also choose to secure the legs even more by using hot glue to attach them in place from the inside of the cauldron.
Note: you should be able to find wooden pegs similar to these in the wood aisle at the craft store. Alternately, you could use popsicle sticks cut into smaller pieces.
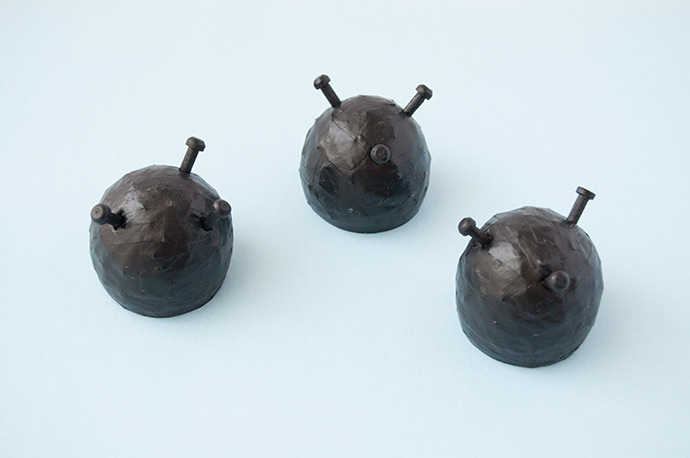
Step 6
Paint the cauldron legs black and let dry.
Step 7
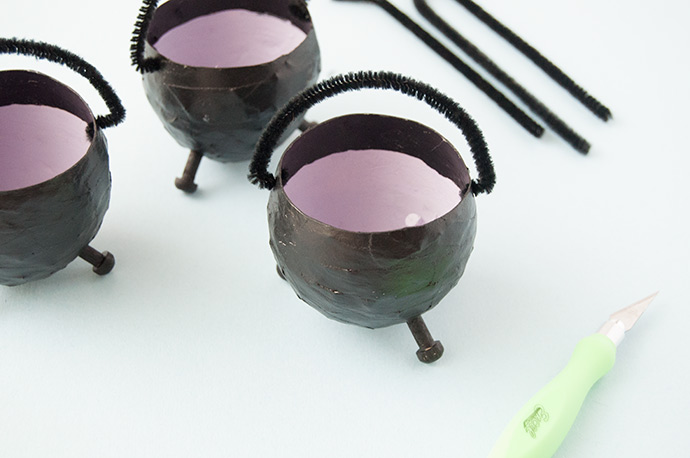
Poke a small hole on opposite sides of the cauldron along the top. Cut a full-length black pipe cleaner in half and insert one end into a hole, bending it on the inside to hold in place. Feed the other end through the other hole, again folding the very end slightly to secure it to the cauldron.
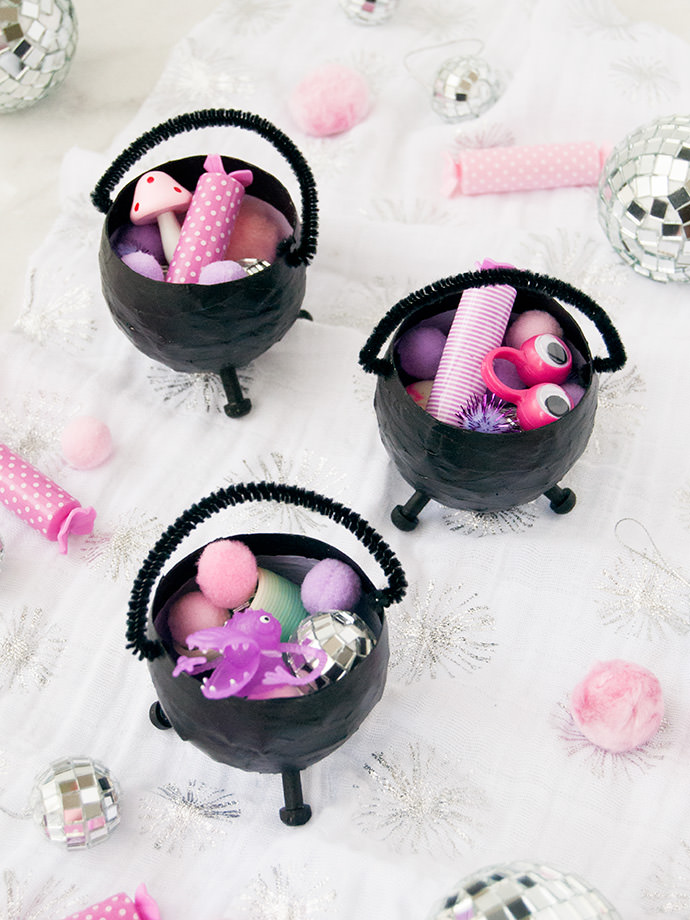
Happy Halloween crafting!