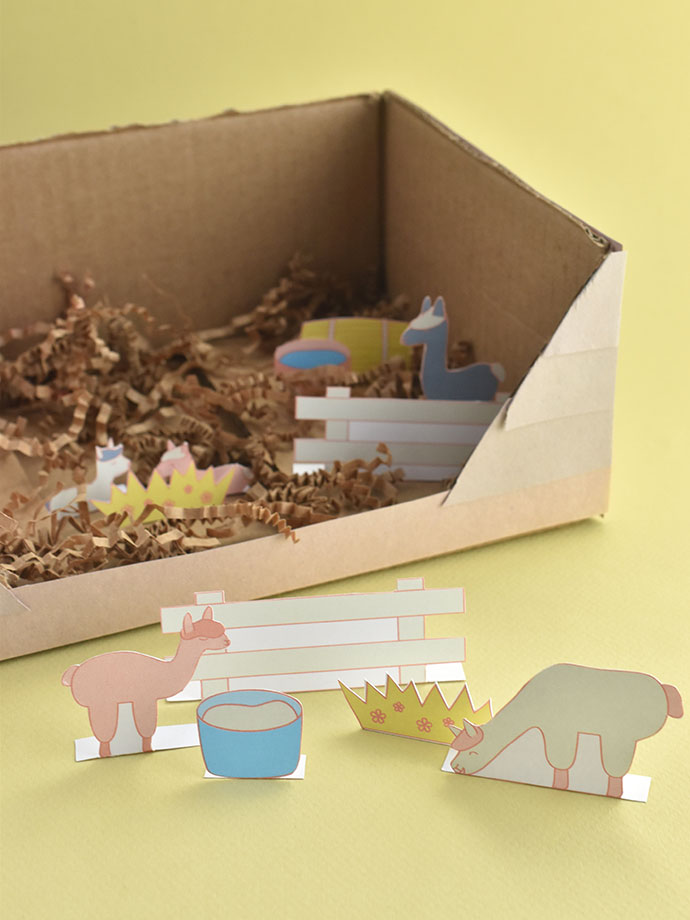
Make a visit to a tiny alpaca farm when you craft this printable diorama! Alpacas are similar to llamas but softer and sweeter. You can bring some of their cuteness to your crafting and playtime by cutting out a few sweet creatures and their favorite things to munch.
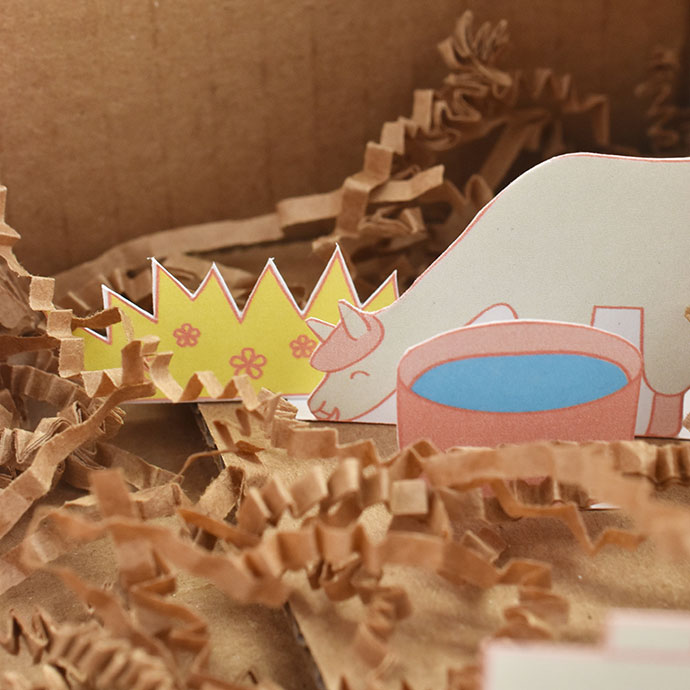
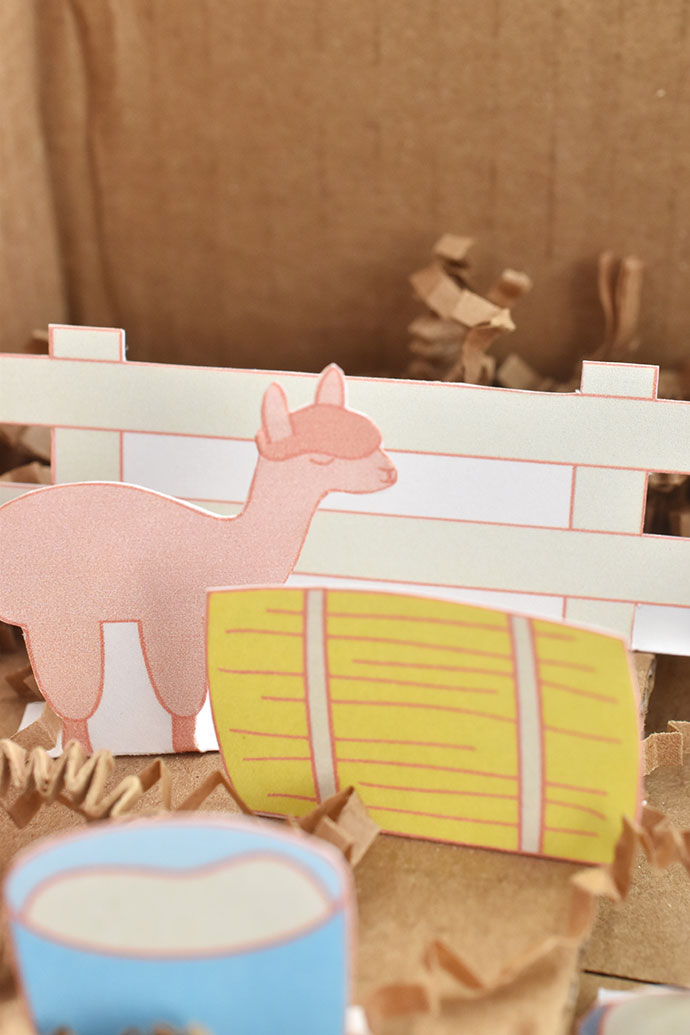
Whether you’ve visited or driven by an alpaca farm, or if the closest you’ve gotten to an alpaca is through pictures, this playset lets you enjoy these adorable animals without the cleanup.
You can print and play with the alpacas on their own, but it’s also fun to make a little spot for them to play or be displayed. We made our barn-like display from a box rescued from the recycling bin!
This set of animals and their environment is the second in a series of critter habitat dioramas. You can find the polar bear set here and more sets are coming in the months ahead!
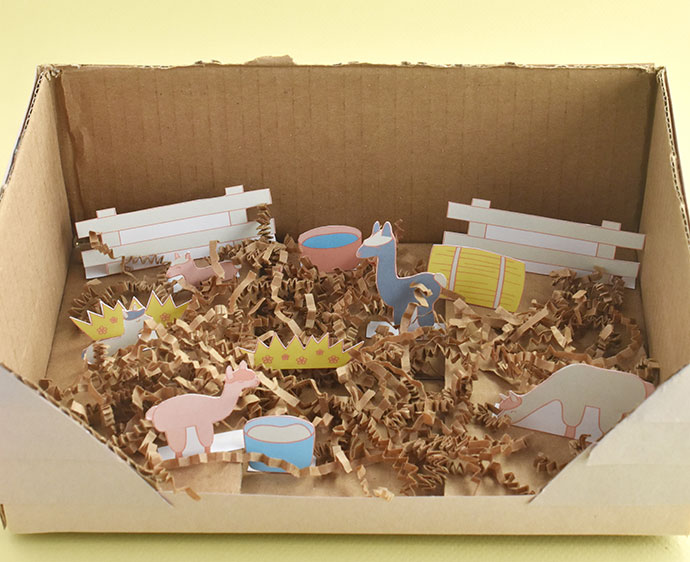
The alpacas are getting hungry, so let’s get started!
what you need:
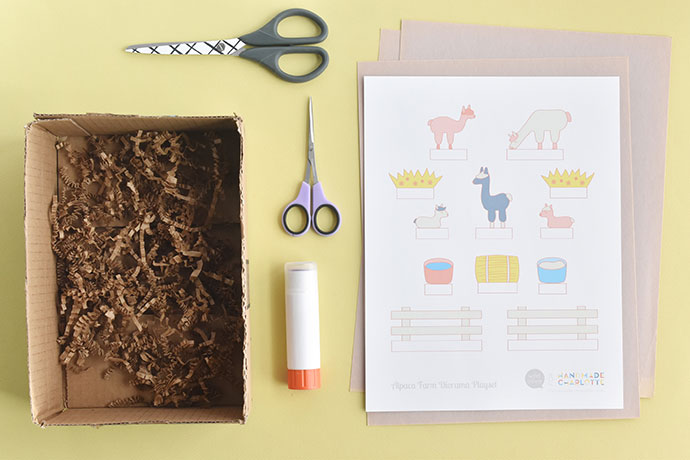
- Card Stock
- Markers, Colored Pencils, etc. (optional)
- Scissors
- Glue Stick
- Small Cardboard Box
- Construction Paper
- Paper Shred or Raffia
- Printable alpaca playset
how-to:
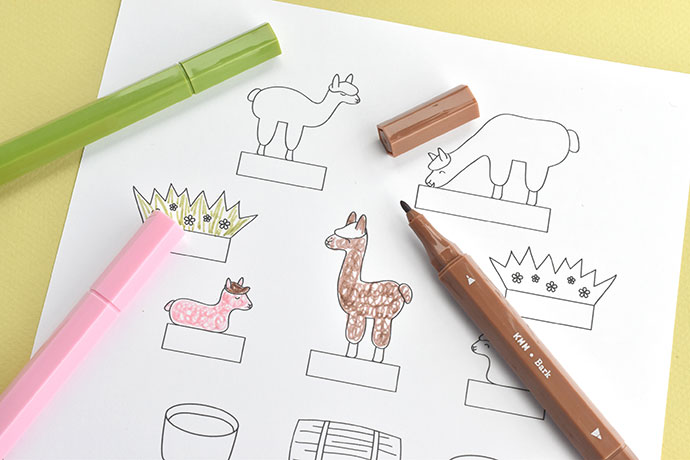
Step 1
Print the PDF on card stock. In the file there is a full-color version and a black and white version you can color. If you want to color yours, now is a good time to do that.
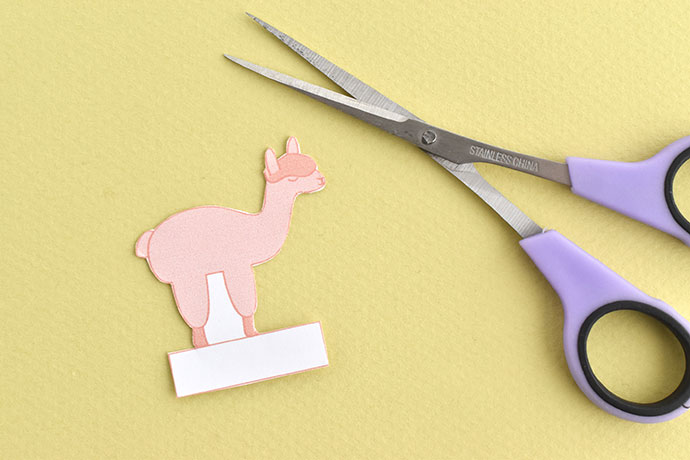
Step 2
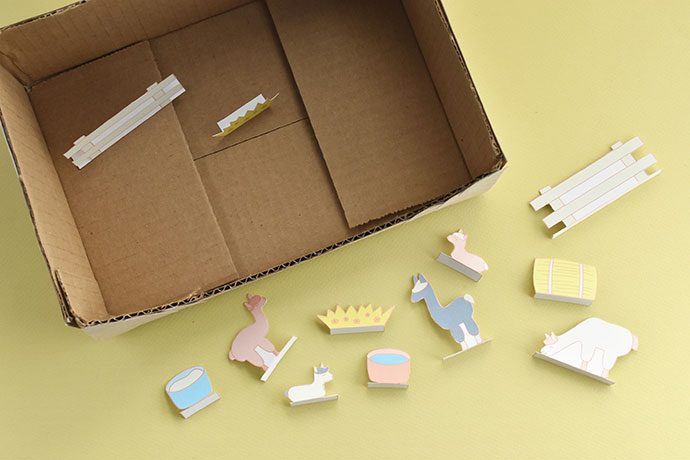
Cut out each of the pieces. Small scissors are good for cutting small pieces.Be sure to keep the rectangle bases connected to the alpacas and accessories. You don’t need to worry about cutting out the spaces under the alpacas or between the fence rails.
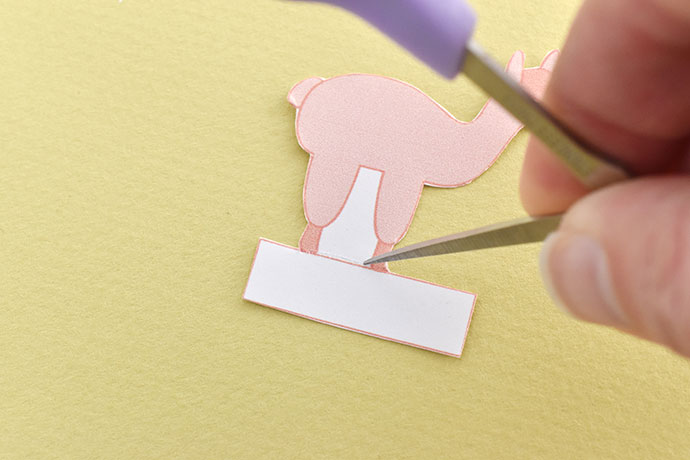
Step 3
Use one blade of the scissors to score the line where the pieces and bases connect.
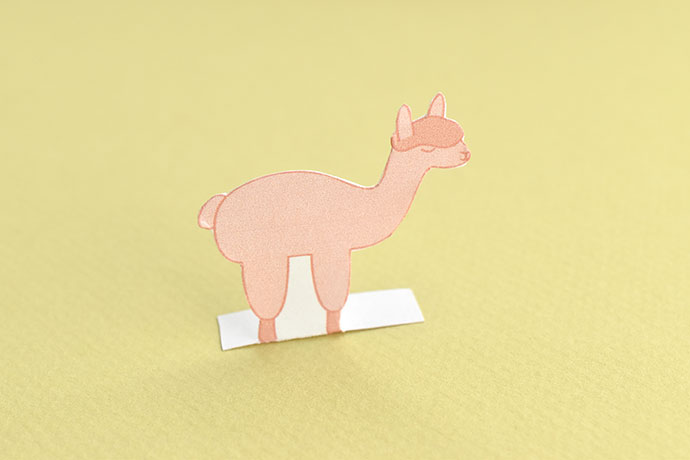
Fold the bases back, then use them to make the pieces stand up. You may need to fold the base a little more than 90 degrees.
Step 4
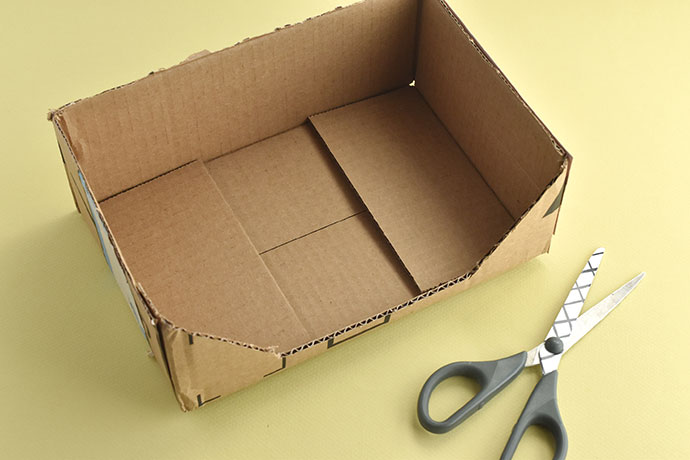
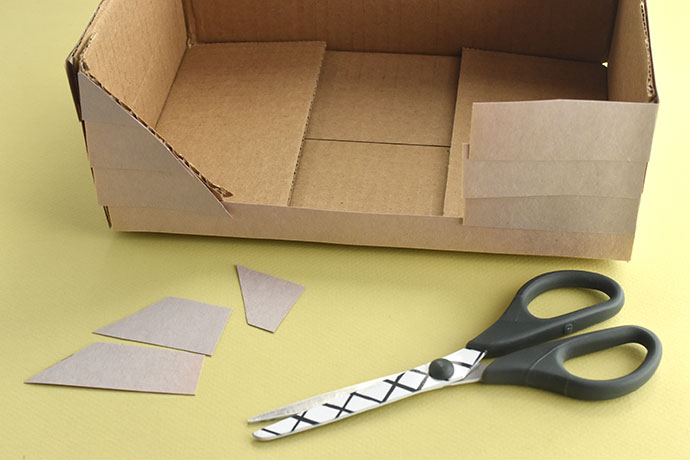
To make the barn box, start with a small shipping box or a large tissue box. Cut off the top flaps or around the top so it’s several inches tall. Next, on one long edge, cut diagonally from the corners to the bottom to make an open side.
Step 5
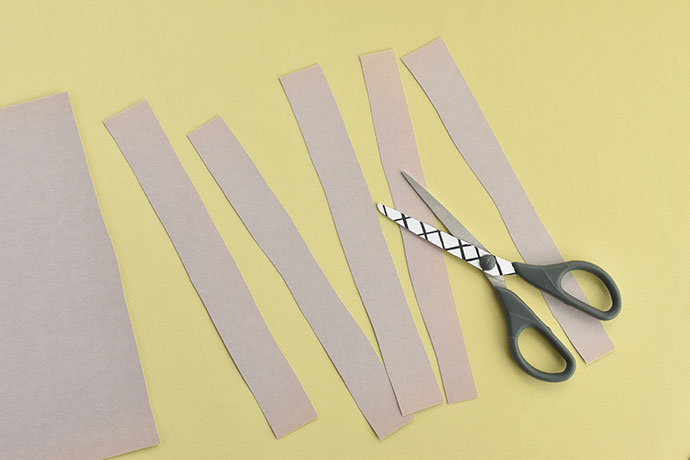
Cut the construction paper into strips that are about 1-inch wide. They don’t have to be perfectly straight because that will help them look like boards on a barn.
Step 6
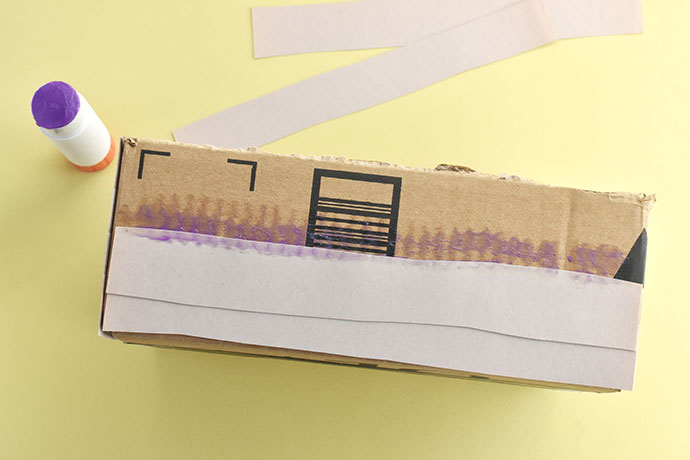
Starting at the bottom edge of the box, glue the paper strips onto the box, overlapping them slightly. Repeat this on each side of the box.
Step 7
On the front of the box where the side is more open, cut and glue shorter pieces, then trim them so they match the diagonal edges.
Step 8
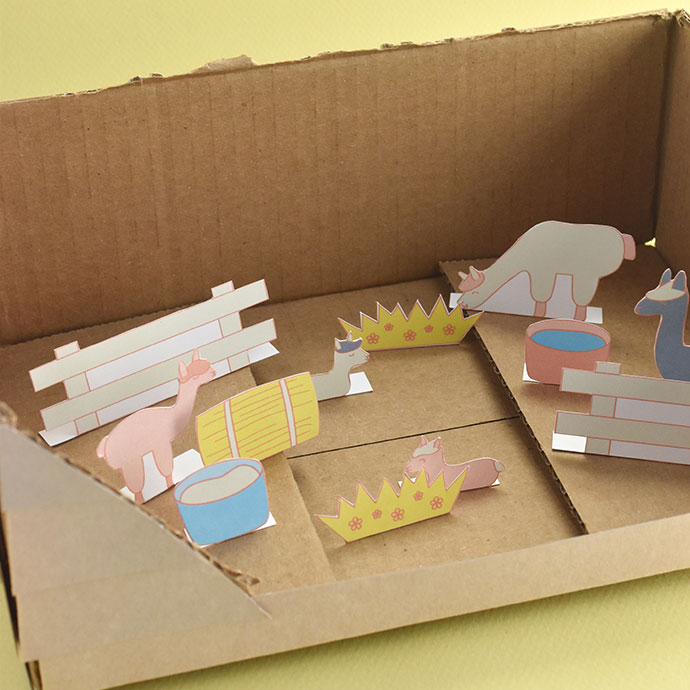
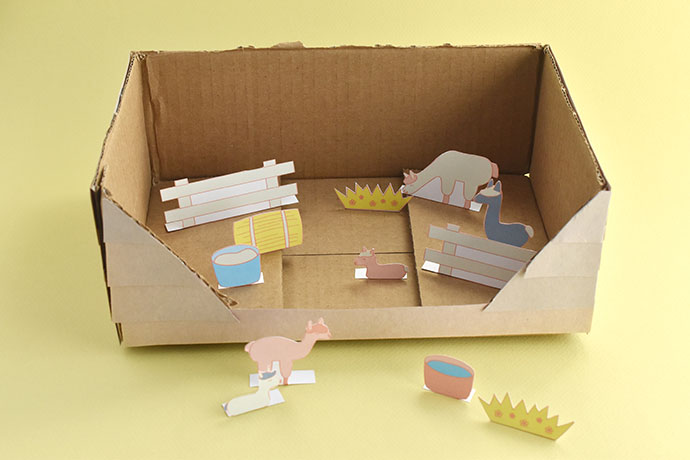
Now you can start setting up your diorama. Arrange the pieces however you like. If you want to make it more permanent, glue down the bases to the box. Or, leave the pieces loose so you can move them around and play on the alpaca farm!
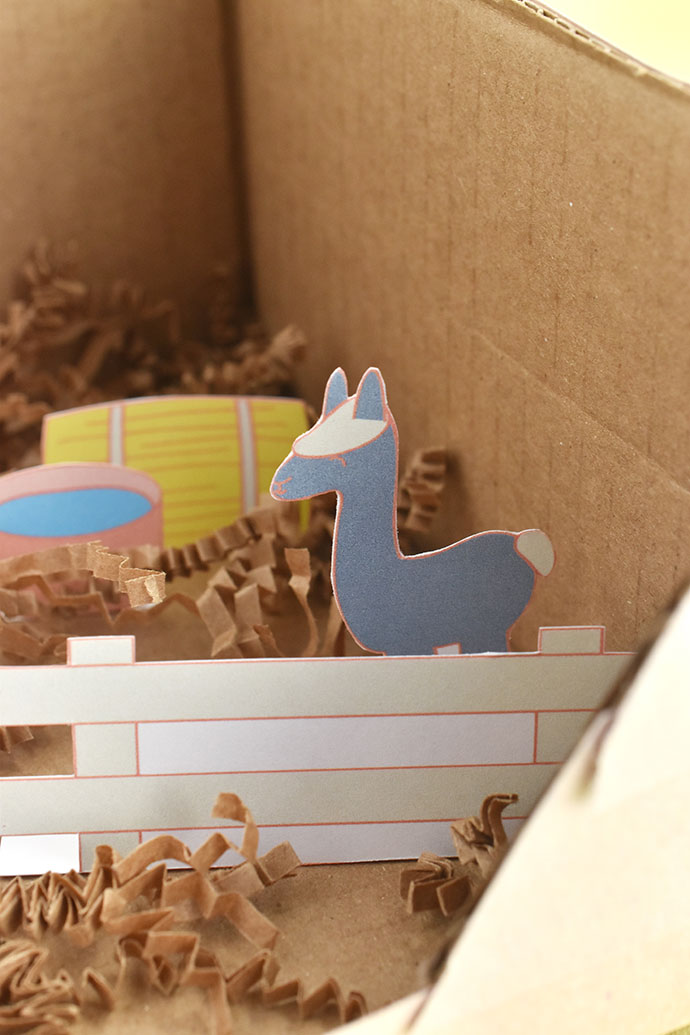
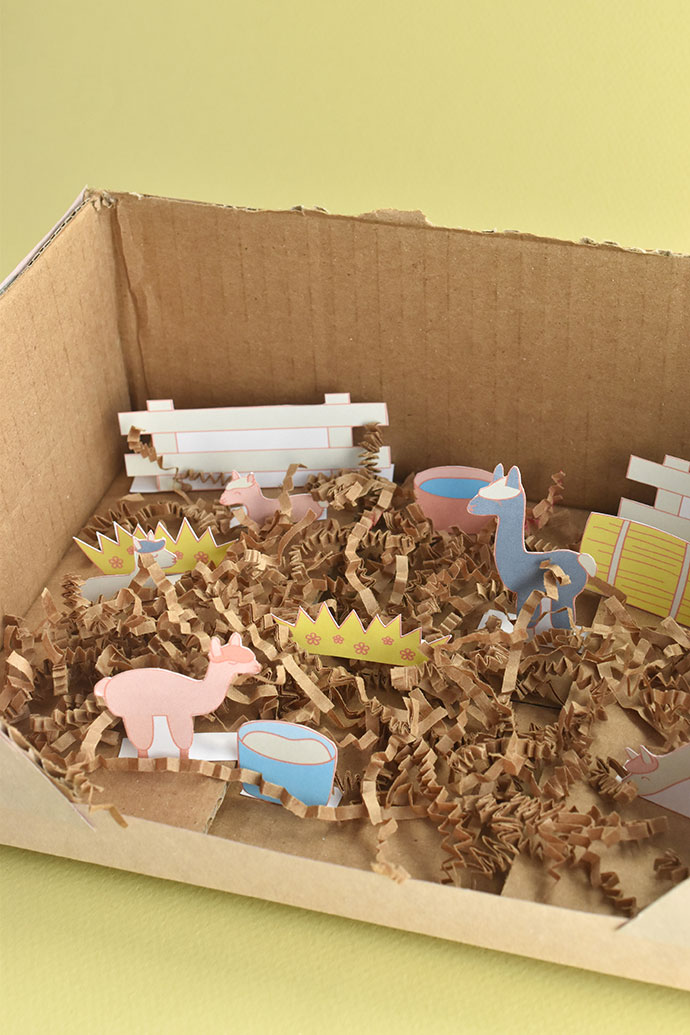
As a finishing touch, you can add some shredded paper or small pieces of raffia. These extra pieces make it a little harder for the pieces to stand up, but as long as you nestle them in, they’ll stay.
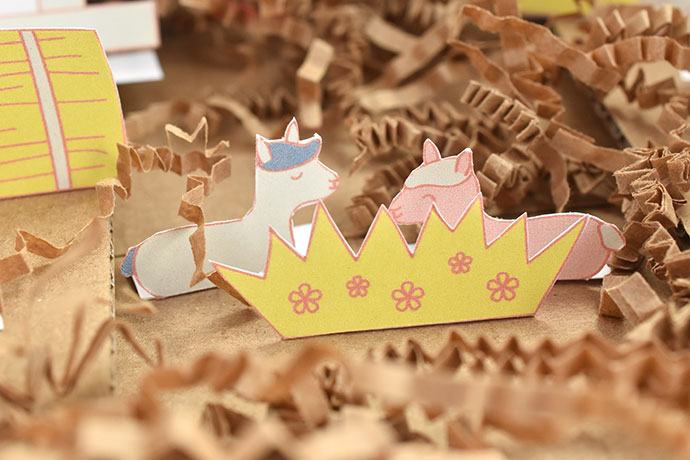
As you play with your printed figures, take a few minutes to learn more about alpacas, the many colors they come in (pink isn’t exactly a natural shade for them, but there are a lot of varieties!), and how they provide soft fibers for making yarn.
Want to make your alpacas extra soft and fluffy? Glue some whisps of cotton balls or even some real alpaca yarn on them!
Happy crafting!