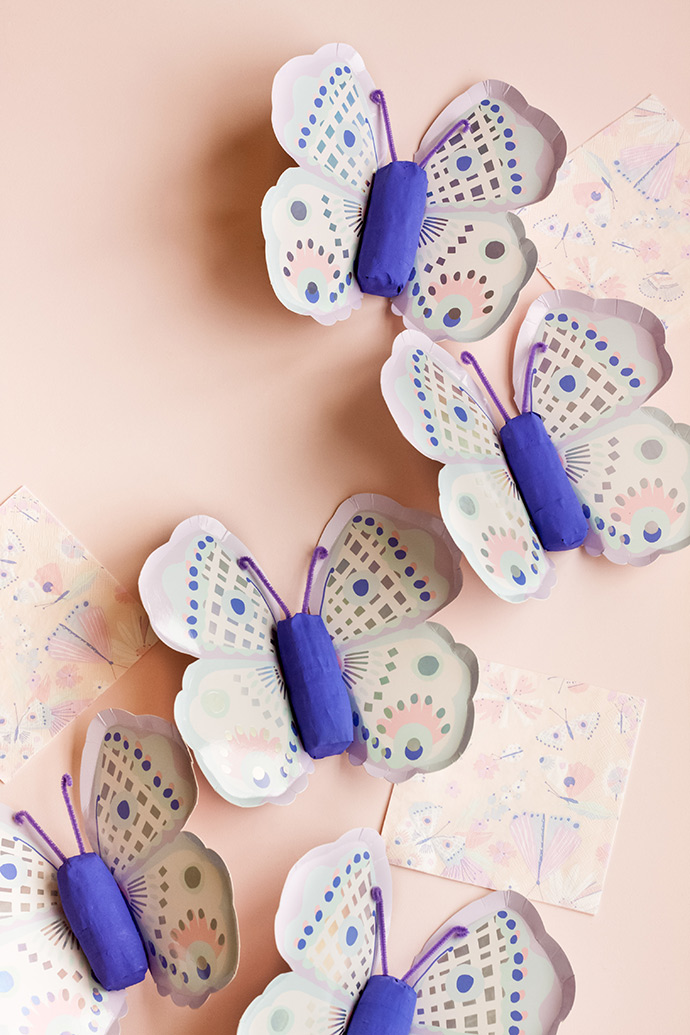
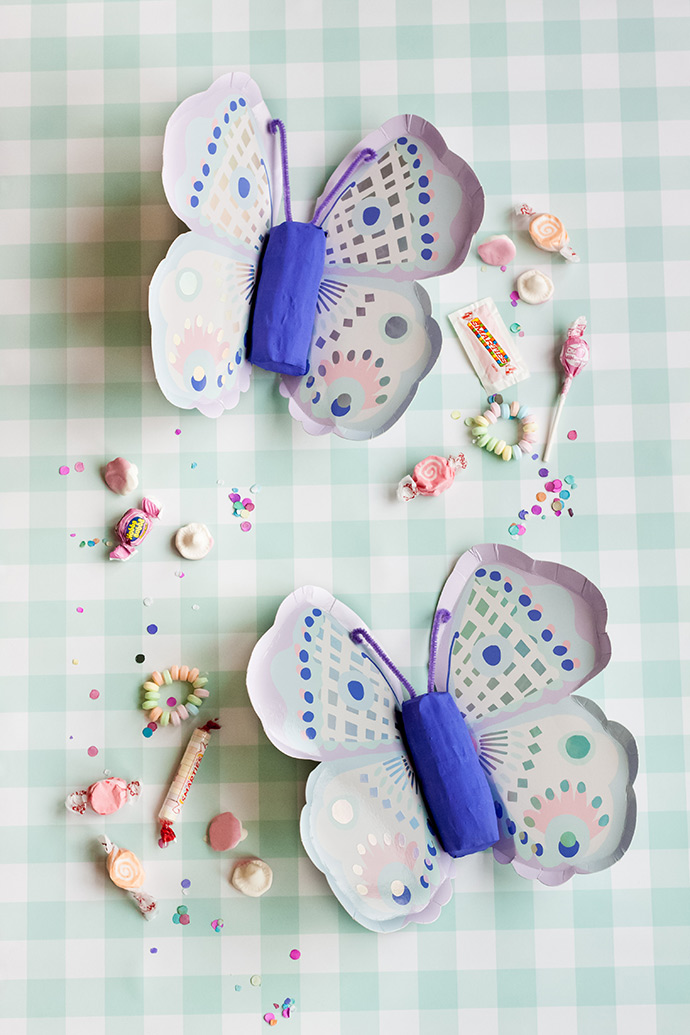
Once, a beautiful yellow butterfly died and landed near my husband’s car. He brought the fellow home, put him in a plastic bag, and he has been sitting on a shelf ever since. I still haven’t figured out what we’re going to do with him, but he is too beautiful to toss! I have always been a big fan of butterflies, and admired their beauty. When Daydream Society came out with these adorable plates, I knew we had to incorporate them in a project. They are just perfect for a garden party, tea, or general birthday celebration. We are clearly big fans of mini piñatas, so using the plates to create them seemed like the right thing to do! Now party guests can go home with their very own butterfly piñatas, and you’ll have the perfect party décor in the meantime!
If you’re looking for a few more fun craft ideas, try these butterfly paper snowflakes, these adorable chip bag butterflies, or this recycled butterfly feeder.
what you need:
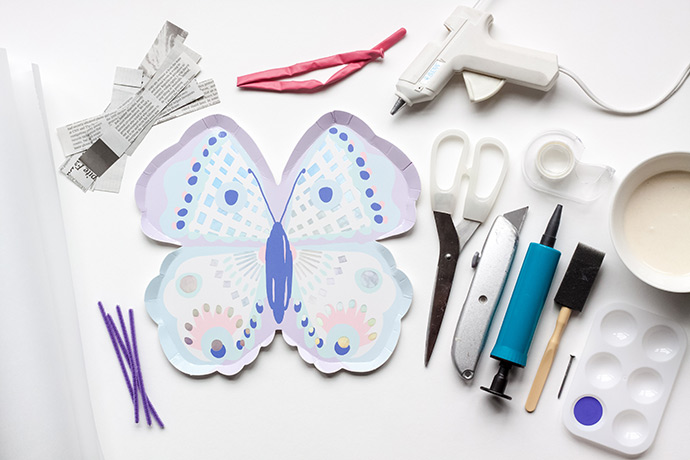
- Twisty balloons
- Clear tape
- Scissors
- Newspaper strips
- Paper mache paste (1 cup water, 1 cup flour)
- Balloon pump
- Butterfly plates from Daydream Society
- Acrylic paint
- Sponge brush
- Glue gun
- Nail
- Pipe cleaners
- Box cutter
- Wax or parchment paper
how-to:
Step 1
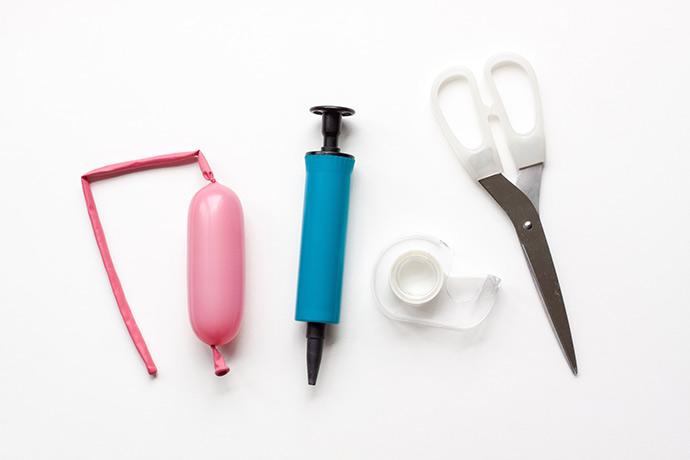
Use your balloon pump to blow up a twisty balloon to about 4 inches in length, and tie off the end.
Use your balloon pump to blow up a twisty balloon to about 4 inches in length, and tie off the end.
Step 2
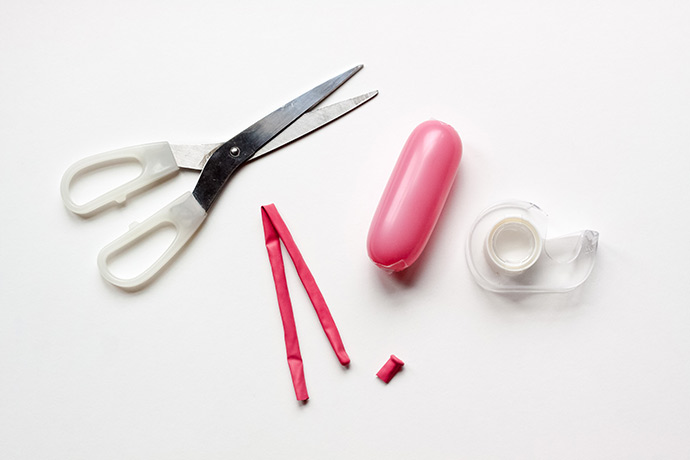
Cut off the excess balloon, and tape down the little pieces on each end.
Cut off the excess balloon, and tape down the little pieces on each end.
Step 3
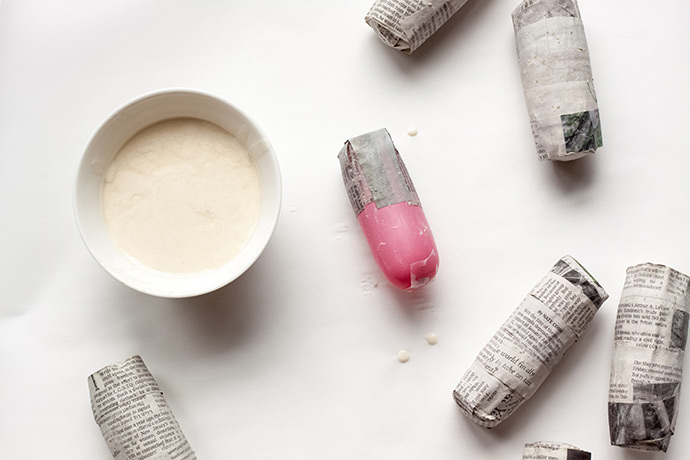
Dip the newspaper strips in paper mache paste, and squeeze off the excess. Cover the entire balloon in newspaper. It is easiest to start with an “x” on each end, and then work your way down the balloon. Allow to dry completely.
Dip the newspaper strips in paper mache paste, and squeeze off the excess. Cover the entire balloon in newspaper. It is easiest to start with an “x” on each end, and then work your way down the balloon. Allow to dry completely.
Step 4
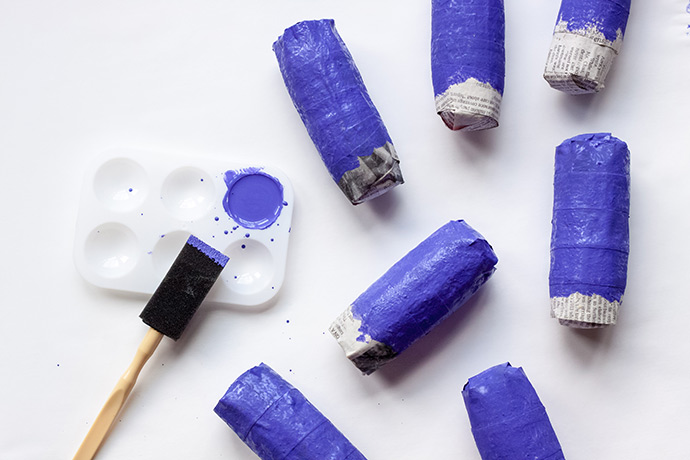
Use a sponge brush to paint the covered balloons in a purple acrylic paint that matches the butterfly body on the plate. Allow to dry.
Use a sponge brush to paint the covered balloons in a purple acrylic paint that matches the butterfly body on the plate. Allow to dry.
Step 5
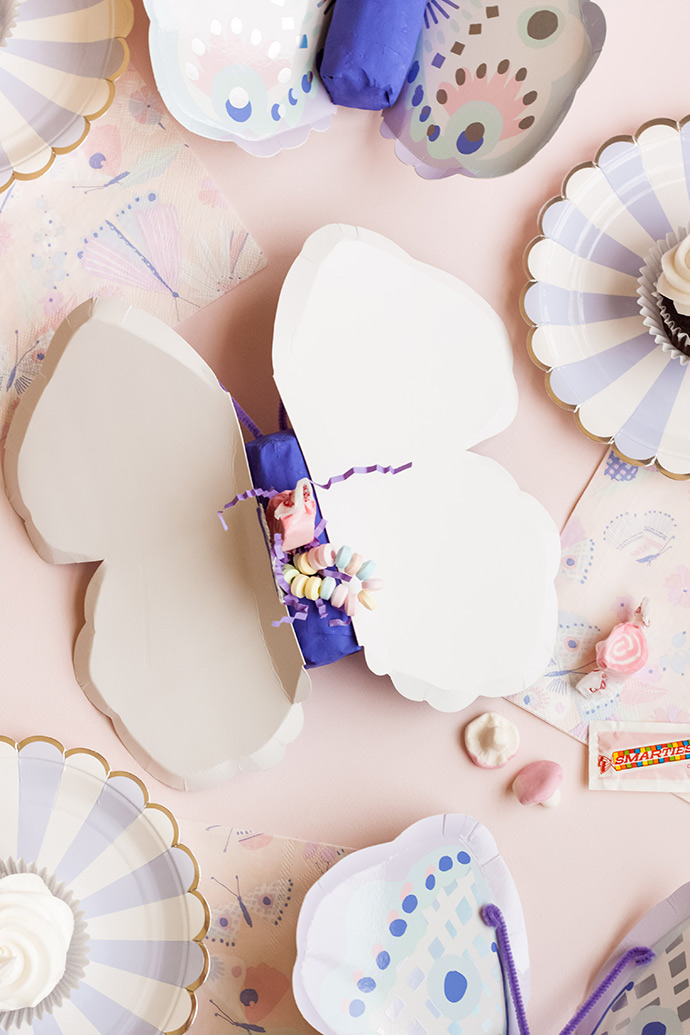
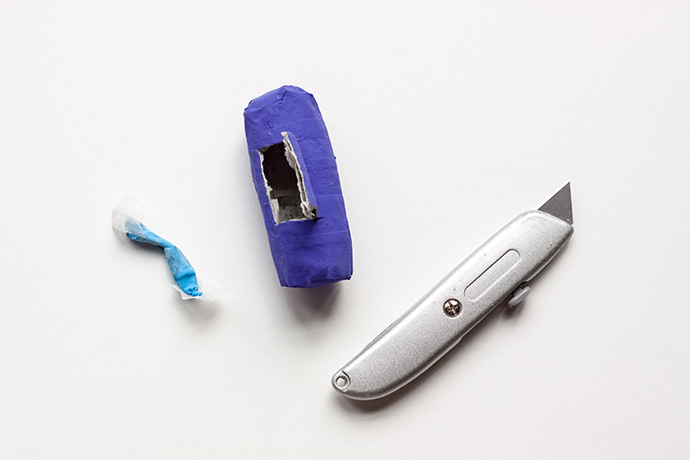
Use a box cutter to cut three sides of a rectangle into the back of each covered balloon, to create a small door for filling with candy and prizes. It should be about 1 ½” tall, by 1” wide. Pull out the balloon and tape, and shake out any glue flakes from the dried paper mache paste.
Use a box cutter to cut three sides of a rectangle into the back of each covered balloon, to create a small door for filling with candy and prizes. It should be about 1 ½” tall, by 1” wide. Pull out the balloon and tape, and shake out any glue flakes from the dried paper mache paste.
Step 6
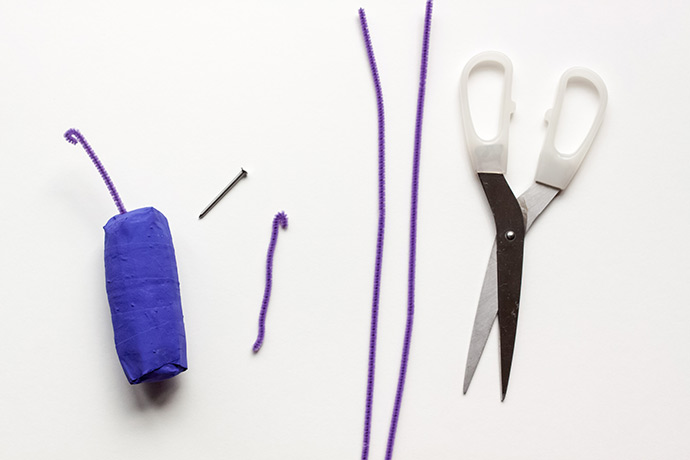
Use a nail to poke two holes in the top of the butterfly body, about ½” apart. Cut two purple pipe cleaner pieces about 4” long. Curl the tips, and push the straight ends into the holes. You may use a dab of glue to keep them in place if necessary.
Use a nail to poke two holes in the top of the butterfly body, about ½” apart. Cut two purple pipe cleaner pieces about 4” long. Curl the tips, and push the straight ends into the holes. You may use a dab of glue to keep them in place if necessary.
Step 7
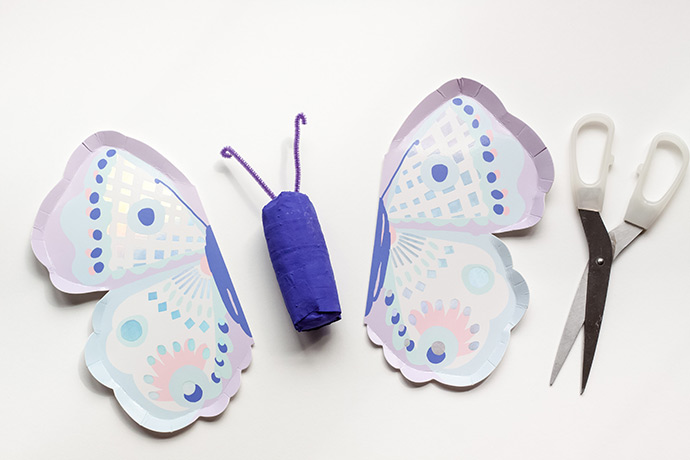
Cut your butterfly plate in half, right down the middle of the body.
Cut your butterfly plate in half, right down the middle of the body.
Step 8
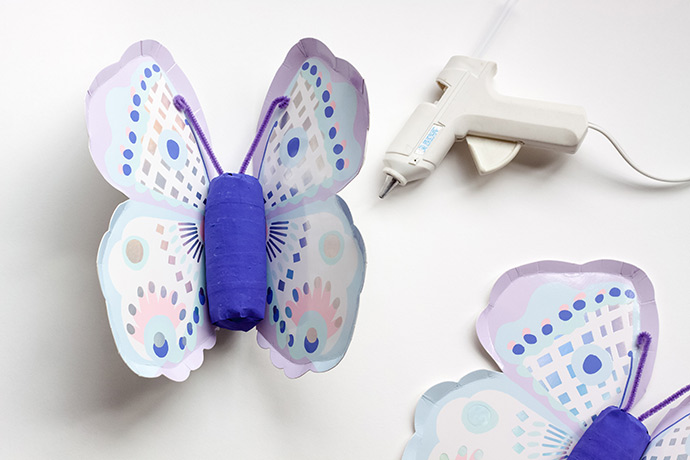
Use a hot glue gun to attach the wings to the sides of the body. You will have to glue them on the back of the body, on each side of the door, and allow the glue to cool. Once it has dried, you will want to bend the wings out a bit.
Use a hot glue gun to attach the wings to the sides of the body. You will have to glue them on the back of the body, on each side of the door, and allow the glue to cool. Once it has dried, you will want to bend the wings out a bit.
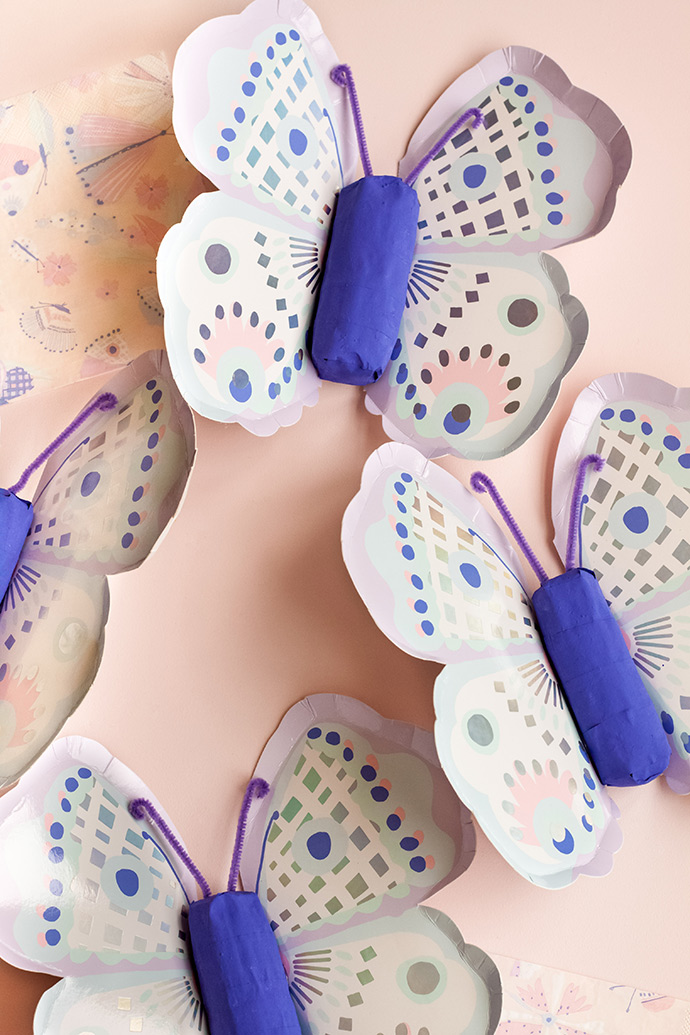
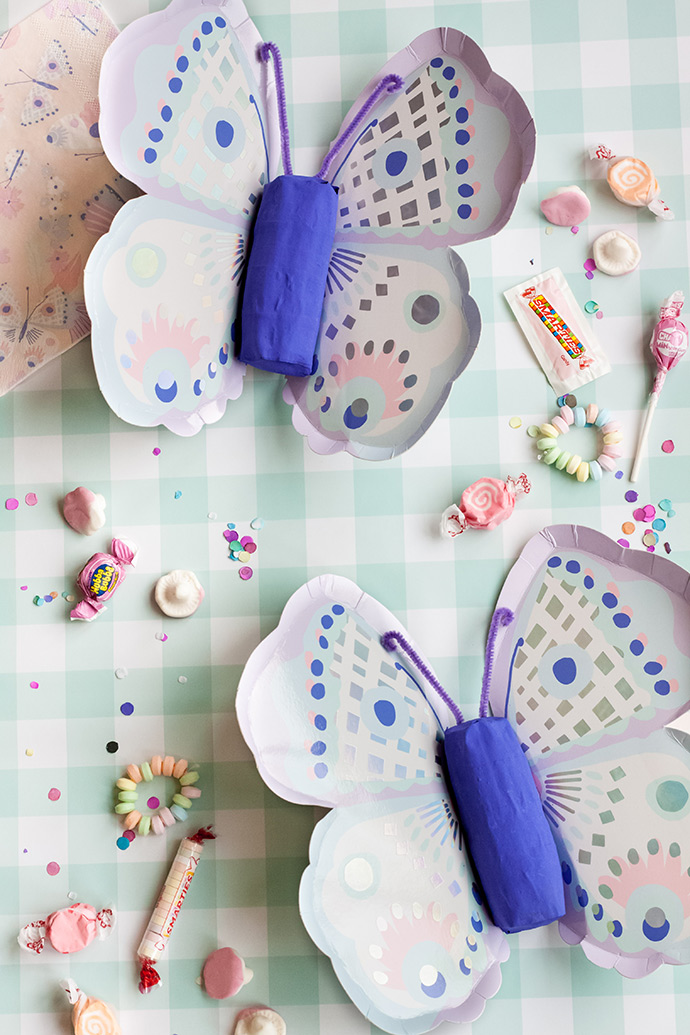
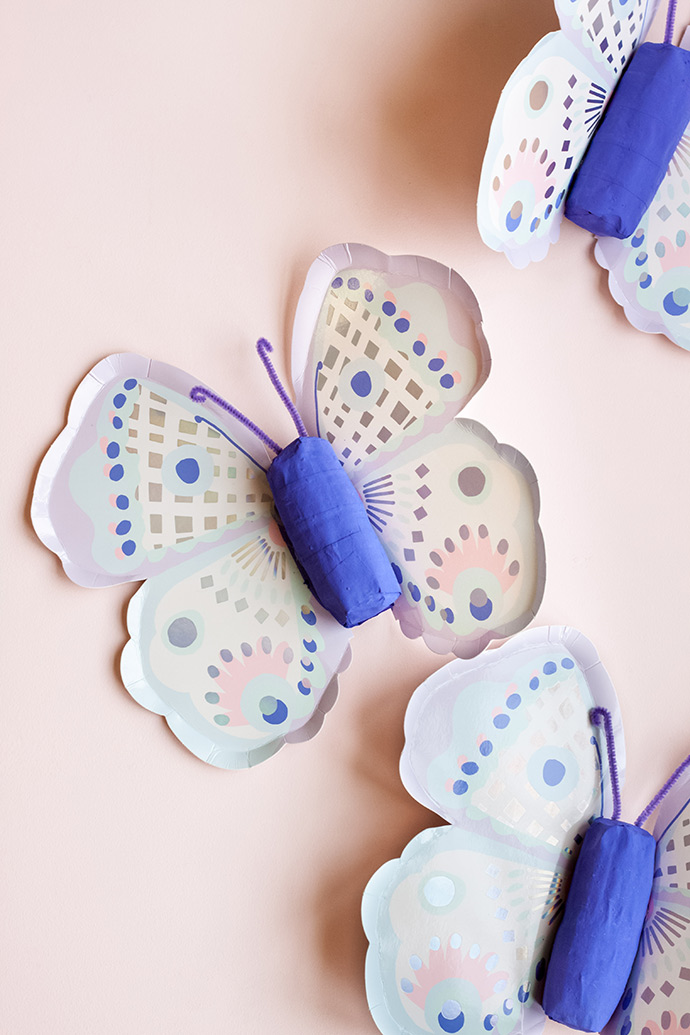
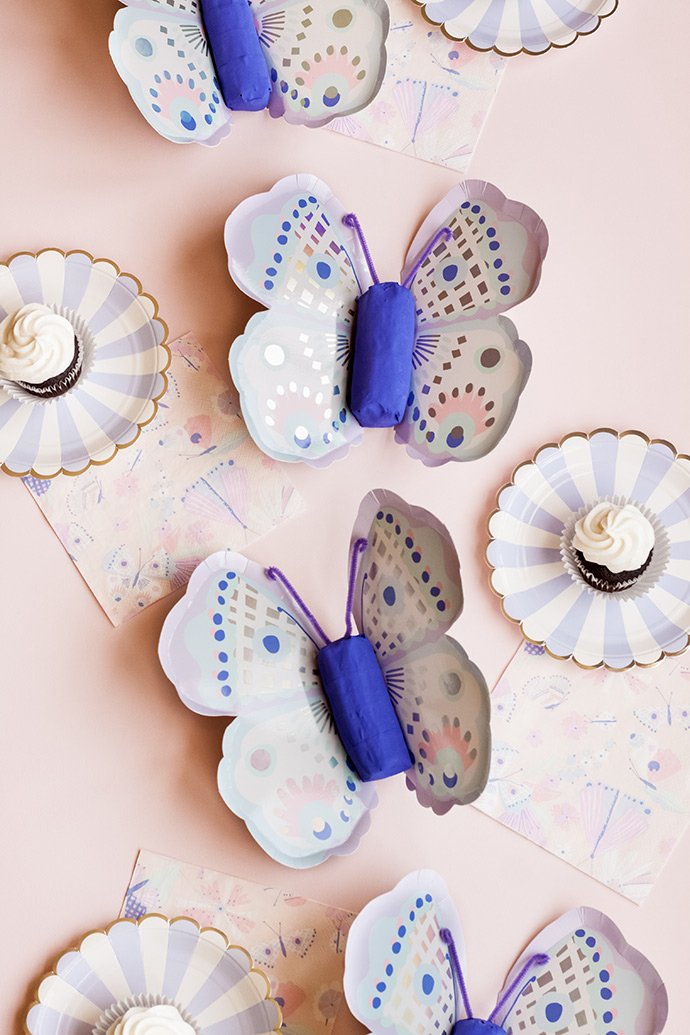
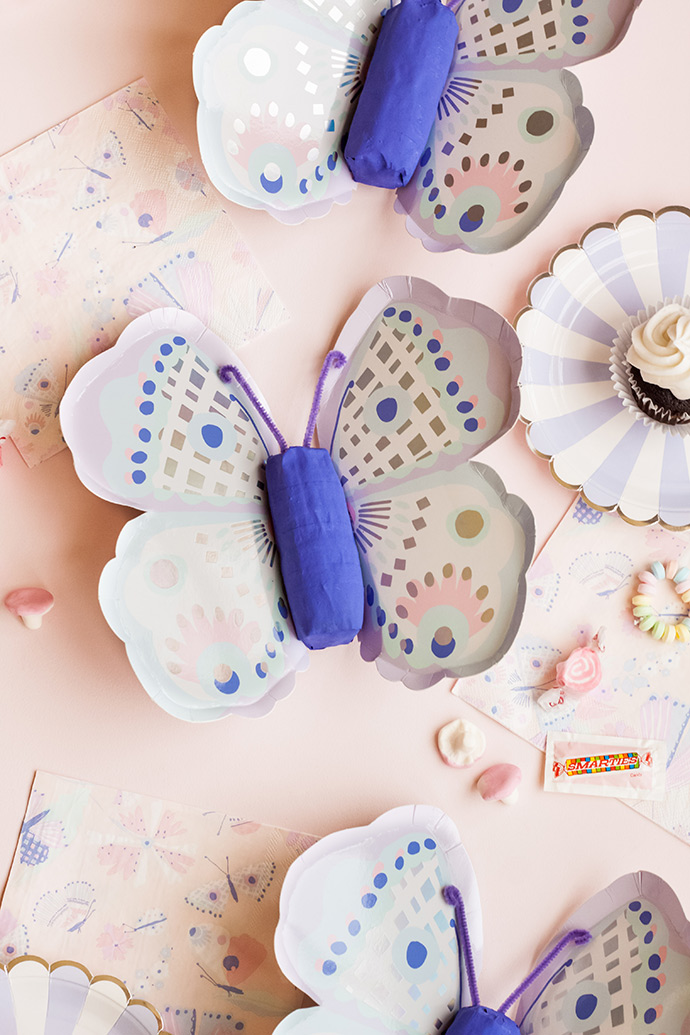
You may fill the piñata with tiny pieces of candy and prizes, and a bit of crinkle paper or confetti as filler. Your butterflies are ready to go! Happy crafting!!