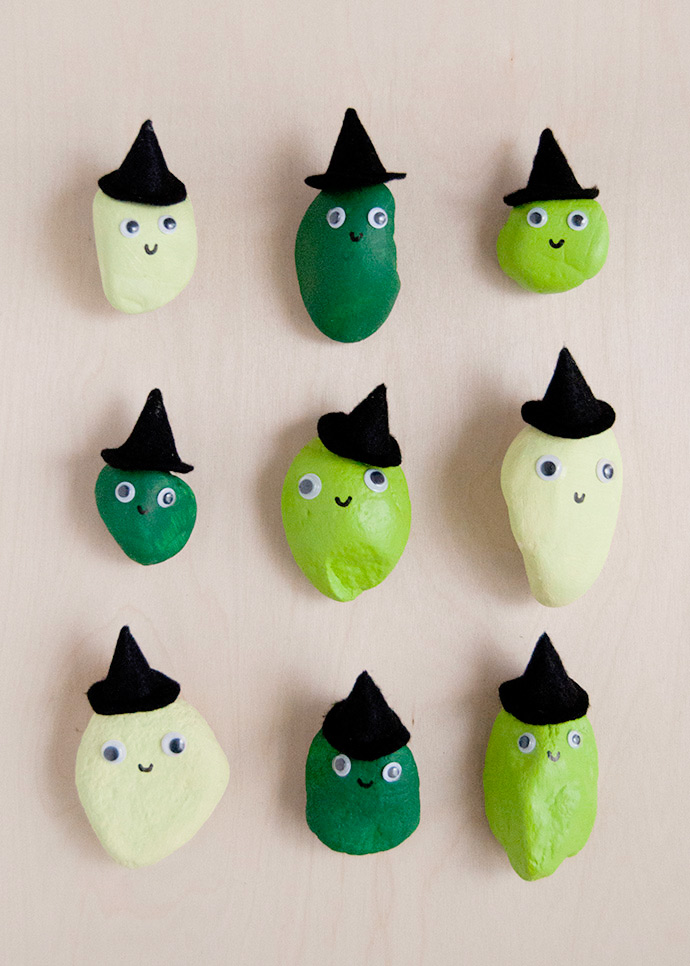
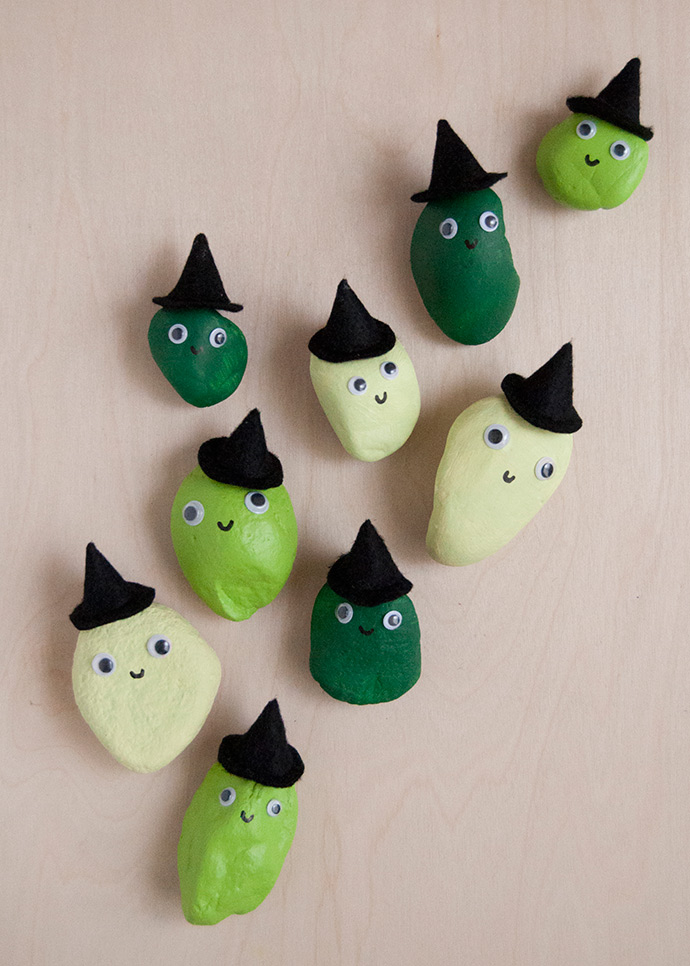
I tend to think of painted rocks as more of a summer craft but I was brainstorming Halloween crafts and witch’s hats came to mind. I realized that it would be so fun to make a Halloween version of these painted party rocks I did earlier this year. These painted rock witches also remind me of this party pumpkin garland from a few years ago now! These projects just go to show that if you can put googly eyes, a little smile, and a hat on it, it’s bound to be cute!

what you need:
- Rocks
- Multi-surface acrylic paint
- Paintbrushes
- Googly eyes
- White glue
- Black felt
- Scissors
- Black permanent marker
how-to:
Step 1
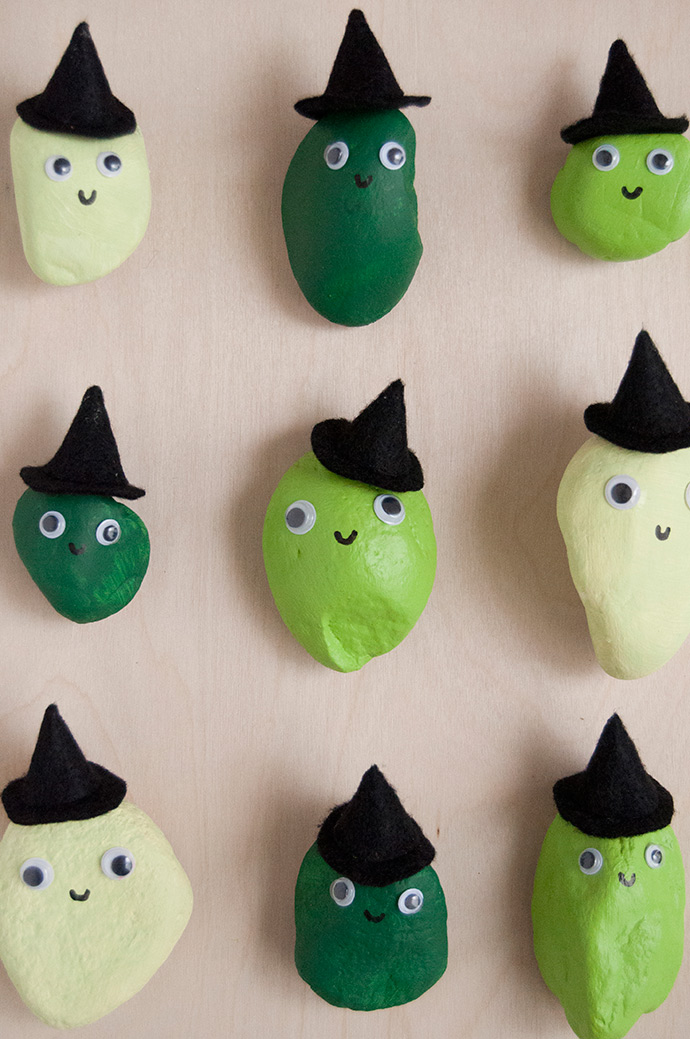
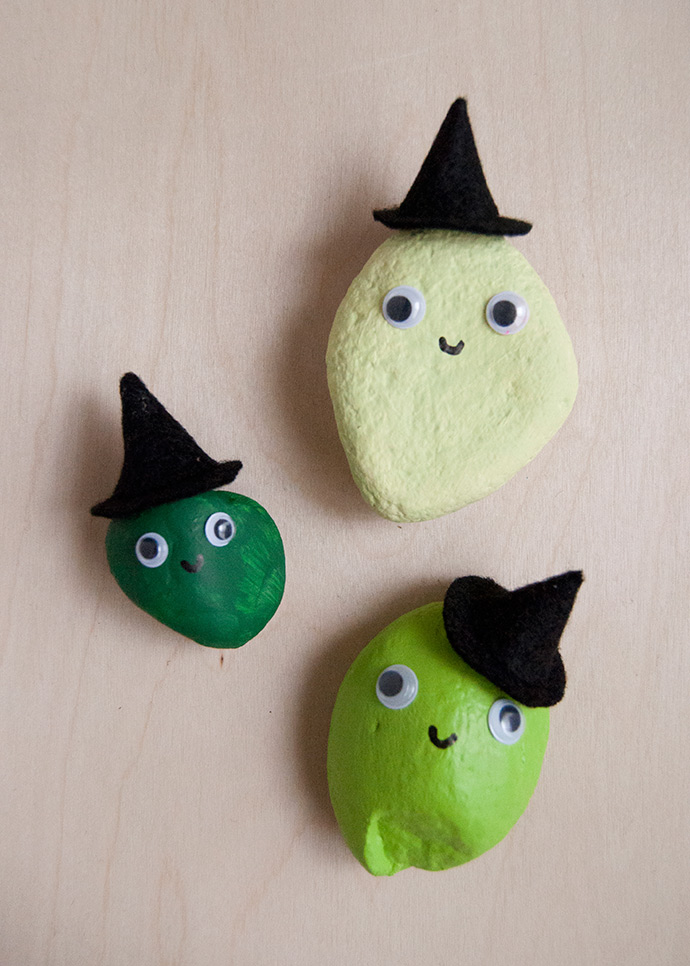
After you’ve collected your rocks from your yard or on a nature hike, give them a good wash and let them dry. Apply a coat of paint on all sides and let dry. Depending on your paint, you may need to do a couple of coats to get a solid, bright color. Or have fun painting details and patterns onto the rock, if you like! I used a few shades of green to go for an especially witchy feel.
Step 2
While the paint is drying, make the felt witch hats. To make the cone part of the hat, cut a circle out from the black felt, about 2″ across. Cut the circle equally in half and roll one half to form a cone. If the size is looking right for the rocks you have, use glue to secure the cone as is. If not, trim as needed until you’re happy with the shape and size. Cut another felt circle to be the brim of the witch’s hat and use more glue to secure the brim to the cone you just made. Set aside to dry.
Step 3
When the paint is completely dry, attach two googly eyes onto each rock using white glue. Then, use the black marker to draw on a small smile or another silly (or scary!) expression.
Step 4
Finally, use another dab of glue to secure the felt witch hat on top of the painted rock. If needed, use little props under the hat to hold it in place as it dries.
Happy crafting!