
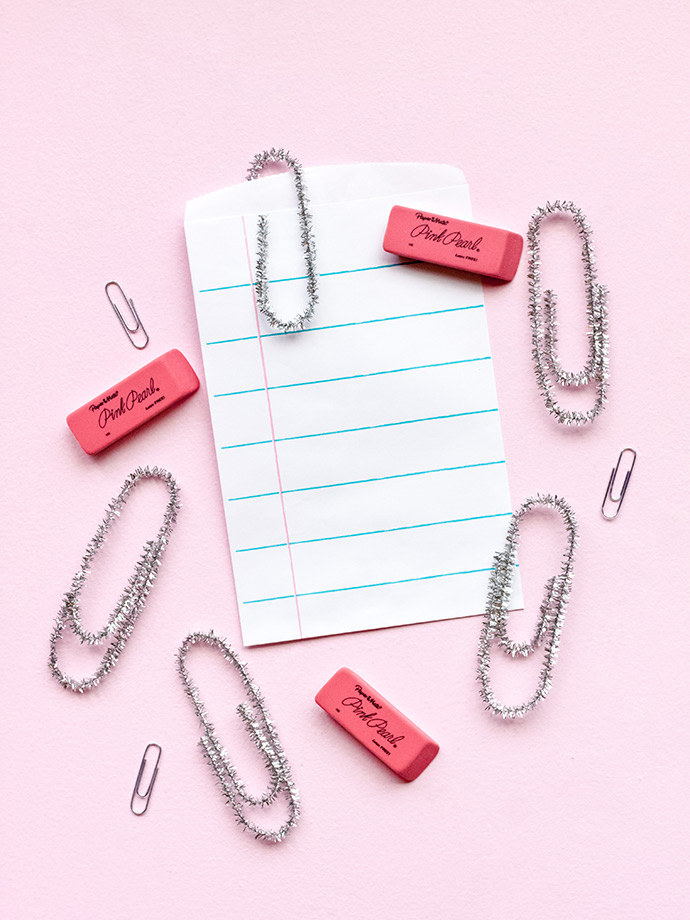
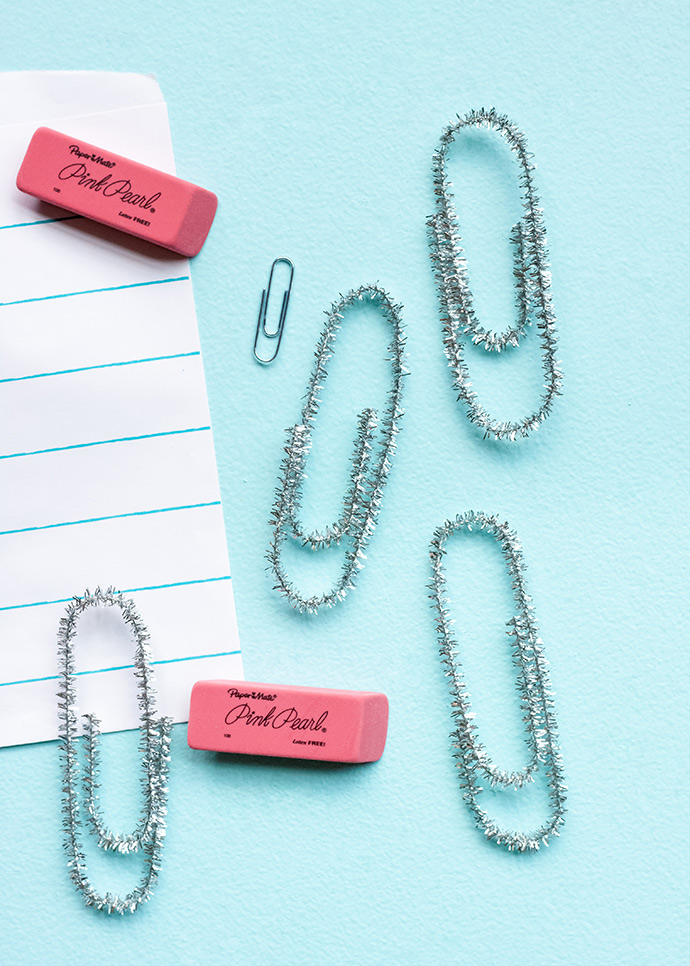
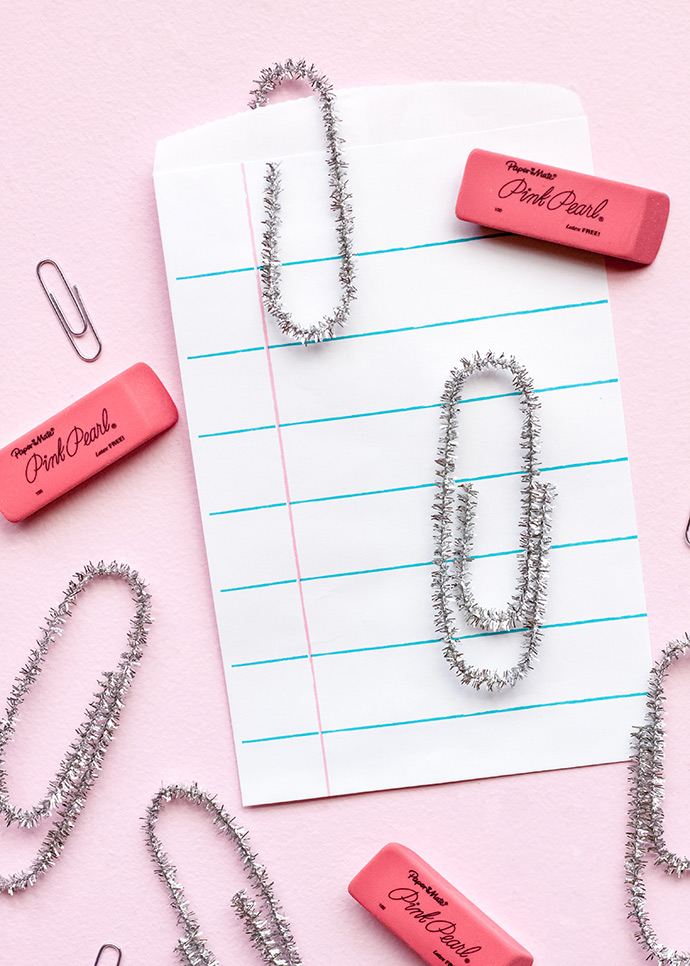
Can you believe it’s that time of the year already? We bought our school supplies, and are planning our back-to-school bash! Last year, we decorated with giant pencil shavings, and this year – it’s giant paper clips!
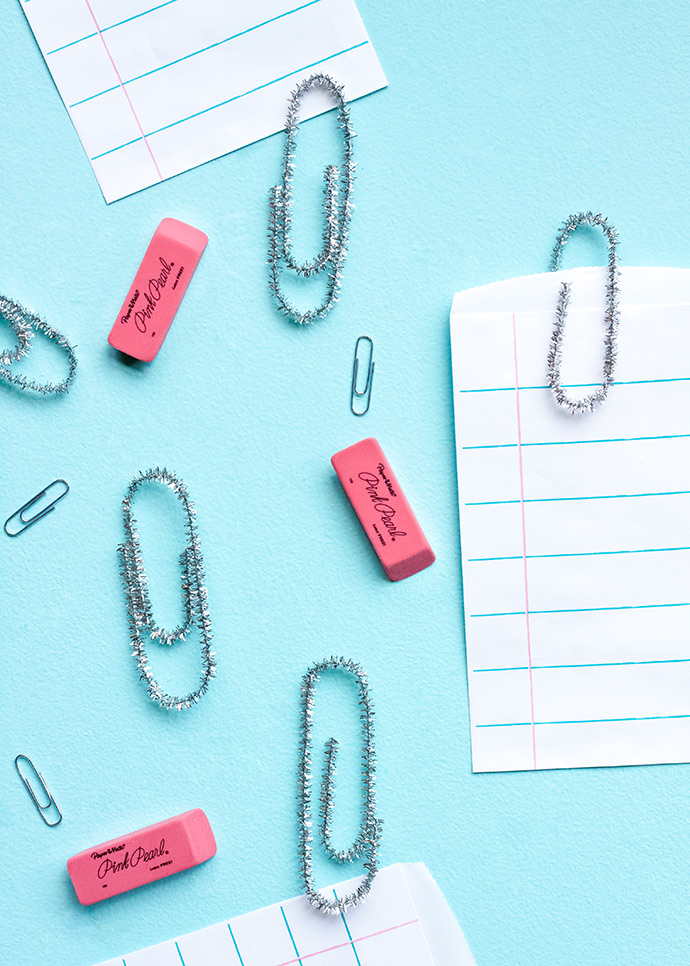
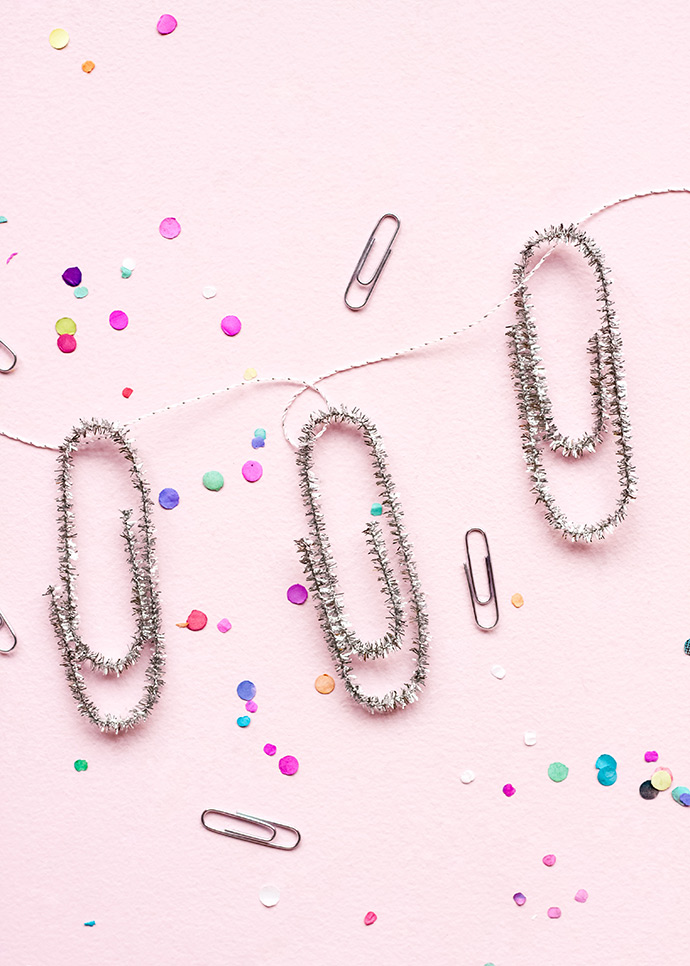
You only need a few silver pipe cleaners and some baker’s twine for an adorable, oversized paper clip garland. It would be so cute in a classroom, or as quirky office décor! We’ll be hanging this one at a little back-to-school gathering with friends.
what you need:
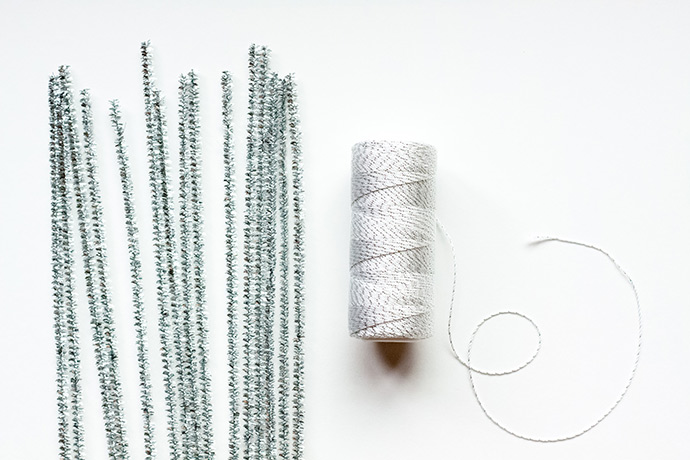
• 12 inch silver metallic pipe cleaners
• Baker’s twine or string
how-to:
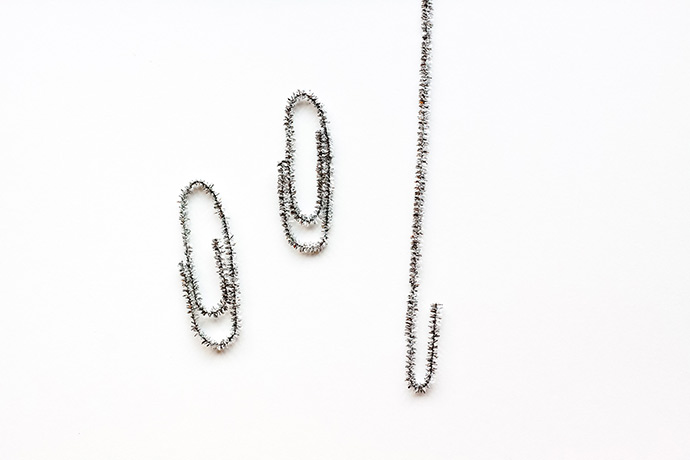
Step 1
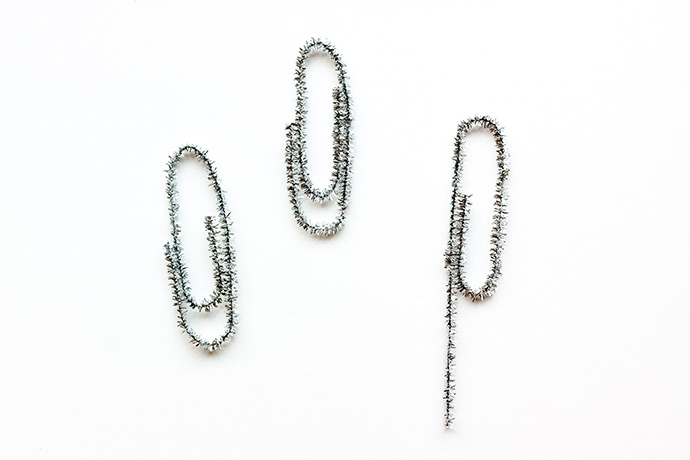
Fold a 1 ½ inch piece of your pipe cleaner up, around a finger for a rounded bend. You may need to widen the bend a bit.
Fold a 1 ½ inch piece of your pipe cleaner up, around a finger for a rounded bend. You may need to widen the bend a bit.
Step 2
About 2 ¾ inch from your first bend, create another rounded bend in the opposite direction using your finger once again, and leave the long end hanging on the outside of the first bend.
About 2 ¾ inch from your first bend, create another rounded bend in the opposite direction using your finger once again, and leave the long end hanging on the outside of the first bend.
Step 3
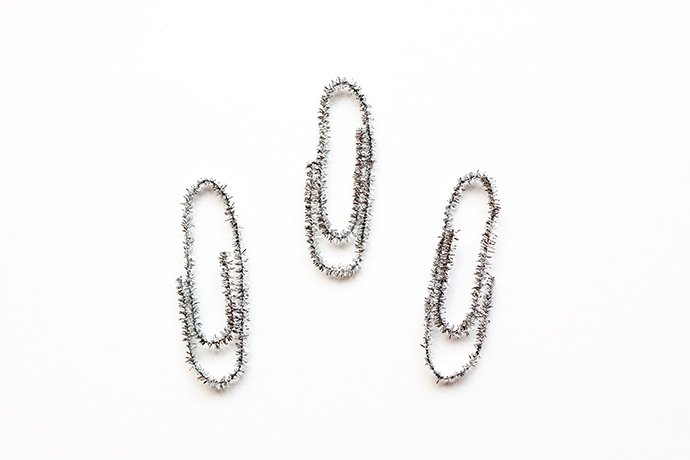
Take the remaining straight piece of pipe cleaner, and about 1 inch from the first bend, create another rounded bend going upward, so that the remaining straight piece is on the outside edge of your paper clip. You may need to make minor adjustments by squeezing the pieces together a bit, or widening bends until you are satisfied with the “paper clip” appearance.
Take the remaining straight piece of pipe cleaner, and about 1 inch from the first bend, create another rounded bend going upward, so that the remaining straight piece is on the outside edge of your paper clip. You may need to make minor adjustments by squeezing the pieces together a bit, or widening bends until you are satisfied with the “paper clip” appearance.

Step 4
String the top of each paper clip onto your baker’s twine, and hang your garland using washi tape, nails, or thumbtacks.
String the top of each paper clip onto your baker’s twine, and hang your garland using washi tape, nails, or thumbtacks.

Happy Back-to-School, and happy crafting!