This post is sponsored by Plaid Enterprises
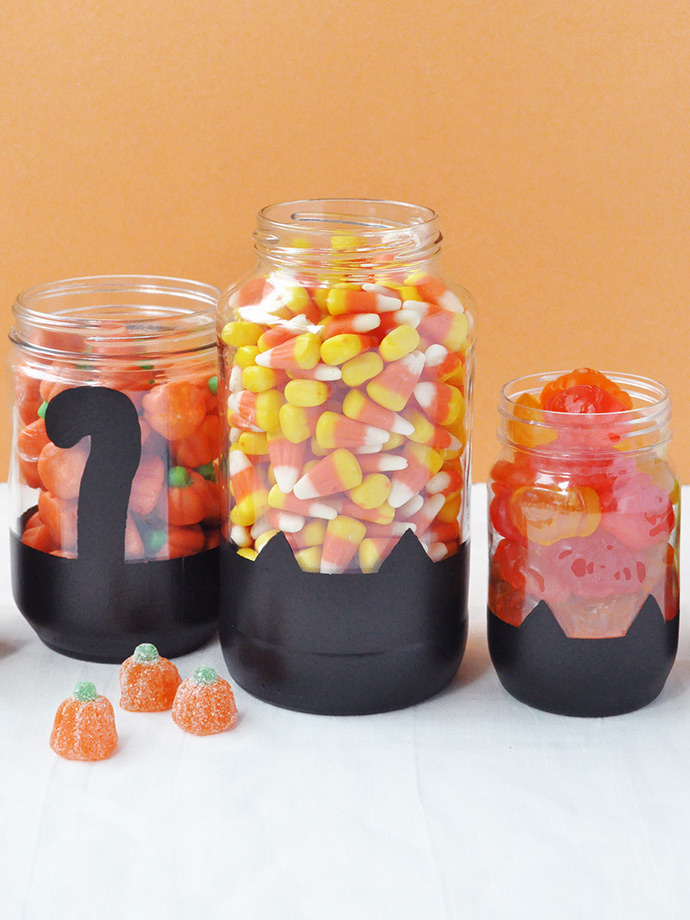
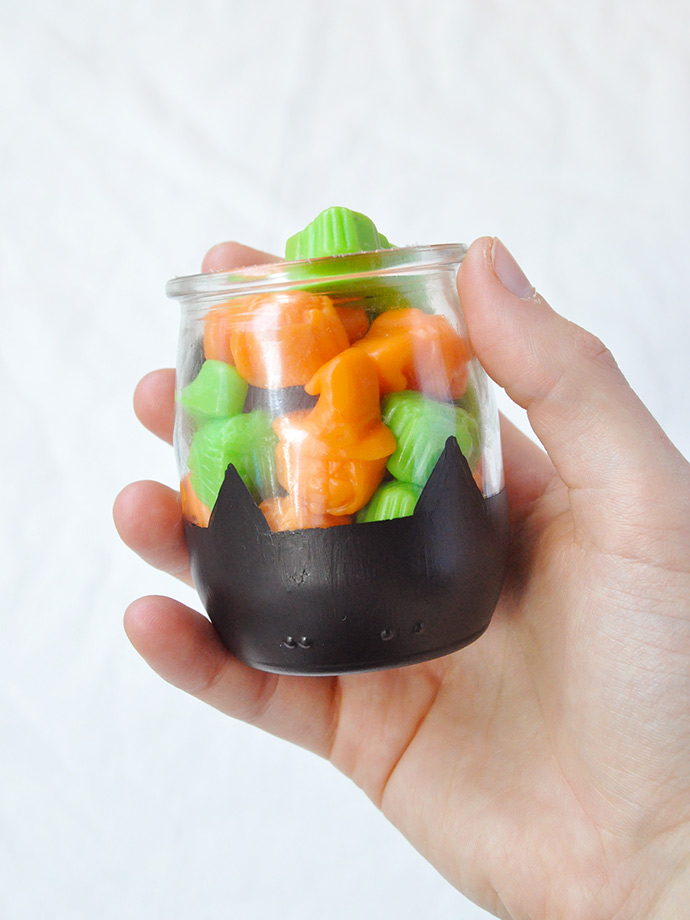
Halloween is just a couple weeks away, but if you’re like us you’ve already been snacking on some sweet Halloween treats before the big day. We have a serious sweet tooth, so avoiding candy and chocolate this time of year is just about impossible, so today we’re embracing it with these hand painted black cat candy jars! These are a great way to turn what would be recyclables into fun decor that you can reuse year after year.
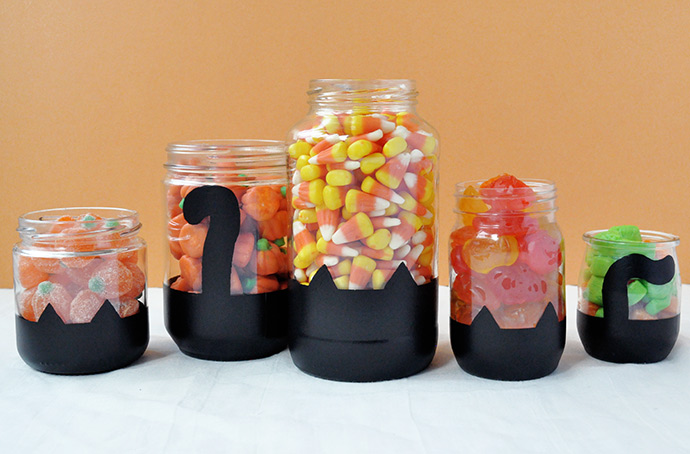
We made five jars and arranged them in a group on the table – these would make a fun centerpiece, don’t you think? Or, put them on a shelf, side table, or dessert buffet! Keep the lids handy so that you can close the jars and keep the candies inside nice and fresh. You could even make a bunch of these cat jars in smaller sizes, fill them with candy, and give them out as party favors at your Halloween party this year! Keep reading for the full instructions below … if you dare! ;)
what you need:
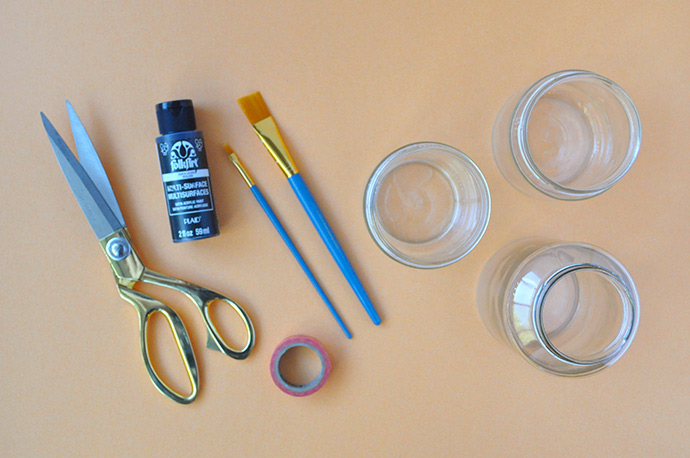
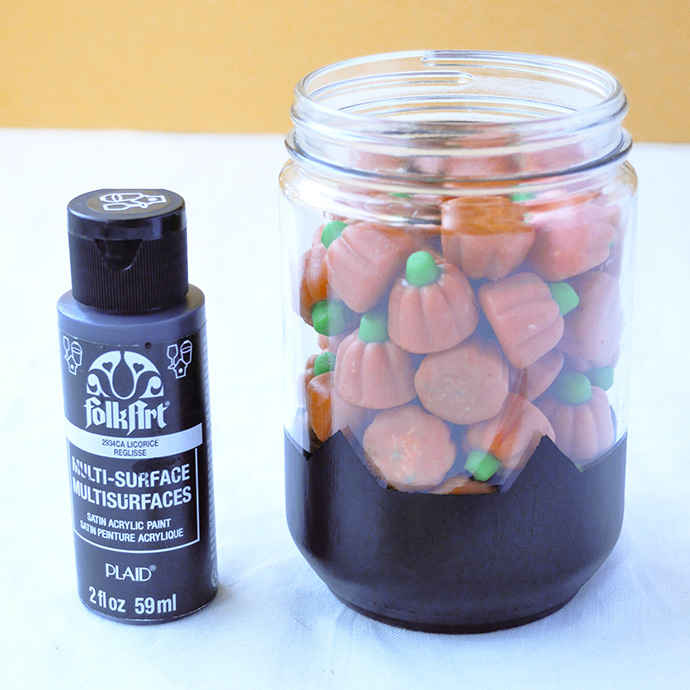
- FolkArt Multi-Surface Satin Acrylic Paint
- Paintbrush
- Empty glass jars
- Washi tape
- Scissors
how-to:
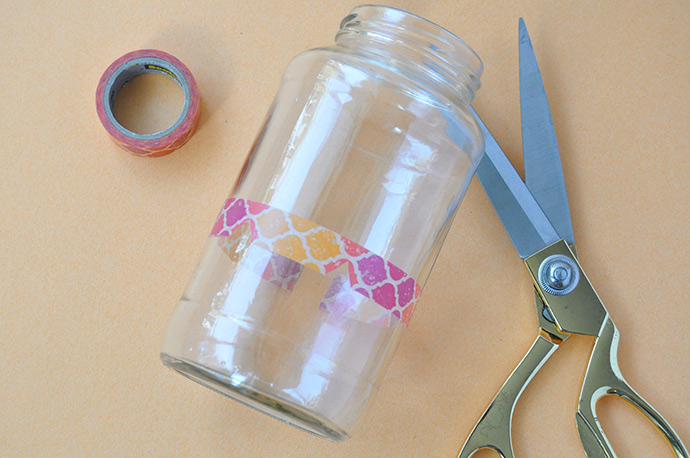
Step 1
Begin by wrapping washi tape around the jar about 1/3 of the way up from the bottom.
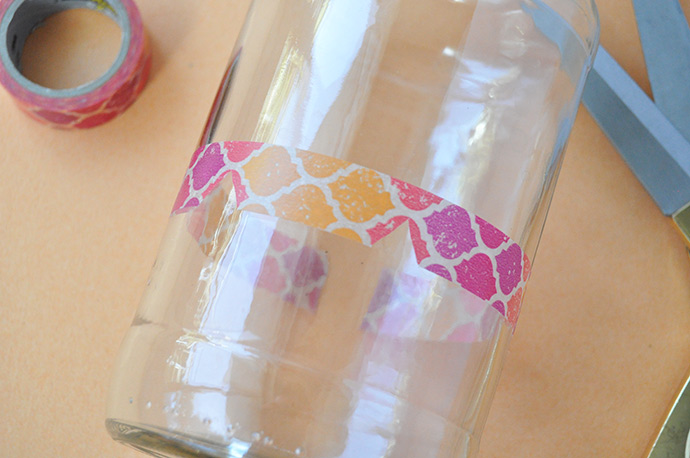
Step 2
On the front, use the tip of a pair of scissors or a craft knife to carefully cut two triangular cat ears into the washi tape.
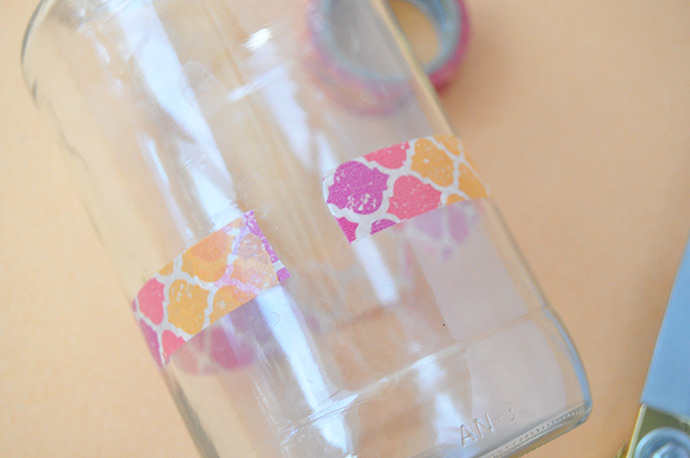
Step 3
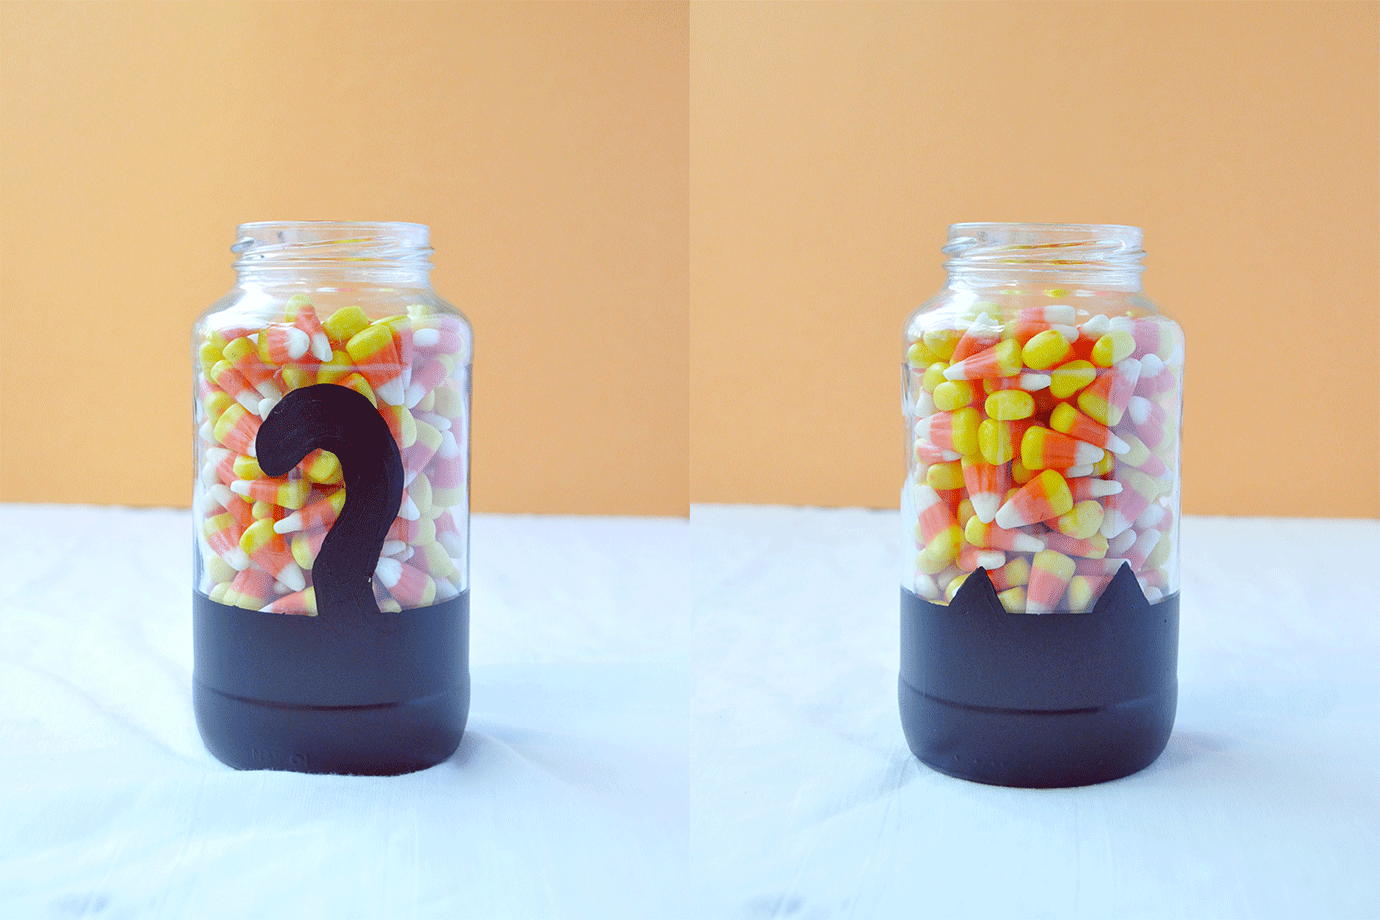
Opposite these cut ears cut a gap in the washi tape – this is where the tail will go.
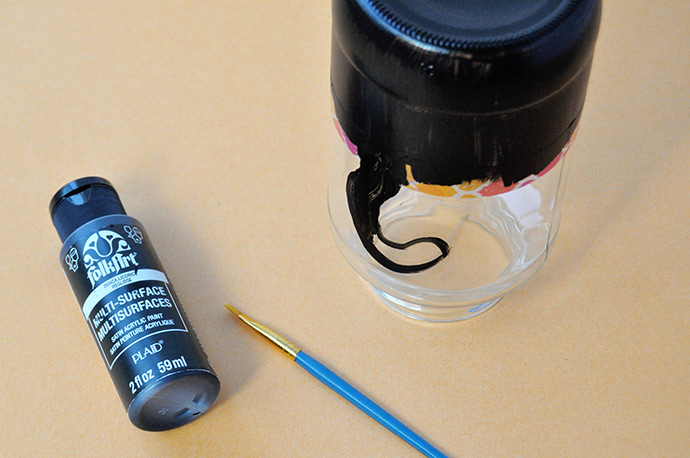
Step 4
Time to paint! Completely paint over the bottom and sides up the washi tape. For the tail, paint by hand a curly line and fill it in. We did two quick coats and it was completely covered. Let dry and then carefully peel back the washi tape. If any of the edges aren’t as tidy as you’d like, you can go over these areas with a brush by hand to touch them up.
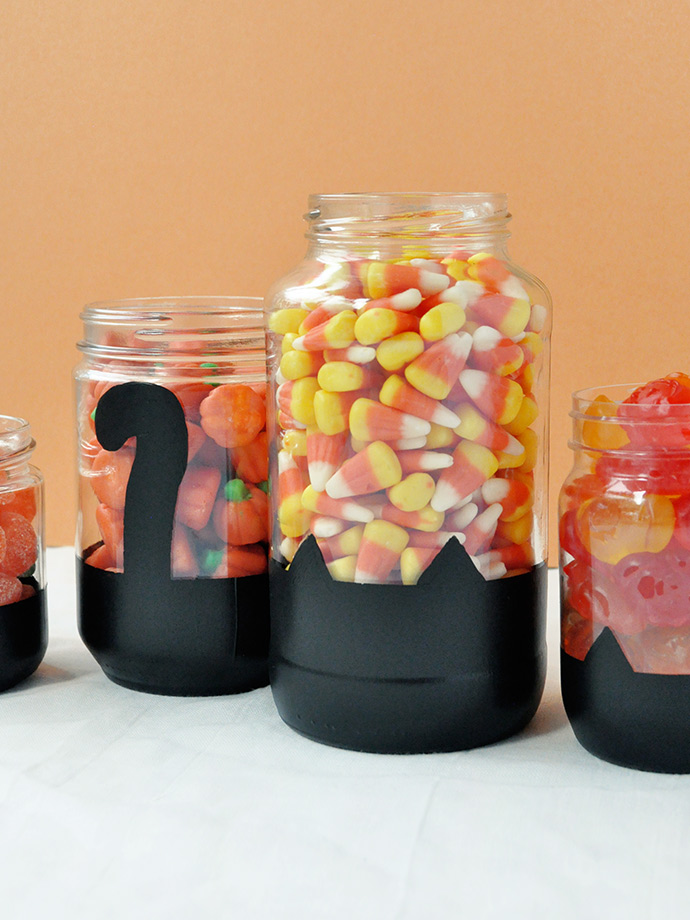
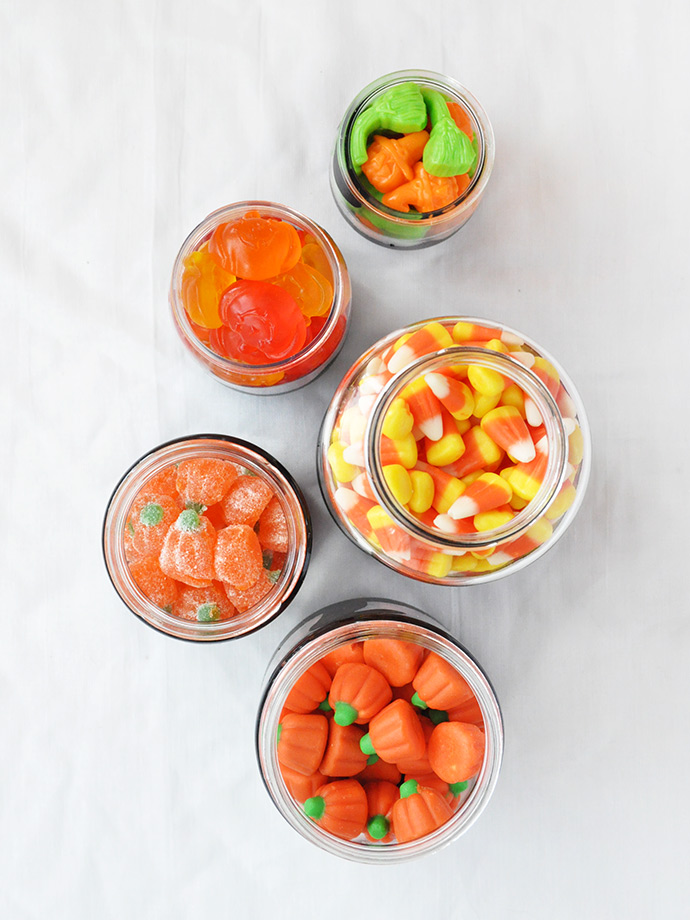
Repeat on a handful of jars, fill with candy, and then arrange on the table!
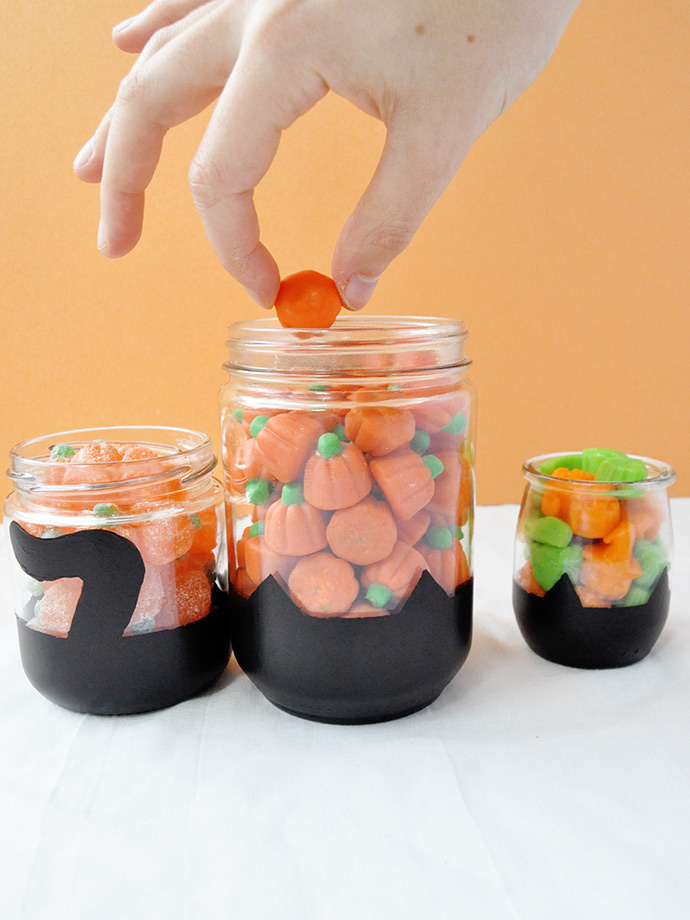
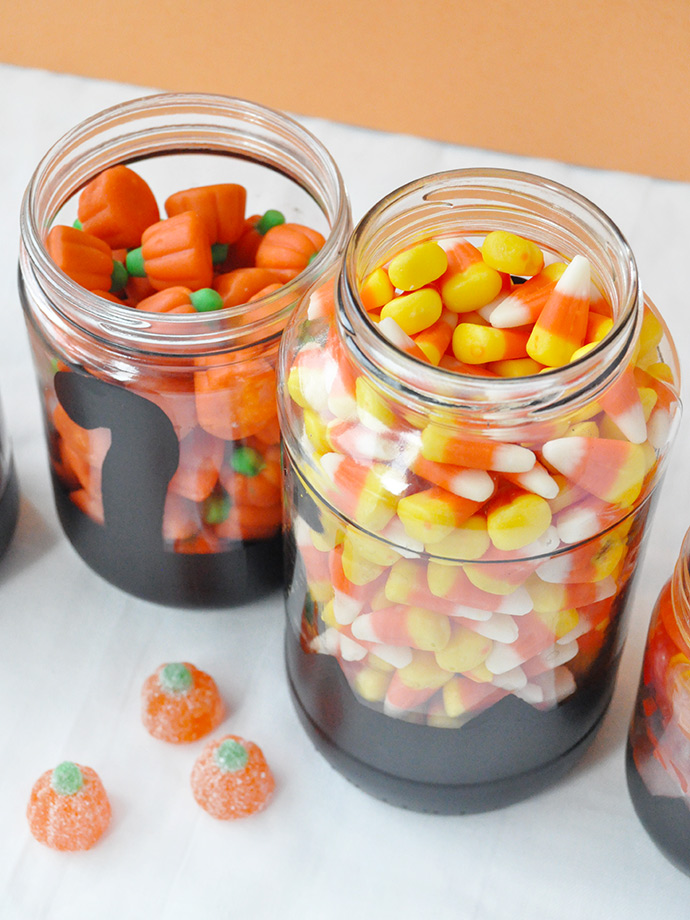
Aren’t they cute? When arranging the jars, make sure to twist some around so that you’re displaying both the cat ears and the cat tails from each view.
Happy Halloween!