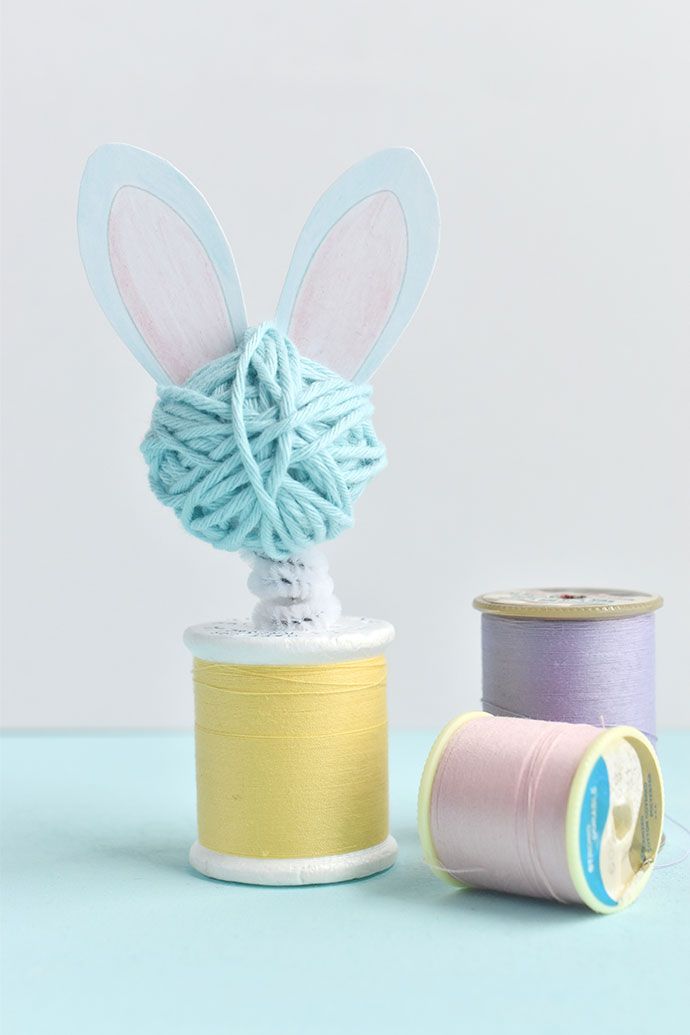
Bunnies are a springtime and Easter favorite, and they are the theme of these spool dolls springy heads! A bobblehead is a little figure that has a spring holding the head to the body. This DIY version uses pipe cleaners to give these crafty bunny rabbits a bit of bobble and wobble.
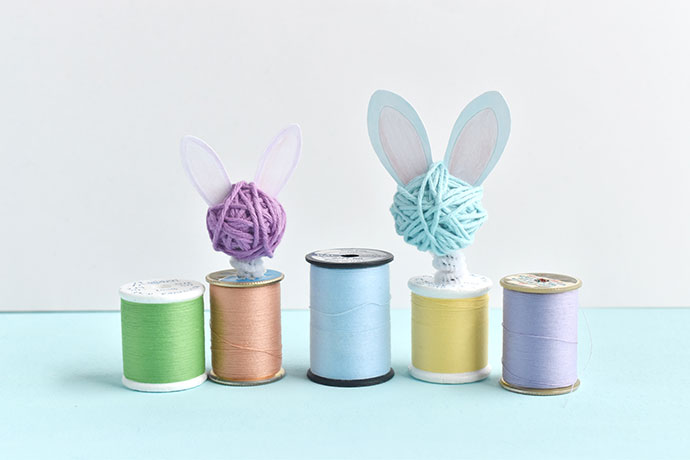
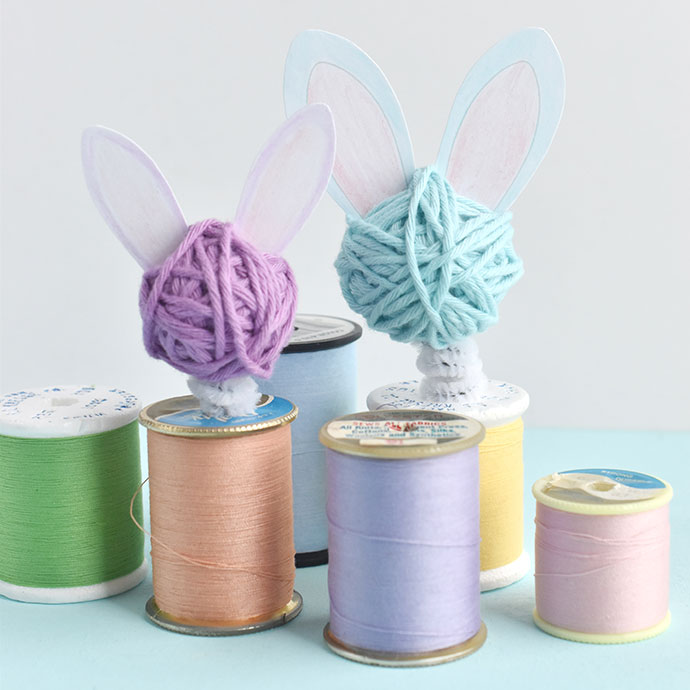
The basic idea for this project is like making a spool doll. You start with a spool of thread (either with or without the thread) and attach a ball of some kind for the head. In this case, we’re using foam balls because they are easy to attach as a bobblehead.
You can make a bunny bobblehead for each person in your family and place them by their plate for a special Easter meal or you can set it on a desk or dresser to bring you some wobbly, bobbly joy!
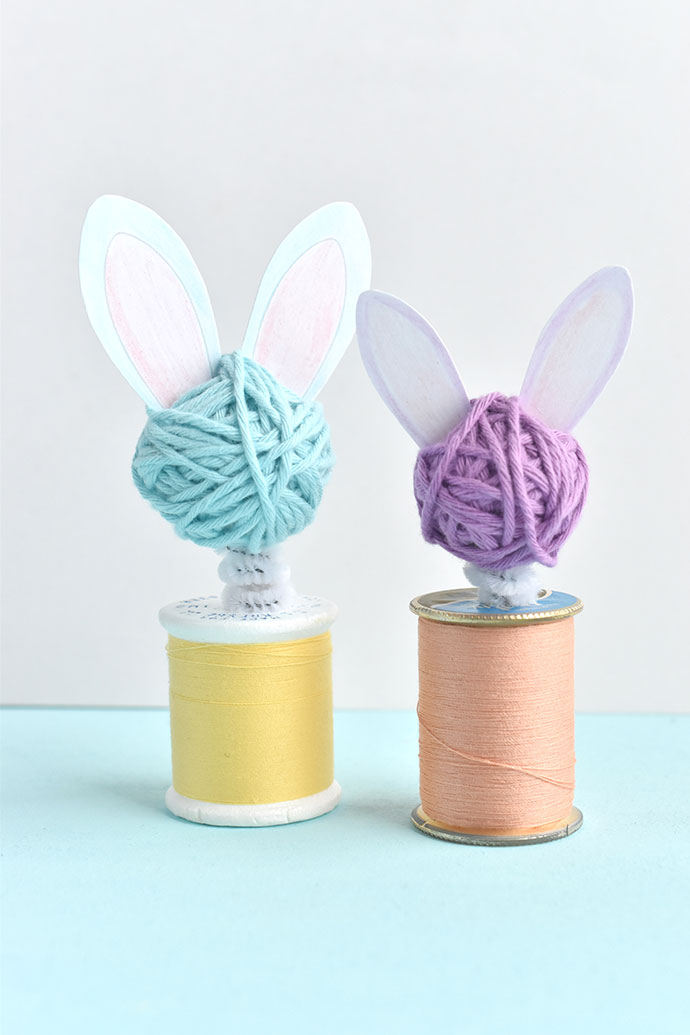
Put some spring in your step (and crafting!) as you get started!
what you need:
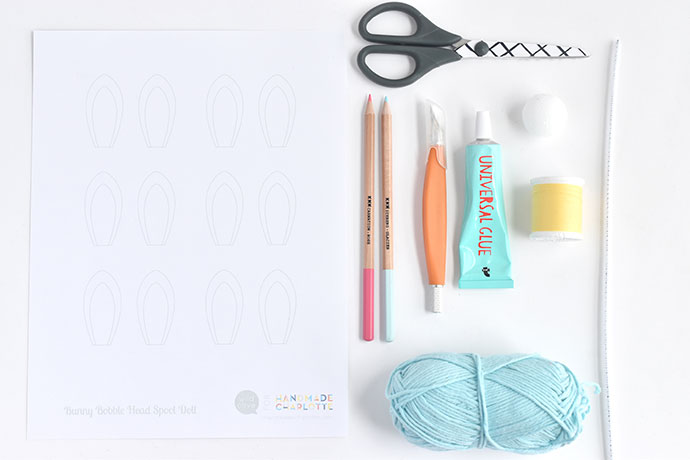
- Card Stock
- Colored Pencils or Other Coloring Tools
- Scissors
- 1 to 1-1/4″ Foam Ball
- Craft Knife
- Craft Glue
- Yarn
- Spool
- Pipe Cleaner
- Printable bunny ears
NOTE: If you don’t have all the materials listed, keep reading! We have tips for other supplies that you can use instead.
how-to:
Step 1
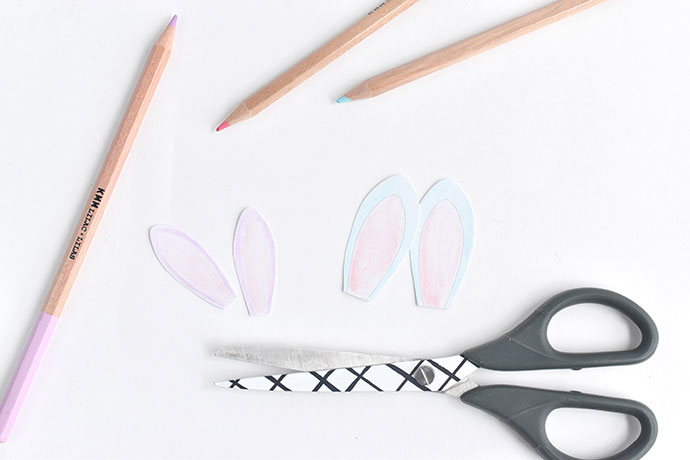
Print the PDF ears template on card stock. If you’re using a smaller foam ball for the head, you can cut the ears on the inside line.
Color the ears. For the smaller version, draw your own line for the inside and outside of the ears.
Step 2
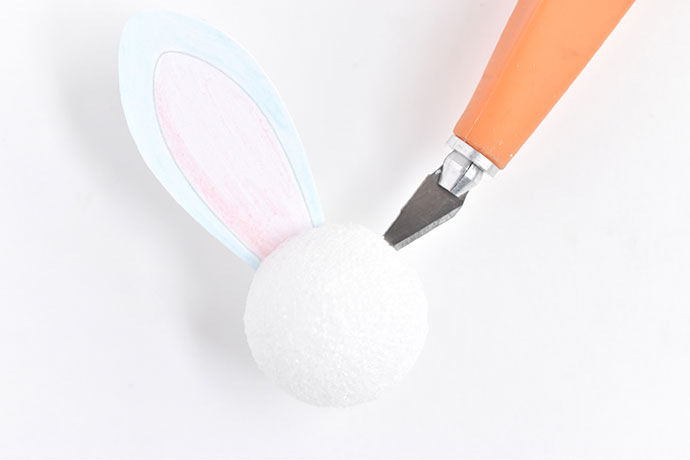
Use a craft knife to make two small slits in the top of the foam ball. Slide the ears in the slits, leaving a small gap between the ears.
If you don’t have a foam ball, you can also use a ping pong ball. It’s a little larger than the foam balls shown here, but that just makes it a little more comical! A tiny ball of yarn works too, but it’s harder to attach the ears.
Step 3
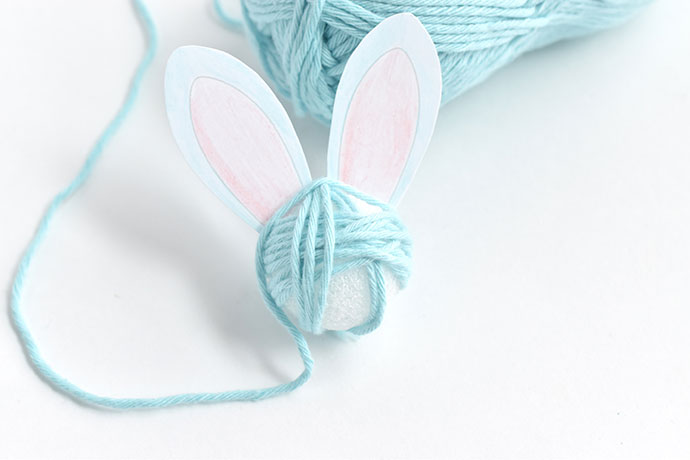
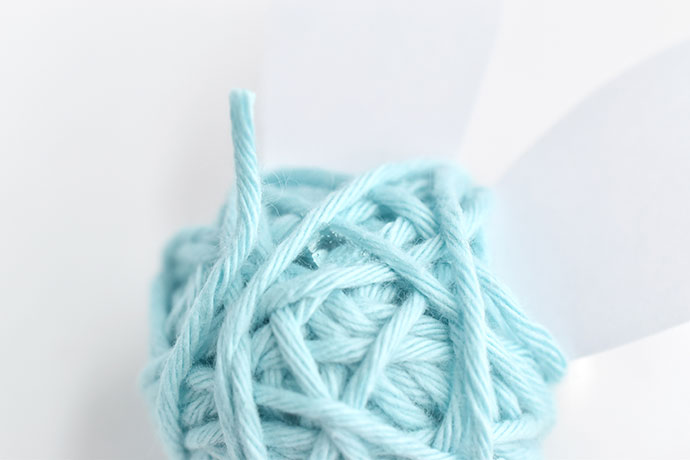
Start wrapping the yarn around the foam ball. Wrap in different directions, including around and between the ears. Try to cover as much of the ball as you can, but it doesn’t have to be solid.
If you don’t have yarn or you’d like to decorate your bunny bobblehead differently, you can also paint the foam ball instead of wrapping it! Use acrylic paint in whatever spring bunny color you like!
Step 4
Trim the yarn and use a bit of glue on the back to secure the end. You can also tuck the end under a few wraps of the yarn.
Step 5
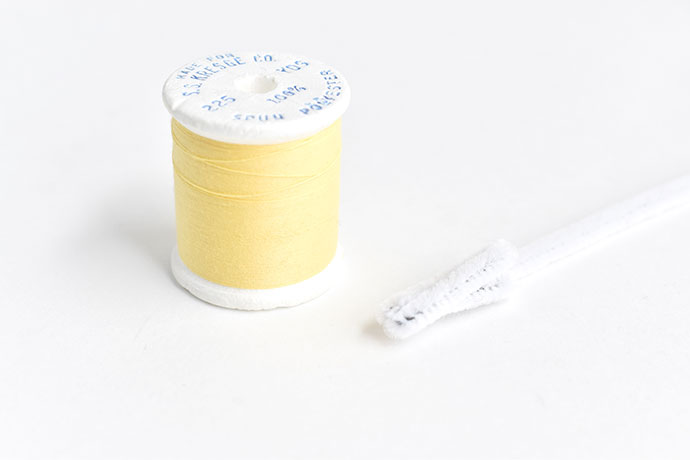
Fold the end of a pipe cleaner so it’s the height of your spool. Then fold it a few more times so it’s thick enough to stay secure in the middle of the spool.
If you don’t have a thread spool, you can also use a cork. For this, use a skewer to make a hole in the cork, then stick the end of the pipe cleaner securely in the cork.
Step 6
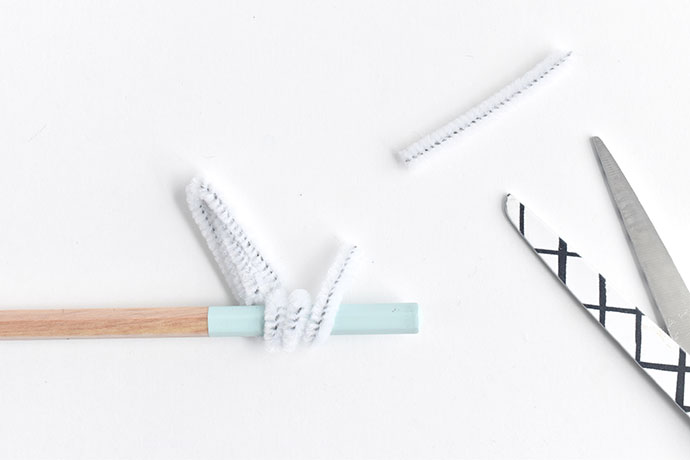
Wrap the pipe cleaner around a pencil 2 or 3 times to make a small spring. The spring part should be right above the folded end (or the top of the cork if you’re using that).
Trim the other end of the pipe cleaner so there’s about 1/2″ extending past the spring.
Step 7
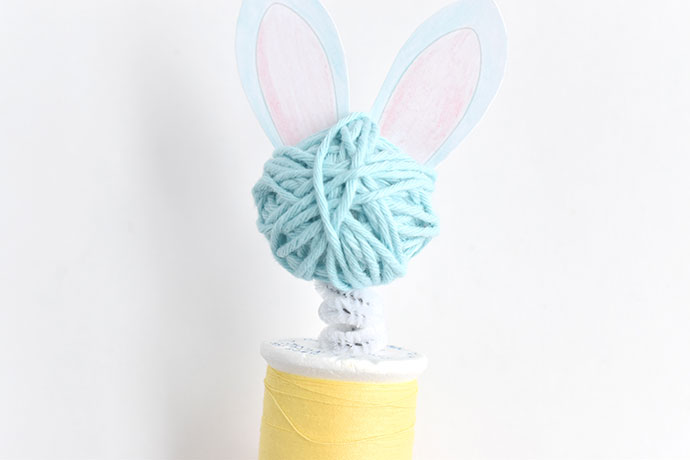
Bend the ends so you can insert the folded part in the spool and the other end in the bottom of the foam ball head. You may need to push some of the yarn aside a little, but you should be able to easily slide the pipe cleaner in place.
If you used a ping pong ball, you’ll need to make a small hole in the bottom with a pin.
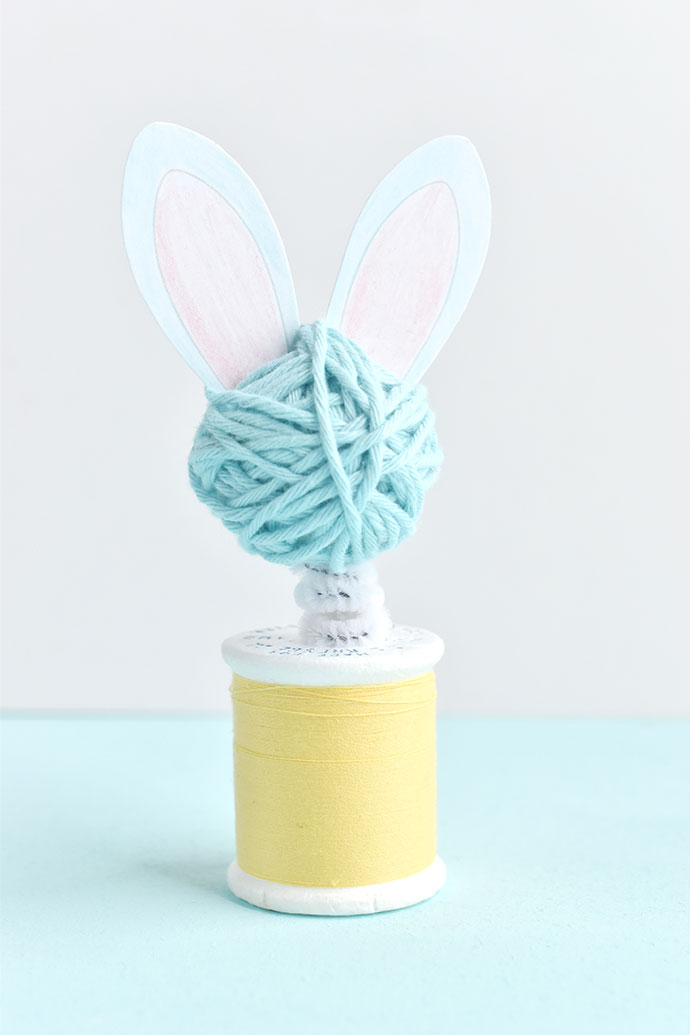
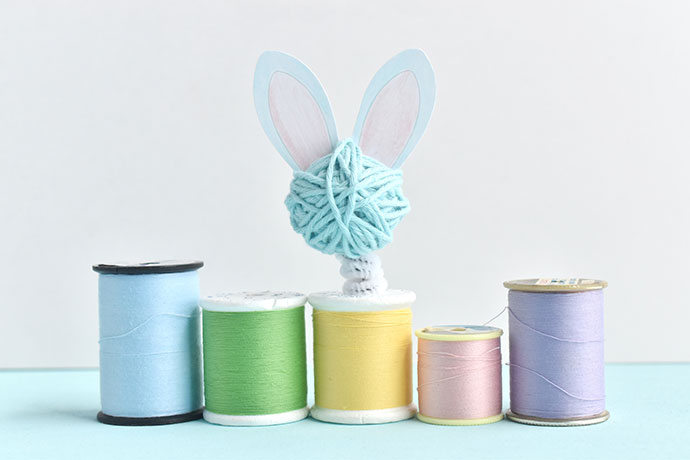
Now your bunny bobblehead is all finished and ready for you to try out! Give its head a little wobble and watch it bobble!
Grab a few more spools and foam balls and make some more bunny buddies!
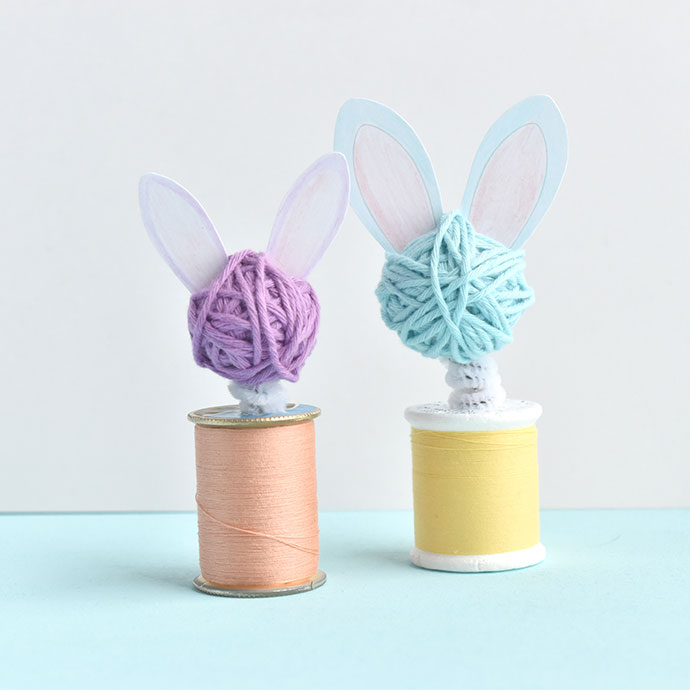
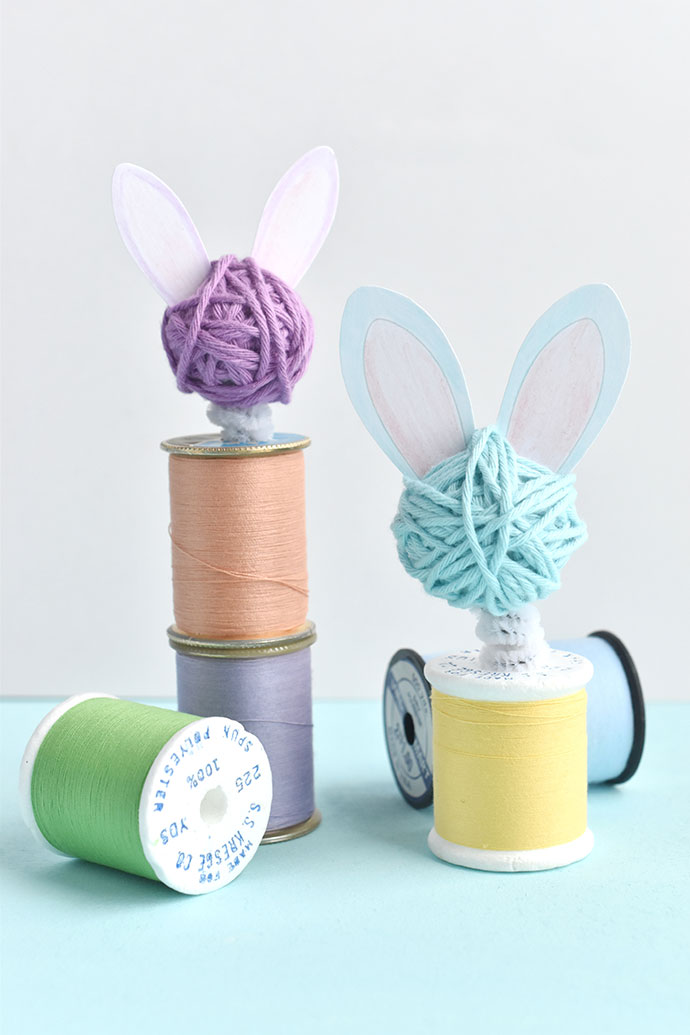
These would also be fun with wiggle eyes attached or maybe a pompom tail on the back. You can even get more creative with other kinds of bobblehead animals and characters. For example, you could use a foam egg and make a wobbly Easter egg!
Happy crafting!