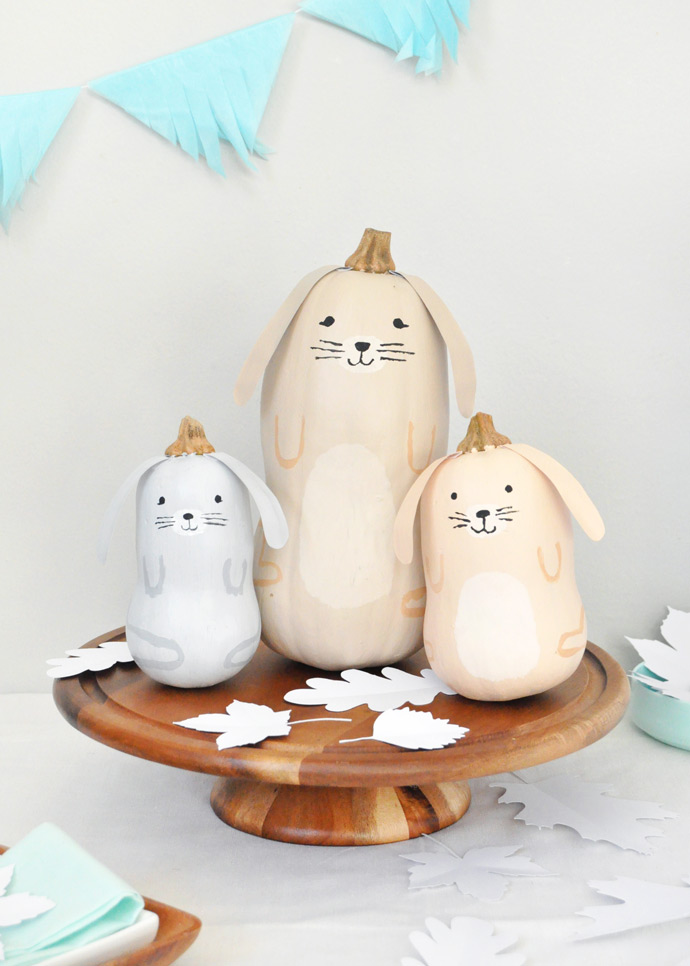
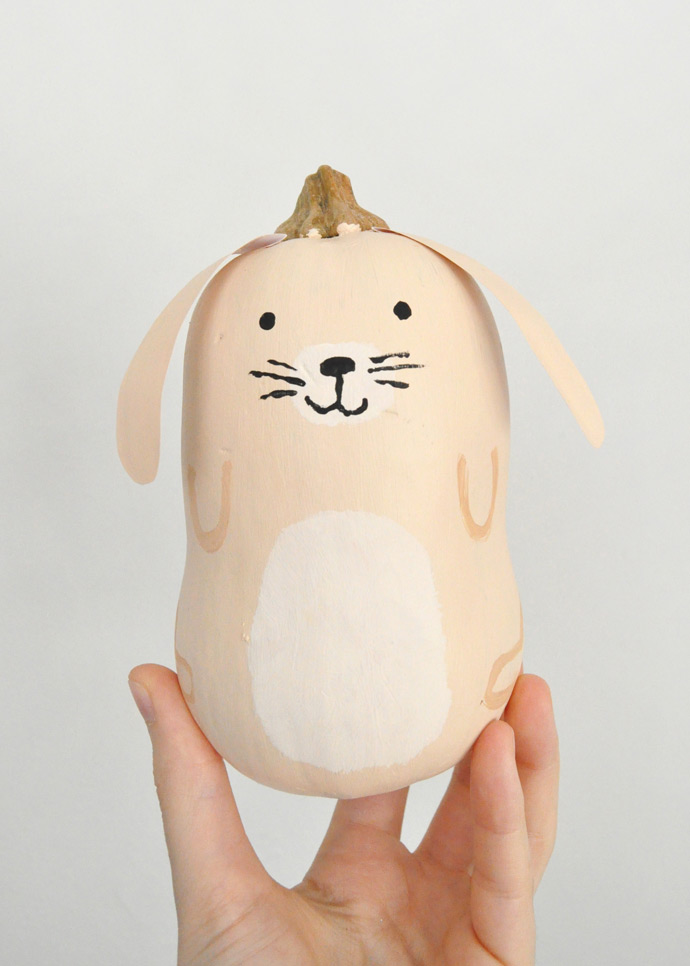
Have I mentioned how much I love bunnies? They’re my absolute favorite, so anytime I can make a bunny-themed craft, count me in!! I was browsing pumpkin-carving ideas for Halloween when I saw a few different pumpkins painted to look like adorable bunnies. Not long after, I realized that butternut squash are actually the perfect shape to be turned into bunnies too!
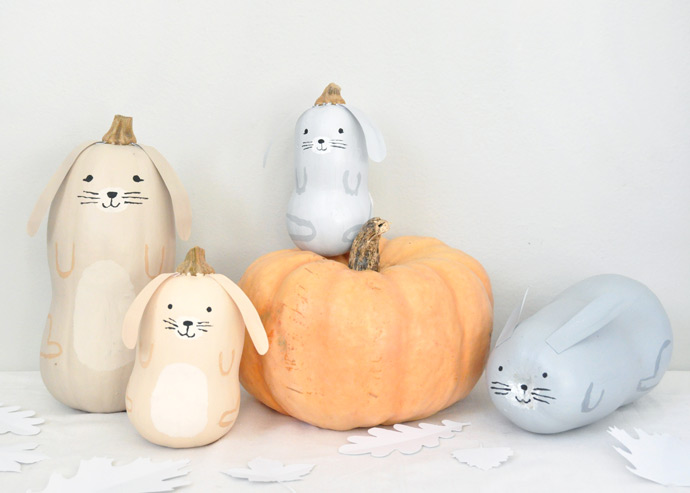
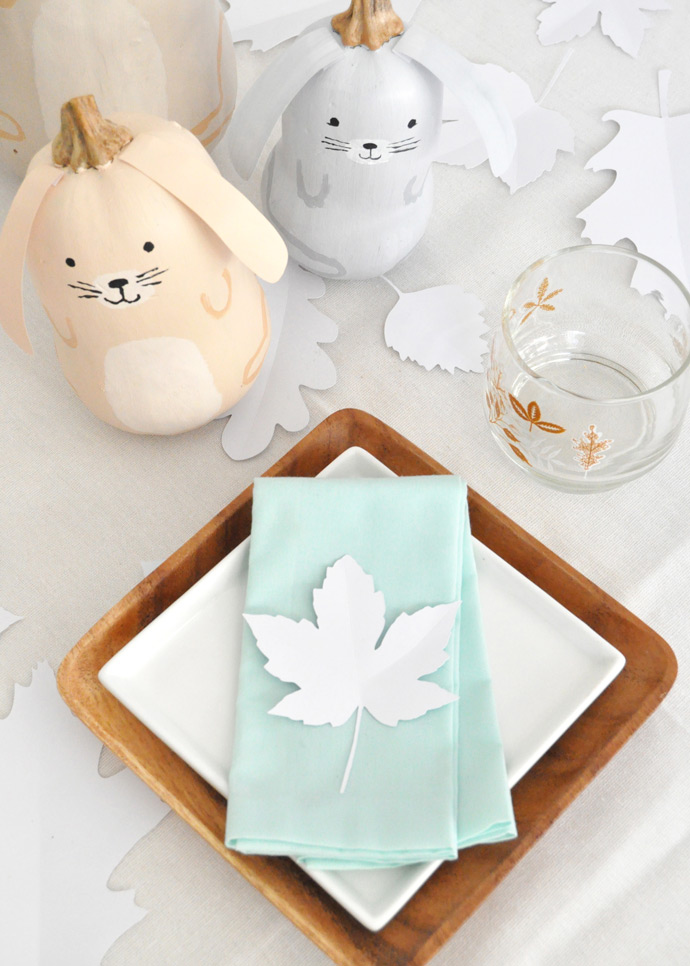
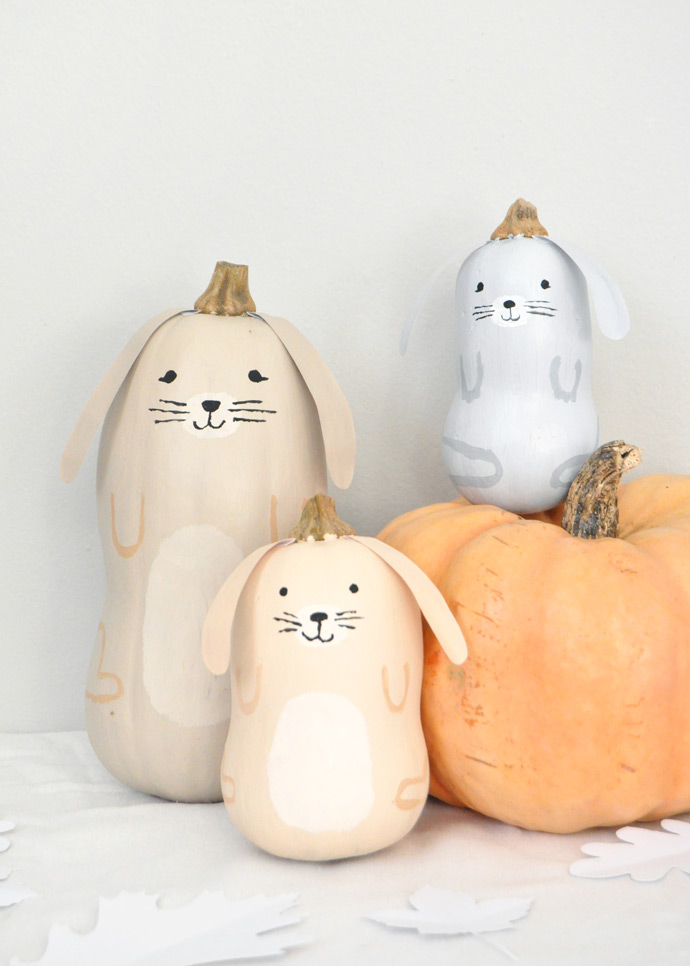
I love the idea of painting a few butternut squash into lop-eared bunnies for a cute woodland-themed Thanksgiving table. You could even use this as an activity for kids to paint their own bunnies for the table! I went with a more neutral color scheme for these bunnies, but pastels or jewel tones would be fun too don’t you think? Happy Thanksgiving!
What you Need
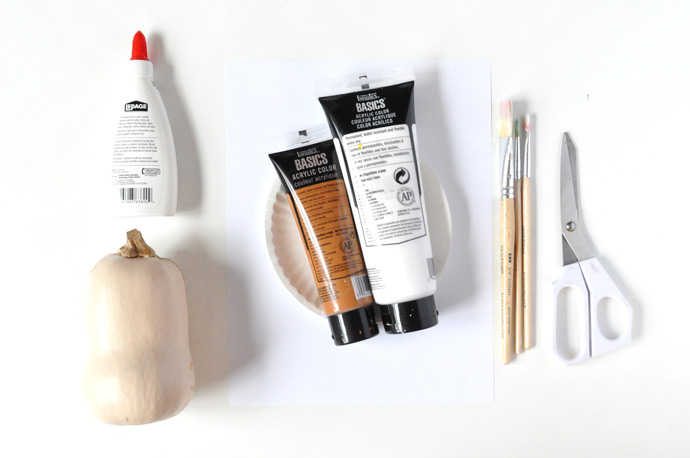
- Butternut squash
- Acrylic paint
- White glue
- Paper
- Paintbrushes
- Scissors
How-To
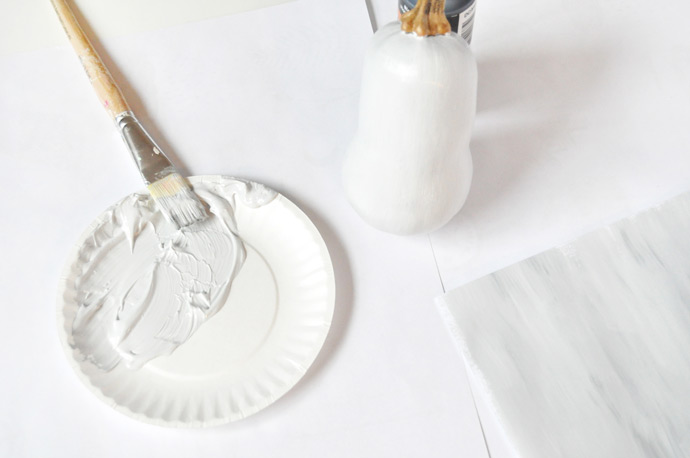
Step 1
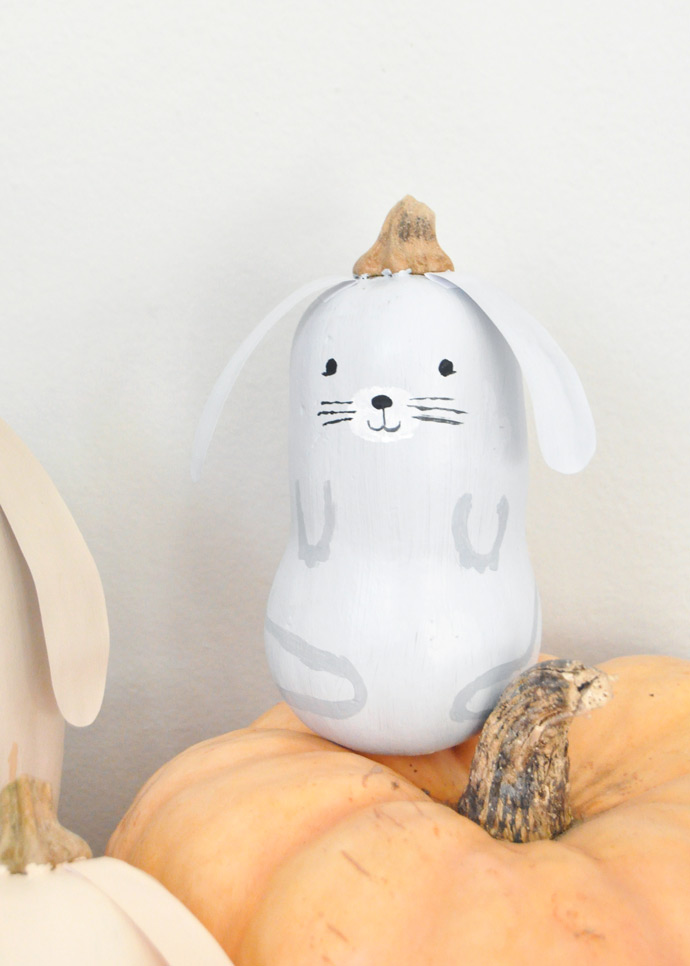
Paint your butternut squash with acrylic paint and let dry completely. I used pale neutral colors for a woodland feel, but pastels or jewel tones would be cute for an even more playful table!
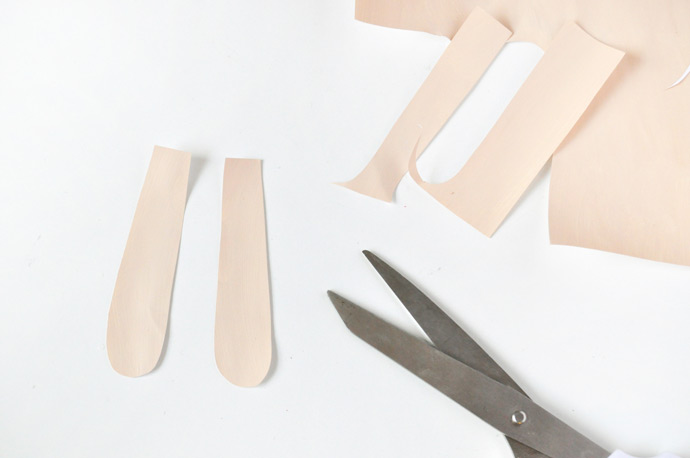
Step 2
Use the same paint you used on each butternut squash to paint some plain paper. Let dry and then cut into bunny ears as shown.
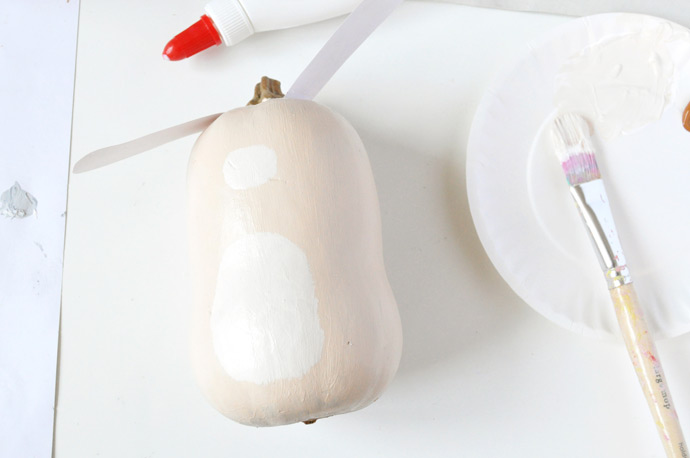
Step 3
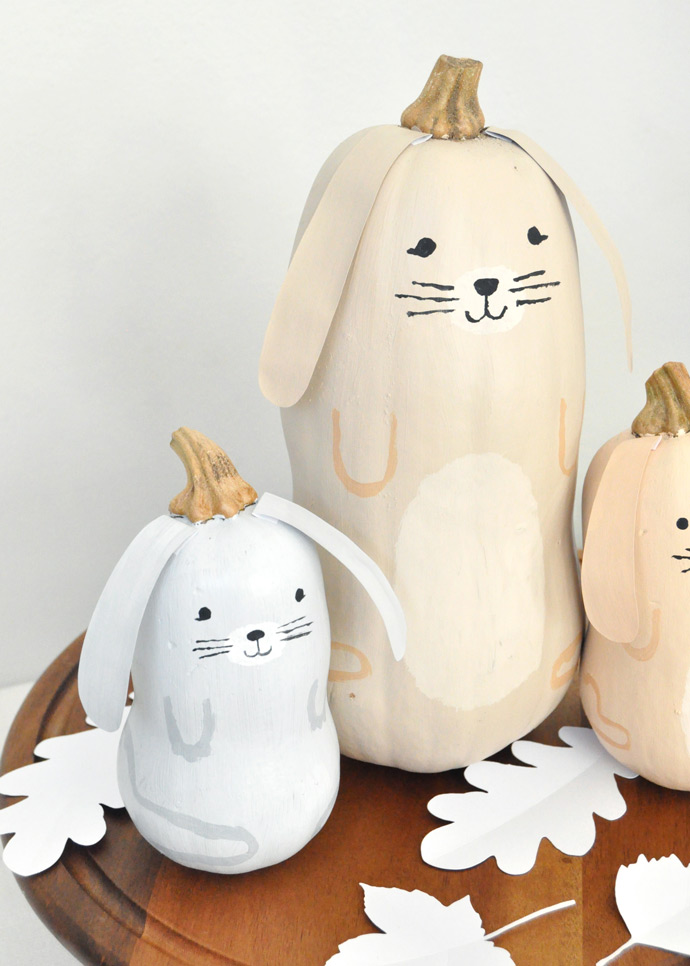
Fold a small tab onto the end of each paper ear and glue onto the top of the butternut squash. Then use a contrasting color to paint on a little patch for the bunny’s nose and belly. Let dry.
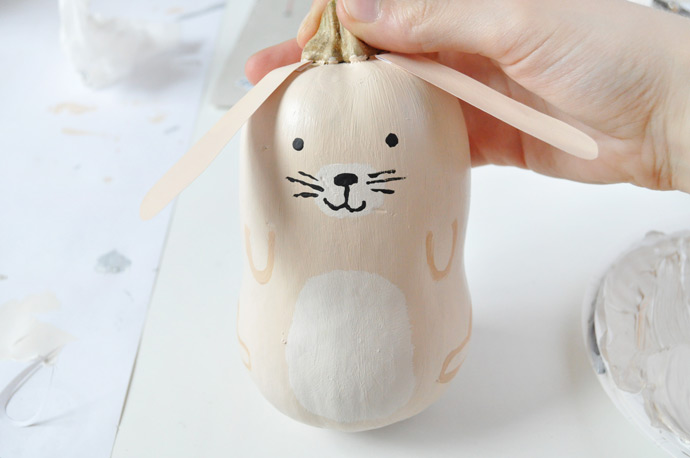
Step 4
Use black paint and a fine paintbrush to add the bunny’s face: eyes, nose, mouth, and whiskers. Then use a slightly darker shade of the body color to add on little arms and feet. Let dry. I also glued a cotton ball onto the back of each bunny as a tail!
Happy crafting!! :)