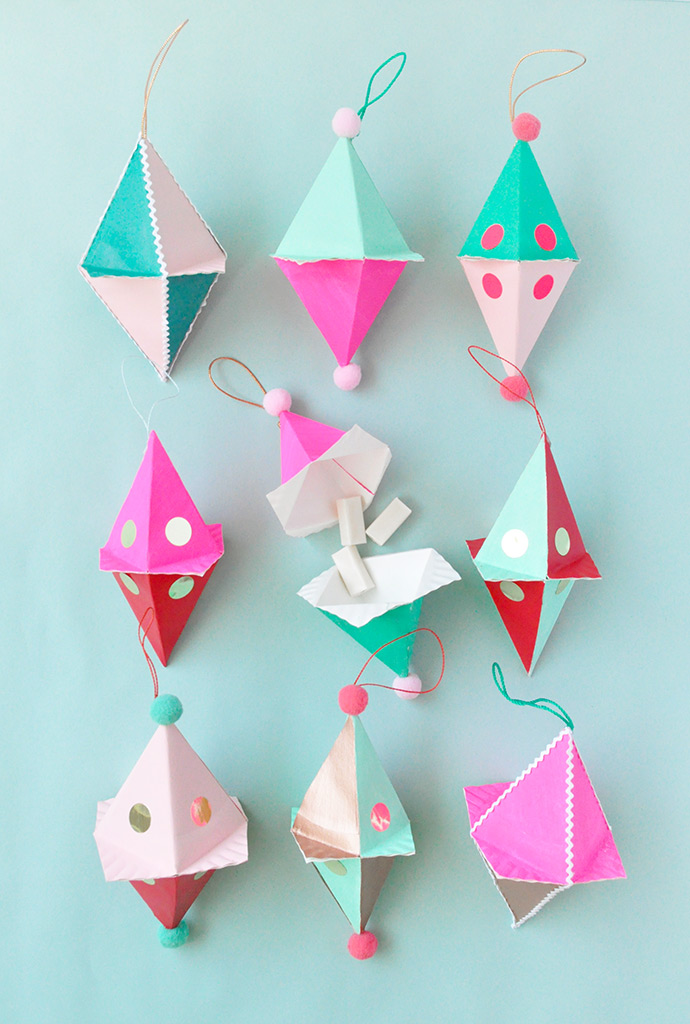
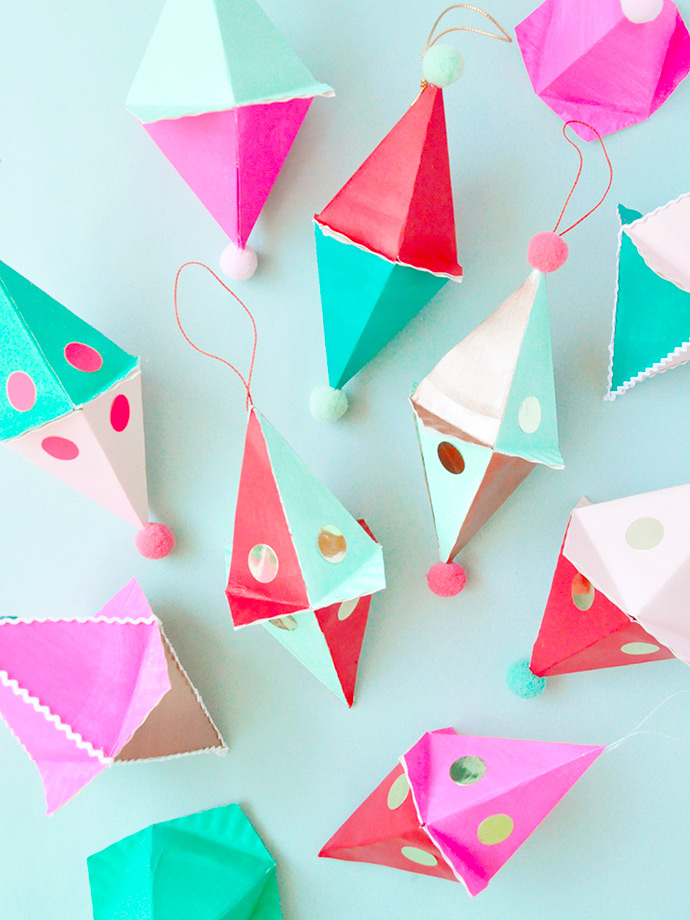
You know we love a good paper plate craft, so we’re super excited to be sharing these simple DIY ornaments with you today! Not only are they quick and easy to make, but they’re filled with tasty HI-CHEW candies to make your holiday season extra sweet.
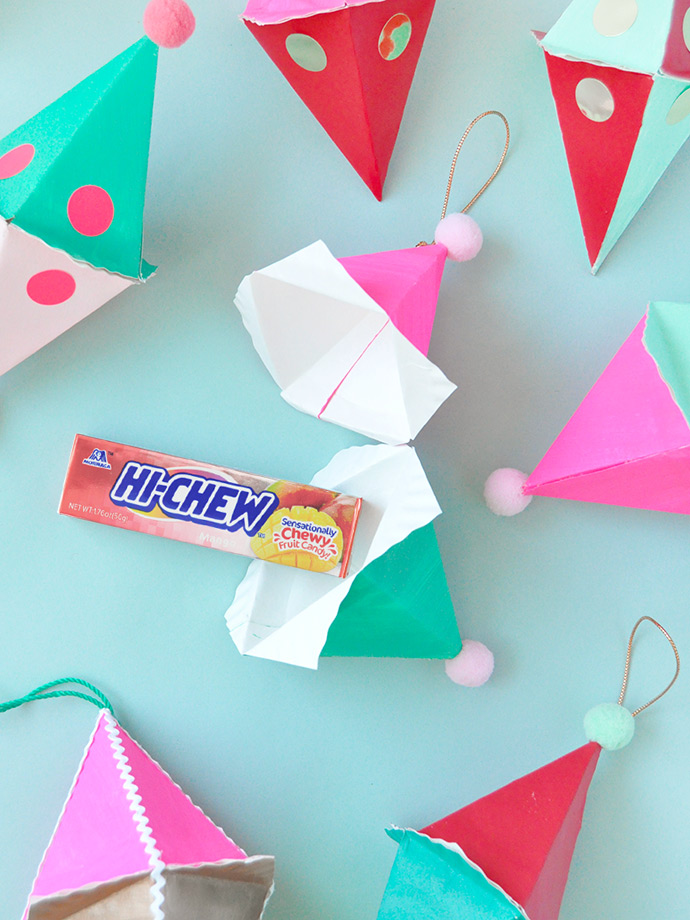
Using paper plates as the starting point for these ornaments makes them a great craft to make with kids of all ages. Older kids can help fold and paint the plates, and younger ones can get creative with paint and make some more abstract designs – you’ll just need to fold and glue them together once they dry! Make a whole bunch of them to decorate your family’s tree, or even use them as gift toppers for family and friends. And while you’re at it, make a few extra as place settings for the holidays – the HI-CHEW surprise inside is just like a Christmas cracker but even better.
what you need:
- Thin paper plates
- Acrylic paint
- Paintbrushes
- Cord / string
- Hot glue gun
- Decorations: (stickers, pompoms, ric rac, etc)
- HI-CHEW candy (available at Target, Walmart, and Amazon.com)
how-to:
Step 1
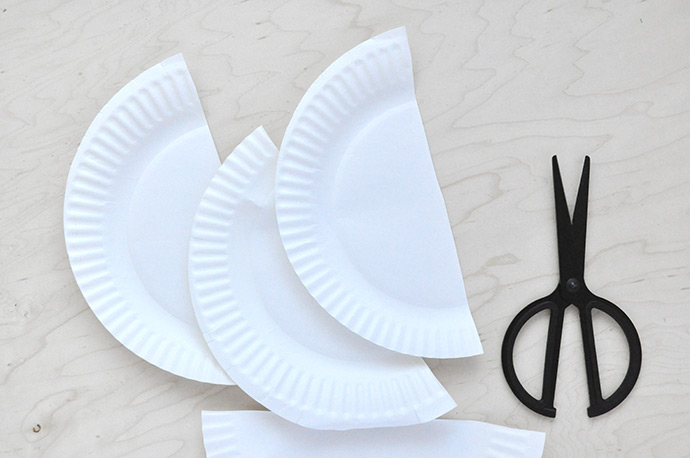
Fold a paper plate in half and cut along the fold. You’ll want to use the really thin paper plates from the dollar store for this – if the plates are too strong they’ll be hard to work with. You need one plate to make one ornament.
Step 2
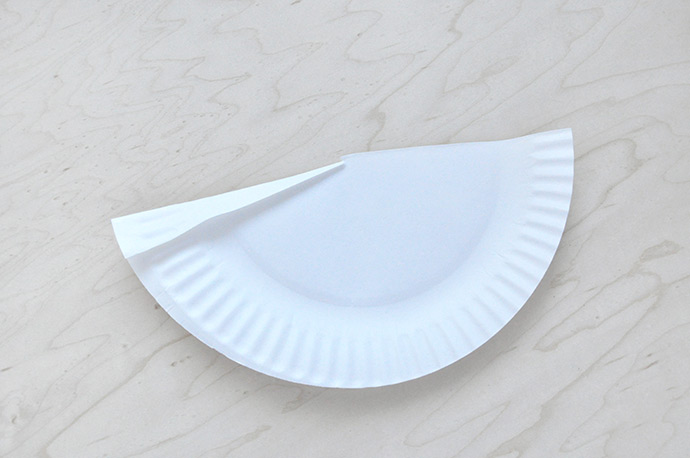
Find the center of the half paper plate and fold a small tab from the center to the edge as shown.
Step 3
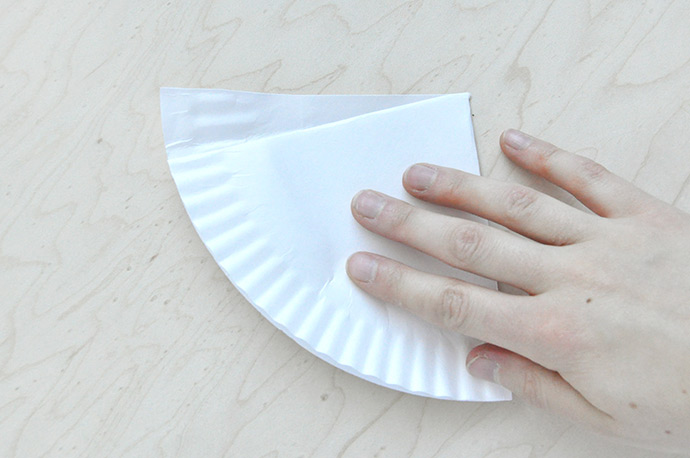
Unfold the tab and fold the other side of the plate over, lining the edge up with the fold line from the tab you just folded.
Step 4
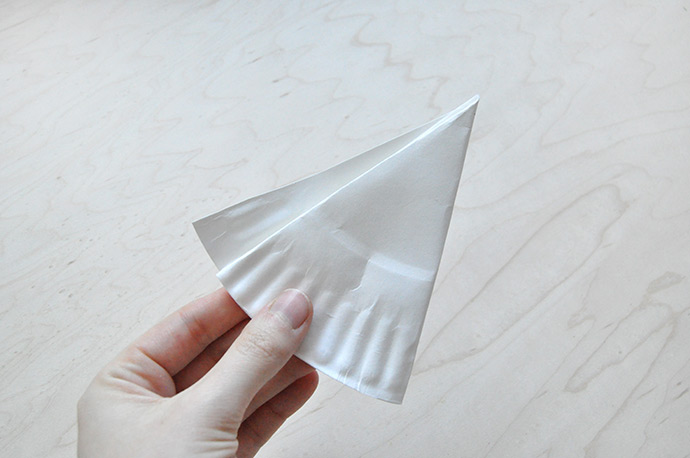
Fold over one more time, again lining the edge up with the same fold line. The paper plate should now be folded into four equal sections, with a small tab extending out.
Step 5
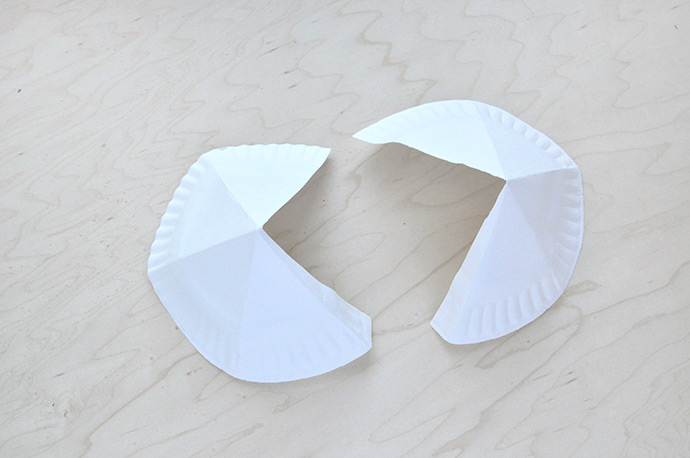
Repeat for the other half of the plate and unfold both.
Step 6
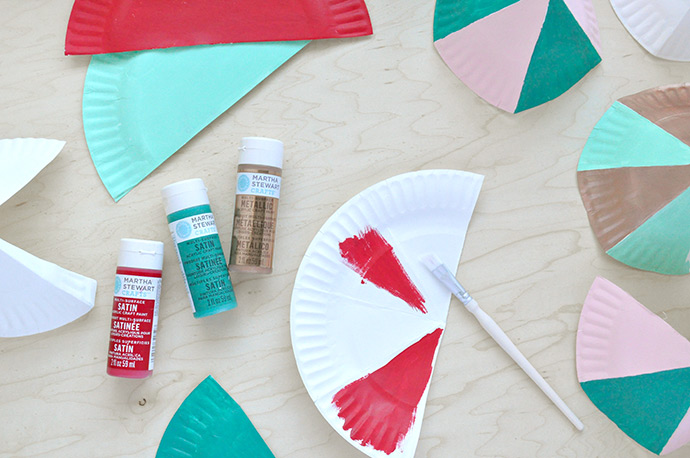
Time to decorate the plates! For a checkered pattern, paint the folded segments different colors. For a more colorblock look, paint each half plate a solid color. Let dry completely.
Step 7
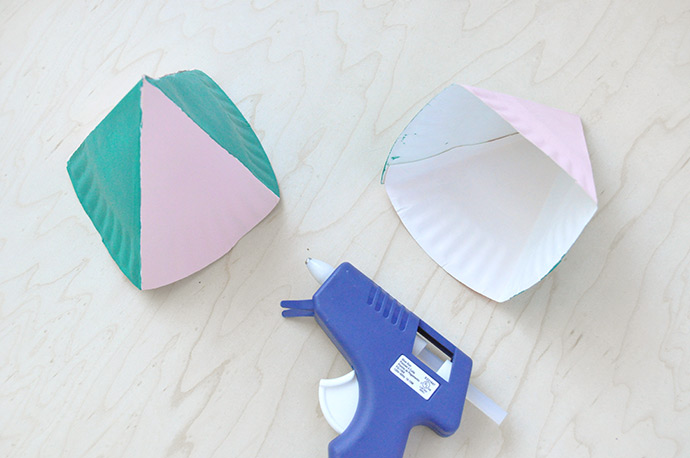
Once dry, apply hot glue onto the tabs of the folded paper plates and assemble into two pyramids.
Step 8
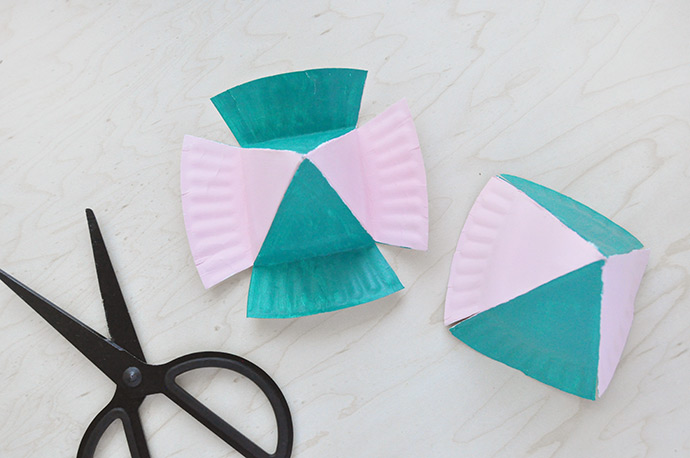
Next, make snips up the four edges – we used the bumpy edge pattern on the plate as a guide to keep the snips even.
Step 9
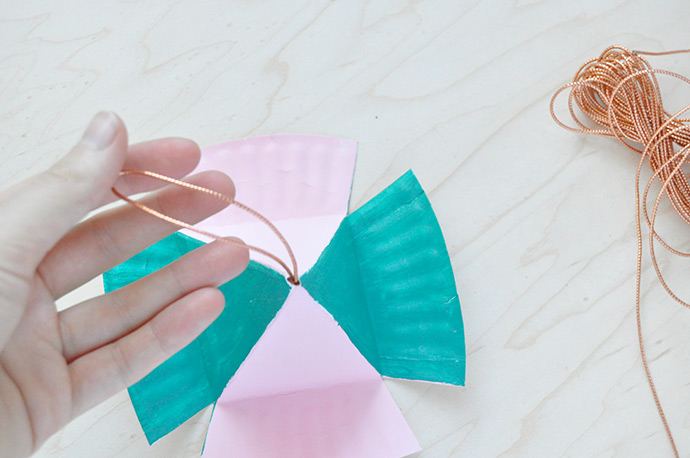
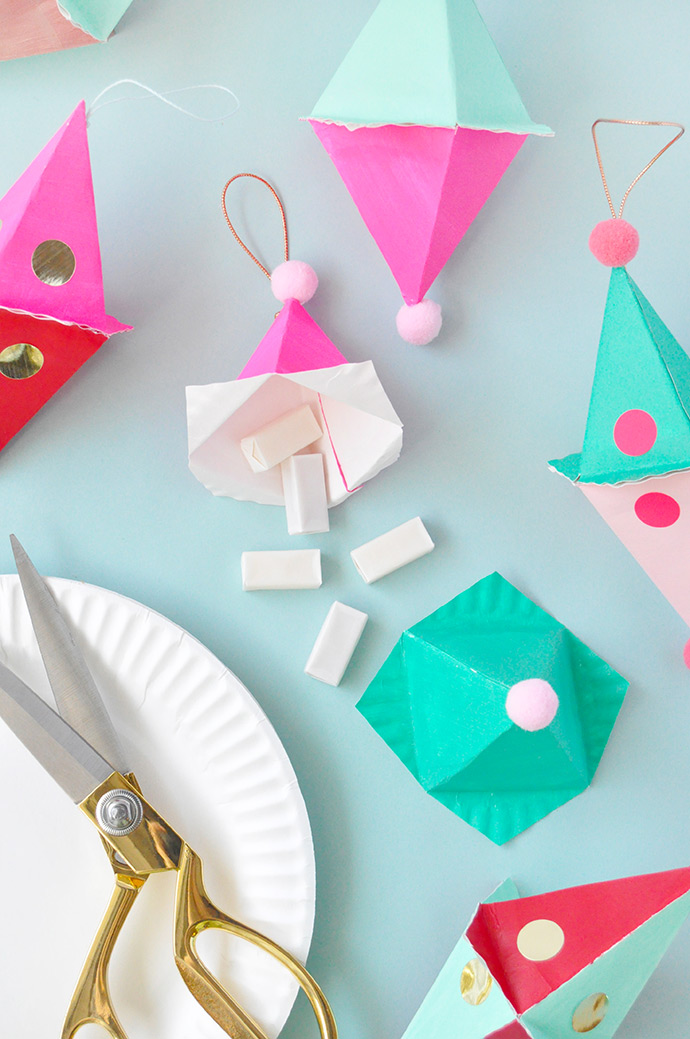
Cut a tiny bit off the top of one of the pyramids, tie a loop of string, and feed it through the hole. Use a dab of hot glue inside the pyramid to secure it in place.
Step 10
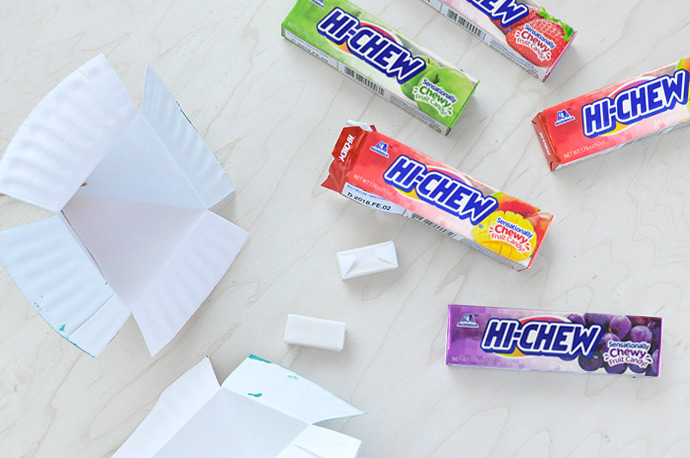
Fill the ornament with candy! Put a whole HI-CHEW stick inside, or mix and match flavors for a fun surprise.
Step 11
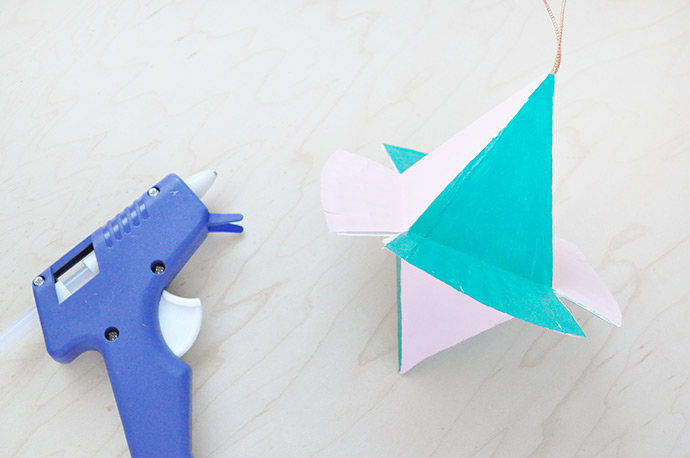
Apply hot glue onto the tabs and attach the two halves together, pressing the tabs to secure.
Step 12
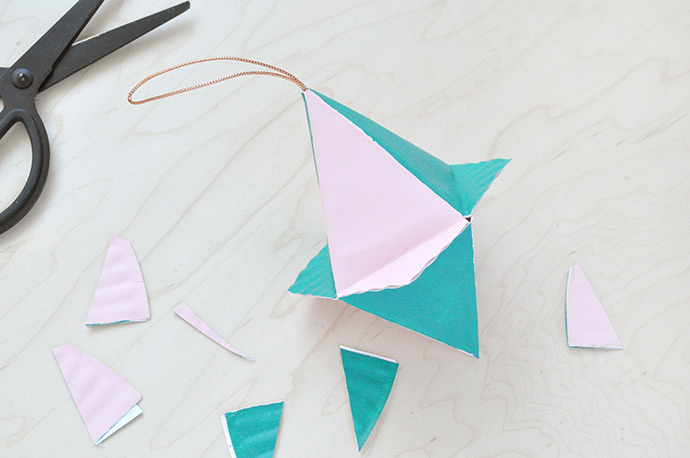
Trim the tabs into triangles.
Step 13
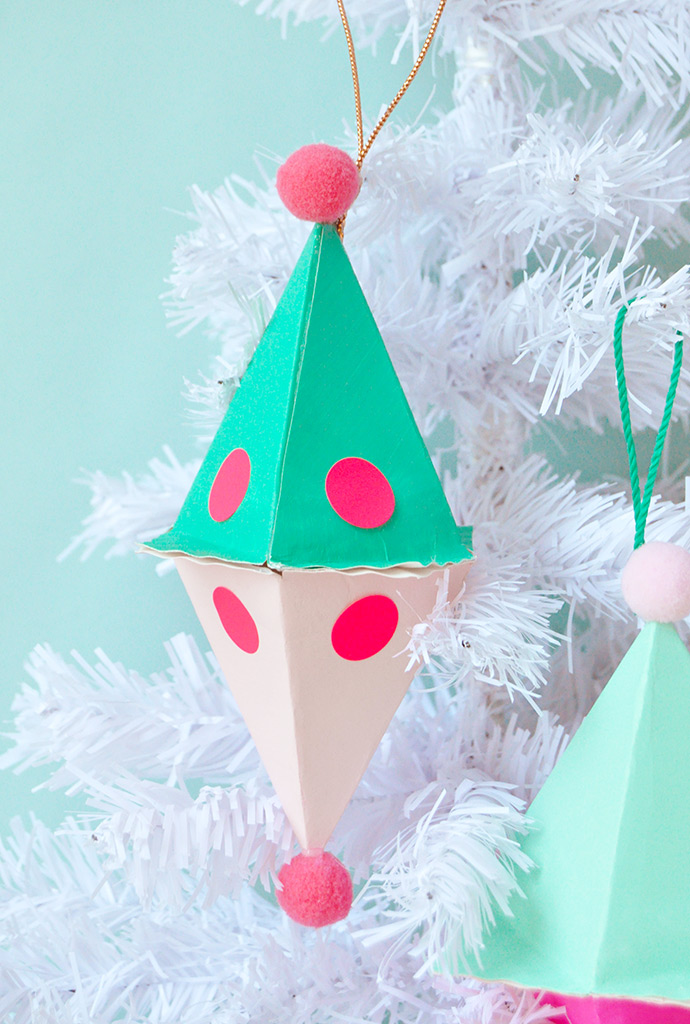
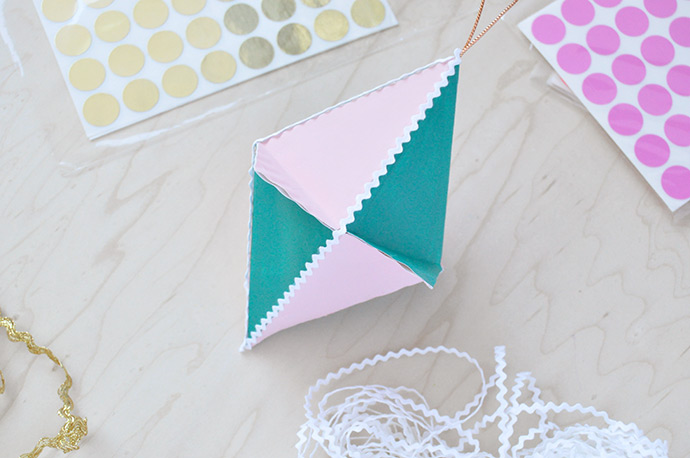
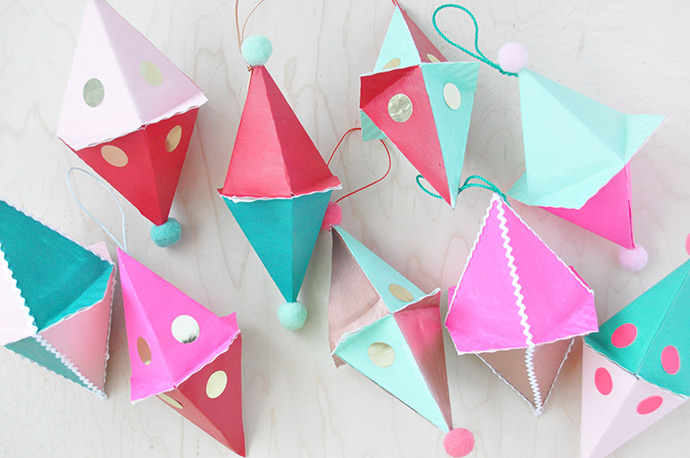
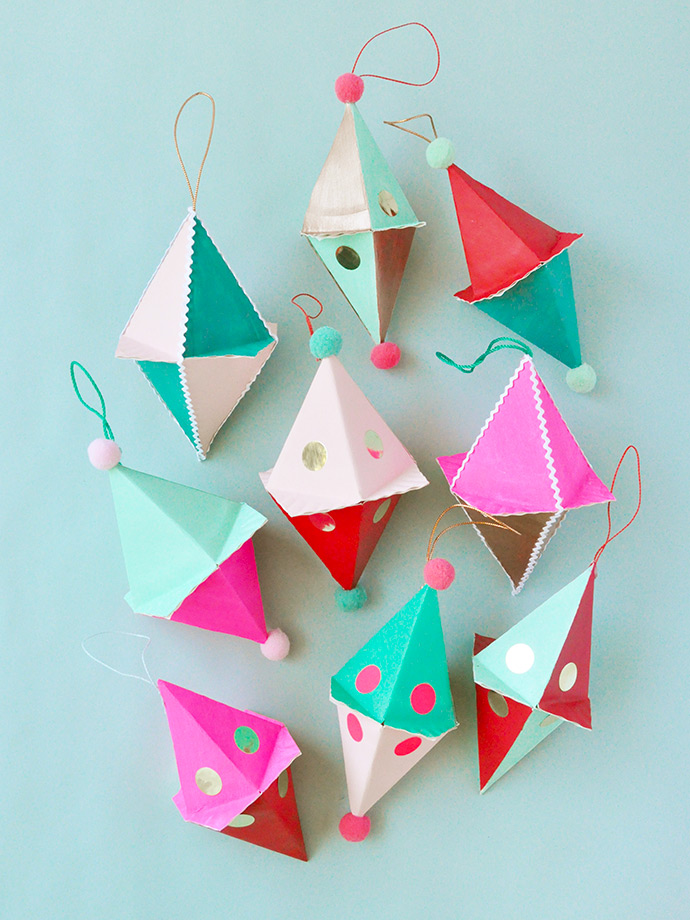
Decorate your ornament! Try gluing ric rac or trim down the edges, put pom poms on the ends, or decorate with stickers.
Step 14
Repeat until you have a whole set of playful looking HI-CHEW filled ornaments!
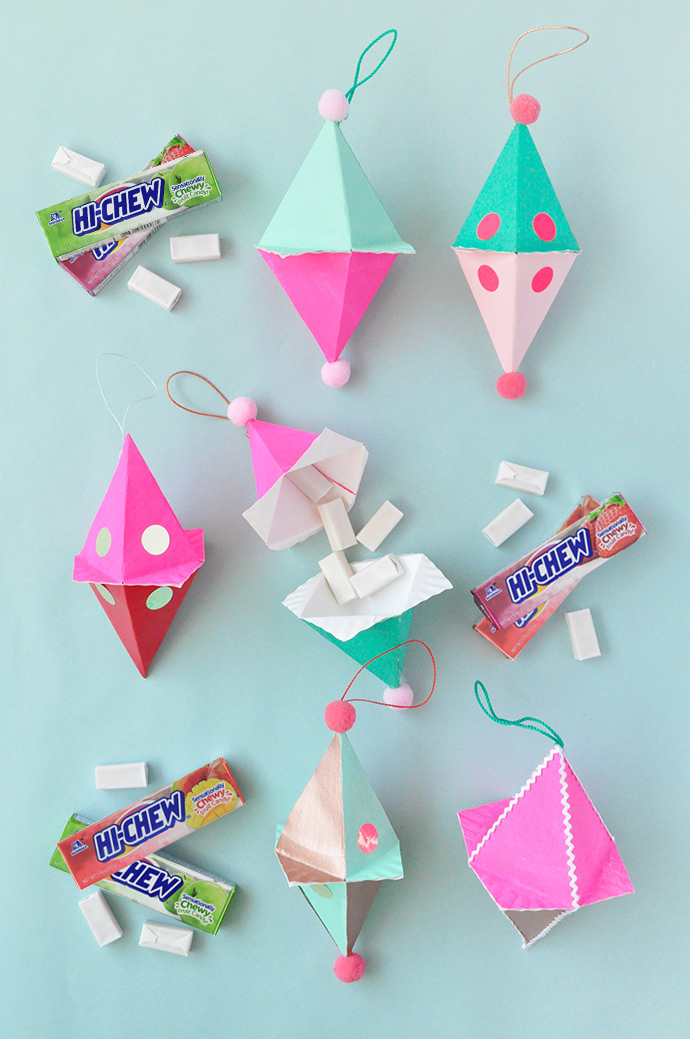
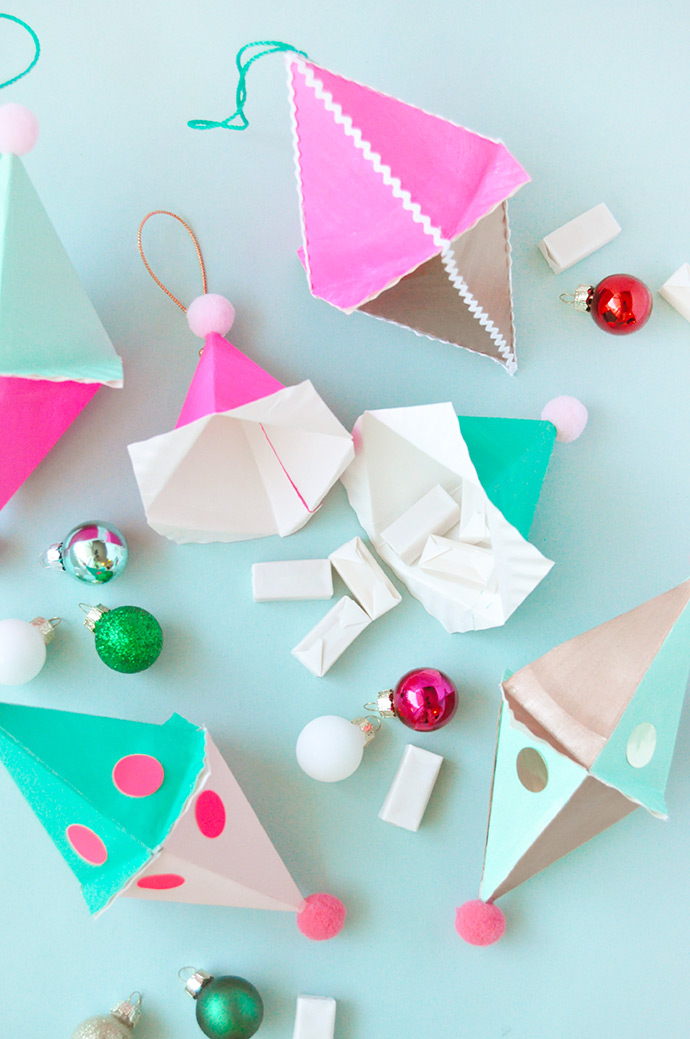
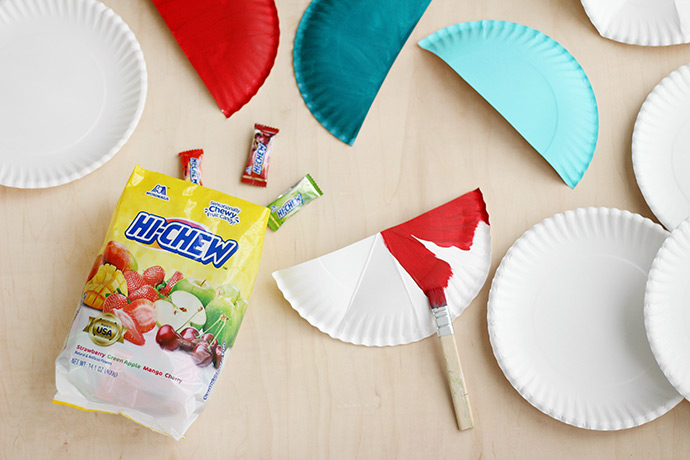
Make sure to grab an extra bag or two – we definitely found ourselves snacking on HI-CHEW while we were making our ornaments!!
This post is sponsored by HI-CHEW. I only work with brands that I love, and opinions I express are always my own.