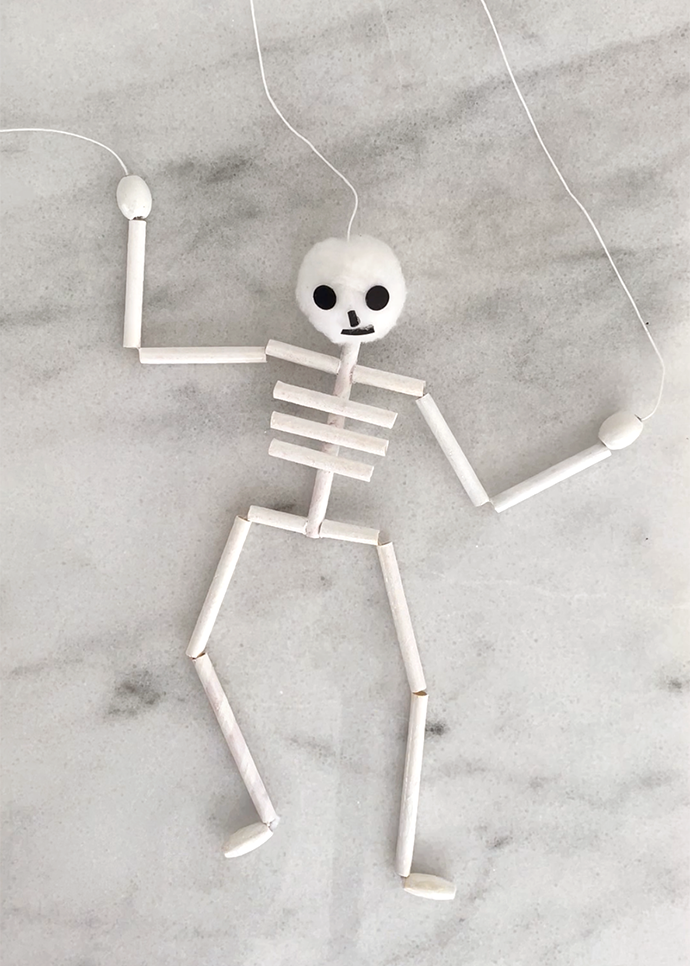
Several years ago now, Natalie shared a super fun pasta noodle skeleton puppet on the blog – it’s the best! I was thinking of this project when I made this paper straw version to post on Instagram last week. After a few followers commented asking for instructions to make their own, I made a new video showing this process! The video can be seen right here. This is such a fun puppet to operate – he swings around so naturally, he really looks like he’s dancing. We hope you’ll make one for your own Halloween puppet show!
what you need:
- Paper straws
- Hot glue gun
- Wooden beads (four)
- White pom pom (or large round bead)
- Pipe cleaners (white and other)
- Thin white string/cord
- Black paper
- Acrylic paint (white)
- Paintbrush
- Wooden sticks (popsicle and/or dowels)
how-to:

Step 1
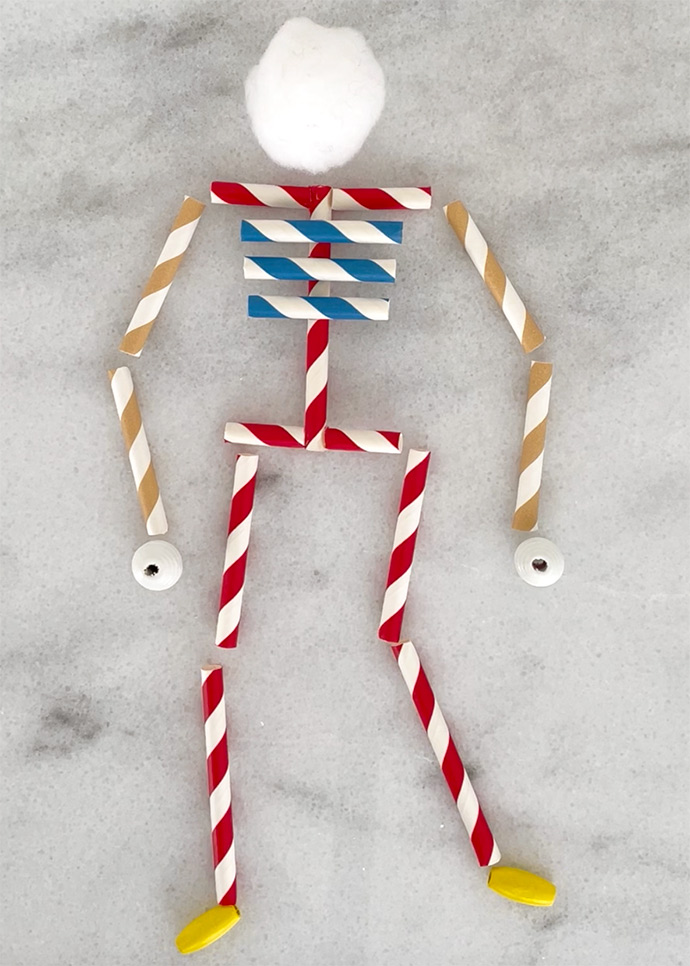
Cut the paper straws to form the skeleton bones and lay them out. If you have plain white straws, use those, or if not you can paint over colorful ones later. The exact lengths of the straws doesn’t matter – and can vary to suit the size of your pom pom, which will be the skeleton’s head. This pom pom is almost 1 1/2″ across, so made the spine straw 3″ long, the ribs about 1 3/4″ long, the arms straws about 1 3/4″ long each, the thighs are 2 1/8″ long, and the calves 2 3/4″ long.
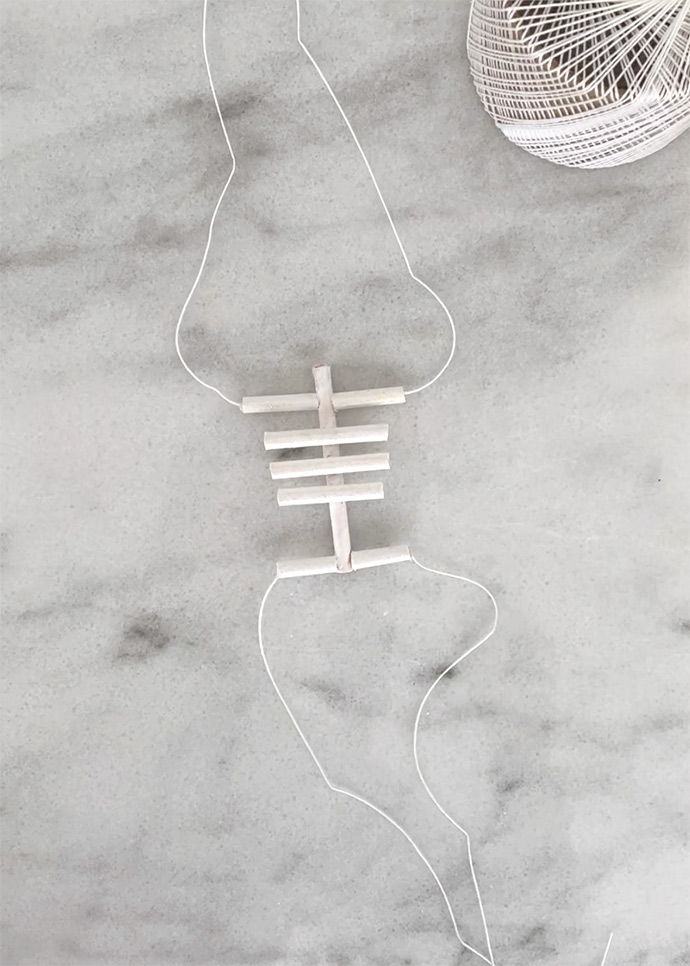
Hot glue the two shoulder straws and the two hip straws to the spine straw, and then glue the three rib straws on top of the spine straw as well.
Step 2
Once you have all the straws cut and the torso glued together, it’s time to paint! The torso is easy enough to paint as is, but it is helpful to thread the rest of the loose straws and the beads onto pipe cleaners when painting – this allows you to paint all sides without touching the wet straw.

Step 3
Once the paint is dry, cut four long pieces of white string. Squeeze some hot glue into the end of the shoulder straw and insert one end of one string into this, using a toothpick to make sure the string is securely in the glue. Repeat this with the remaining shoulder and two hip straws with the other three strings.
Step 4
Thread the arm straws and hand beads onto the strings. Squeeze some hot glue into the end of the hand bead and press the string into it, so that the bead is acting like a stopper, keeping the straws from sliding down the string. When doing this, make sure there is a little bit of wiggle room between the straws – doing this too tightly will make the movement not as smooth for dancing later. Repeat this with the second arm.
Step 5
Cut two small pieces of white pipe cleaner and bend into L shapes. Hot glue one end into each foot bead, and the other into the bottom of the calf straws.
Step 6
Thread the thigh straws onto the leg strings and trim the excess string so that only about 3/4″ hangs below each thigh straw. Apply hot glue into the top of one calf straw and insert the string into the glue, again using a toothpick to make sure it is secure in the glue. As with the arms, you want some wiggle room between the straws, but not too much.
Step 7
Cut another piece of string and thread it onto a needle. Pierce the needle through the white pom pom, pulling it through, and remove the needle. Hot glue the end of the string into the top of the spine straw, using a toothpick to secure. Apply another dab of hot glue atop the spine straw and slide the white pom pom into this, pressing to secure. Cut black paper into a face and glue to the white pom pom.
Step 8
Tie the head string to a popsicle stick. Tie the two arm strings to opposite sides of a wooden skewer or dowel. When operating the puppet, one hand will hold each stick.
Note: We used thin white string here, but for younger kids you could use thicker string or yarn instead. Instead of using a needle and thread for the pom pom head, use a large round wooden bead that your string/yarn can be fed through. White glue can be used instead of hot glue but will require some drying time in between steps to make sure it’s secure before moving the puppet around.