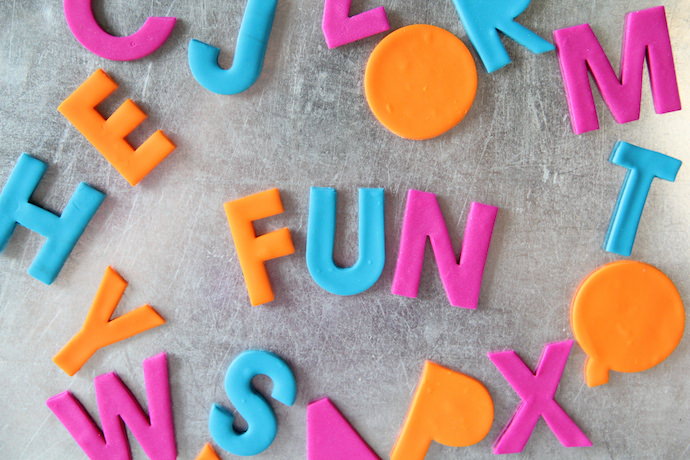
These magnets are so easy and fun to make! My little guy is learning his letters and this is the perfect way to help him do that. Grab your supplies and get started! Your kids will thank you.
What You’ll Need
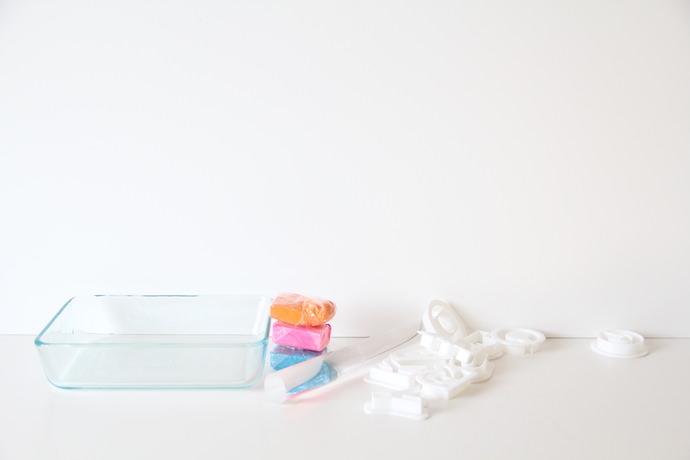
- Polymer clay
- Alphabet cookie cutters
- Glass baking pan
- Rolling pin
- Magnets
- Glue
Instructions
Step 1
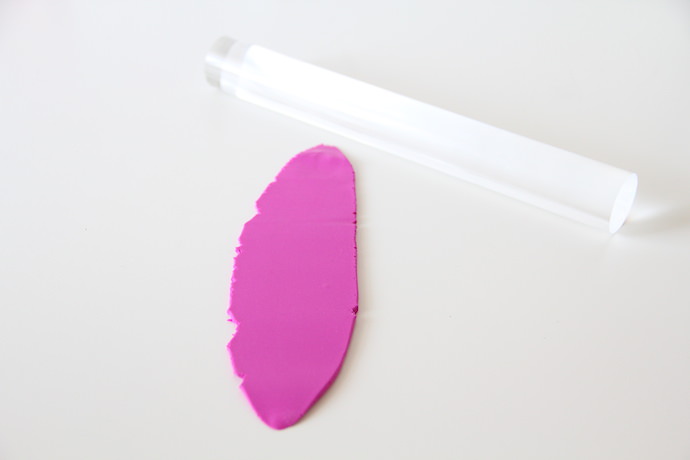
First, grab your polymer clay and knead it. You want it to be nice and soft. Then roll it out with the rolling pin to the thickness you want for your letters.
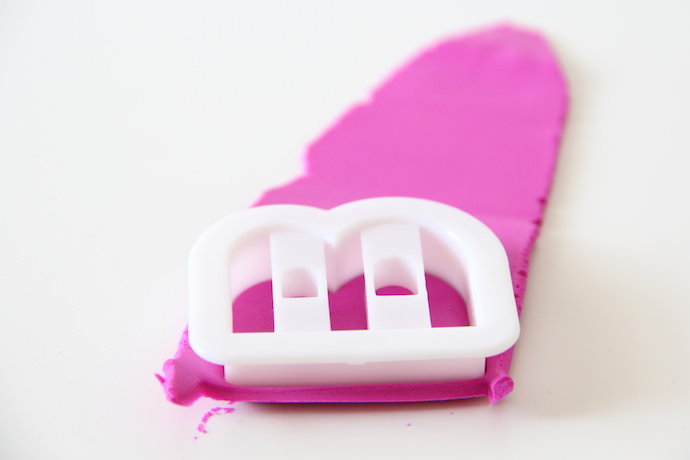
Step 2
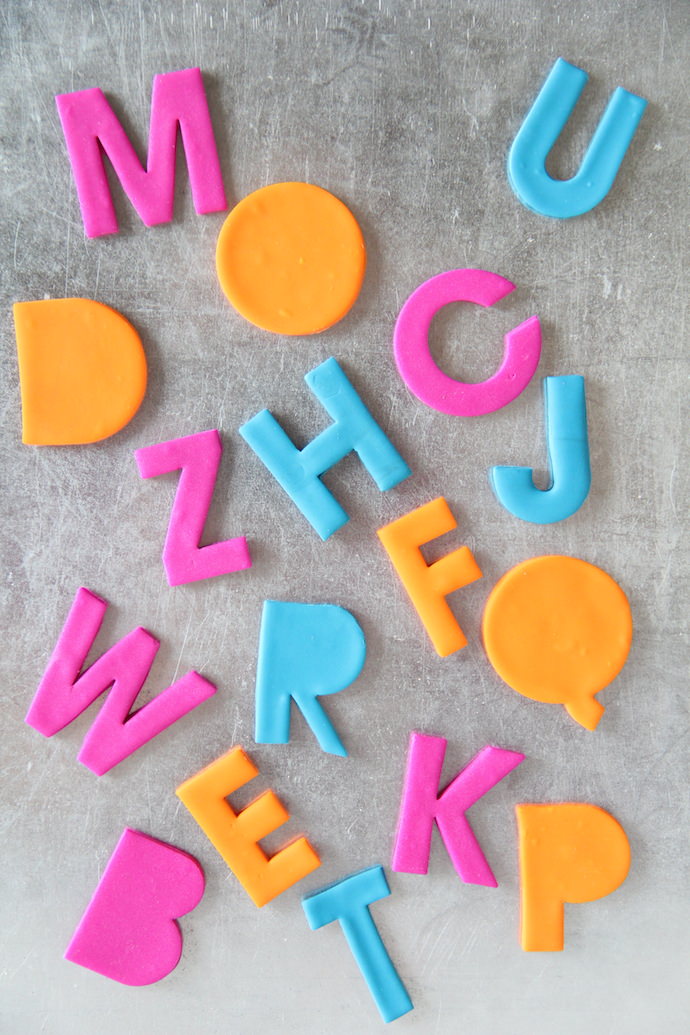
Once it’s rolled out, cut the letters out!
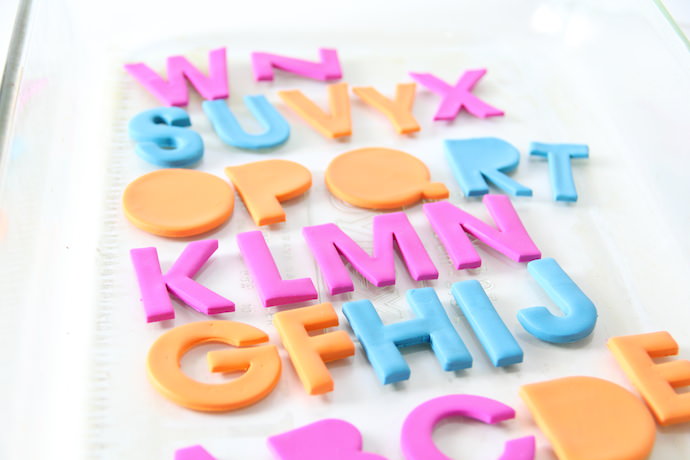
Step 3
Place the letters into a glass baking dish as you cut them out, then bake them according to the directions on your polymer clay packaging.
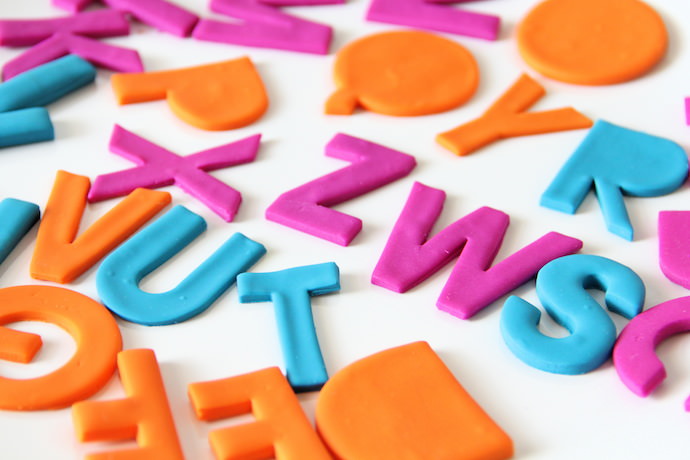
Step 4
Let them cool! They are going to be pretty hot.
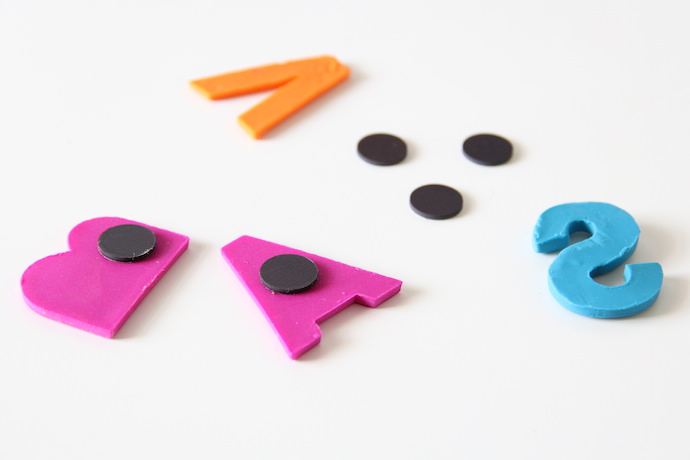
Step 5
Add the magnets to the back and put them on a magnetic surface for some fun!