This post is sponsored by Kid Made Modern.
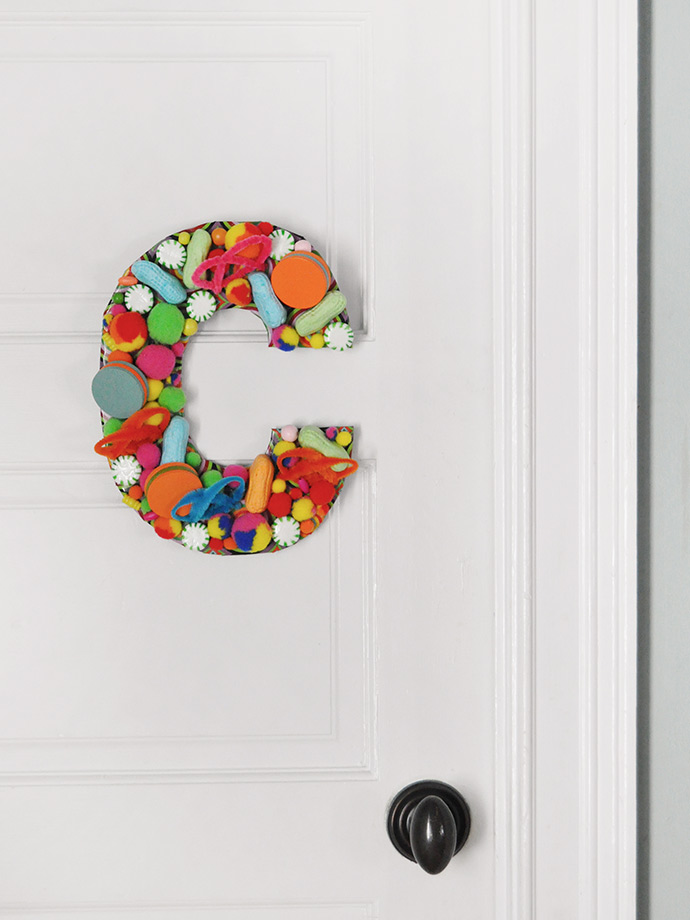
Recently while browsing Pinterest, we came across the most amazingly decorated cookie cakes – have you noticed them popping up more and more lately too? They’re so fun to look at that it’s almost a shame to eat them! Enter this DIY door sign! Inspired by the look of these trending cookie cakes, we’ve put together this playful door decor version that your kids can keep on display as long as they like – no expiry date!
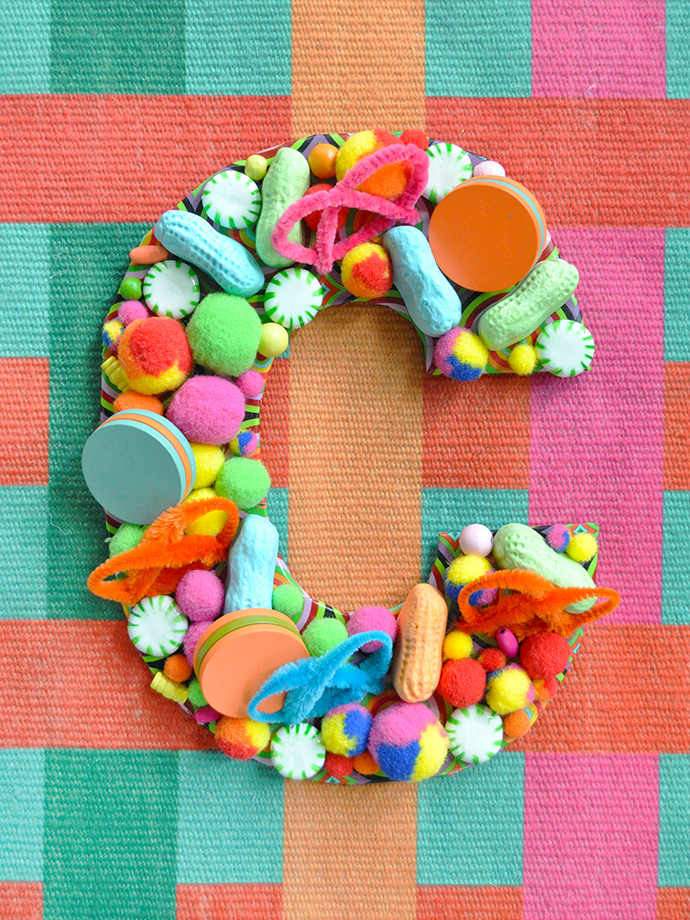
Kid Made Modern’s Arts & Crafts Library was perfect for making this project – you can mix and match all the supplies, using whichever colors, shapes, and styles you like best! We couldn’t help but go for it with this super colorful rainbow sign but a more monochromatic (all hot pink, anyone?) would look amazing too. See the how-to video below, and keep reading for the full instructions at the bottom of this post.
what you need:
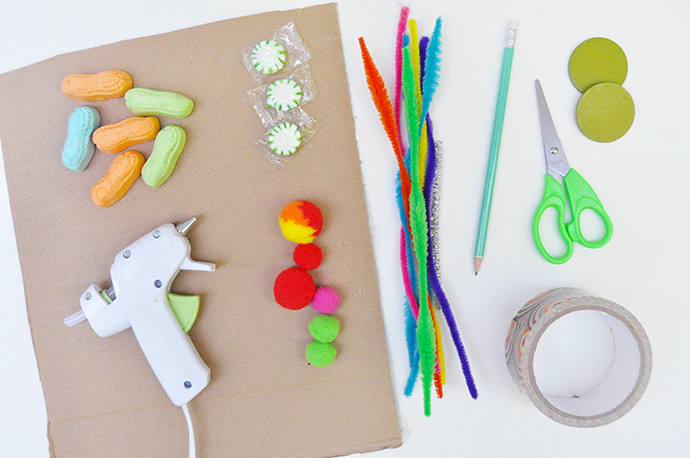
- Kid Made Modern Arts & Crafts Library (pipe cleaners, pom poms, wooden circles, scissors)
- Kid Made Modern Geometric Duct Tape
- Recycled cardboard
- Hot glue gun
- Pencil
- Hard candy (optional)
how-to:
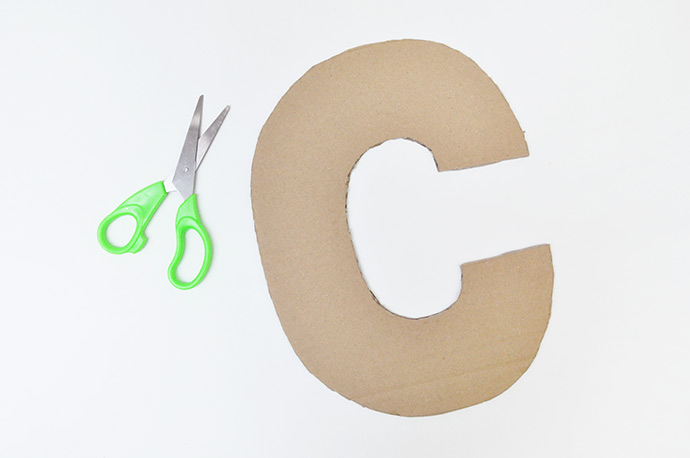
Step 1
Begin by using a pencil to sketch our your letter onto a piece of cardboard. You can make it as big or little as you like, but we found that keeping it around the size of a regular piece of printer paper worked nicely with the sizes of everything getting glued on later. Use a pair of scissors (or a craft knife, if needed) to cut the letter out.
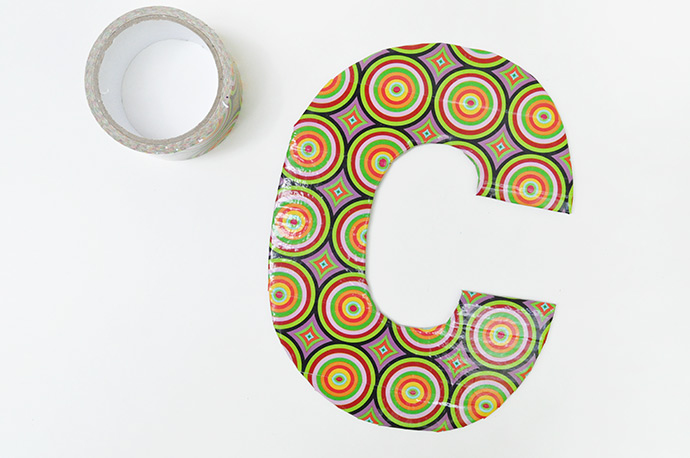
Step 2
Cover the entire front of the letter using duct tape! Wrap the excess tape to the back of the letter so that the edges have a nice tidy finish.
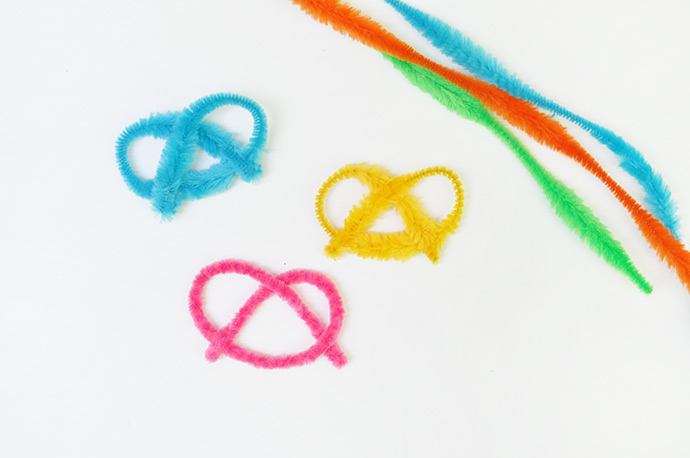
Step 3
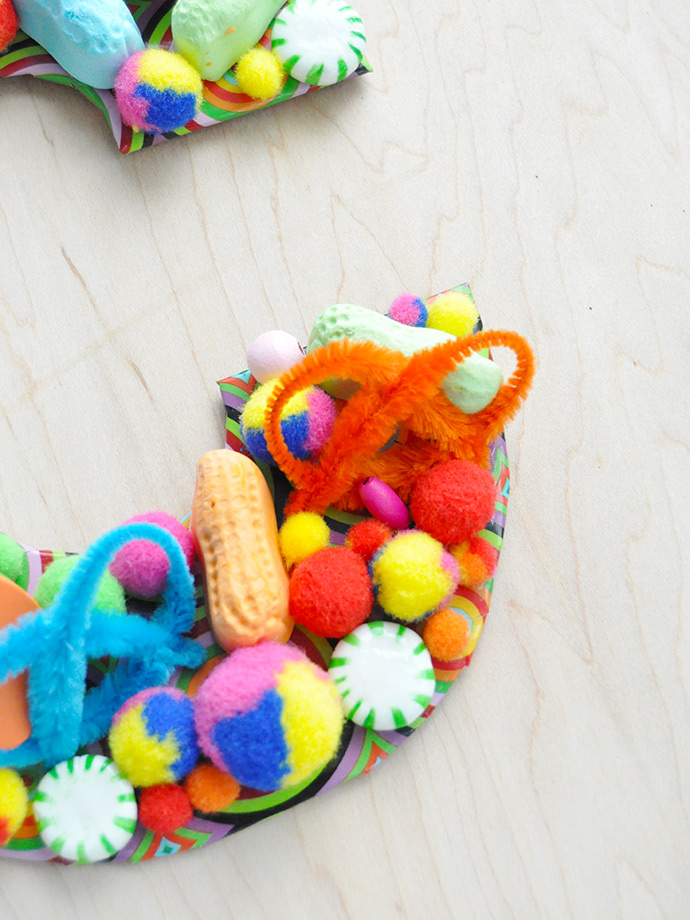
Make some pipe cleaner pretzels! We used both the regular and bumpy pipe cleaners for this – all you have to do is twist them in place and then bend the two ends back on themselves to hold everything in place.
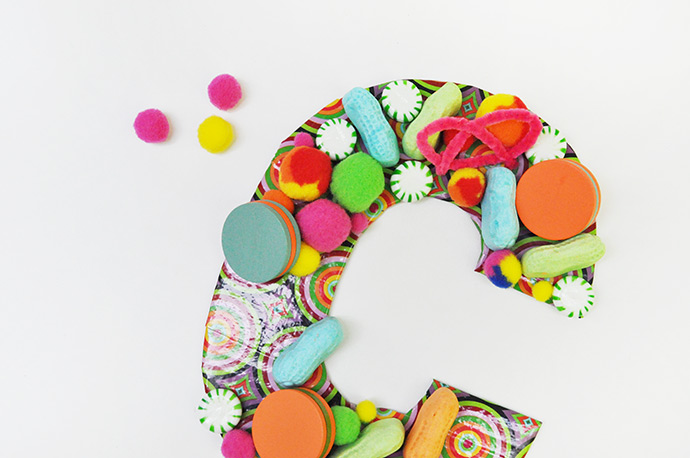
Step 4
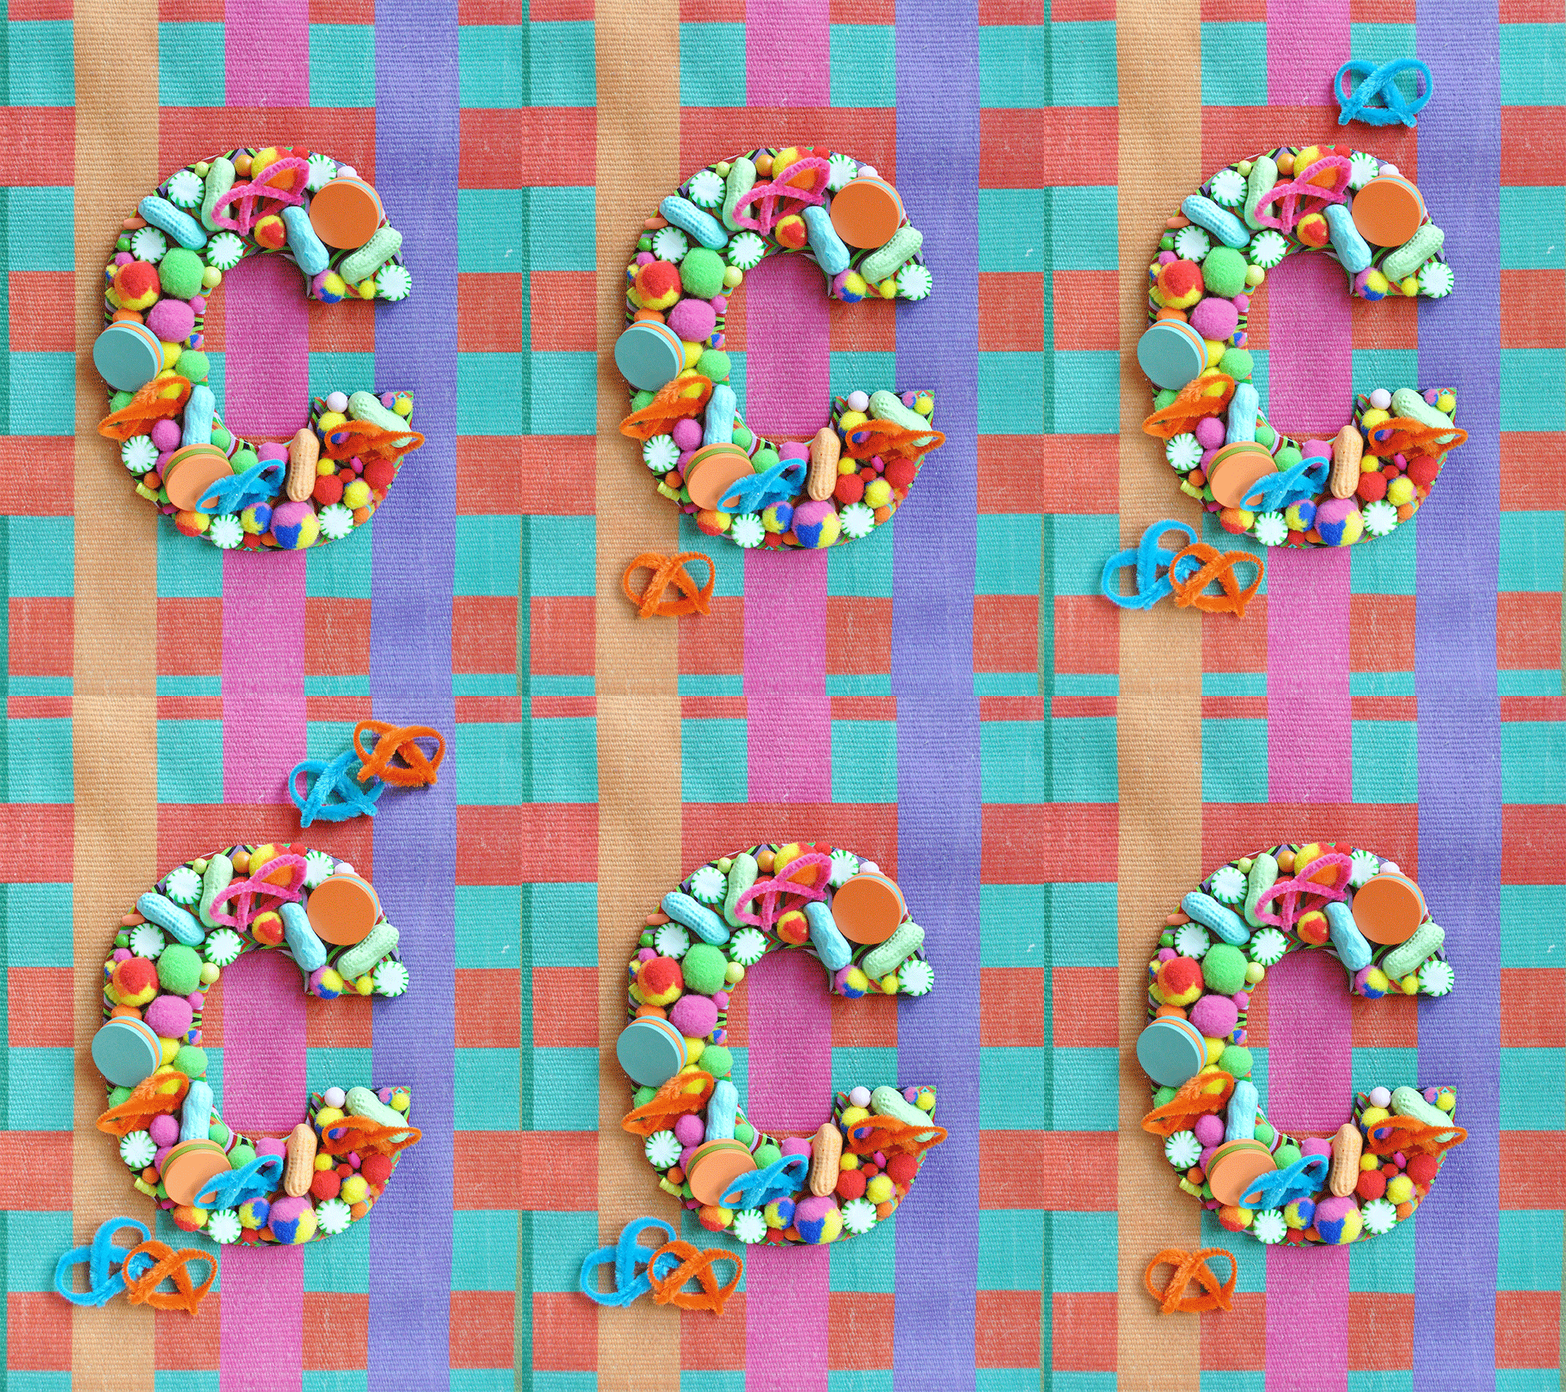
Time to start decorating the letter! We started by laying all the pieces out on the C so that we could see how everything fit together. Once we mostly had that in place, one piece at a time we’d use hot glue to secure them down. We mixed the handmade pretzels, pom poms, beads, wooden circles we glued together to make macarons, and even some real candy – the circus peanuts and peppermints. If using real candy, it’s best if you first apply a sealant onto each piece and let dry completely before gluing onto this project.
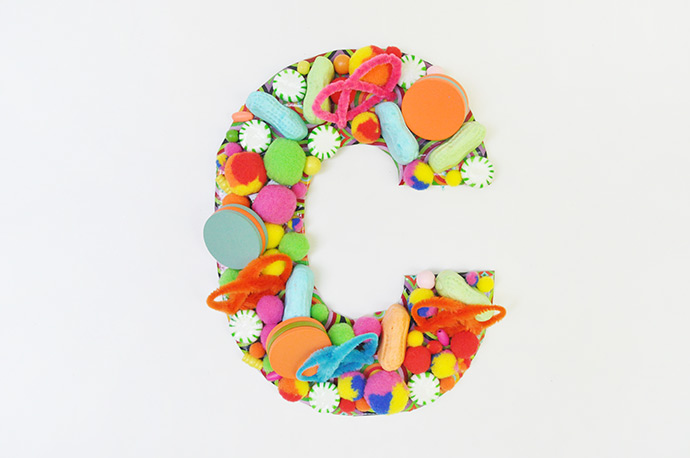
Step 5
When you’re done, you should have something that looks like this!
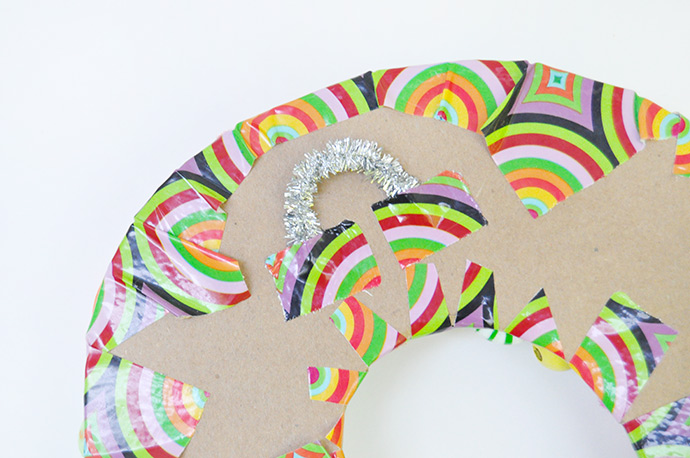
Step 6
And one last thing: bend a pipe cleaner into a little hook and use tape and/or hot glue to secure it onto the back of the letter. Your door sign is now ready to hang!
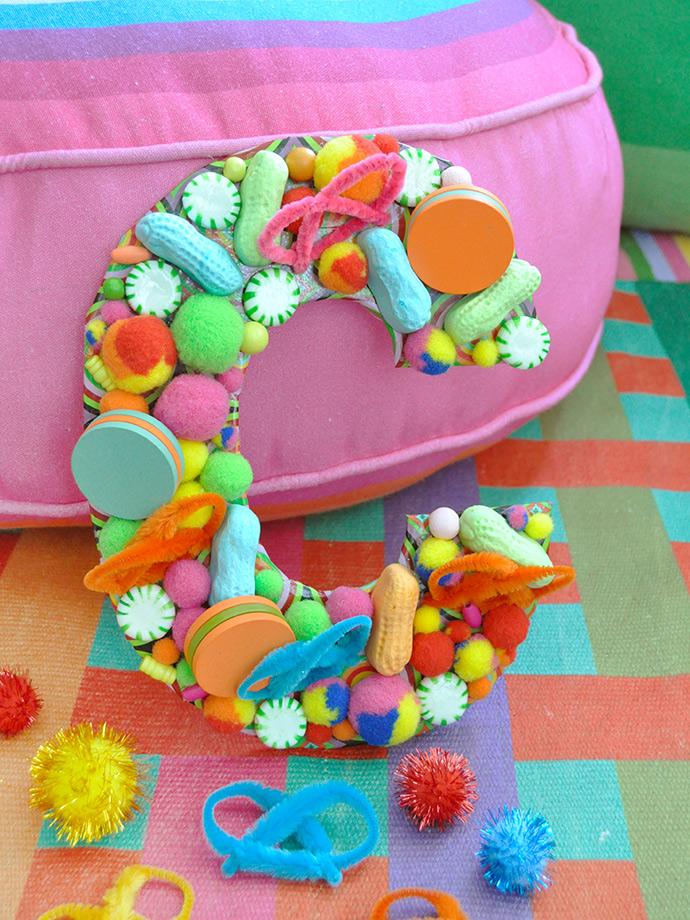
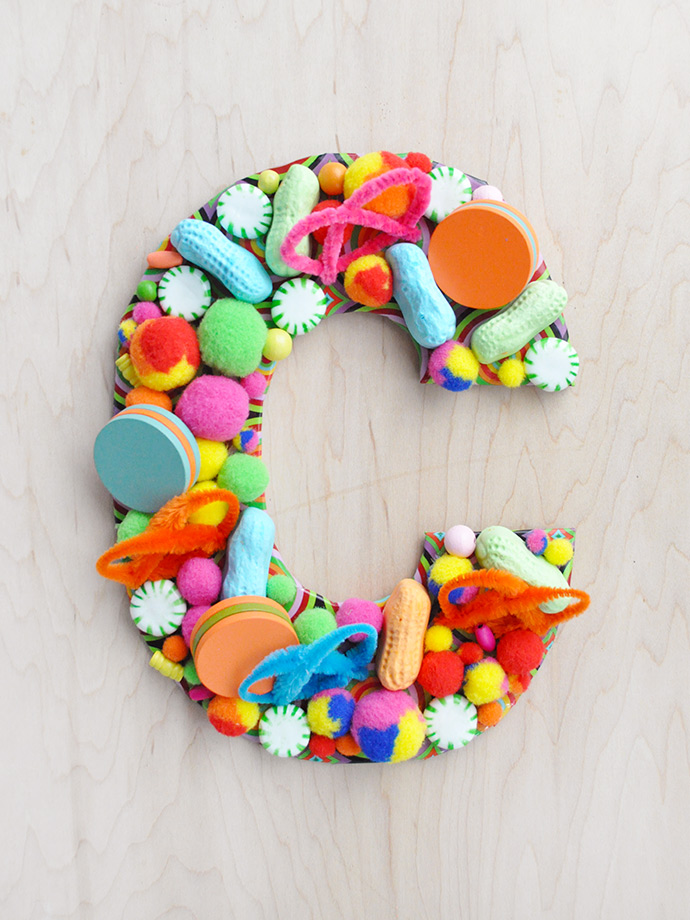
Happy crafting!!