
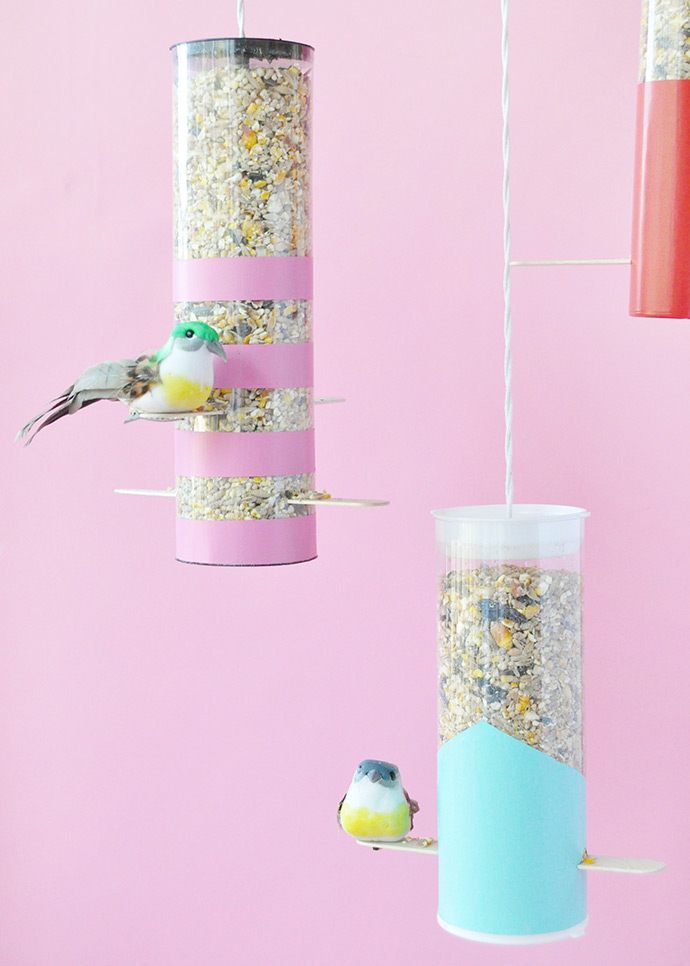
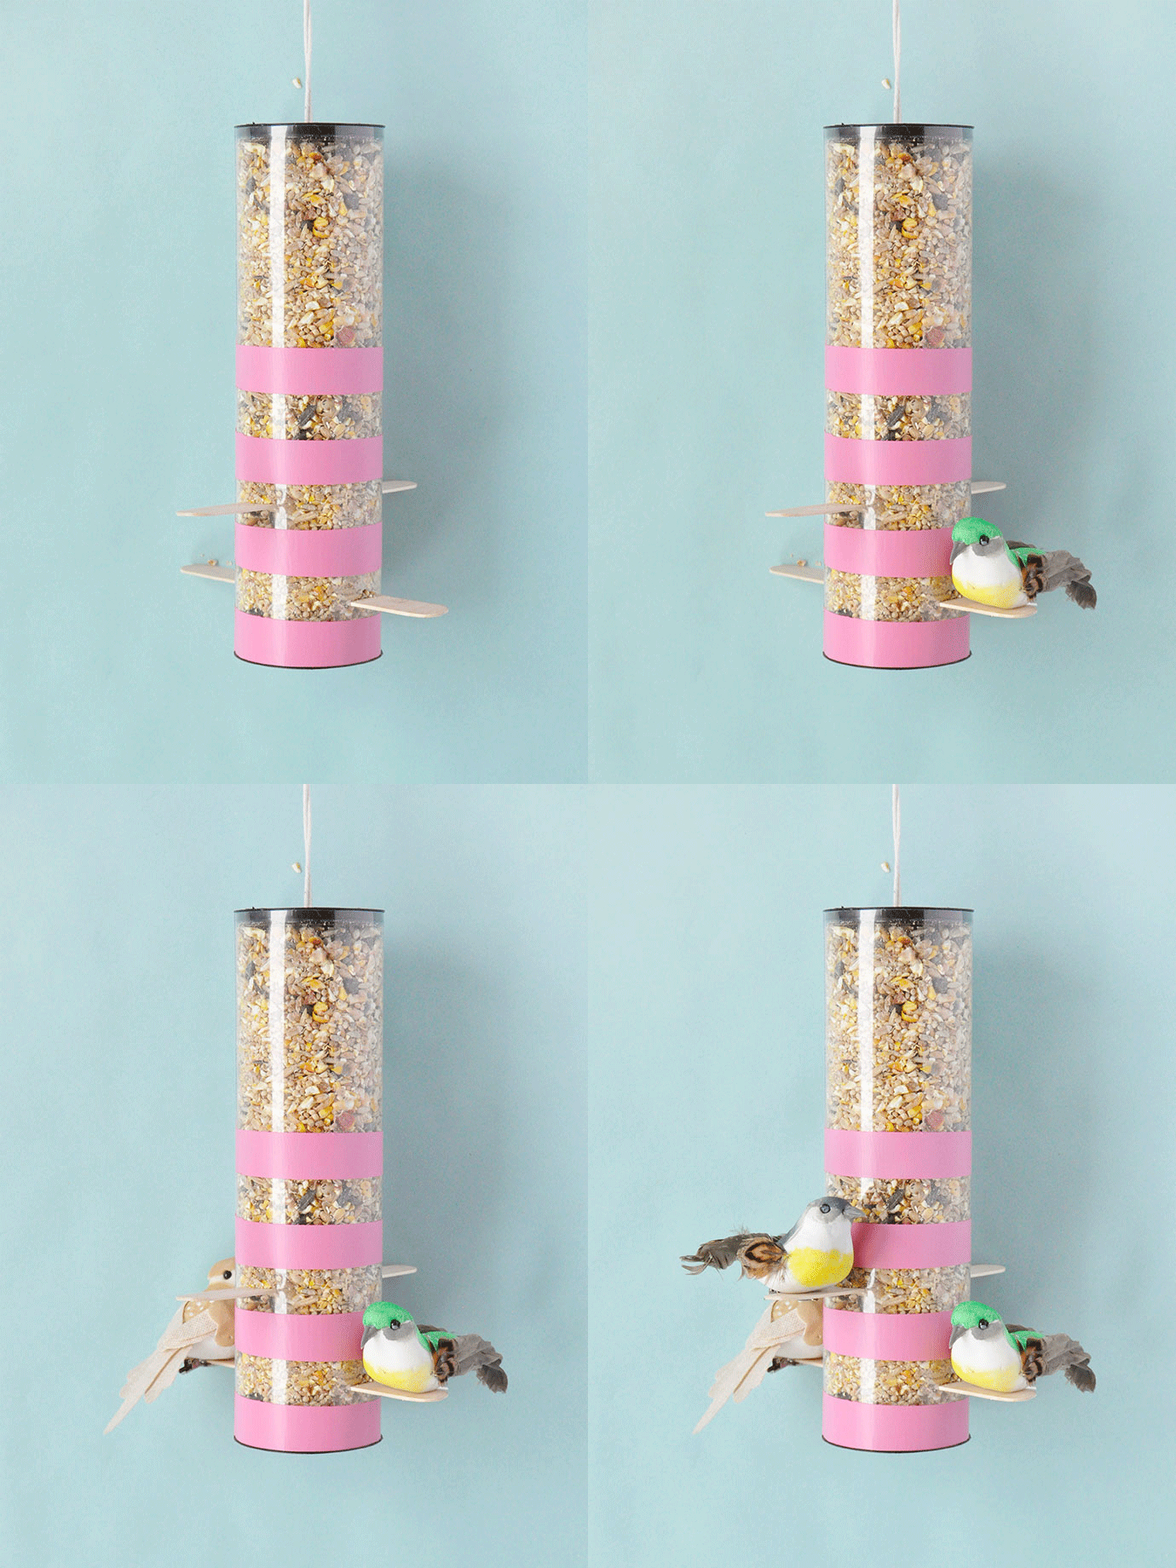
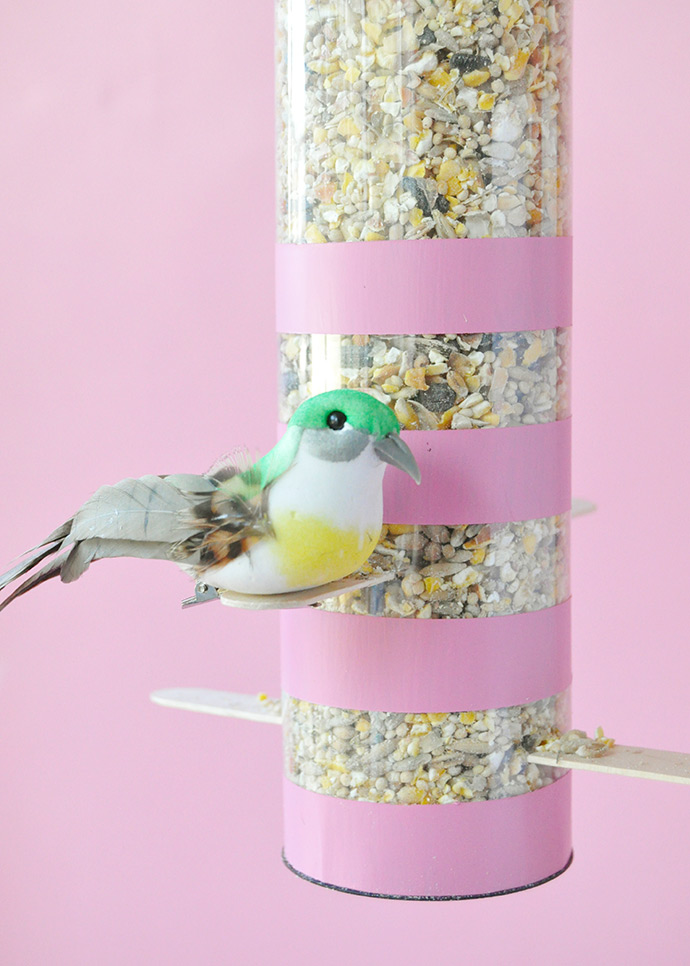
Invite some colorful visitors to your backyard this spring with these DIY bird feeders! The weather is just starting to warm up, but some birds’ natural sources of food may not be quite available yet. Why not help them out with a handmade bird feeder instead?
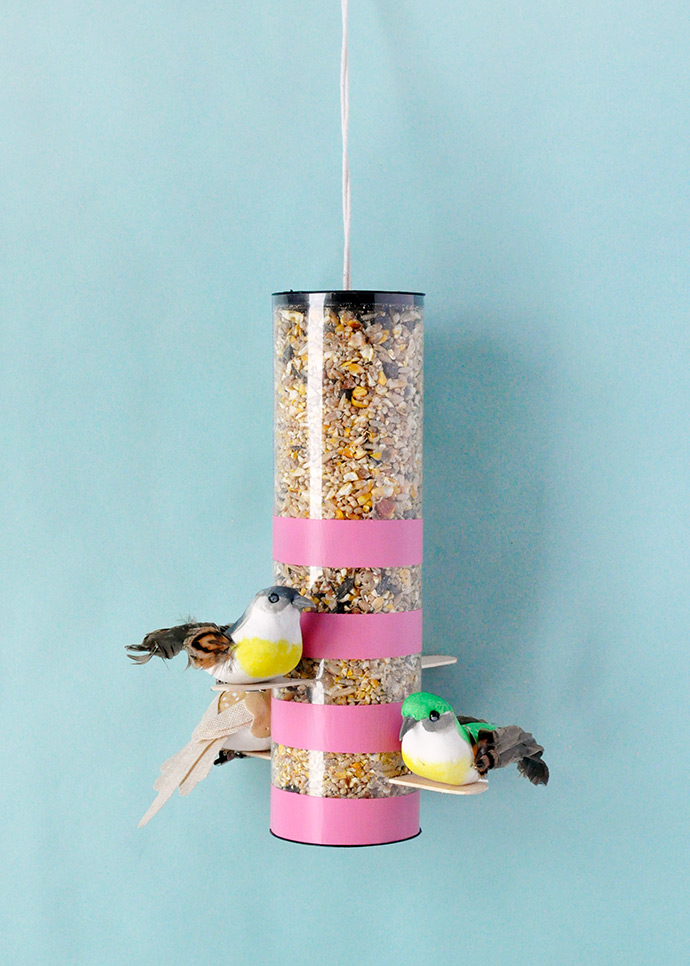
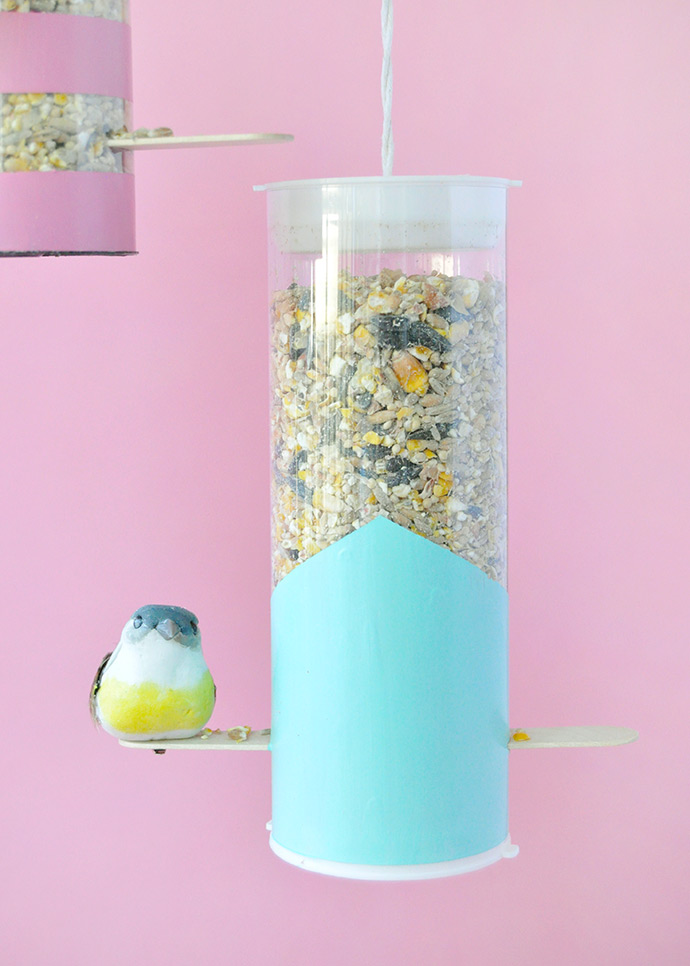
We were inspired by DIY bird feeders made from plastic bottles, but for a more modern and clean look we used these empty clear tubes instead. Ours were use to package tennis balls and badminton birdies, but you could use clear mini mailing tubes or whatever you can get your hands on. The pop of color really makes these bird feeders fun and FolkArt’s Outdoor Acrylic Paint is weather proof, so you don’t have to worry about any fading or peeling! Keep reading to see the full instructions.
what you need:
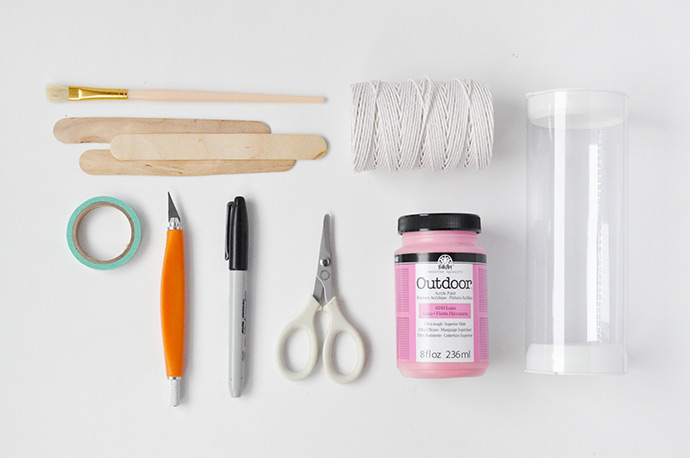
- FolkArt Outdoor Acrylic Paint
- Paintbrush
- Clear plastic tube (from tennis balls, badminton birdies, or similar)
- String
- Precision scissors
- Craft knife
- Permanent marker
- Popsicle sticks (jumbo)
- Washi tape
- Bird seed
how-to:
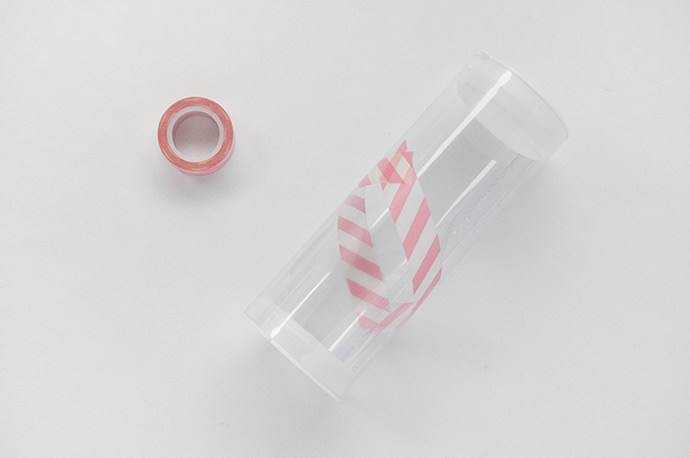
Step 1
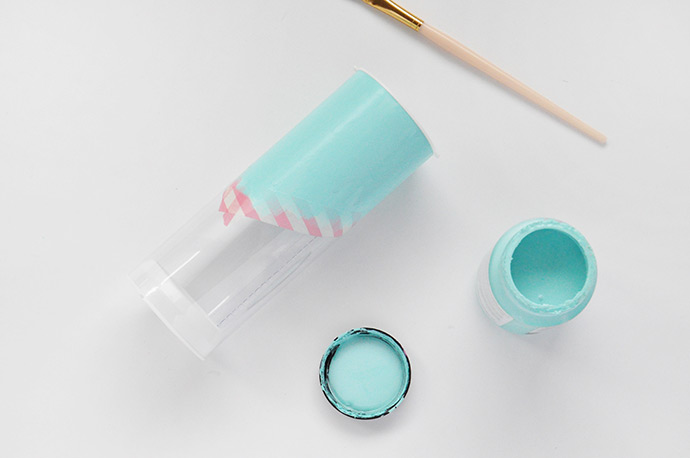
Start by taping off your pattern – try stripes, and angle, or whatever you like.
Step 2
Apply a coat of FolkArt Outdoor Acrylic Paint and let dry completely.

Step 3
Once dry, carefully remove the tape.
Step 4
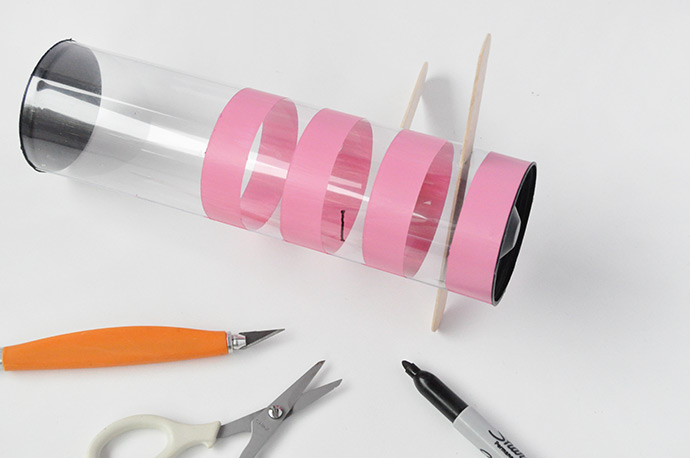
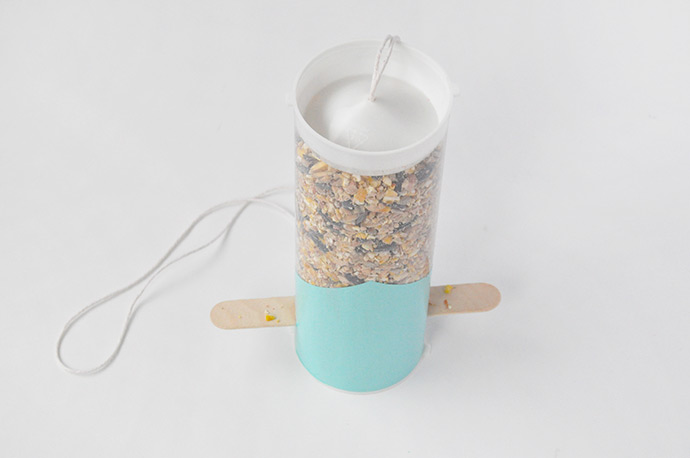
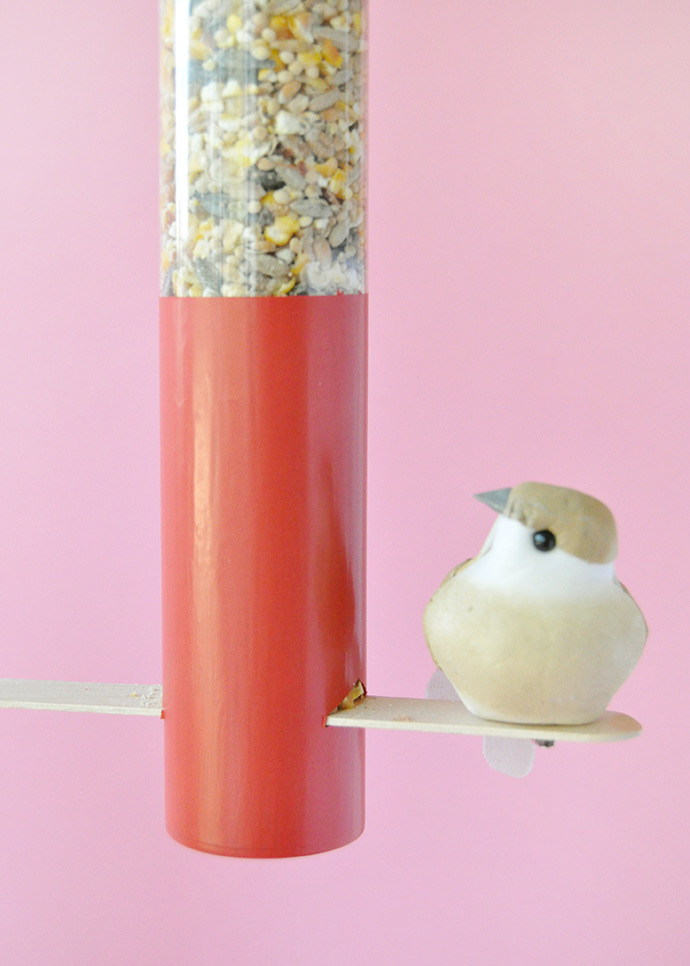
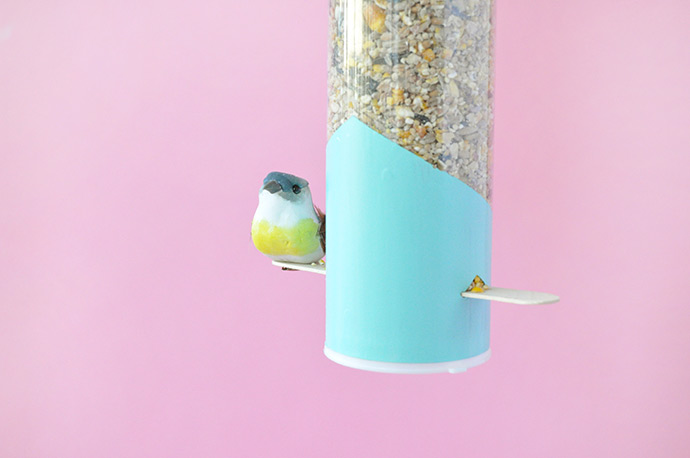
Time to turn this tube into a bird feeder! Use a permanent marker to mark a line as wide as your popsicle stick onto one side of the tube. It’s best to keep this to the bottom of the bird feeder since it will be gravity fed. Use the craft knife and precision scissors to cut out that slit and make sure the popsicle stick fits through. Then mark a line directly across from this first one so that the popsicle stick will stick out from each side of the tube.
Step 5
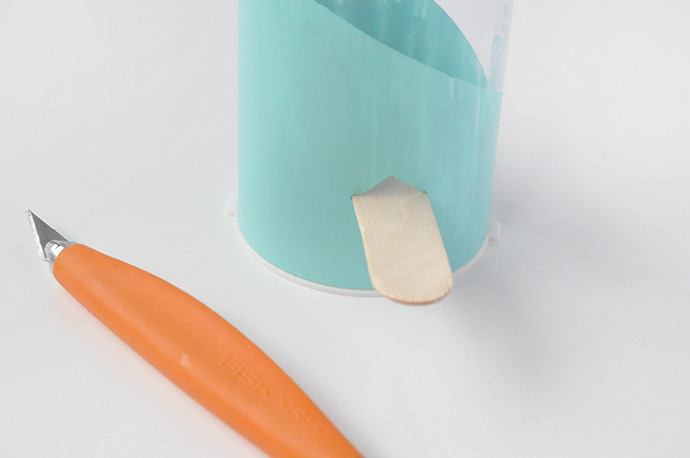
Cut a short triangle above the slit – this will let the bird seed very slowly pour onto the popsicle sticks for the birds to eat and peck at.
Step 6
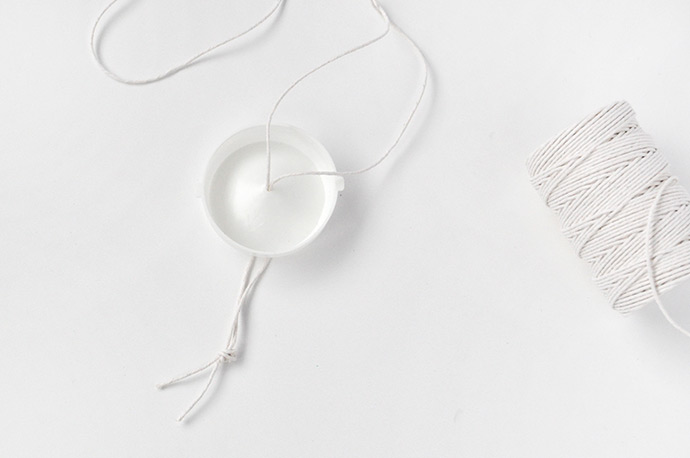
In the top lid of the tube, cut a piece of string and thread through the hole there to form a loop for hanging. If your container doesn’t have a hole, use a drill to make a small hole first.
Step 7
Fill the container with bird seed, put the lid on, and hang!
Note: these lids fit tightly into the tube so we didn’t need to glue them in place. If yours don’t feel so secure, it might be a good idea to use strong glue to attach the bottom lid into the tube so that you don’t lose all the bird seed out the bottom.

Happy crafting!!
This post is sponsored by Plaid Enterprises.