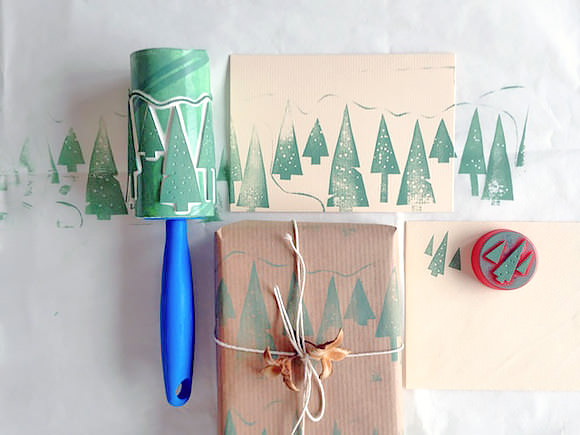
Looking for an easy way to print cards and wrapping paper with your children? This roller printing tutorial shows you how to craft festive Christmas tree stamps using a lint roller and how to transform a bottle cap into a stamp for envelopes.
Let’s get started!
How To Make A Roller Stamp
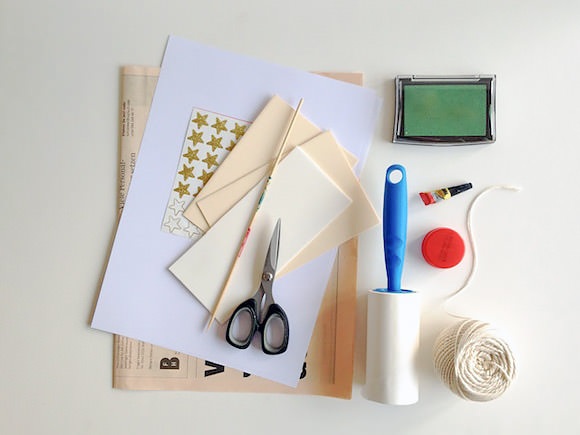
What You Need
- Lint roller
- Craft foam
- Baker’s twine
- Skewer stick
- Scissors
- Ink pad, green
- Card or gift paper

Step 1
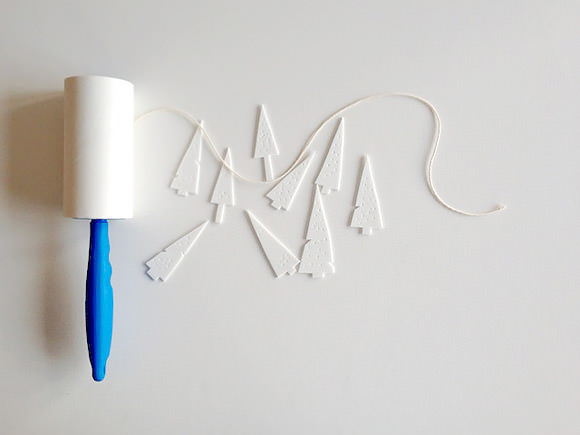
Cut the craft foam in 8 pieces approximately 1 x 2.5 inches each. Cut tree shapes out of them. Take the skewer stick and make some tiny holes in the trees. Cut a piece of baker’s twine.
Step 2
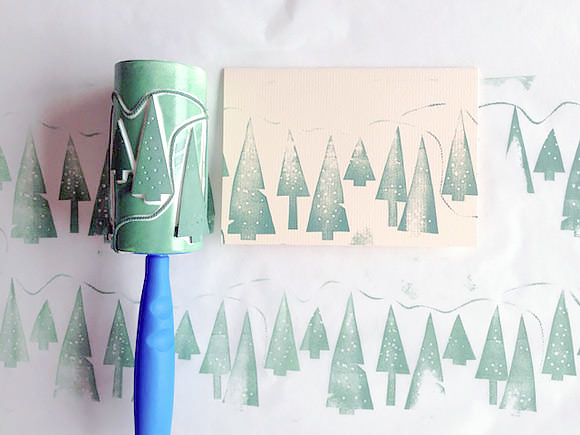
Add the foam to the roller: Position the trees so that their stumps point to the handle. Wrap the twine around and through the trees so that it looks like a hillside or a walk.
Step 3
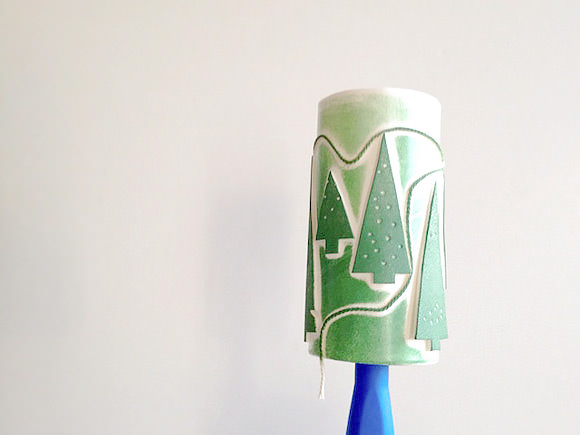
Press the roller onto an ink pad and roll until it is completely covered with green ink.
Step 4
Roll it onto your paper. Let the ink dry.
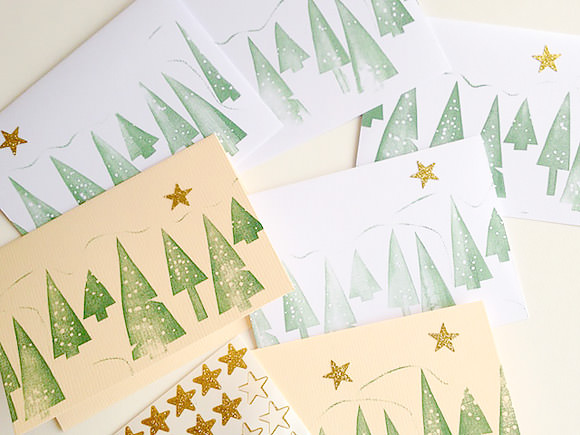
Add some star stickers if you like.
How To Make An Envelope Stamp
What You Need
- Bottle cap
- Craft foam
- Glue
- Scissors
Step 1
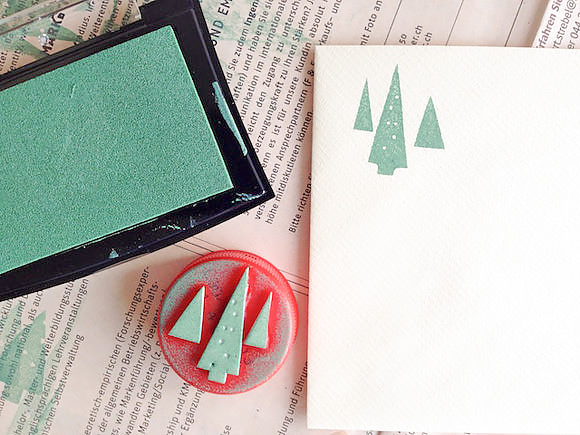
Cut some small tree shapes from the foam and glue them to the bottle cap. Let it dry
Step 2
Press the stamp onto an ink pad and transfer to your envelopes.

While cleaning up, I discovered that I could even use the scrap foam to make a confetti-like pattern.
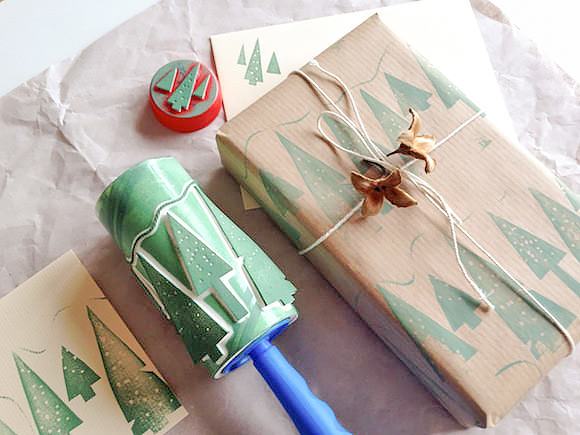
Have fun with this easy holiday craft!