
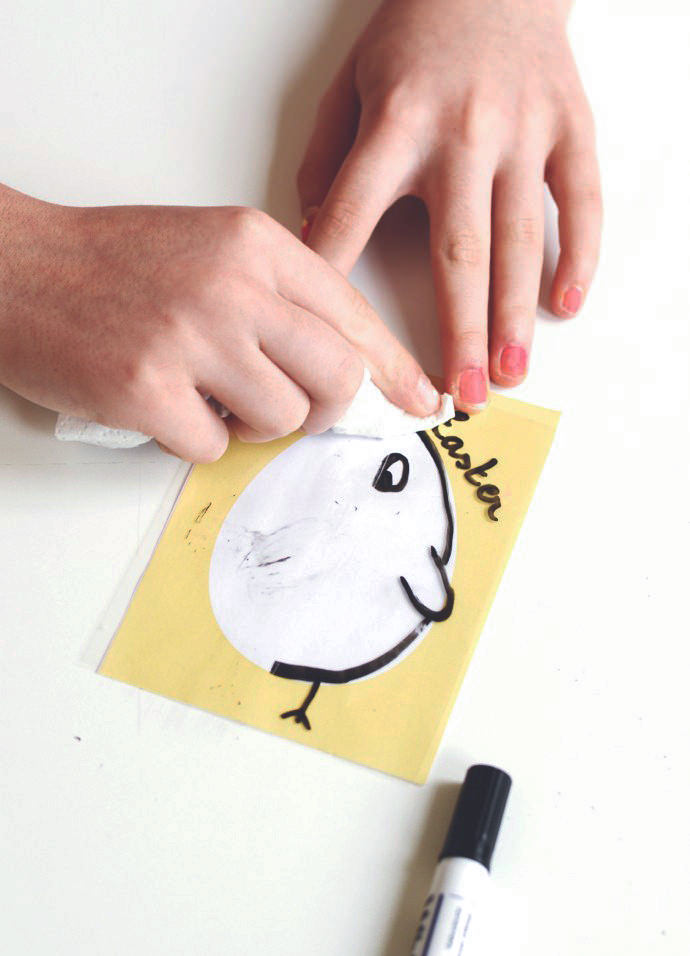
I love any holiday that brings bunnies, chickadies, and pastel piglets life! I guess that explains why we’ve had so much fun making and personalizing our own Dry Erase Easter Cards. They’ll make the best Easter egg hunt surprises – once our guests receive their cards, they can erase our designs and and create cute, customized cards of their own! Give them to friends and family or just leave them around as Easter decorations :)

What You Need
- Printable Dry Erase Easter Card template (download here)
- Paper (I used 280 gram white)
- Office supply overhead film
- Envelopes (I used A6)
- Washi tape
- Double-sided tape
- Dry erase marker
How-To
Step 1
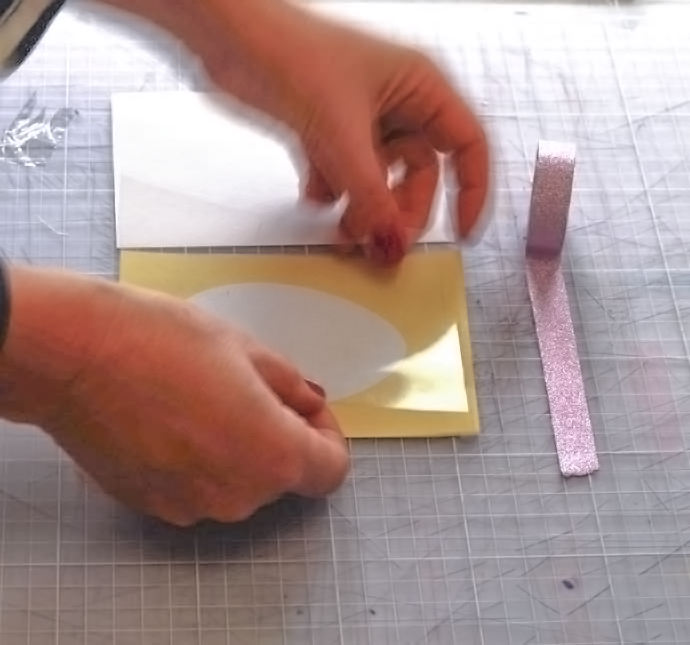
Determine your card size to match the size of your envelopes. I used A6 (4 1/5 x 6 1/4 inches). Now cut each of the following into exactly the same size: 1 piece of overhead film, 1 piece of paper, 1 template.
Place the template on top of the heavy card stock. Keep edges squared. Press the double-sided tape along the top edge of the card. Then place the overhead film on top of that as the topmost layer. Again, keep edges squared.
Step 2
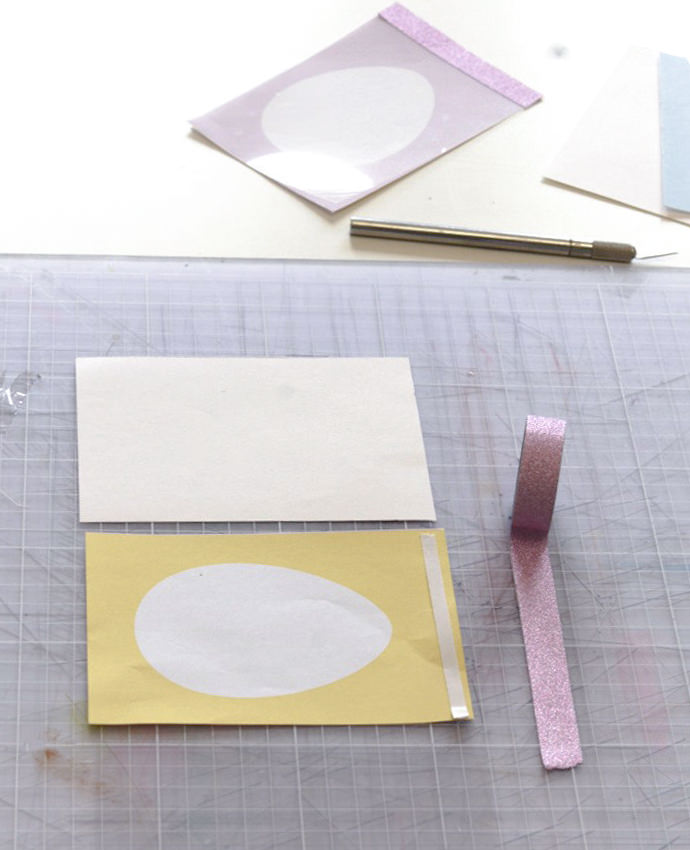
Finish the top edge of the card with a strip of washi tape and there you have it! Your card is ready to be decorated.
Step 3
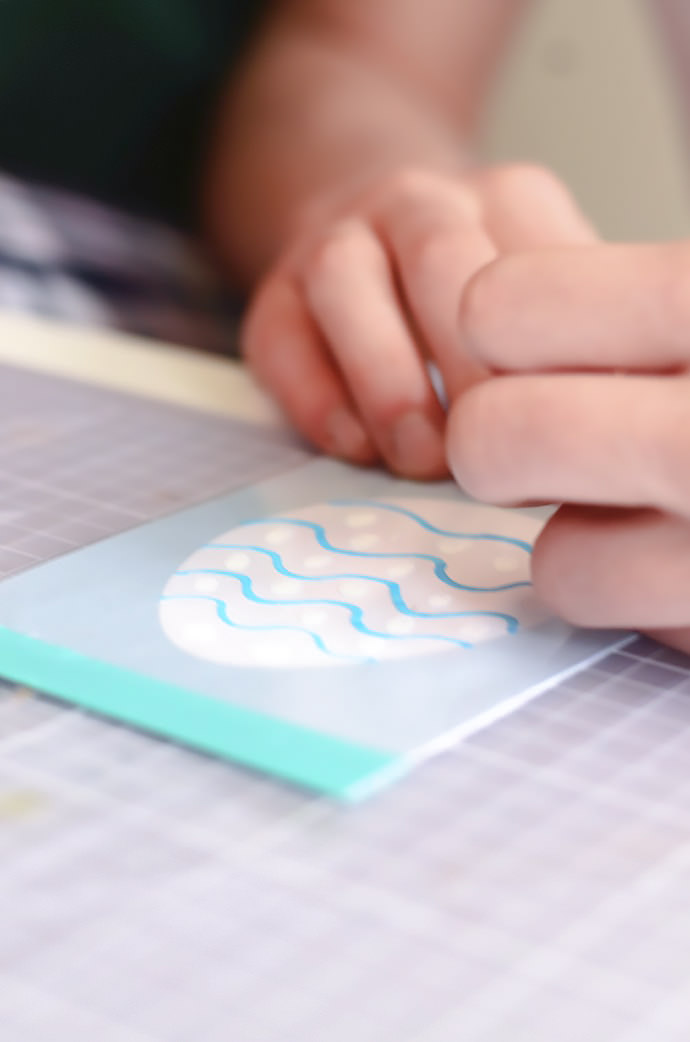
Time to personalize! Use your dry erase marker to decorate over and over again!
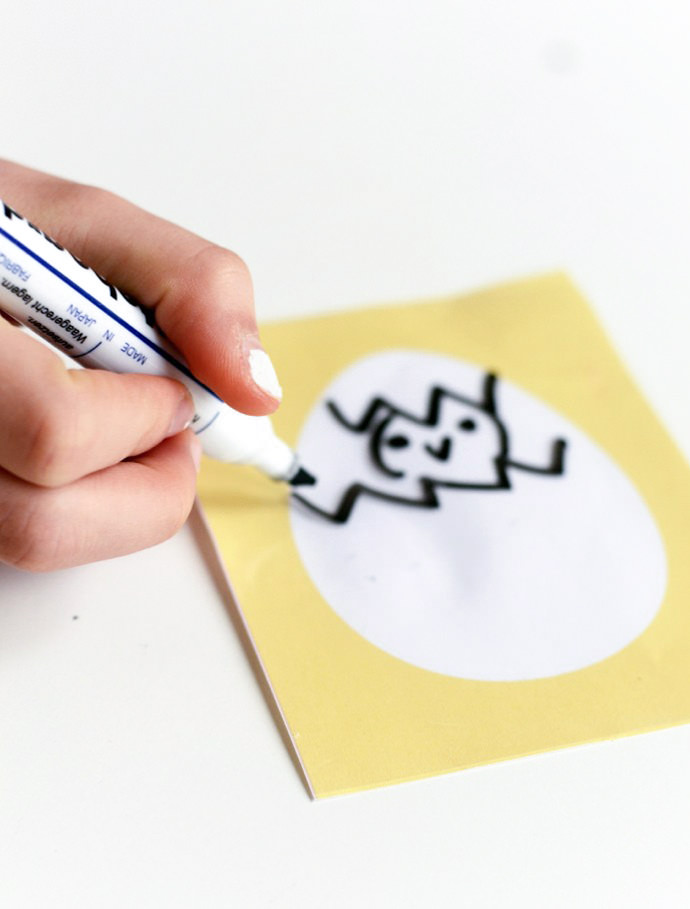
These would make amazing Egg Hunt Invites! Once received, guests can doodle to their hippity-hoppity heart’s delight and use them as decorations around the house.
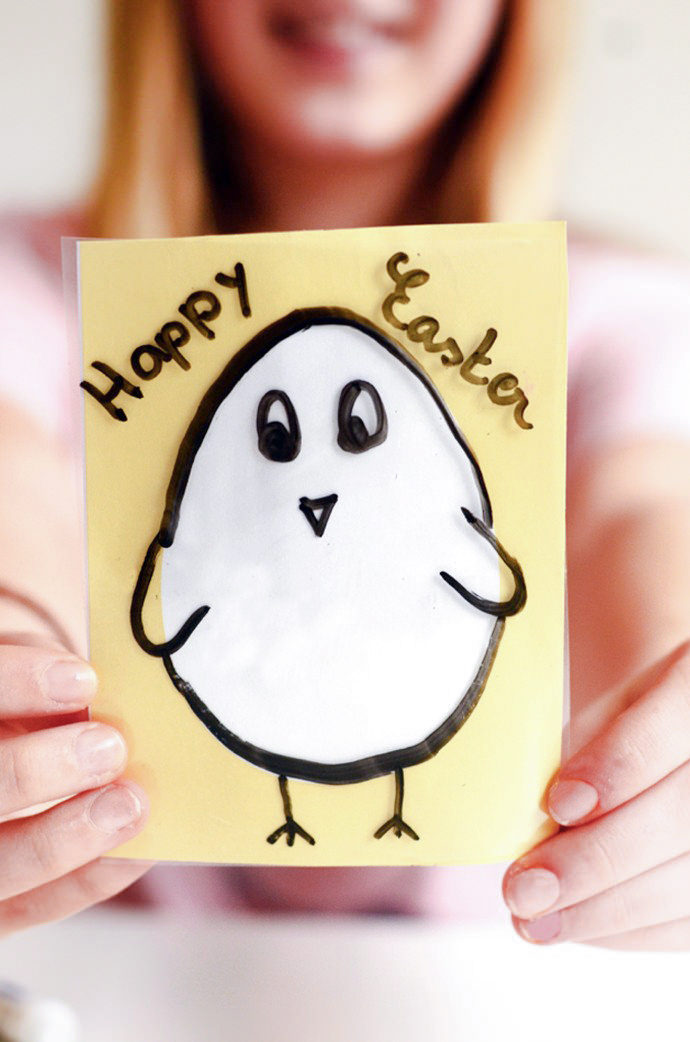
I can’t wait to see what you do! Hoppy crafting :)