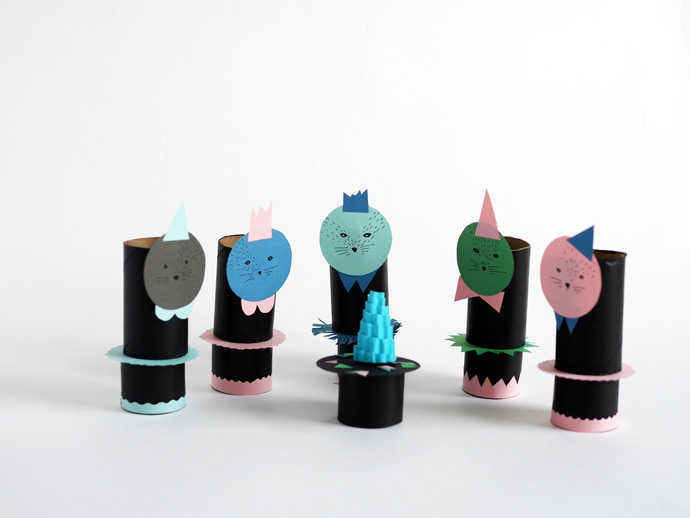
There are so many cute craft projects that utilize toilet paper rolls, it’s hard to choose which ones are the cutest! You can create monsters with scary faces, dolls with colorful outfits, or animals with lots of character. I have always wanted to try my hand at one of these toilet paper roll projects, but couldn’t quite settle on one. The other day, I started to spontaneously play, cut, and glue – these dolls are the final result!
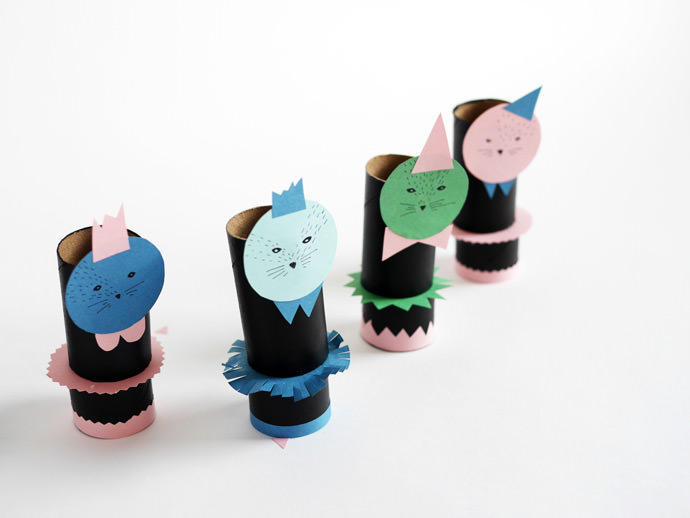
My daughter Louise and I spent the entire summer crafting together. These dolls are the last summer project I will make with her before she heads back to school next week. These cute dolls are a fun and easy afternoon project! I love that they take on whatever personality you desire to give them. The best part of these toilet paper roll dolls? Upcycling!
What You Need
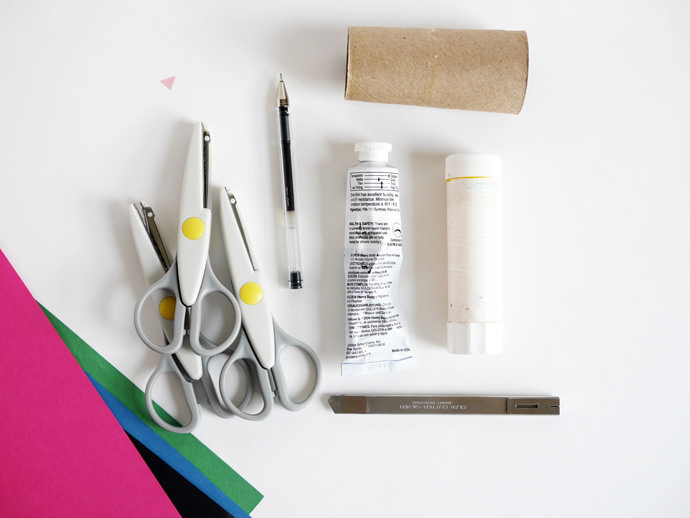
- Toilet Paper Rolls
- Colored Construction Paper
- Glue
- Cutter
- Edger’s Scissors
- Paint and Paintbrush
- Pen
How To
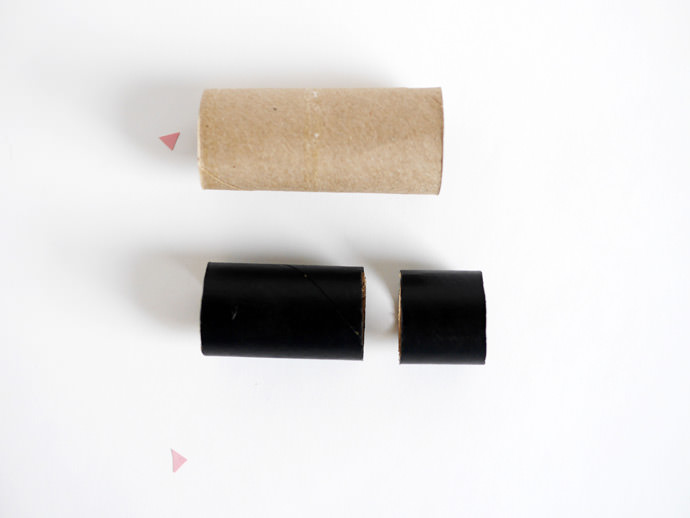
Step 1
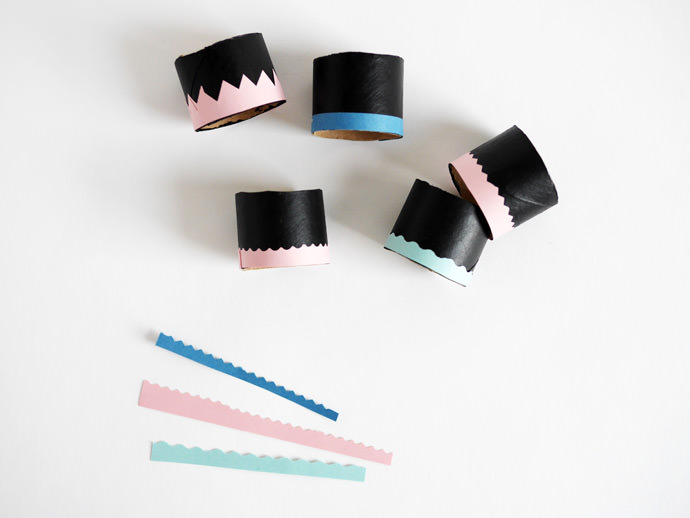
Pick a color for your toilet paper rolls and paint them and allow them to dry. Then, about 2/3 of the way down the roll, cut all the way around.
Step 2
Take some construction colored paper, and with your edger’s scissors, cut some thin strips. Take the smaller of the two pieces of the roll and glue your strip around the bottom.
Step 3
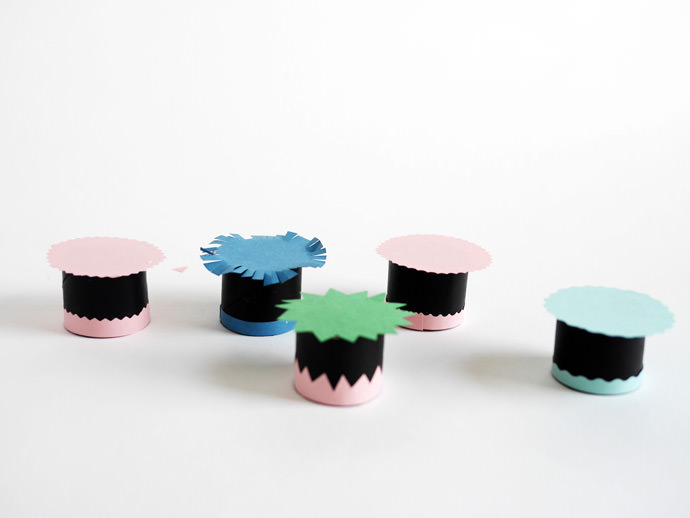
Next, cut several circular shapes out of your construction paper. You can cut a clean circle or use your edger’s scissors to create a circle with an interesting edge. Then, glue the circle to the top of the small end of the toilet paper roll.
Step 4
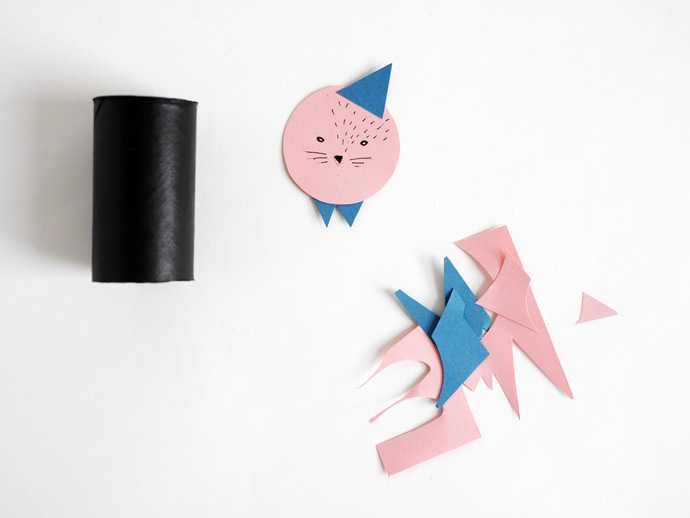
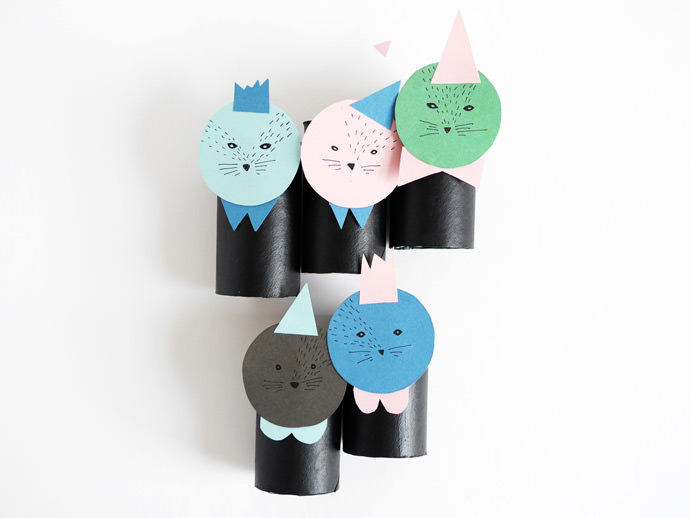
Cut a clean circle out of the construction paper for the head of the doll. Cut some triangles and other fun shapes for hats, collars, or crowns! Glue all of these pieces together. Then, with your pen, give your dolls faces. Glue the heads onto the larger portion of the toilet paper roll.
Step 5
Glue the top and bottom pieces of your toilet paper rolls together. Voila!
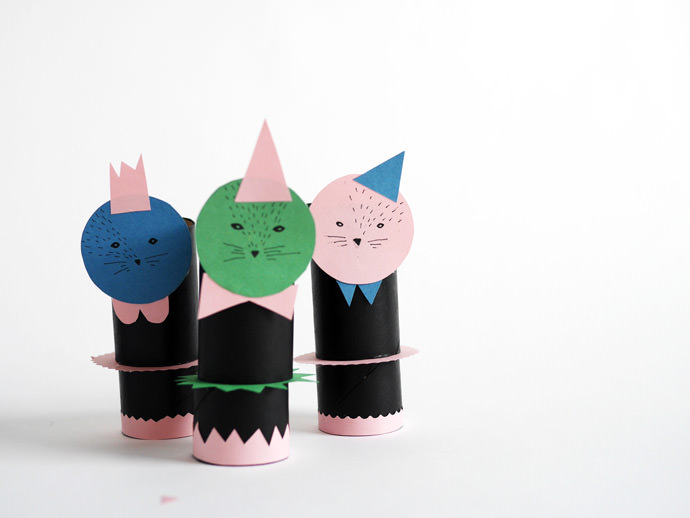
Your child can play with these dolls in a dollhouse or in the backyard – when they are done playing, put them on display in your child’s room!