What if you had the ability to mold or create anything out of clay, bananas, cotton balls, or pieces of wood, then turn it into a 3D object made of (practically) indestructible plastic? Imagine the possibilities: you want to make a realistic-looking cactus charm for your friend that likes gardening for the holiday, so you find a tiny succulent at your local nursery and scan it in. Within minutes, you’re scaling it down and printing a tiny plastic charm that your friend will likely sport for years to come – sounds like we’re talking about the future, right? Well, the future is here, ladies and gentlemen!
You already know that we’re obsessed with our HP Sprout – paired with the Dremel 3D Idea Builder, we feel like we are an unstoppable 3D printing force here at the Handmade Charlotte studios! It may come as little surprise to you that both platforms are huge hits with our little ones. The boys are constantly printing combs that are shaped like sharks, rhino heads, and tiny toy boats. The girls, on the other hand, have been experimenting with jewelry! We’ve already explored just what the HP Sprout it capable of with 2D jewelry, but we couldn’t resist seeing just how far we could take the customized jewelry idea with our Dremel 3D Idea Builder.
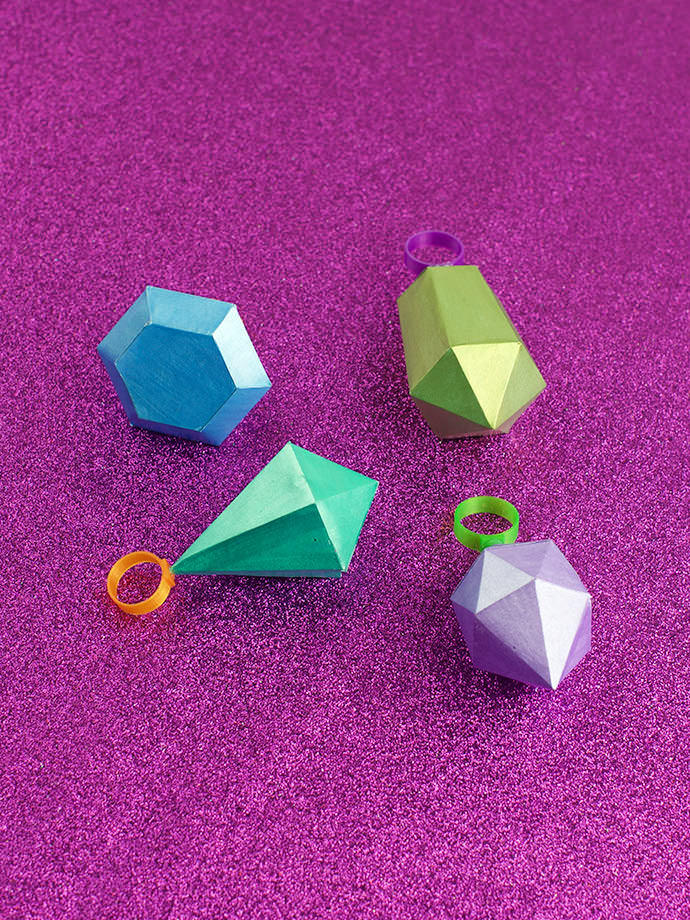
We printed some of our favorite paper gem templates, gave them a good coat of specialty metallic paint, then printed a ring base on the Dremel 3D Idea Builder that we molded out of air dry clay. The end result was a fantastical fusion of old and new technology that we believe adds just a bit more whimsy to dress up time (or even mom’s fancy cocktail attire)!
What You Need
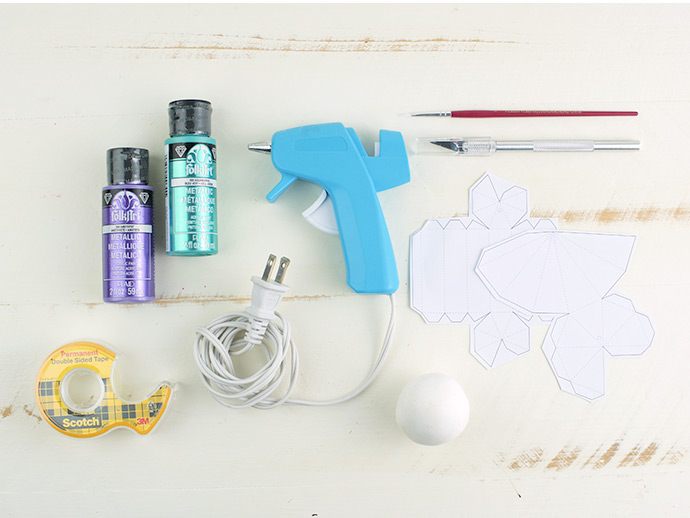
- HP Sprout
- Dremel 3D Idea Builder
- Air dry clay
- Paper gem templates
- Craft knife
- Metallic paint & paintbrush
- Double-sided tape
- Hot glue gun
Step 1
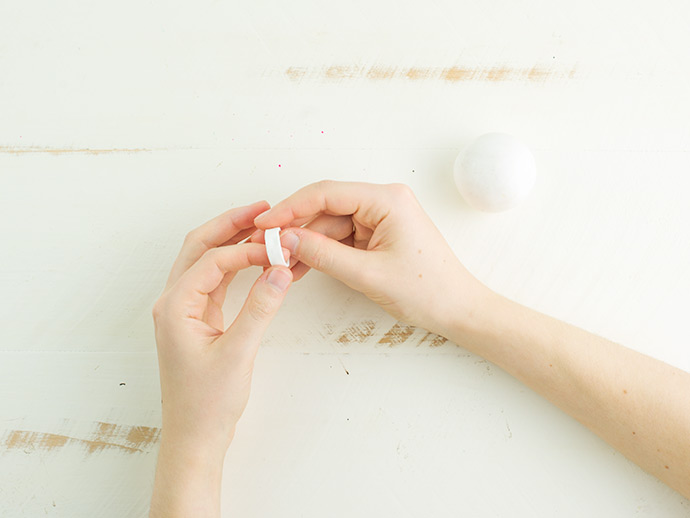
Begin by molding a ring base out of your air dry clay. Let dry completely overnight.
Step 2
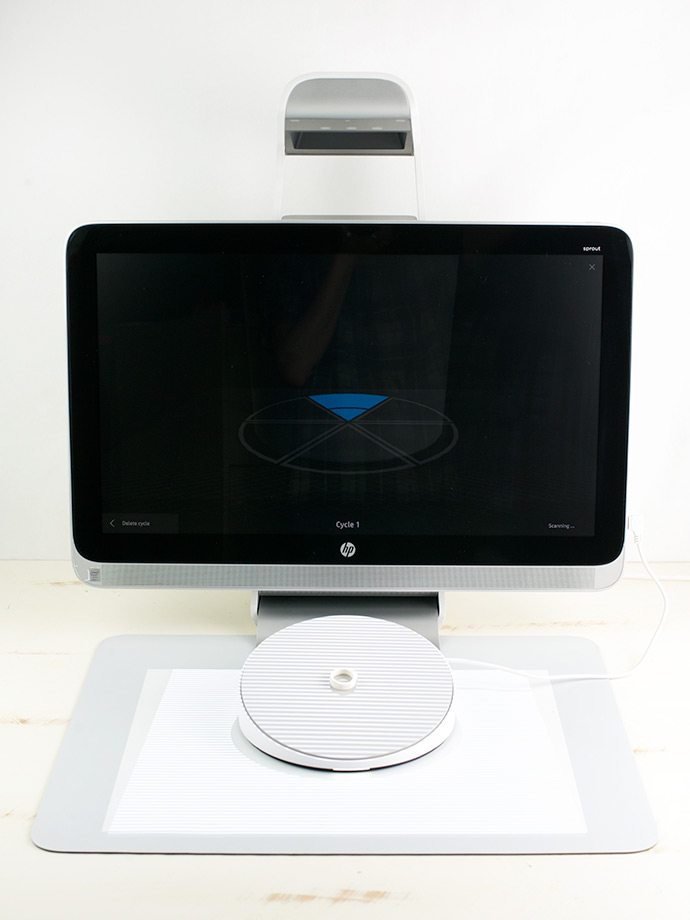
Once your ring base is completely dry, you can begin the scanning process on your HP Spout, using your Capture Stage. This process takes several scans, moving the object a little bit each time so all sides are fully scanned and recognized by the software.
Step 3
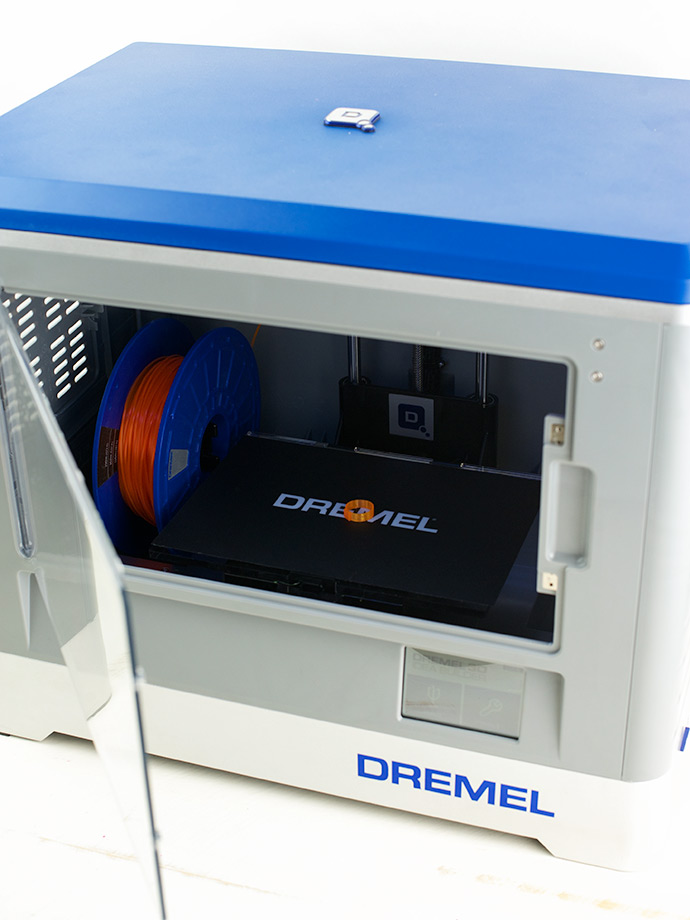
When the object has successfully been scanned, save it and open the file up in your Dremel 3D Idea Builder software. Best part about this software? You can scale your project – with the ring base, we made some to fit the littles as well as the Handmade Charlotte team! After making sure your filament has been properly loaded in your Dremel 3D Idea Builder, schedule your project to “build”. It’s good to keep an eye out on this process – if your building platform isn’t totally level, the object can become warped throughout the building process and you’ll have to begin again.
Step 4
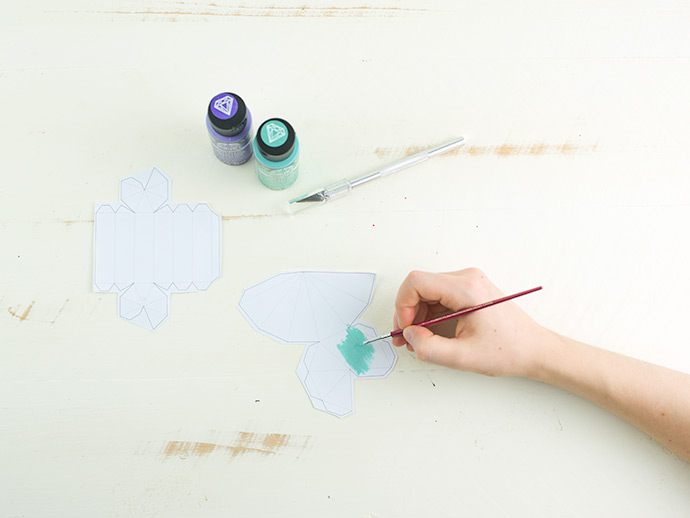
Once your ring base is complete, you’re ready to begin on your paper gems. Print out your paper gem template, then cut and score where instructed. Give your paper gem a nice coat or two of metallic paint to give it a pleasant sheen. Once the paint is dry, you can begin taping your paper gem together. Take your time, as the gems are very delicate!
Step 5
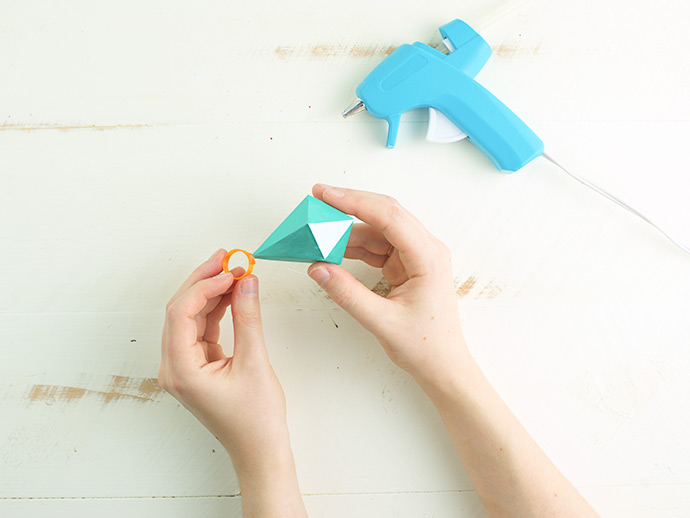
Once your paper gem is complete, you’re ready to assemble your ring! Place a very small dot of hot glue on the top of your ring base – we created a flat top on the ring base for this very purpose. Stick your paper gem on top and allow the glue dot to dry. You’re ready for the most epic dress-up sessions to end all dress-up sessions!
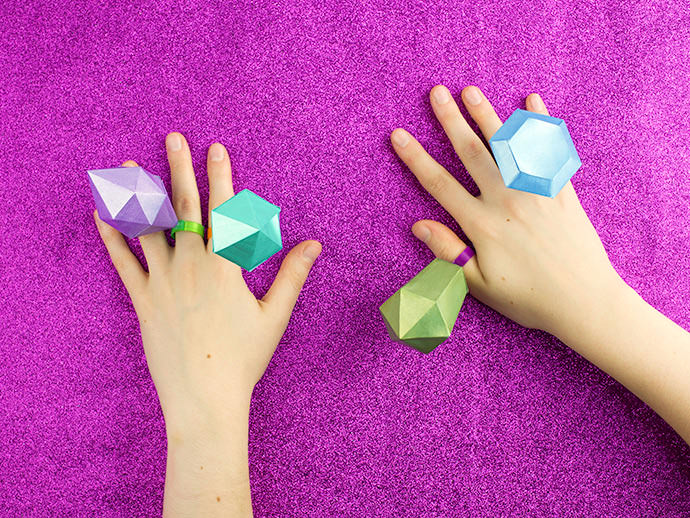
Fabulous!
This post is sponsored by HP.