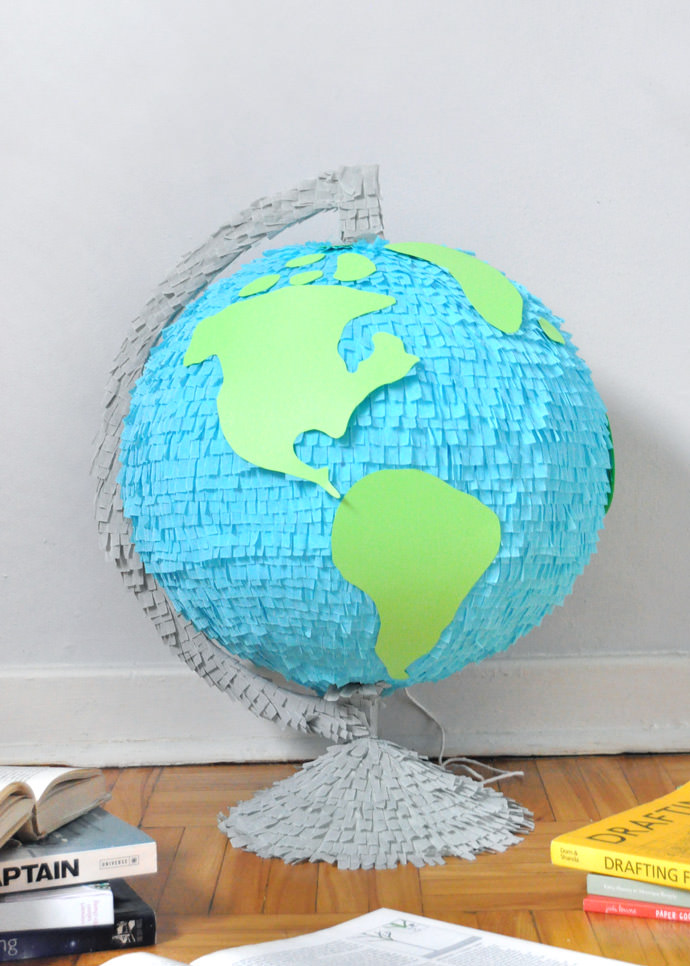
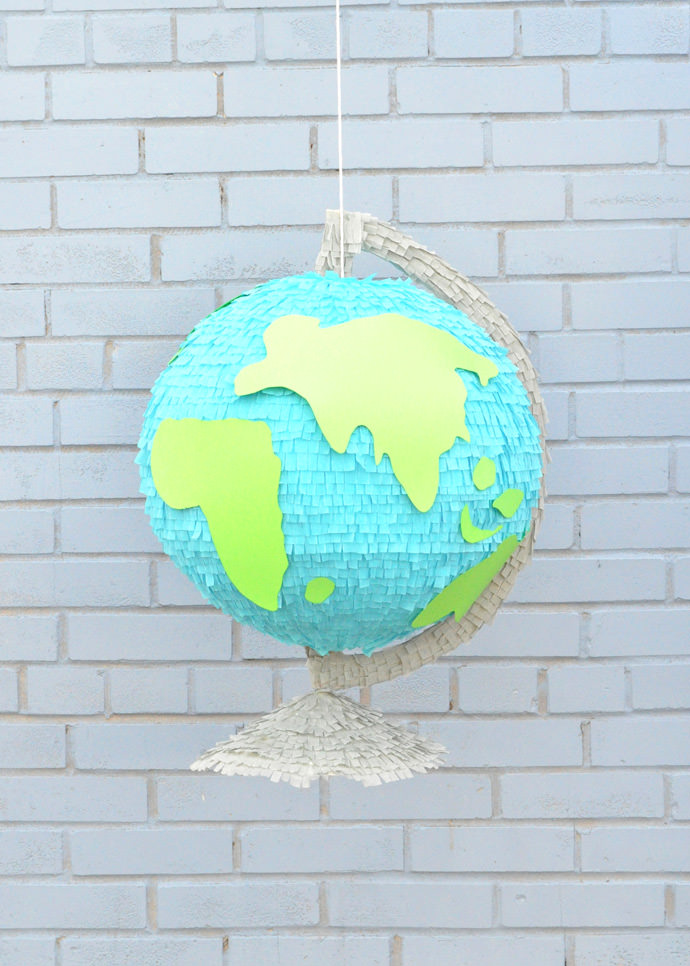
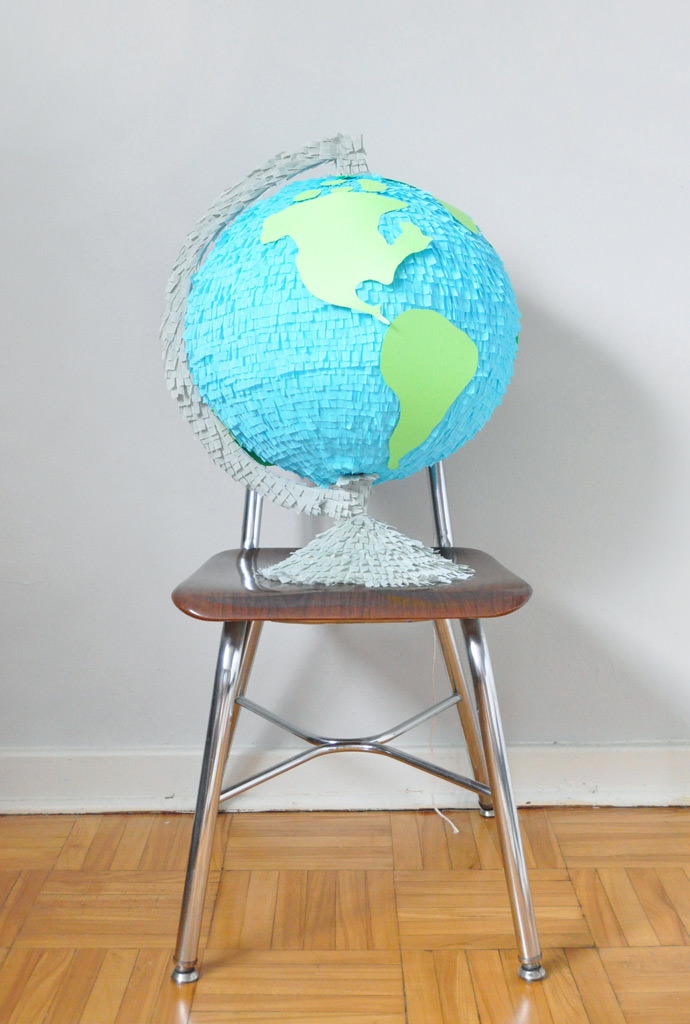
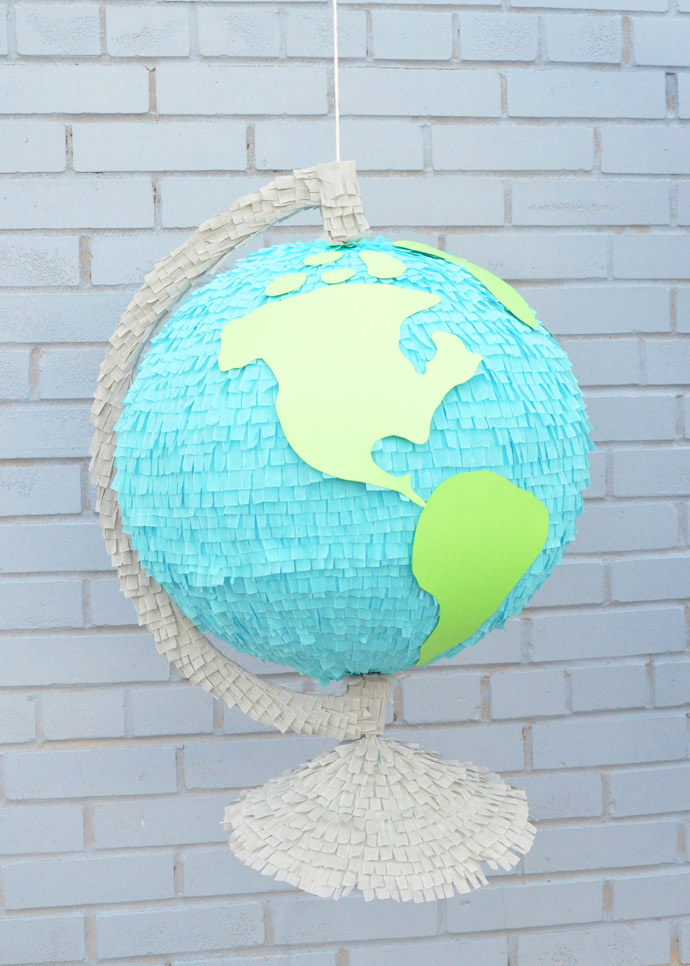
Can you believe it’s already back to school season? Summer always flies by. Brush up on your geography by making this DIY globe piñata!
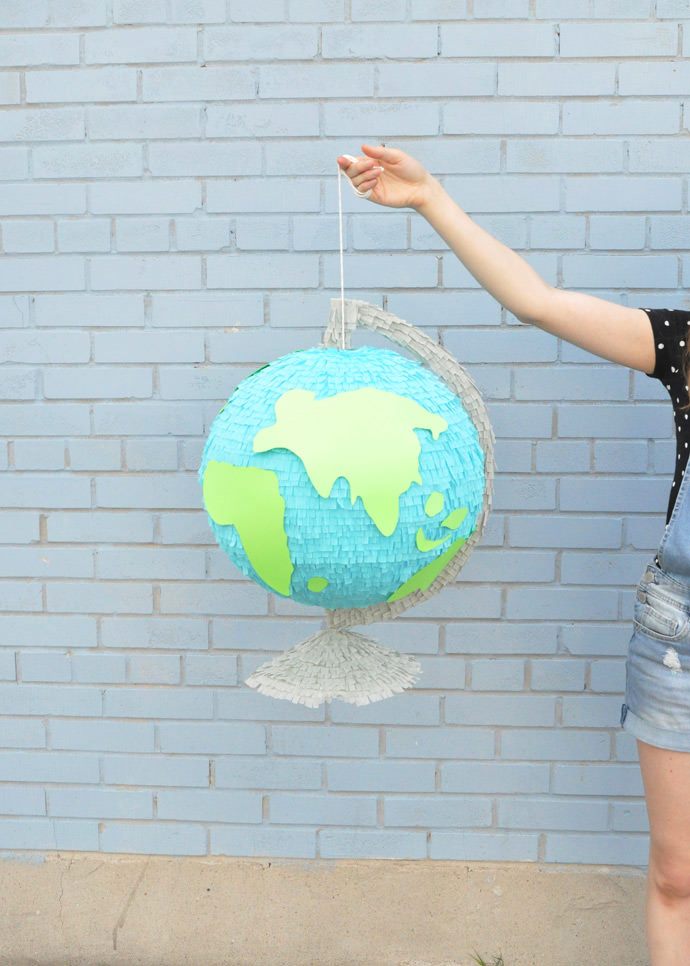
Using a paper lantern as a base for this piñata saves a lot of time – if you want to fill your piñata with back to school supplies though, paper mache a round balloon for a stronger base structure instead. And for some extra geography fun, try putting little red X’s on places you’ve visited!
What You Need
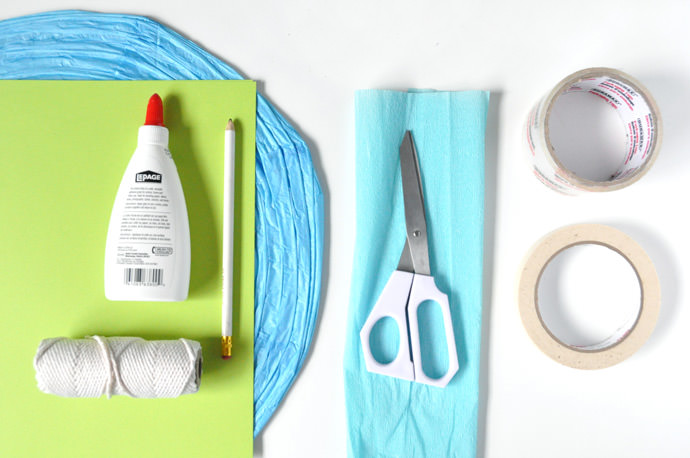
- Paper lantern
- Crepe paper
- Cardstock (green)
- White paper
- White glue
- Pencil
- String
- Scissors
- Masking tape
- Packing tape
How-To
Step 1
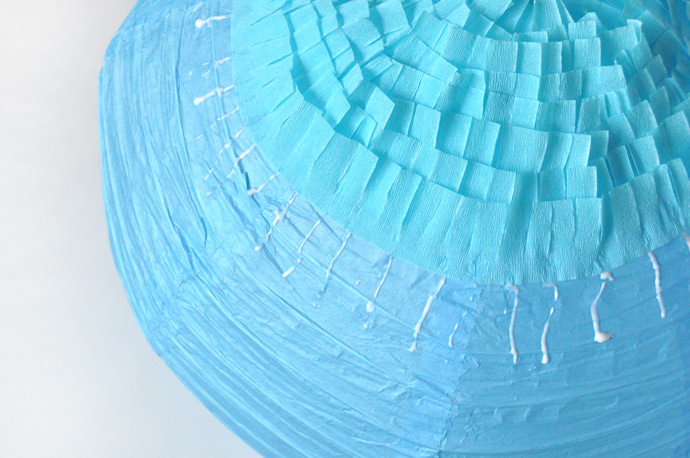
Assemble your paper lantern and cover the bottom opening with a piece of paper and tape. Then fringe lengths of blue crepe paper and, starting from the bottom, glue onto the lantern in a spiral pattern.
Step 2
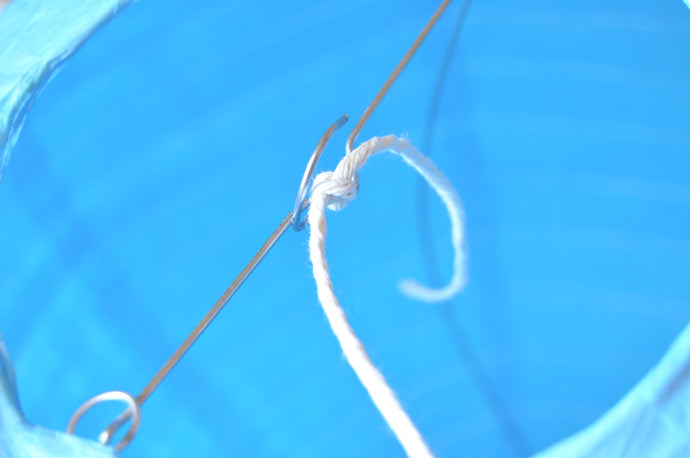
Keep gluing the fringe around the lantern. Once you get close to the top, stop and tie a piece of string to the metal crossbar to hang the piñata.
Step 3
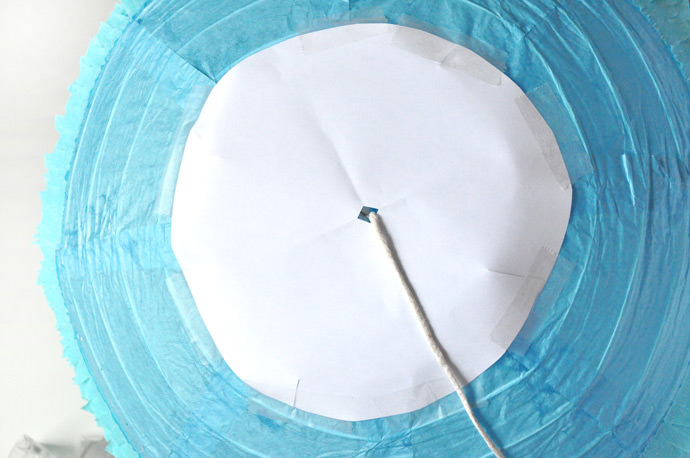
Cut another piece of white paper to cover the top lantern hole, this time with a small hole in the center for the string to go through. Tape in place. (If filling with confetti or light-weight treats, do this before you close the top.)
Step 4
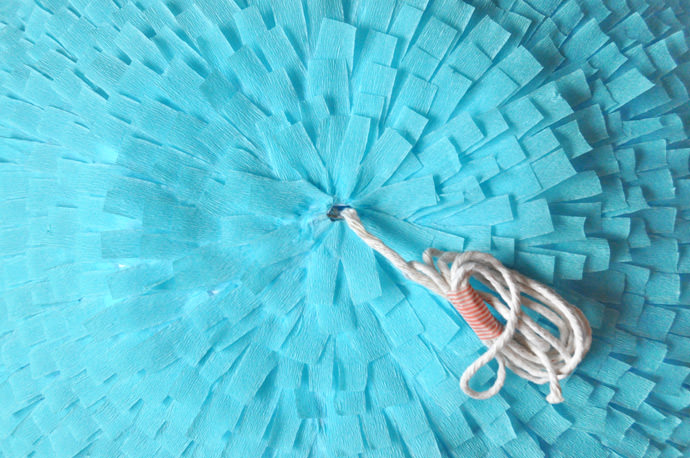
Continue gluing the fringe onto the lantern until the whole thing is covered.
Step 5
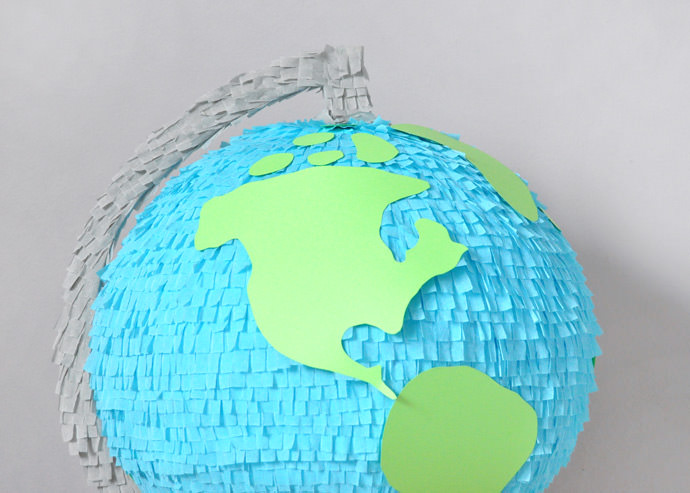
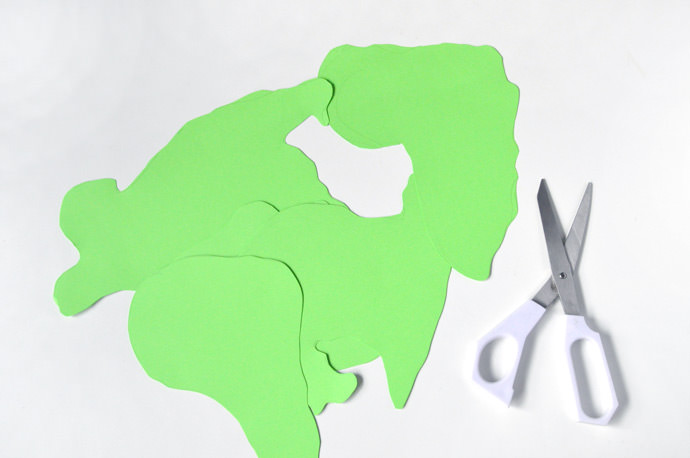
Sketch and cut out the continents on the green card stock. Use a map for reference.
Step 6
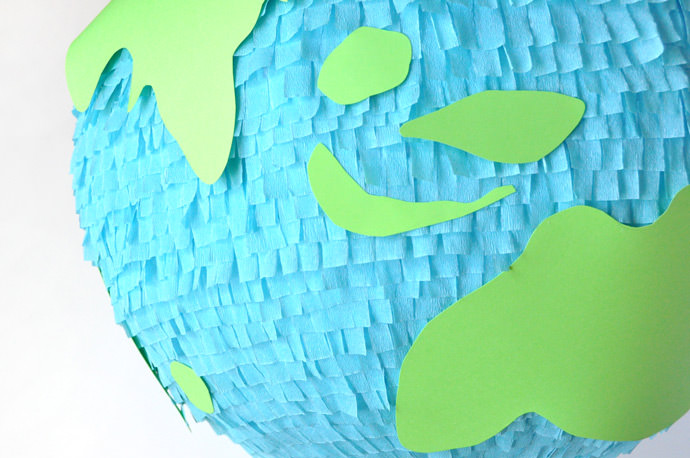
Glue the paper continents onto the lantern.
Step 7
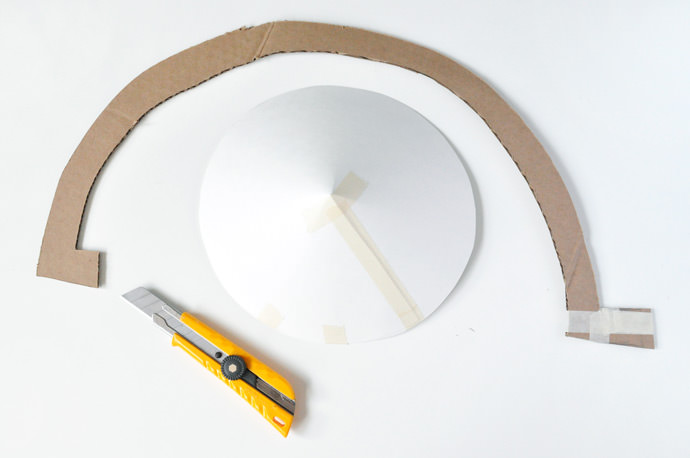
To make the holder for the globe, draw and cut a C shape (make sure it fits around your lantern!) out of cardboard. For the base, trace a dinner plate onto white cardstock and cut out and form into a shallow cone.
Step 8
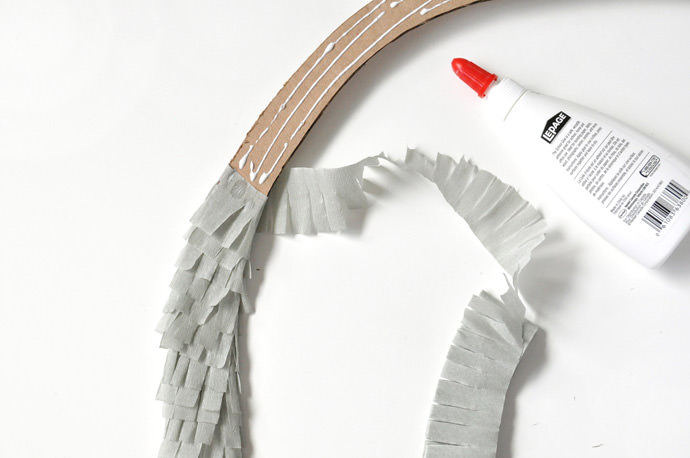
Cover the holder with grey crepe paper fringe.
Step 9
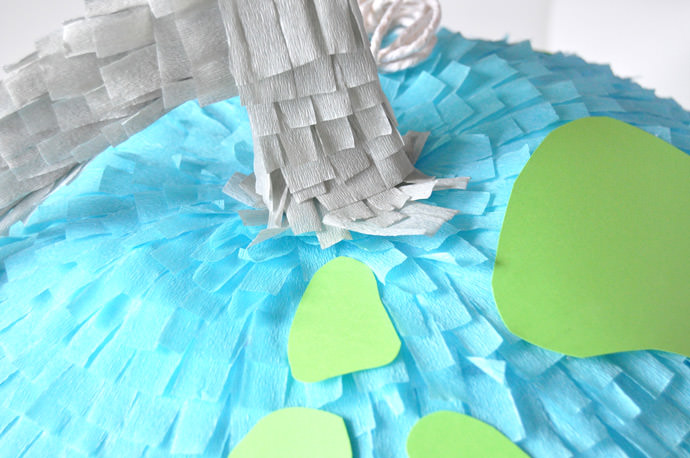
Glue onto the top of the globe, near the string, and on the bottom where the South Pole would be.
Step 10
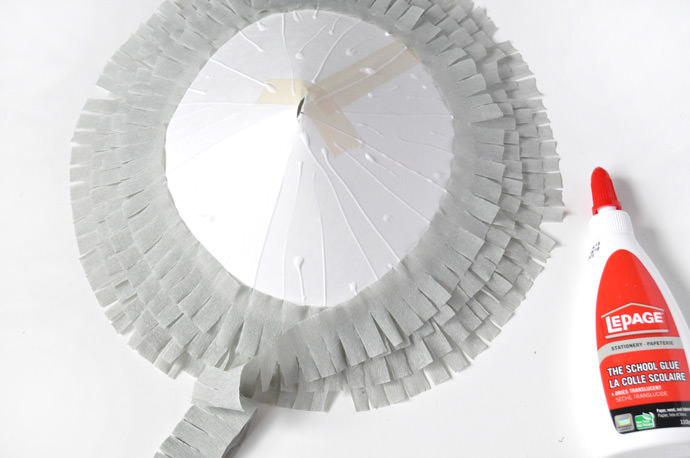
Glue grey crepe fringe onto the base until covered. Snip the top point off of the cone.
Step 11
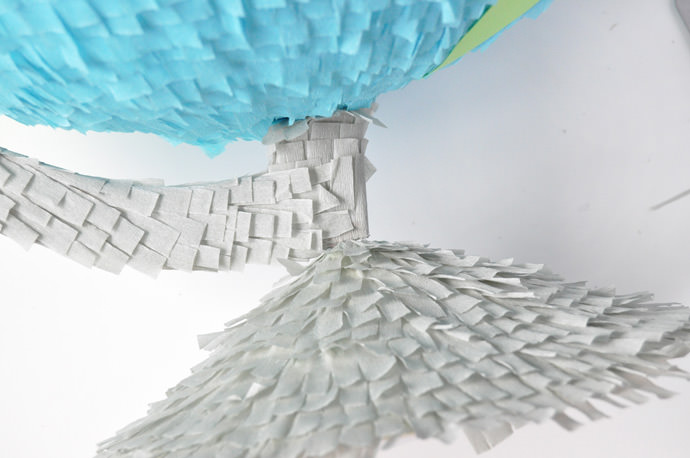
Glue the base onto to bottom of the globe holder and voila!
Happy crafting! :)