Have you ever had a favorite pair of warm woolen mittens go through the laundry and come out about three sizes too small? It’s heartbreaking!
This project involves some shrinking mittens, but we’re gonna do it on purpose. And there’s no wool here…only plastic and markers! As a child I loved making things from shrink plastic, and I enjoyed it just as much as an adult.
So grab some supplies and whip up this winter garland with your kids!
What You Need
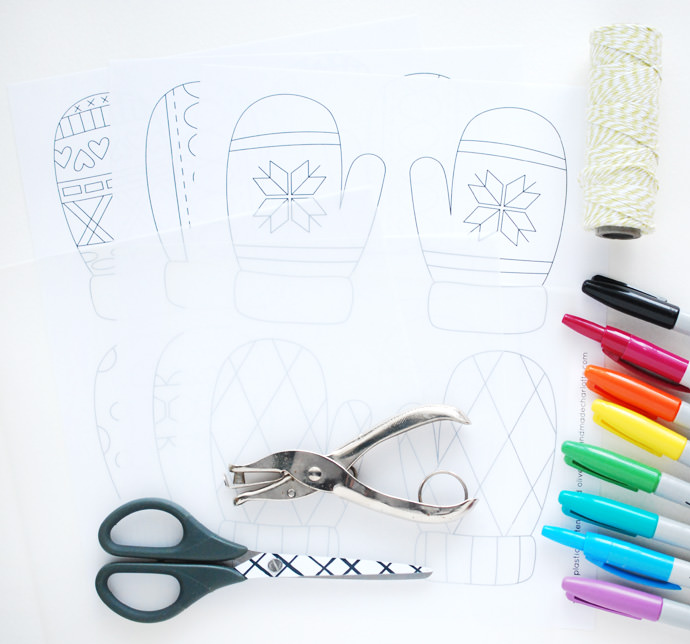
- Shrink Plastic Sheets
- Permanent Markers or Colored Pencils
- Baker’s Twine or String
- Masking Tape (optional)
- Scissors
- Hole Punch
- Baking Pan and Oven
- Shrink Plastic Mittens Printable Template (download here)
How-To
Print the mitten patterns on standard paper. If you have inkjet shrink plastic, you can print the patterns directly on the plastic.
Lay the shrink plastic over the patterns. It helps to tape the patterns and plastic down so they don’t shift as you trace.
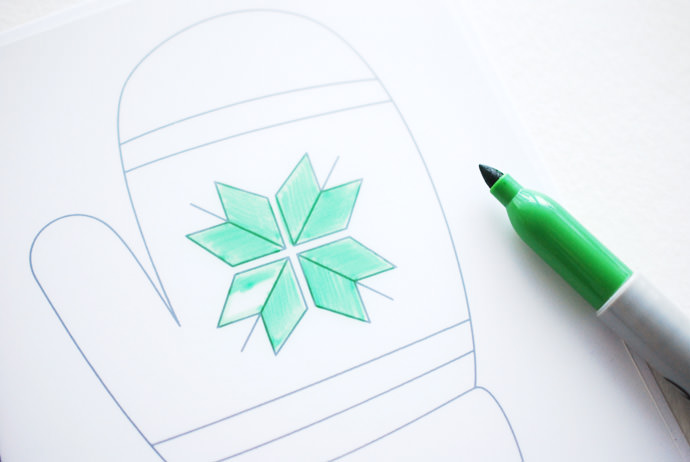
Start coloring. Permanent markers create deep, vibrant colors. If you’re crafting with young children or want lighter designs, try colored pencils.
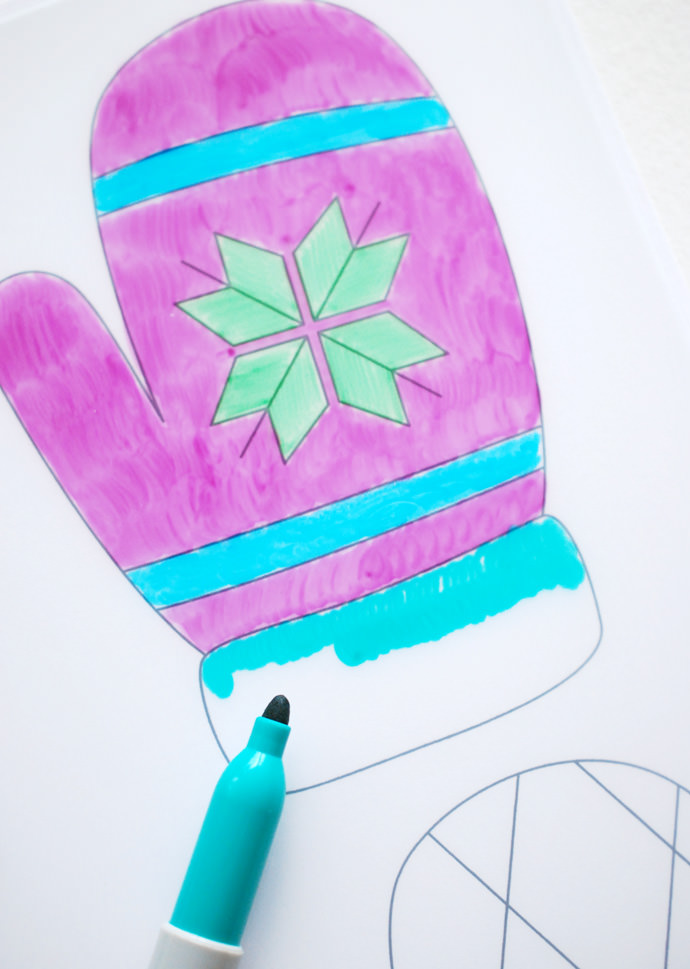
If you’re using permanent markers, let the colors dry in one section before adding more colors. This will help prevent smearing.
The coloring patterns you see on the mittens now will show up some on the finished mittens. For example, the little swirly lines or places where the color looks lighter around the edges.
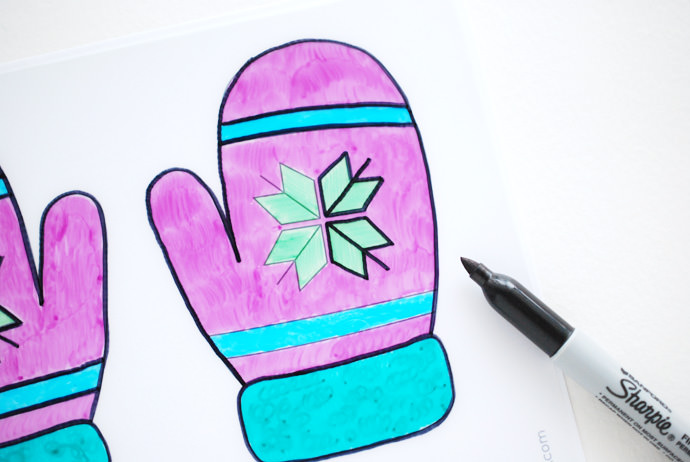
Outline the design after the areas are filled in. Doing this step after the coloring covers uneven edges and eliminates black smears in the color.
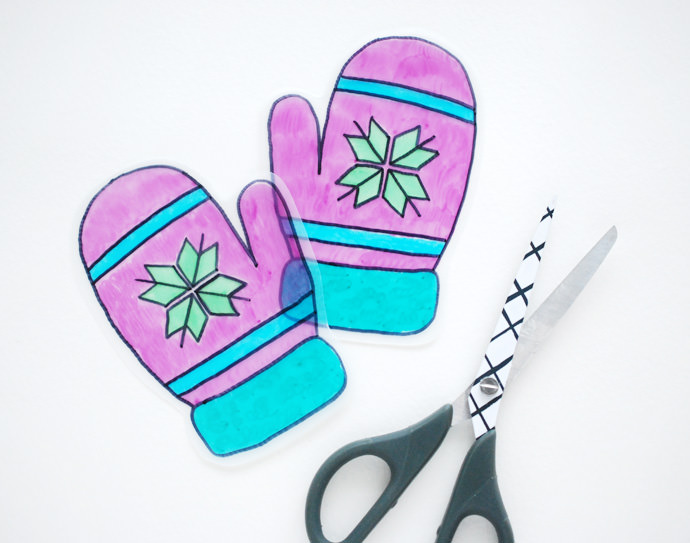
Cut around the mittens, leaving a small margin of plastic. This margin is optional, but it’s easier to cut this way, and the border looks great when the mittens shrink.
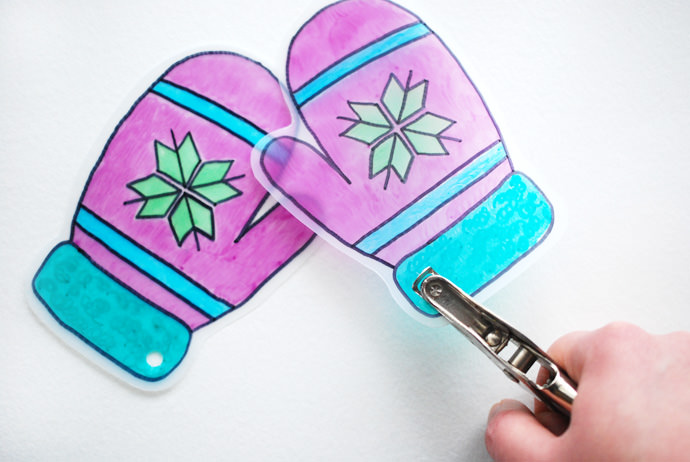
Punch a hole in each mitten cuff on the thumb side.
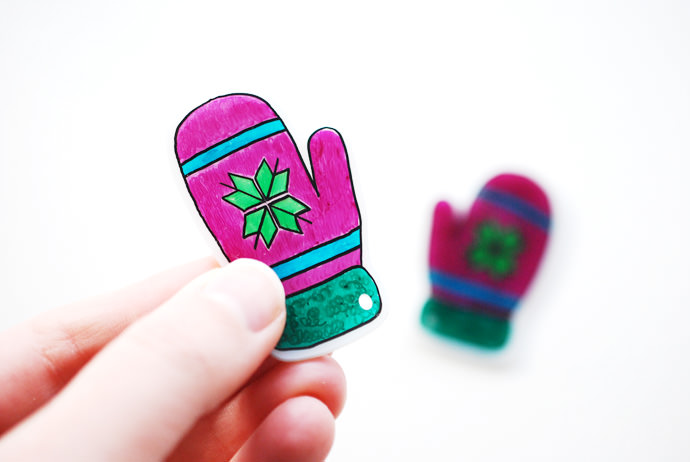
Shrink the mittens! Follow the instructions on your shrink plastic. Some have different recommended temperatures, suggested baking pans, and optimal times.
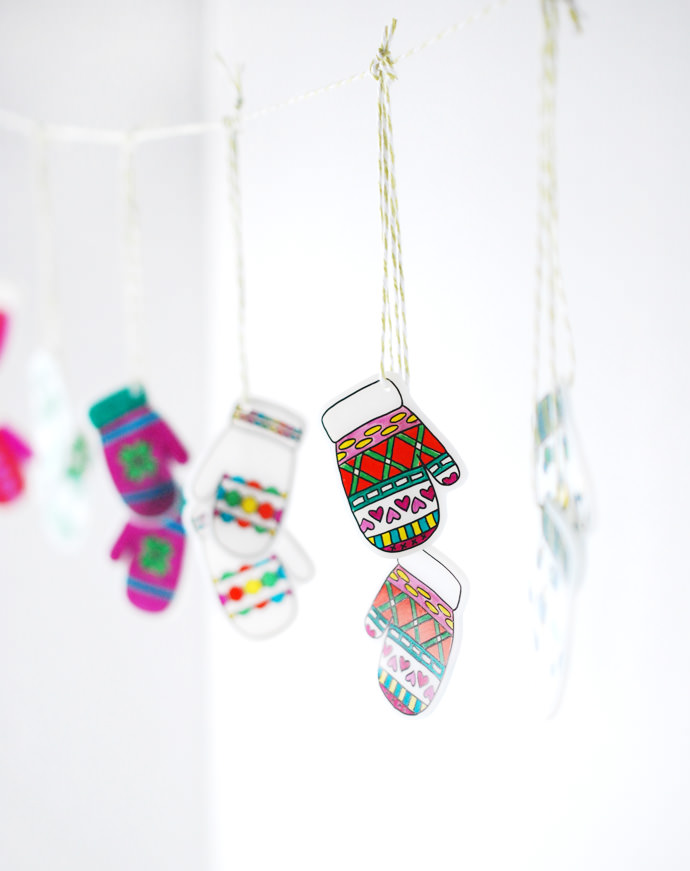
When they are all finished, they should come out looking small and cute!
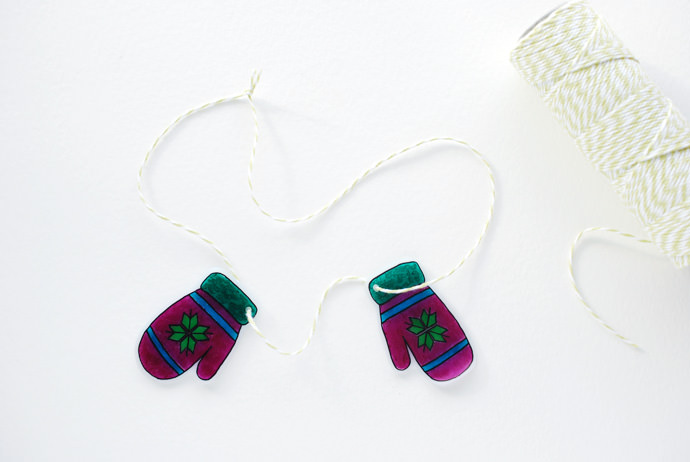
Cut a 20-inch piece of string and thread both mittens onto the string. Tie the ends together with an overhand knot.
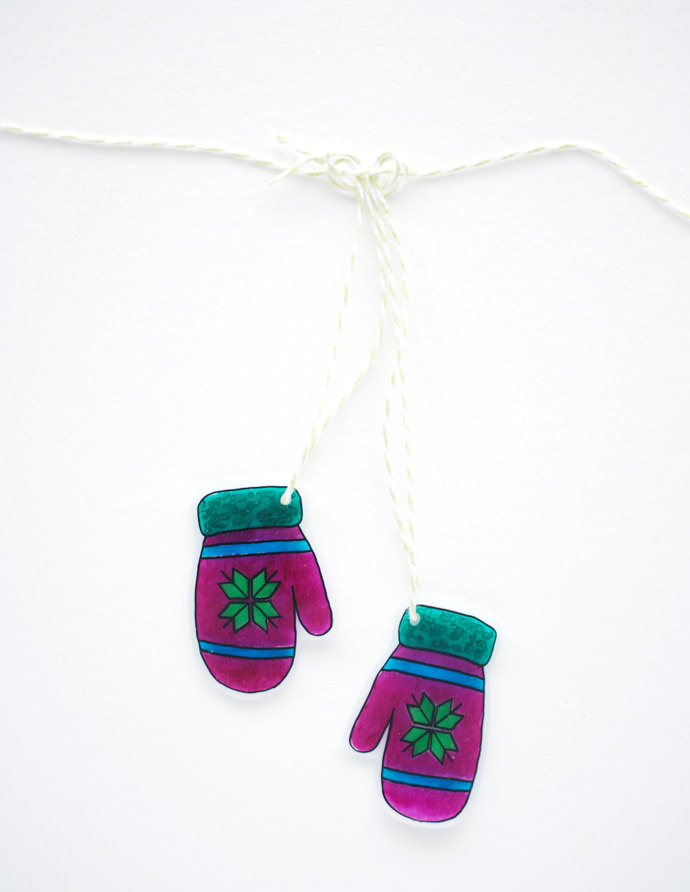
Cut a 1-yard piece of string and lay it flat. Stretch out the tied mittens, grab the doubled string holding them together, and loop them around the long string. A cow hitch knot works great, or you can just tie them onto the string.
They look especially cute if the two mittens are at different levels.
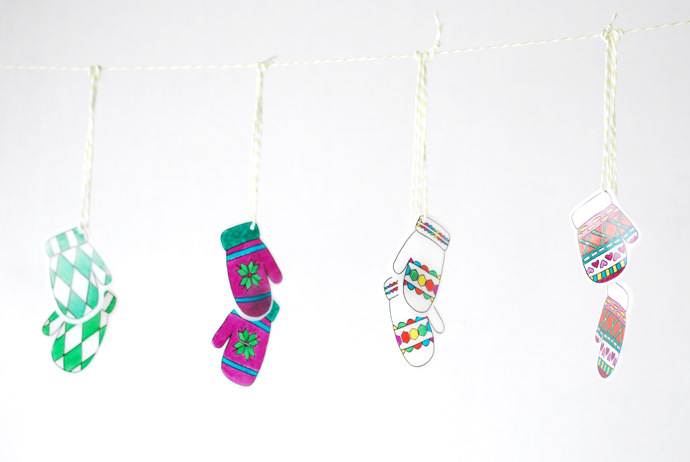
Add more pairs of mittens to your garland string and hang them up for a little decoration.
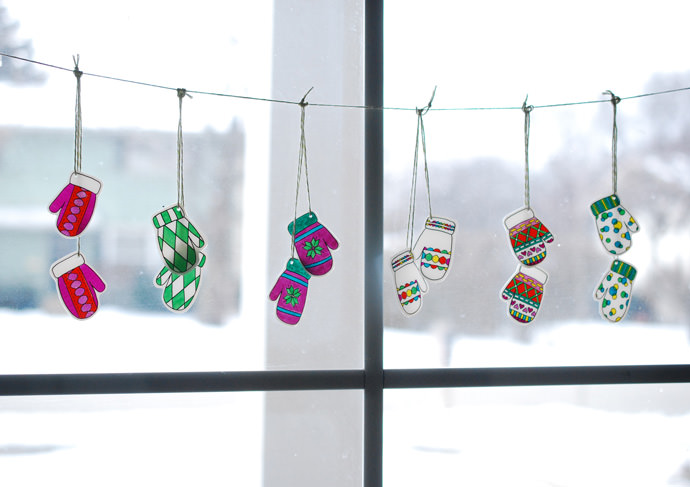
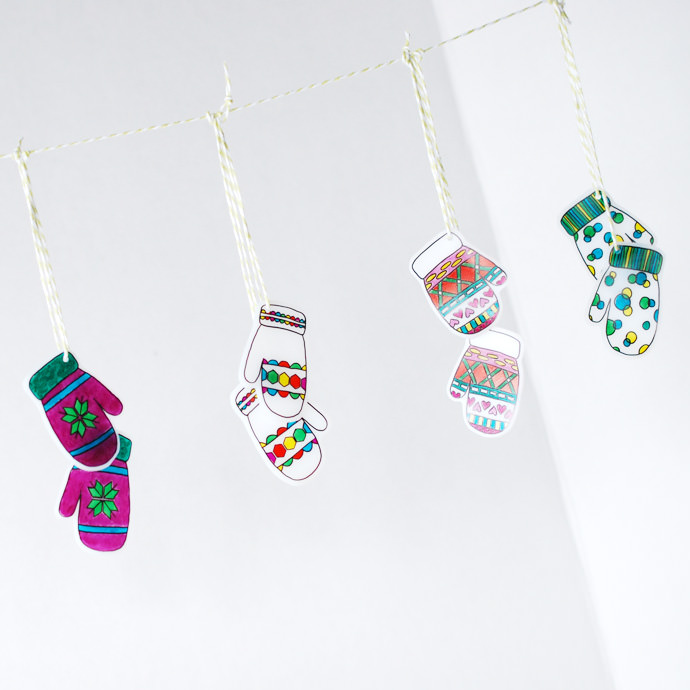
Most shrink plastic is translucent, so they look especially great hanging in a window with some light shining through. You could also make a single pair of mittens and hang them near a window or from a rearview mirror.
Of course, these mittens would make fun key chains, jewelry, or magnets too!
Happy crafting!