This post is sponsored by Plaid Enterprises.
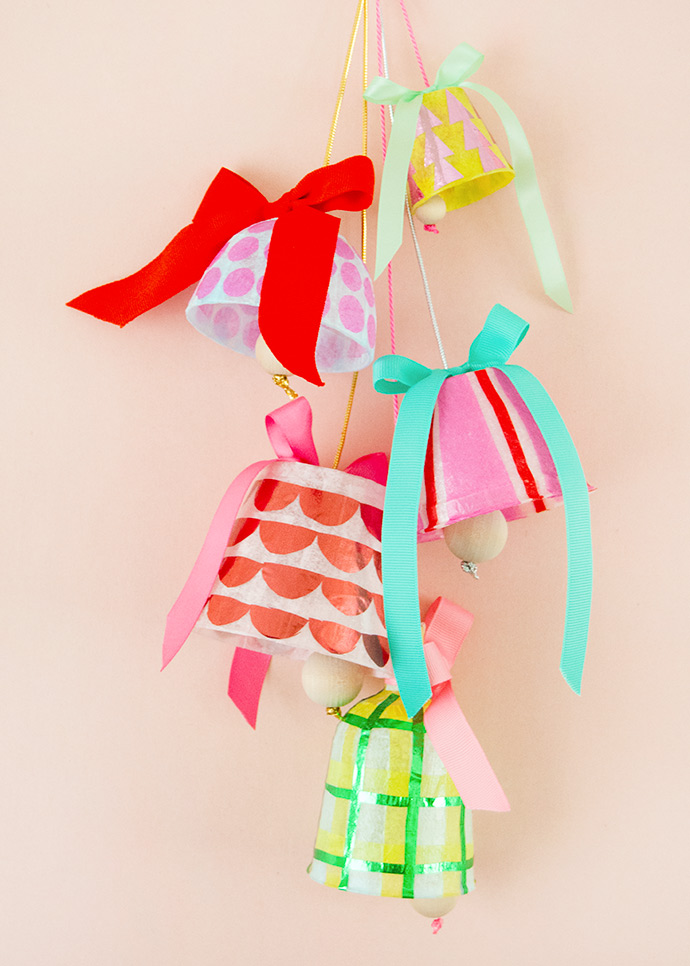
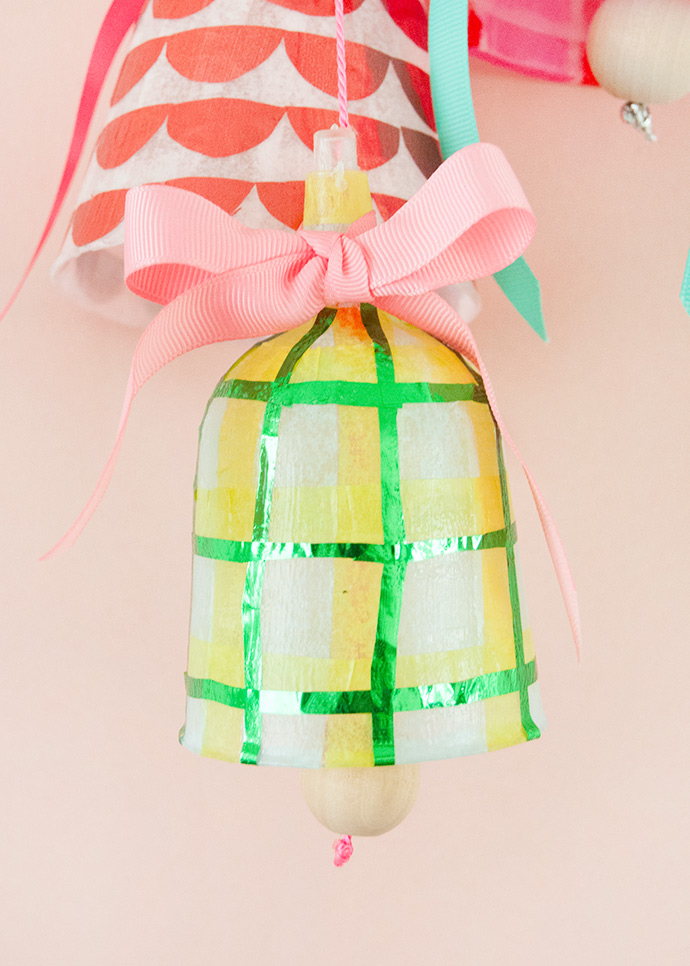
Add a fun pop of color to your home this year with these festive Mod Podge Christmas bells! We always seem to have some mismatched party cups and fun-shaped recyclables in our craft stash (we last used some on these dancing peg dolls!) and this project is the perfect way to put them to good use this holiday season.
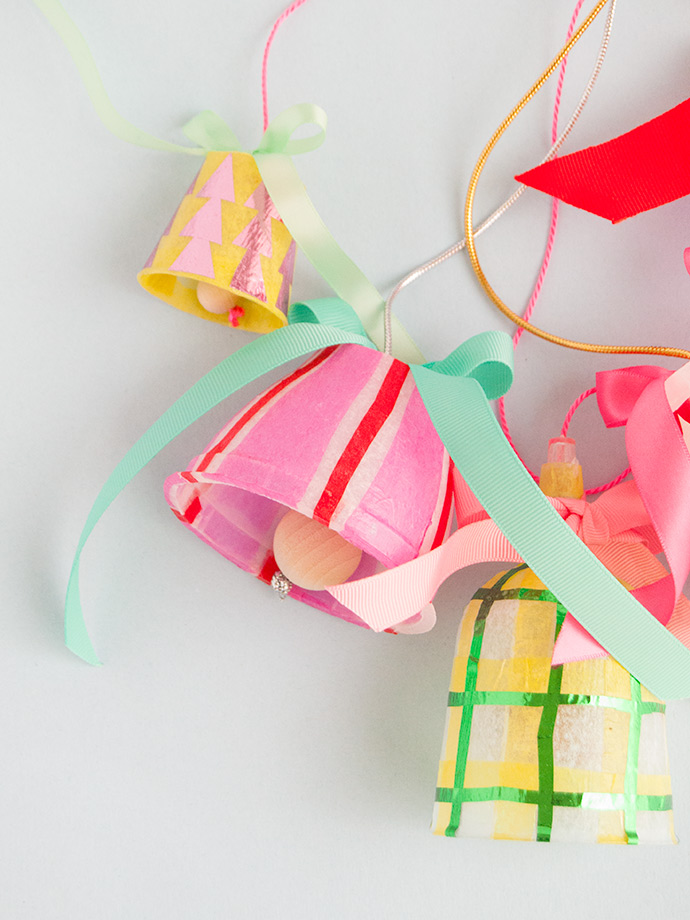
Although these bells don’t actually ring, we really love how bright and cheerful they are! Turning recyclables into colorful works of art is easy with Mod Podge. No need to buy any new patterned cups – just raid your own craft stash and design your own! Keep reading to see all our tips and tricks below.

what you need:
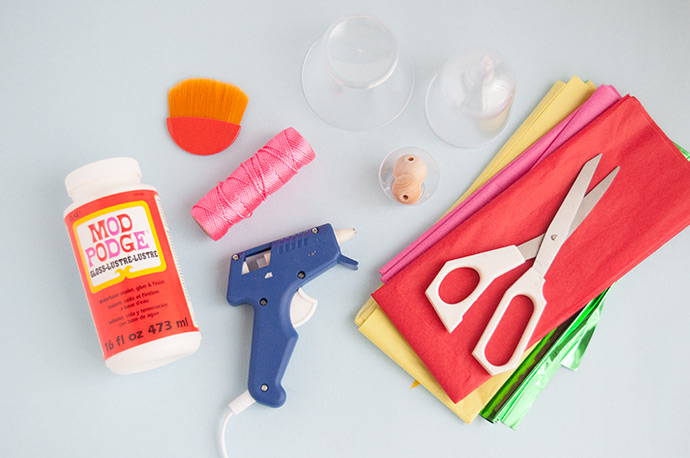
- Mod Podge Gloss
- Mod Podge Brush Applicator
- Empty plastic cups
- Tissue paper (colored and metallic mylar)
- String and ribbon
- Hot glue gun
- Wooden beads
- Craft knife (optional)
how-to:
Step 1
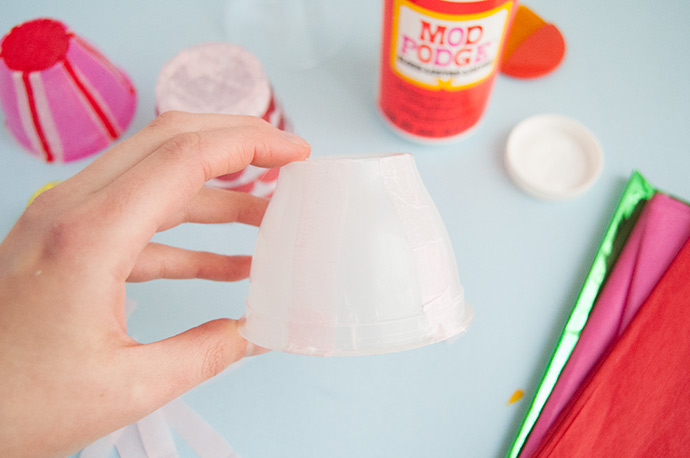
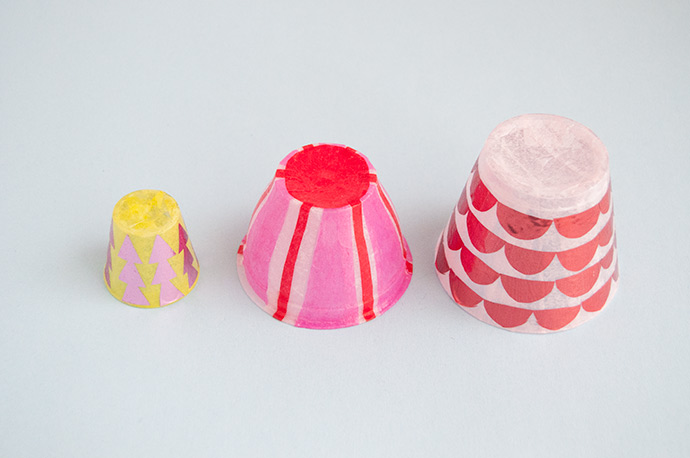
Before you start, make sure that any recyclables have been cleaned and dried completely – applesauce containers, pudding cups, and similar make great bells! We also used a handful of assorted plastic party cups leftover in our stash. Whichever shape you pick, the method is very simple and the design is entirely up to you! Cut some shapes of tissue paper, apply a coat of Mod Podge Gloss onto the cup, and place the tissue paper on top. Gently press it into place and apply another coat of Mod Podge to seal. Make sure to wrap under the bottom edge of the cup, and slightly over the top as well. Repeat this process using different colors and shapes until you’re happy with the look!
Step 2
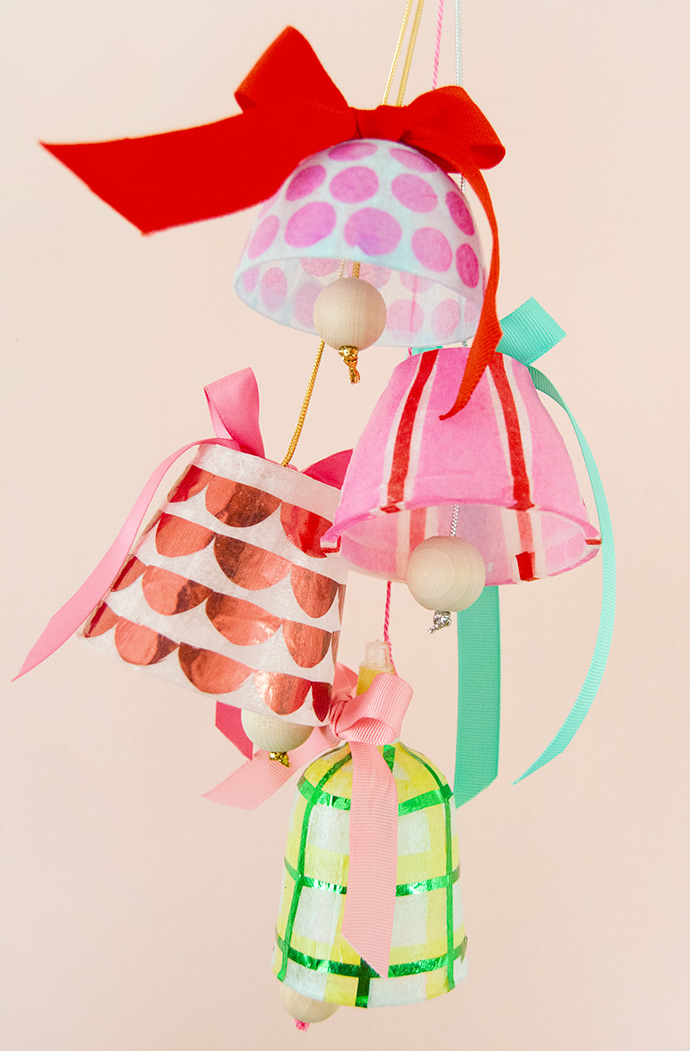
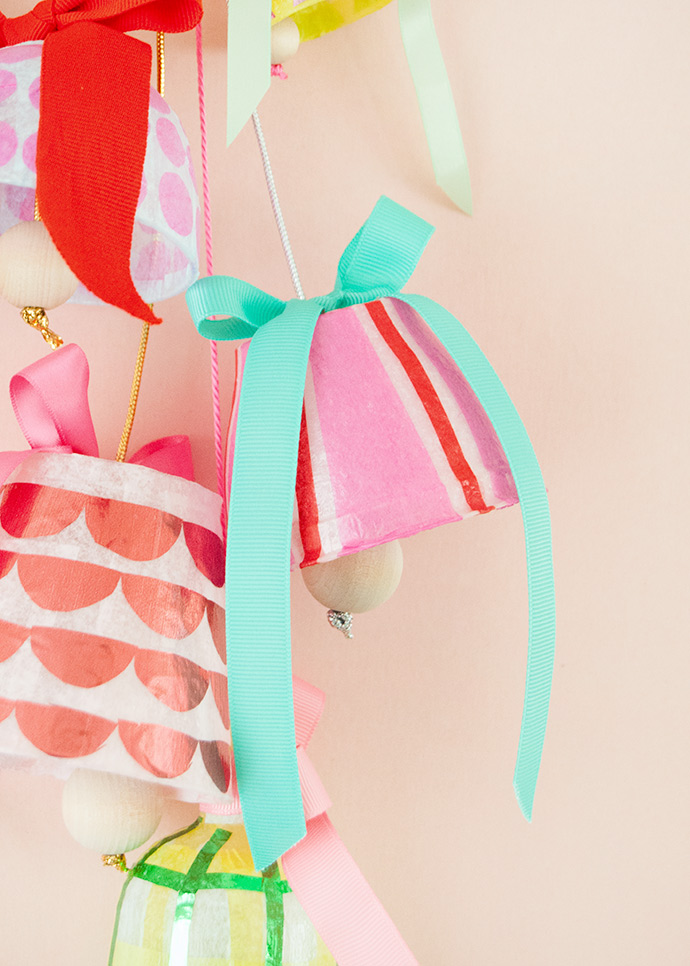
You can really do whatever designs you like, so get creative! Here are a few ideas: stripes, scallops, dots, triangles … it’s really endless. Once done, allow the bells to dry completely.
Step 3
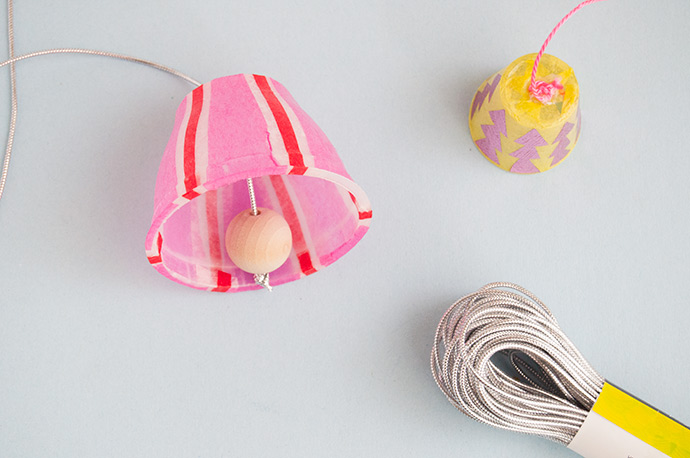
Once dry, it’s time to add the clapper into the bell. For this we used wooden beads and string – simply string the bead onto the end of the string and tie a double or triple knot so that the bead can’t slip off. From here, there are two ways you can attach this to the bell and this will depend on what type of plastic is used for the bell.
If the plastic is softer and pliable (more like an applesauce or pudding cup) you’ll likely be able to carefully cut an X in the top of the bell with a craft knife. Use a pencil or wooden skewer to push the string through so that the bead hangs down at the bottom of the bell.
If the plastic is more rigid, like a clear plastic party cup, using this craft knife method may still be possible but often leads to the cup cracking in unpredictable ways. To avoid this, instead hot glue the string holding the bead into the inside of the cup. Cut another piece of matching string and hot glue this to the center top of the cup.
Step 4
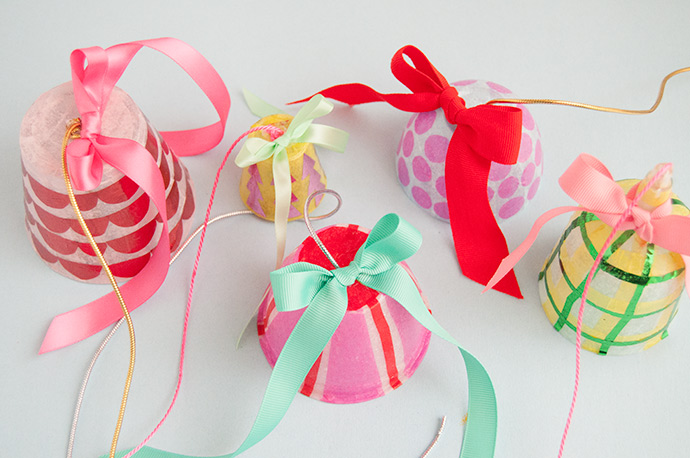
Once you’ve done this for all the bells, tie a piece of ribbon into a bow and hot glue onto the top. This is a great way to cover any unsightly hot glue from the previous step.
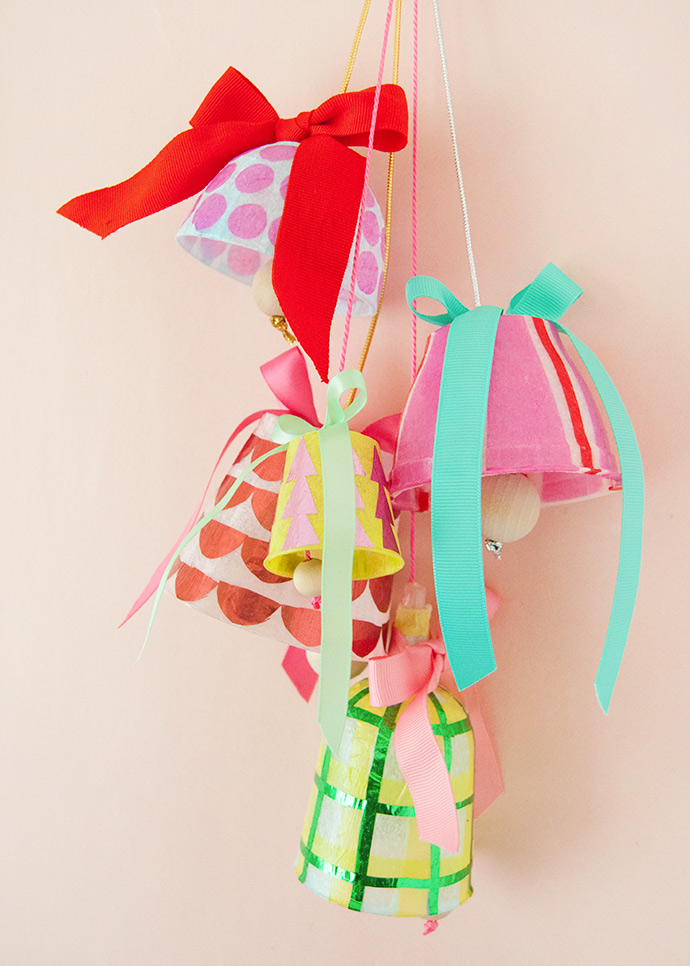
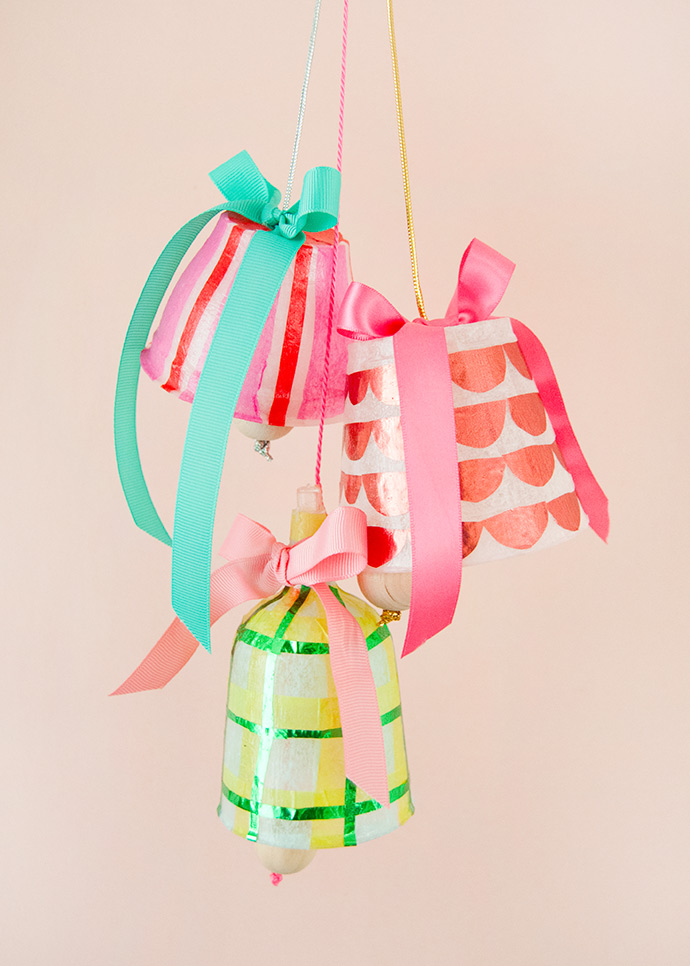
And your bells are ready to hang! They can be hung individually from doorknobs or hooks around your house, or group them together like we did to make a super festive bunch that’s sure to spread holiday cheer.

Happy crafting!