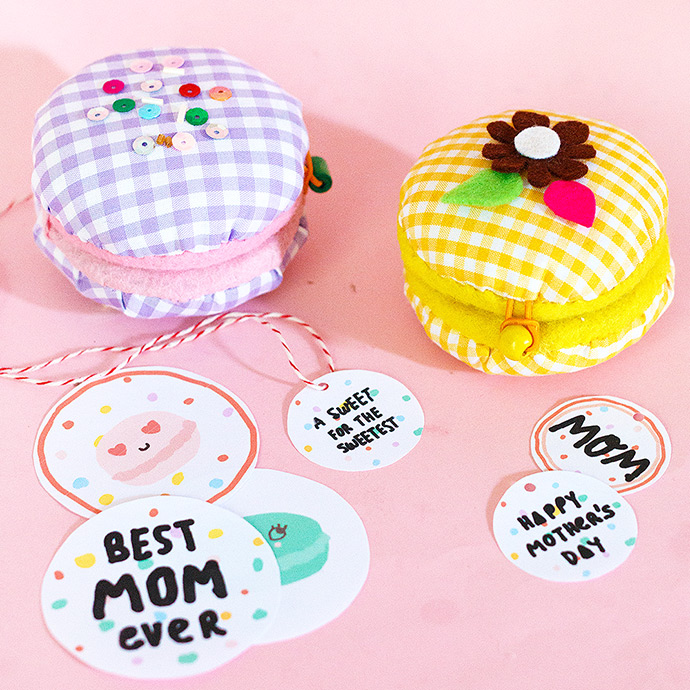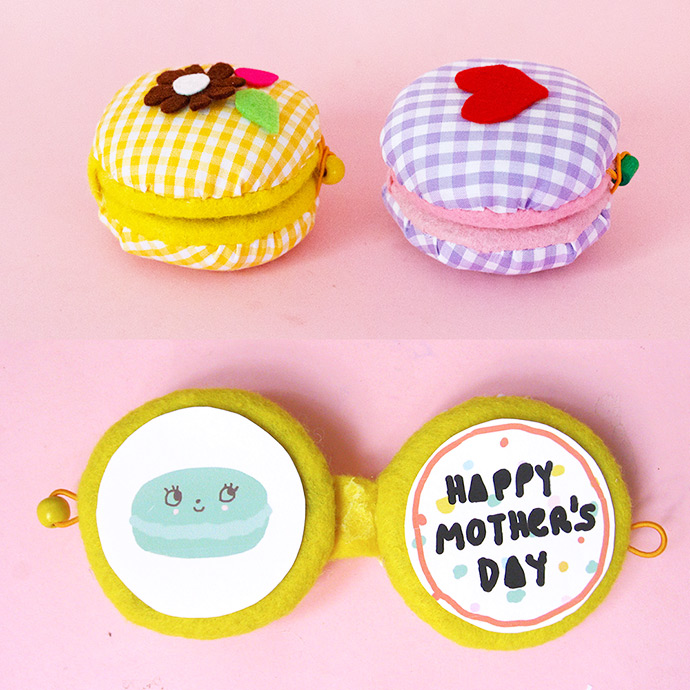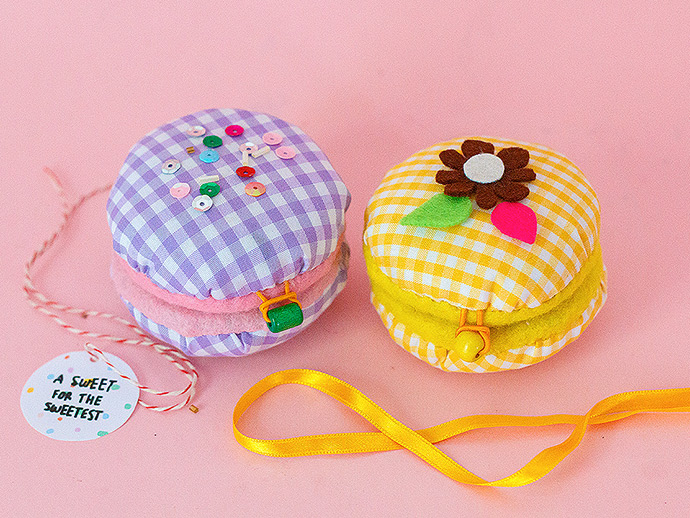
Show Mom how much you love her with this cute handmade card straight from the heart! This is the perfect gift for any mom with a sweet tooth and a great way to reuse fabric and felt scraps too. Get creative and add your own custom message on blank tags, or use the mini printable greeting cards that I’ve designed for you.

These super unique and playful cards are sure to add a fun touch to Mother’s Day this year. So let’s get crafting and make macaron cards for all the mother figures in your life!

What You Need

- Felt and fabric scraps
- Cardboard box
- Big beads
- Elastic cord
- Stuffing
- Recycled packaging foam (or similar)
- Needle
- Thread
- Washable marker
- Scissors
- Hot glue
- Printable messages (download here)
How-To

Step 1
Find a plate, lid, or tape roll that is about 3″ across, trace it onto foam twice, and cut both circles out. Cut two more 3″ circles out of 1/4″ thick cardboard. (If your cardboard isn’t quite 1/4″ thick, cut out four circles and then glue two circles together like I did.) Use washable marker to trace and cut two 4″ circles out of felt and two 4 1/2″ circles out of fabric. Cut one felt rectangle about 2 1/2″ long by 1” wide.

Step 2
Macaron covers: Thread your sewing needle with strong thread and make a knot at the end, leaving a 2″ tail. Take one of the fabric circles and stitch along the outer edge about 1/8′′ from the edge. Pull the thread to gather the circle’s edges. Add some stuffing and a foam circle on top, and then add more stuffing around the circle’s perimeter, kind of forming a donut shape out of the stuffing. Now pull the thread gently to gather the fabric edges at the center of the circle. Secure and knot the thread. Repeat this process for the other fabric circle.

Step 3
Macaron card: Lay a felt circle onto your work surface and glue a cardboard circle onto it, centered. Clip into the felt circle every ½” along the curve, fold over onto the cardboard and glue the felt flaps down, covering cardboard edge nicely. Repeat this for the other felt and cardboard circle. Place these two felt-cardboard circles felt sides together. Join them together by gluing the felt rectangle to each, creating a hinge. Now you can open and close the inside circles of your macaron card.
Let’s make a beaded clasp! Cut two 3 1/2″ pieces of elastic cord. Thread a bead onto one piece and glue the ends together, making an elastic loop. Glue the ends of the beaded loop onto the back of one of the felted circles, opposite the hinge, as shown above.
Make a loop with the remaining piece of elastic cord, and glue it on the back edge of the other felted circle.

Step 4
Attach the covers to the felt inside pieces by ladder stitching the edges together to achieve an invisible join. Kids will enjoy learning this stitch – it’s ends up being invisible and once you get the hang of it, it’s really easy and quick!

Step 5
Messages: I’ve designed some tags with several different drawing and messages to choose from – feel free to download, print, and cut out the tag templates from cardboard. Choose your favorites for your message and glue them inside the macaron card. I’ve added some blank tags for you to fill in too. Or try drawing your own letters on felt, cut them out, and glue them in.

Step 6
Time to decorate! Have fun adding sequins, little beads or felt to the top cover of your macaron card. Finish up your macaron card by using some of the printable tags – simply punch a hole through the small tags and tie them to the macaron with some twine or ribbon.


Happy crafting!