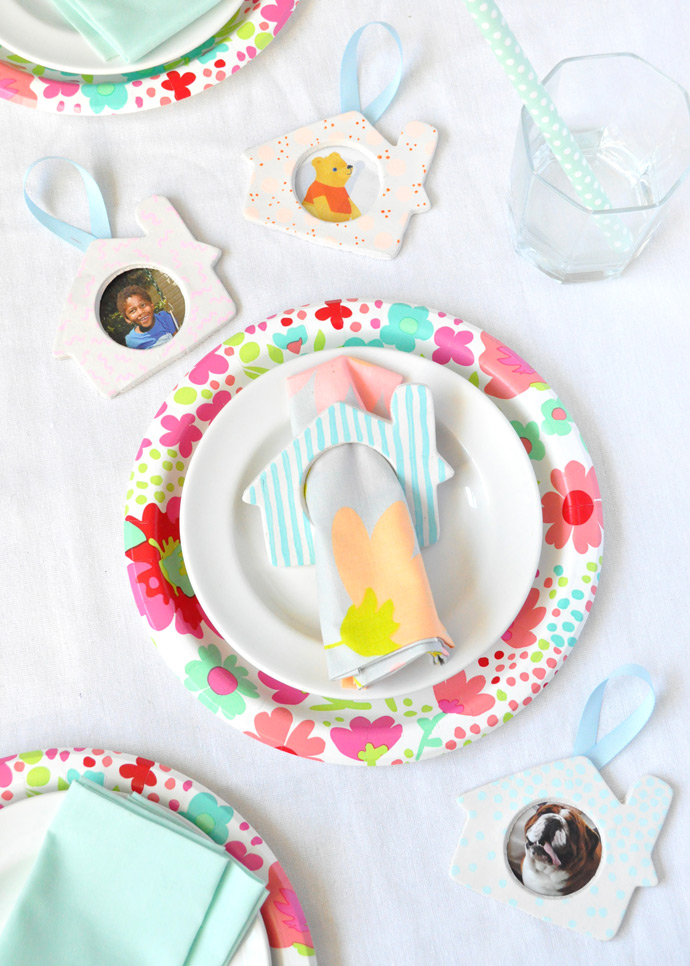
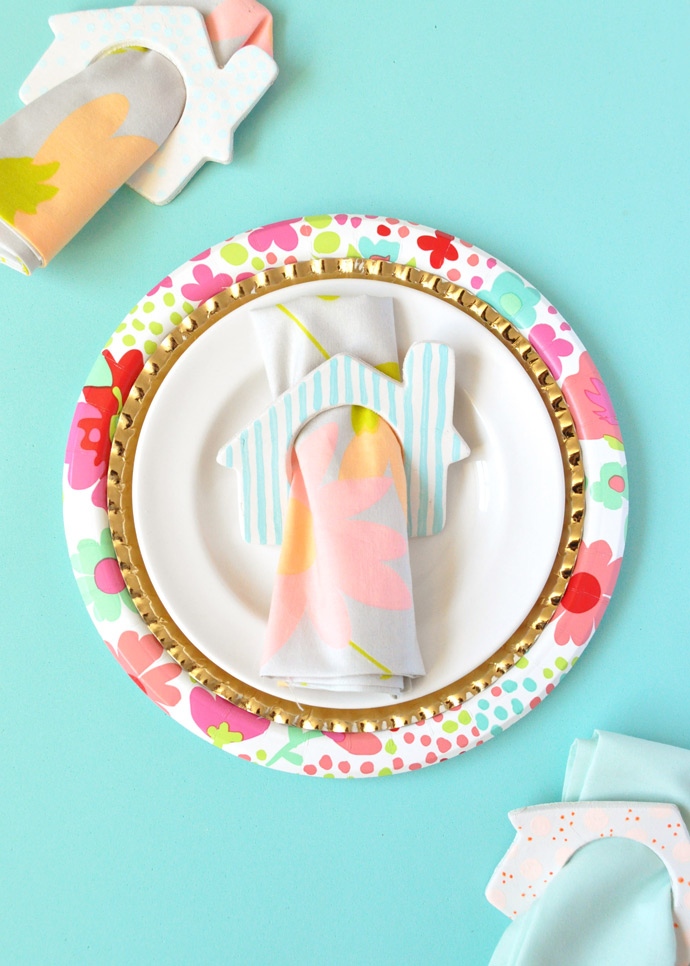
It’s almost Thanksgiving! If you’re looking for a job you keep your kids occupied this weekend, these napkin holders are a great place to start. This craft is a bit of a shape-shifter: what starts out as a DIY napkin holder gets turned into a Christmas ornament once dinner is done!
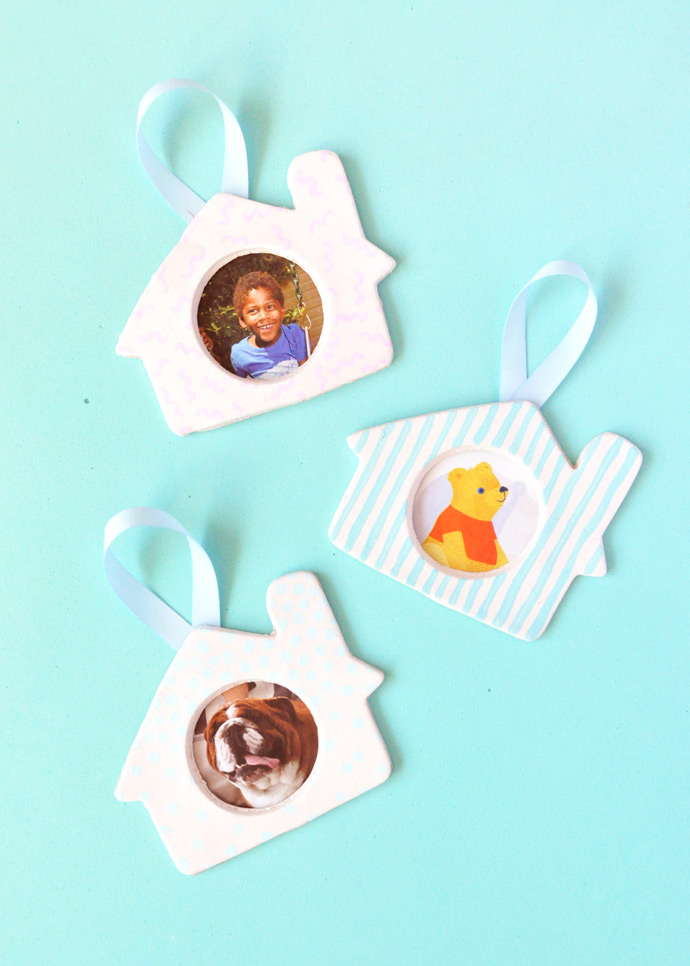
This napkin ring turned frame ornament is the perfect way to remind us of what we’re thankful for even after Thanksgiving is over. Frame a family photo or a hand-written message and hang the ornament on your Christmas tree this holiday season. Simple and fun, these napkin rings are full of possibilities! Let’s get crafting!
What You Need
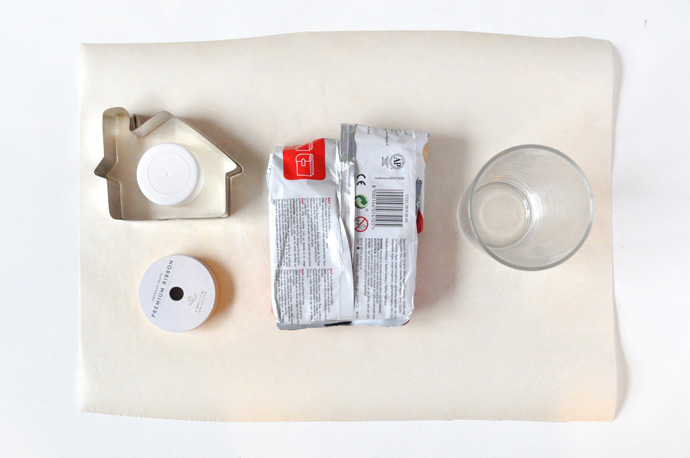
- Air dry clay
- House-shaped cookie cutter
- Circle cookie cutter (I used a lid)
- Ribbon
- Rolling pin / smooth glass
- Parchment paper
- Hot glue gun (not pictured)
How-To

Step 1
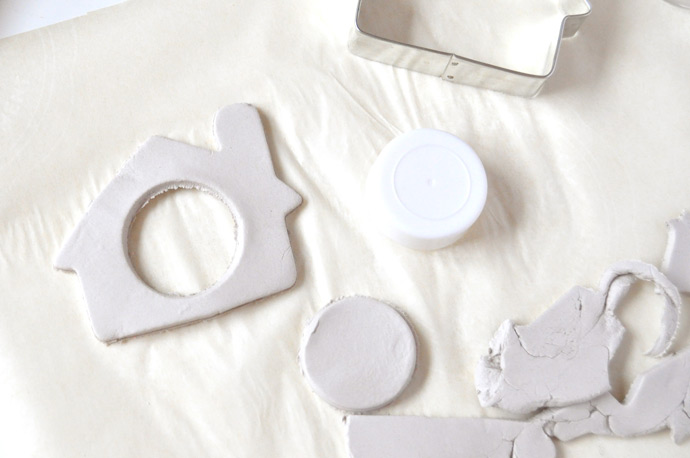
Roll out some air dry clay onto your parchment paper covered work surface. Cut out as many house shapes as you need.
Step 2
Next use your circle cookie cutter (I didn’t have one in the right size, so I used the lid from a jar of sprinkles) to punch a hole in the middle of the house. Use your finger to smooth any rough edges.
Step 3
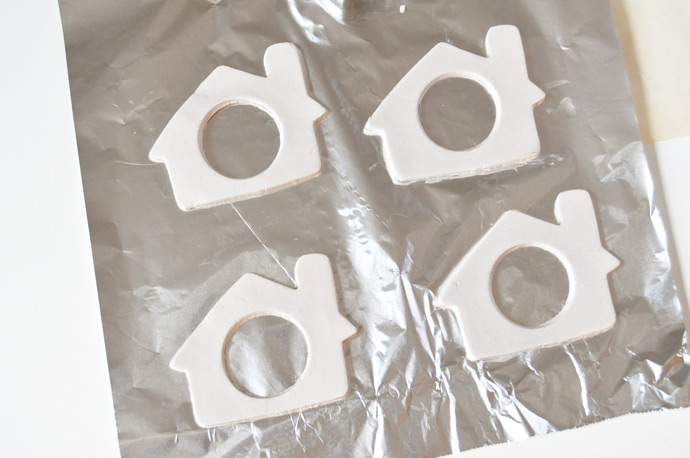
Repeat as necessary and let dry completely. Depending on your clay, overnight might be necessary.
Step 4
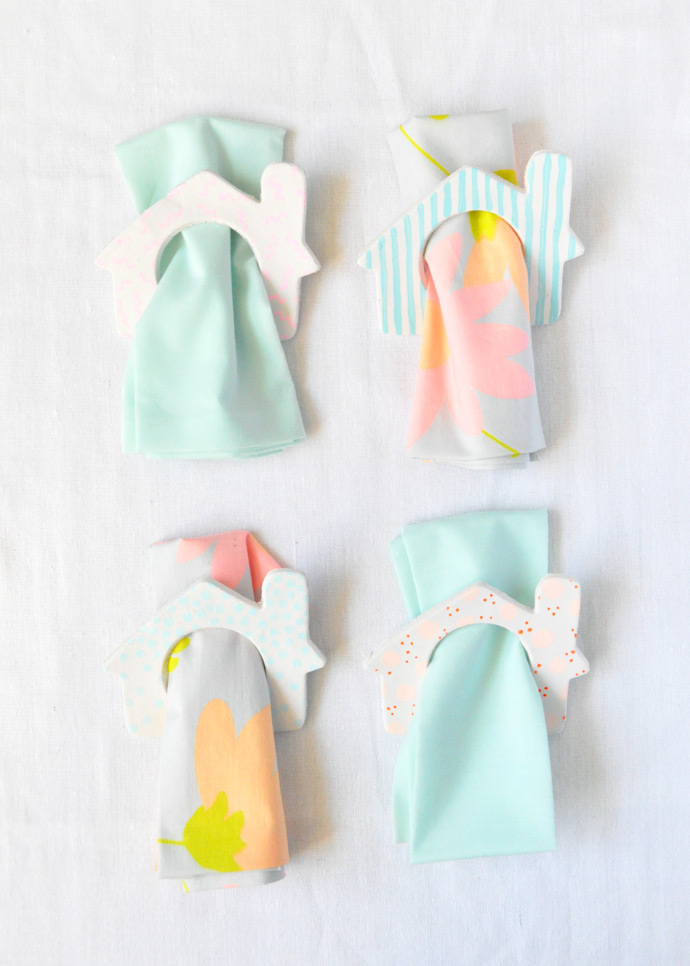
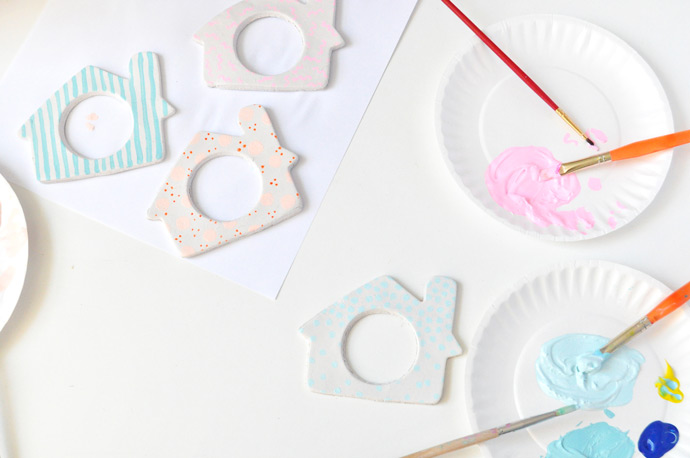
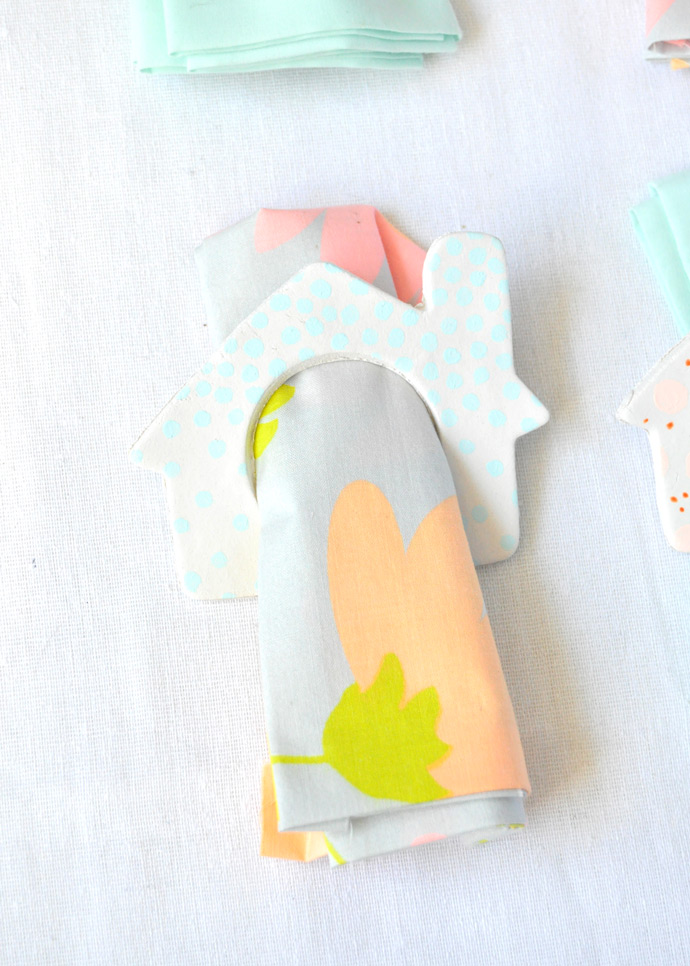
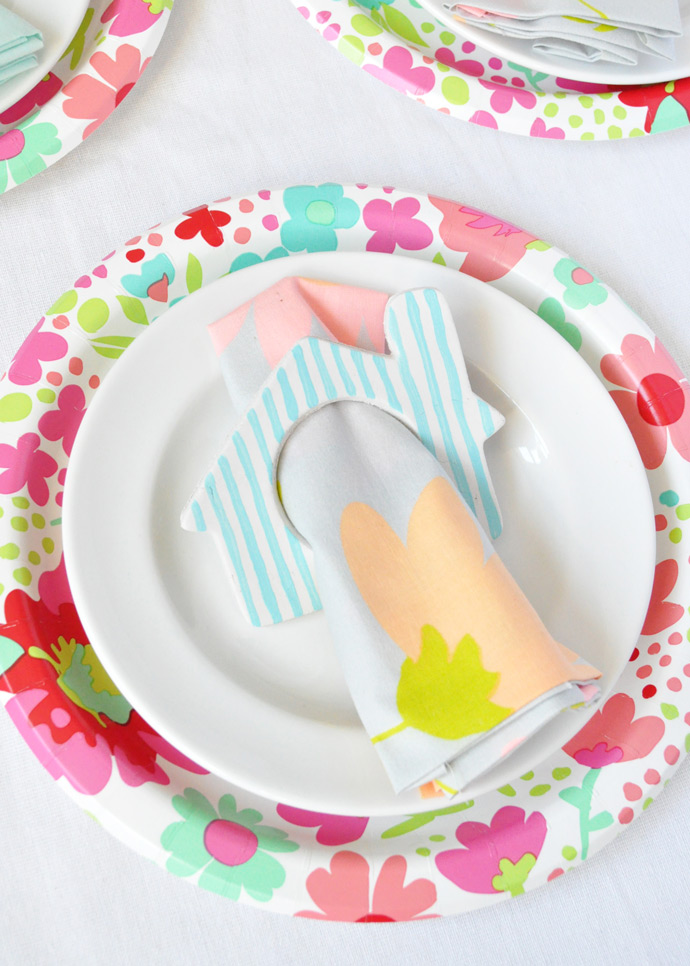
At this stage, you can choose to leave the houses as-is and set on your Thanksgiving table as napkin rings. Then once dinner is over, kids (and adults!) can do the next steps to turn the plain napkin ring into a cute frame ornament. Or you may want to paint the houses yourself to add some color to your Thanksgiving table – it’s up to you! Either way, paint the houses with fun colors and let dry.
Step 5
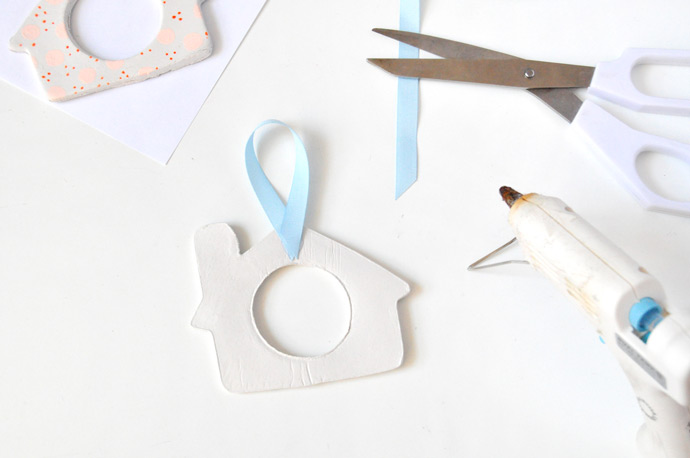
Cut a piece of ribbon and glue onto the back of the ornament, forming a loop.

Step 6
Cut photos down to size and glue onto the back of the ornament.
Happy Thanksgiving! :)