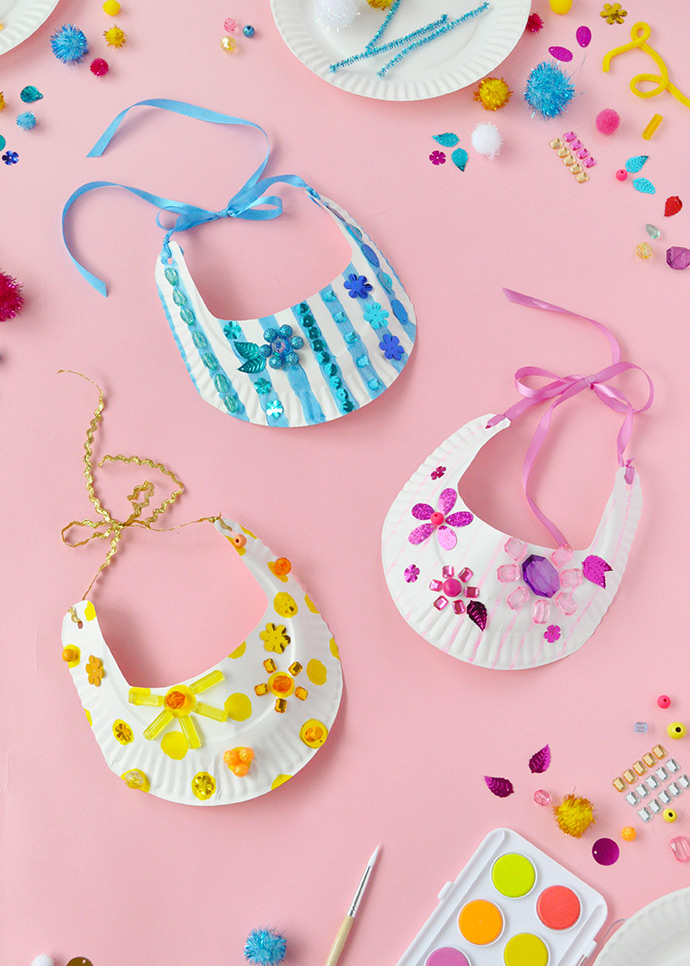
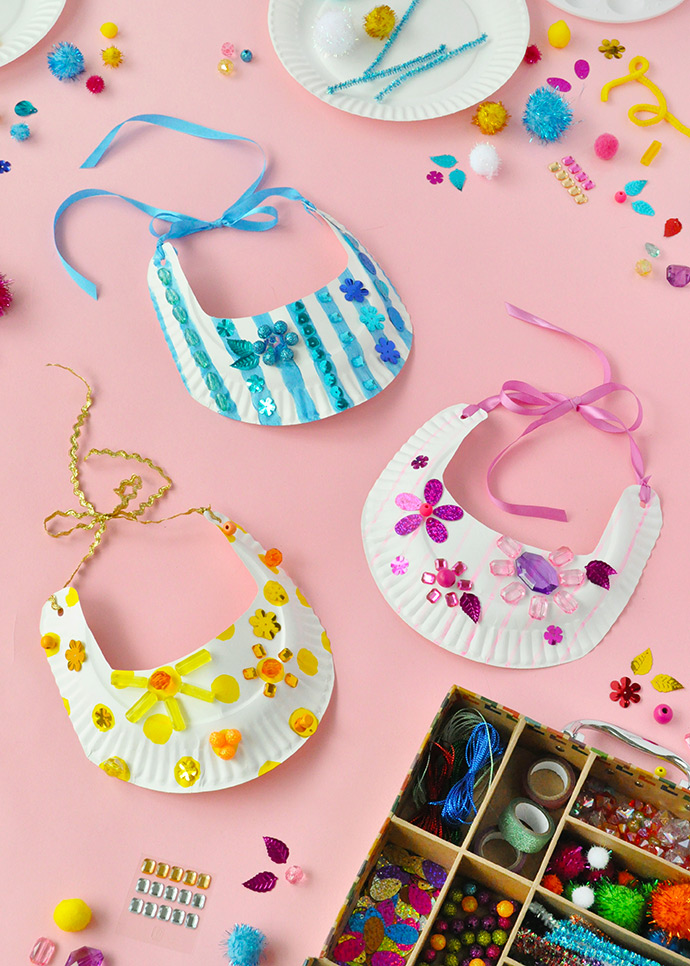
Our future’s so bright, we’ve gotta wear visors – DIY paper plate visors, that is! Turn regular paper plates into fun embellished accessories using all your favorite beads, sequins, and gems from a few Kid Made Modern craft kits.
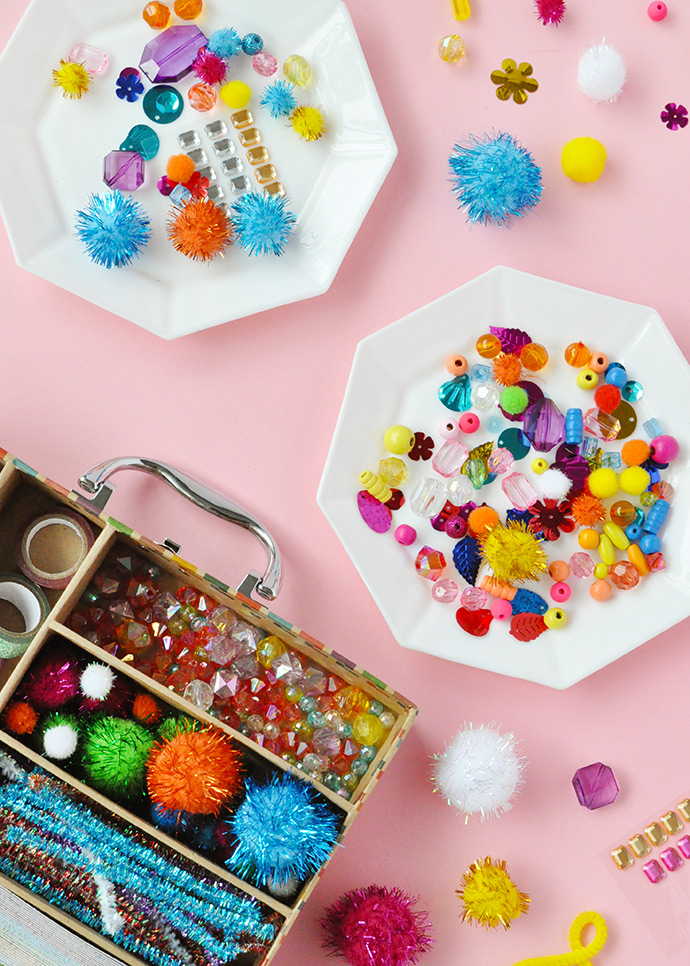
We love this activity for kids of all ages – littler ones can help paint the plates if they aren’t quite old enough for small beads, and older kids can help design and glue on all the playful embellishments. It’s not quite spring weather where we are, but with these visors ready to go we can’t help but look forward to warm and sunny days!!
what you need:
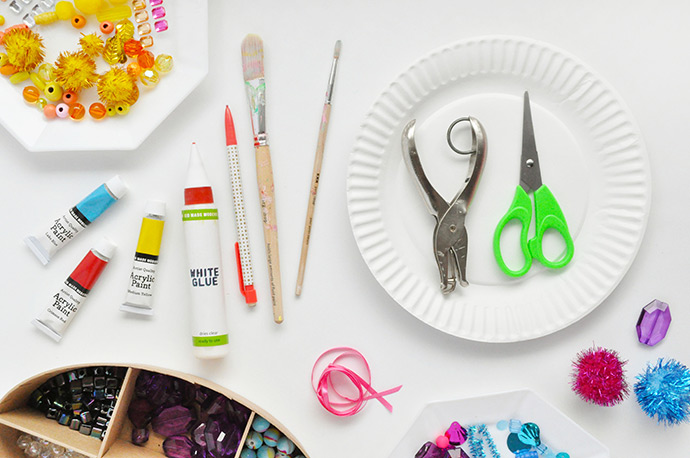
- Kid Made Modern Arts and Crafts Library
- Kid Made Modern Jewelry Jam Craft Kit
- Kid Made Modern Smarts and Crafts Sparkle Stash Craft Kit
- Kid Made Modern Artist Quality Acrylic Paint Set
- Kid Made Modern Brush Library
- Paper plates
- Pencil
- Hole punch
- Ribbon
how-to:
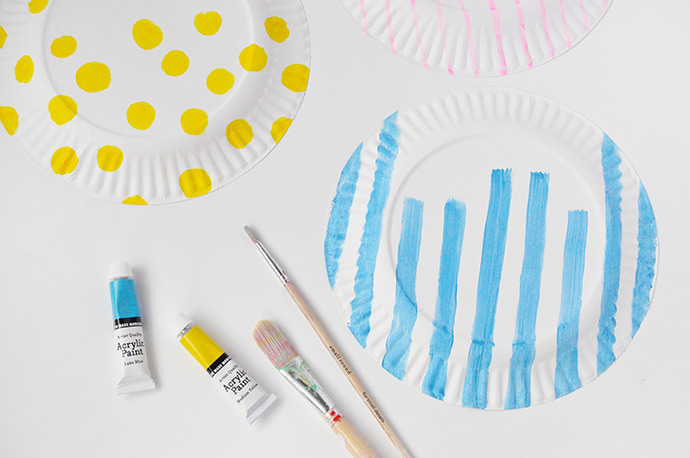
Step 1
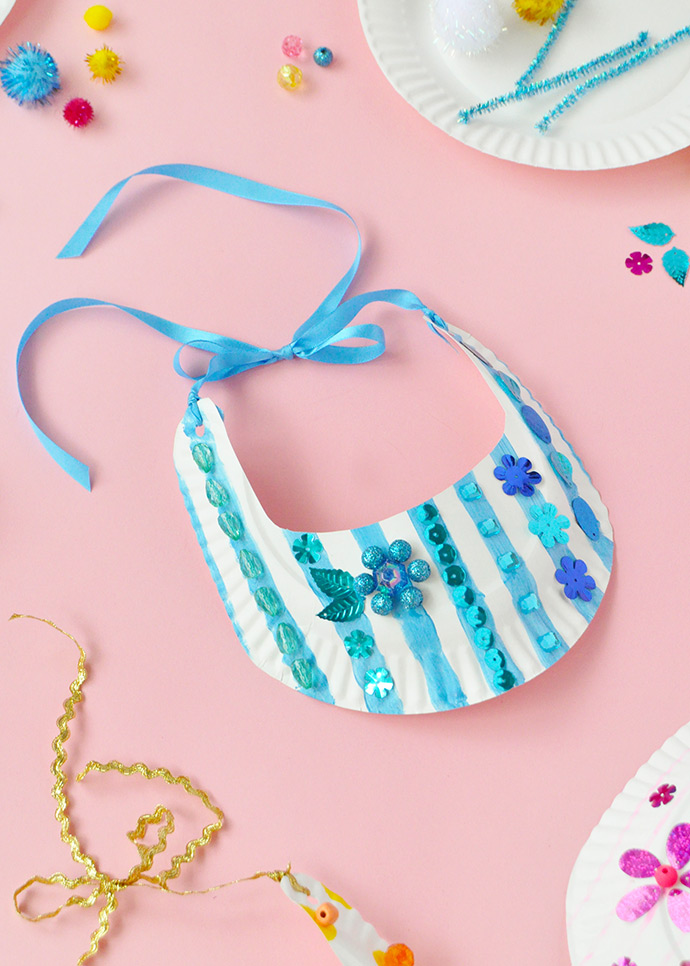
Use paint to decorate the backside of the paper plates. Stripes, polka dots – whatever you like! Let dry.
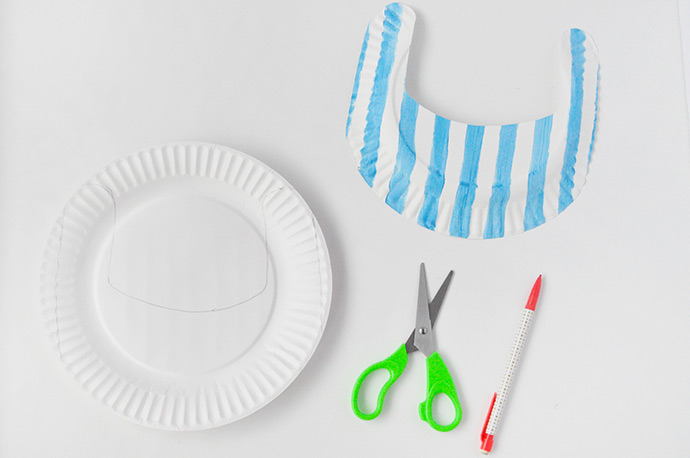
Step 2
To turn your paper plate into a visor, use a pencil to draw out the shape as shown in the picture. It doesn’t have to match this exactly, and in fact will vary a little bit depending on the size of your plate and the head size of the lucky person wearing it! We recommend testing your shape on a blank paper plate first, make any adjustments on there, and then trace that onto your painted plates. Cut them out!
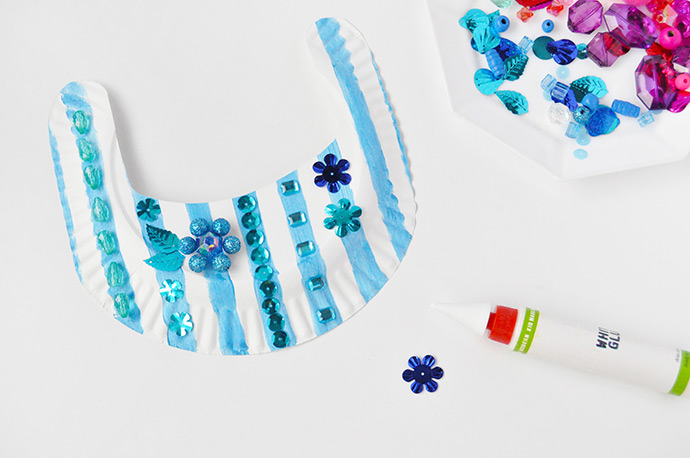
Step 3
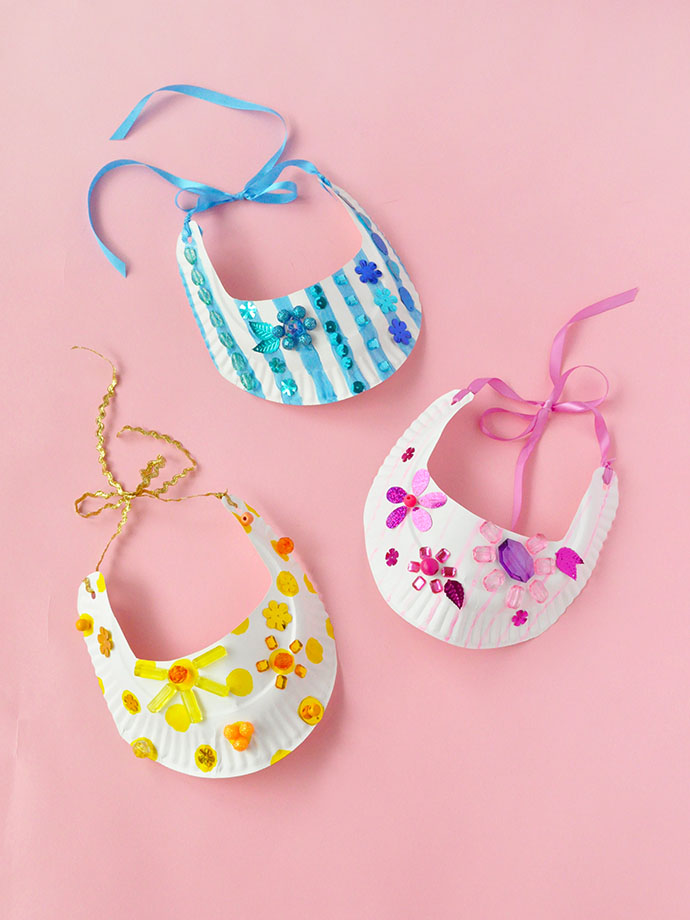
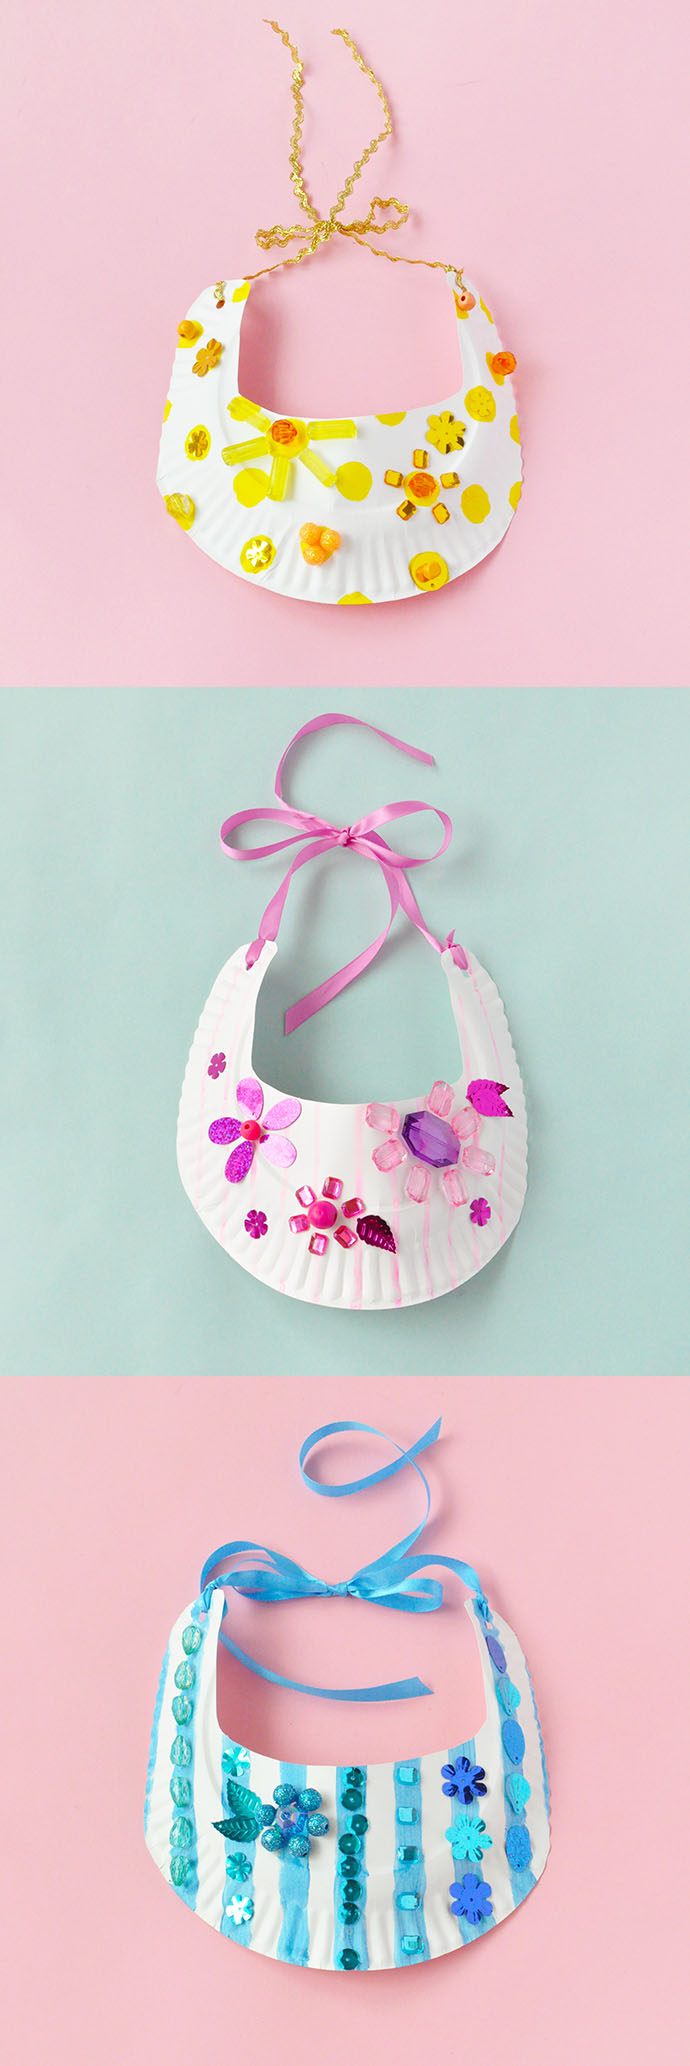
Now for the fun part – decorating! Use gems, beads, sequins, pom poms, whatever you like to adorn your visors. We went for a monochromatic look on ours and used white glue to attach all the details on.
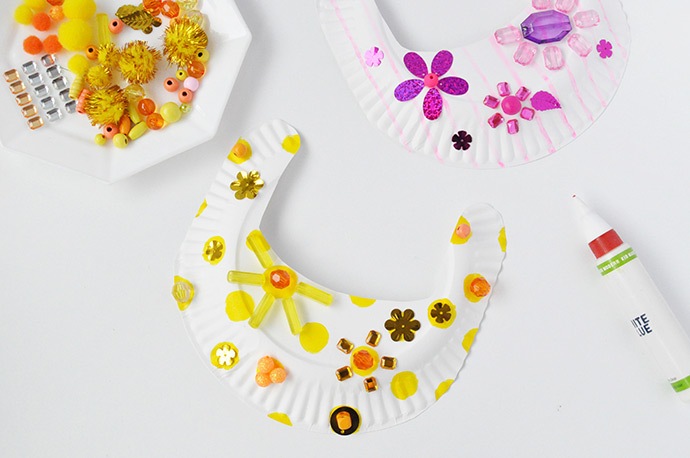
Step 4
Repeat on your other visors – making flower shapes with the embellishments makes for a fun, tropical feel visor!
Step 5
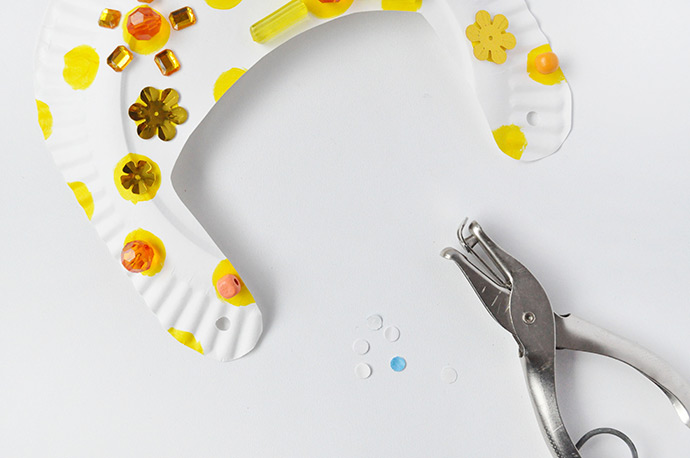
Use the hole punch to make a hole on both skinny ends on all the visors. (If you like, you can make these holes extra secure by applying a piece of duct tape to the backside before punching the holes.)
Step 6
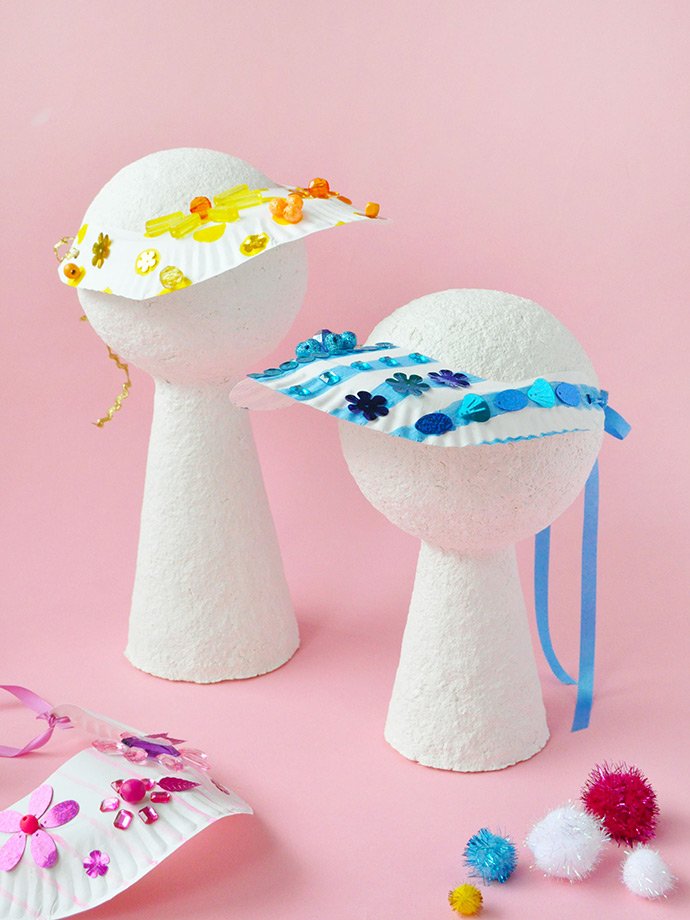
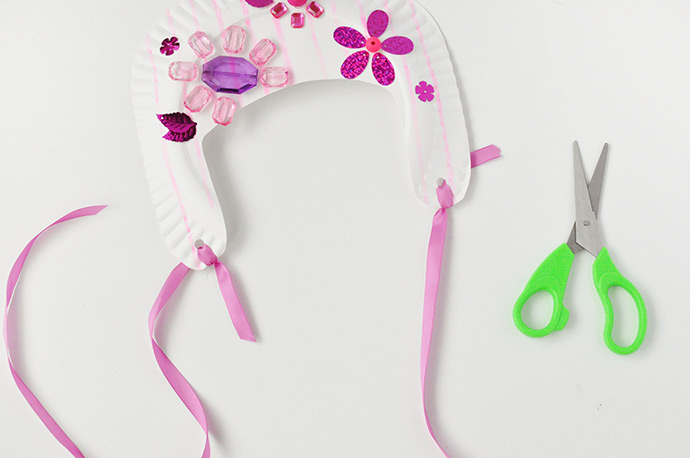
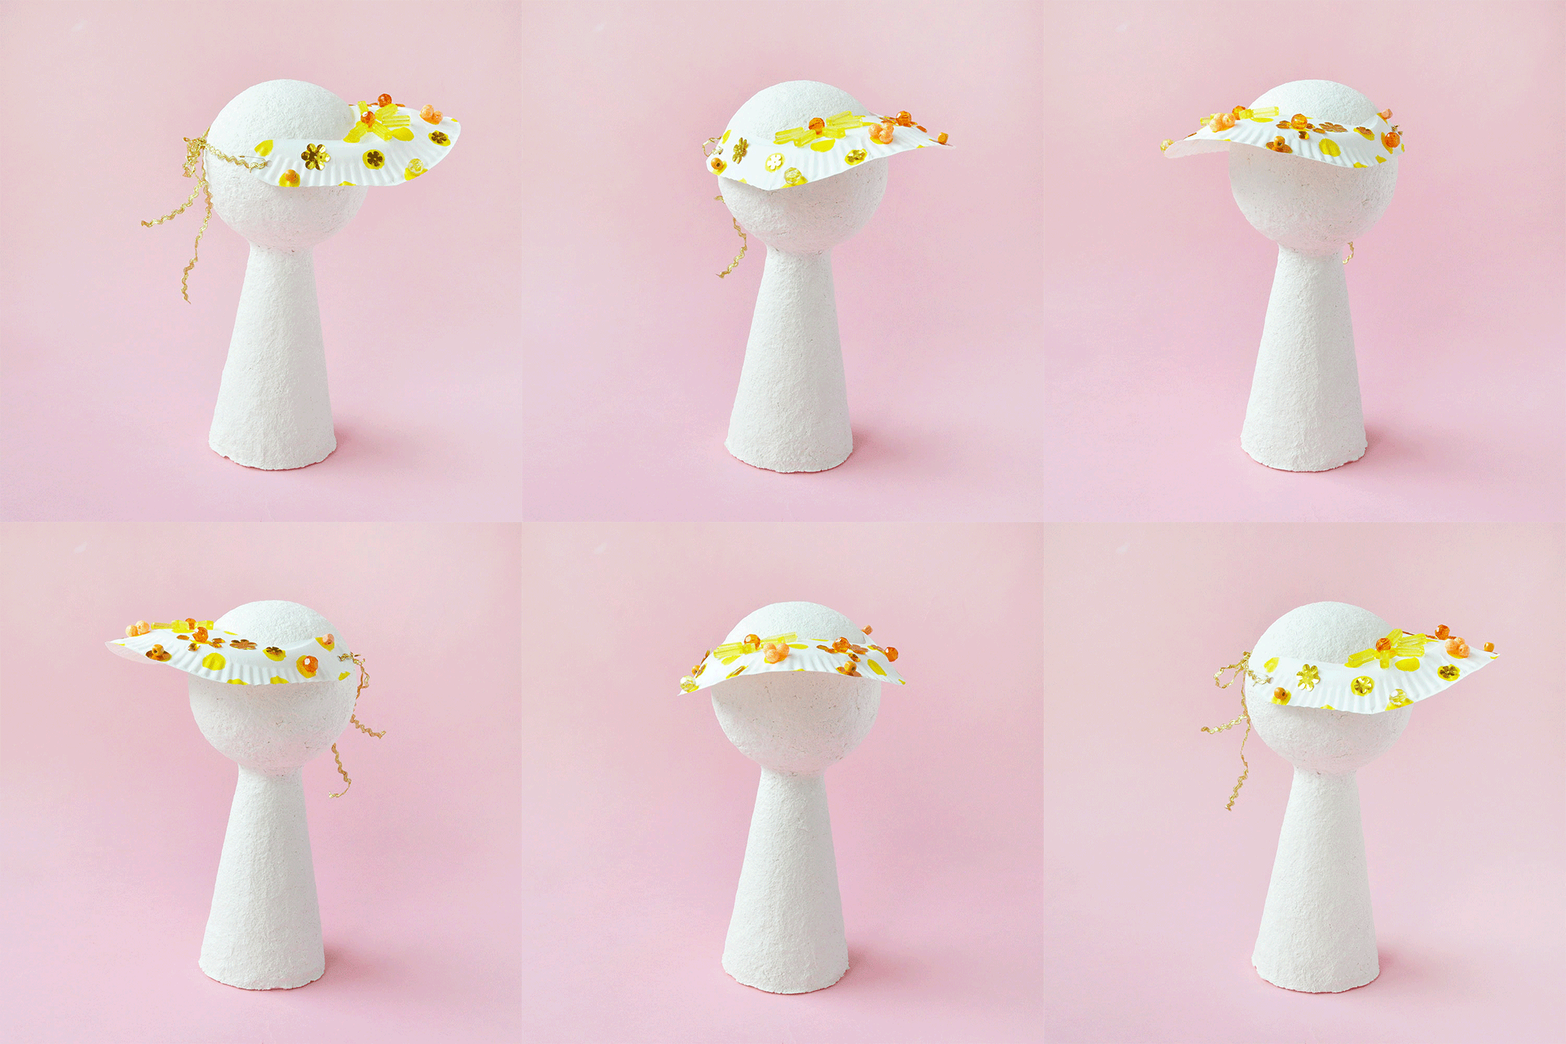
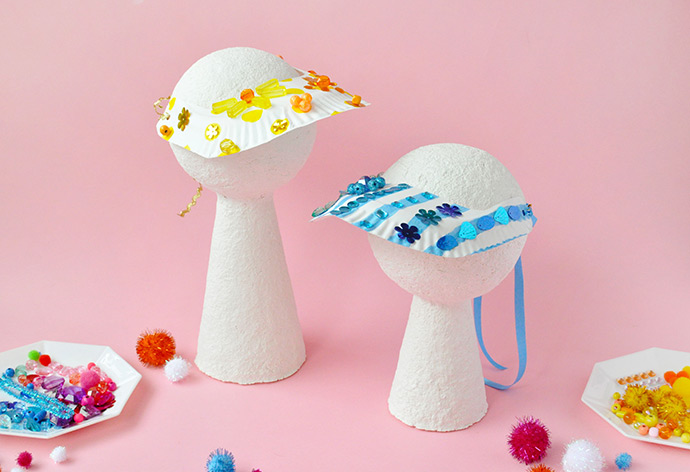
Tie a piece of ribbon into each hole and your visors are ready to wear! Have the wearer hold the visor with their hands as you adjust and tie the ribbon on the back. You could also use elastic cord for this step if you wanted a more sporty looking visor.
This post is sponsored by Kid Made Modern.