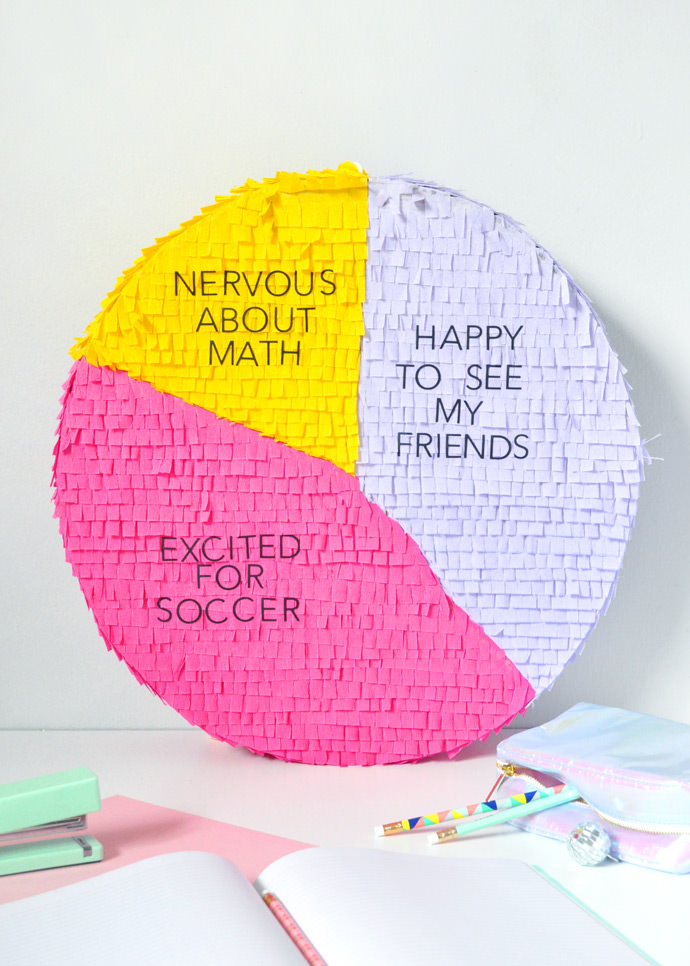
Are you and your kids excited for back to school season? Most likely there are some mixed emotions about it – some parts are so exciting but other can make you a bit nervous. We’ve all seen Inside Out by now right? This DIY back to school piñata reminds me of that movie!
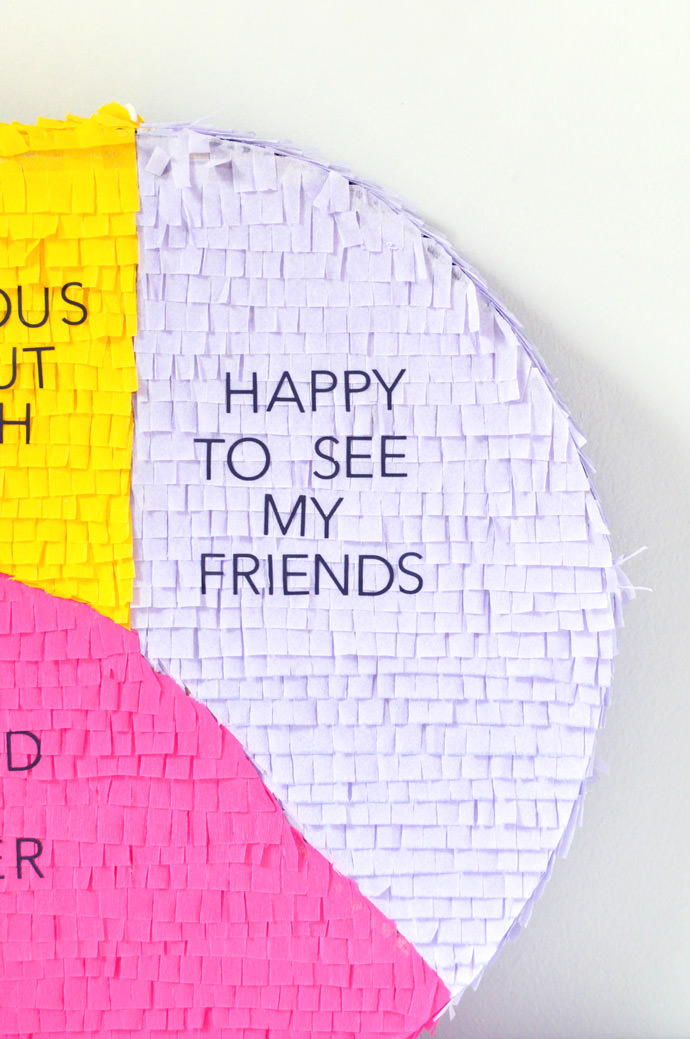
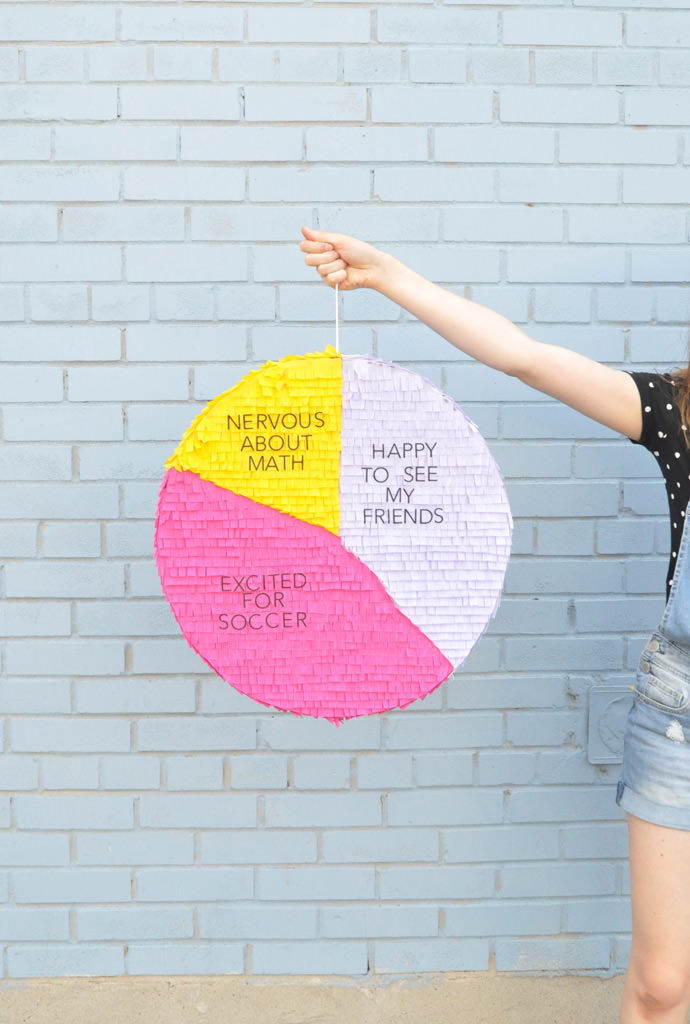
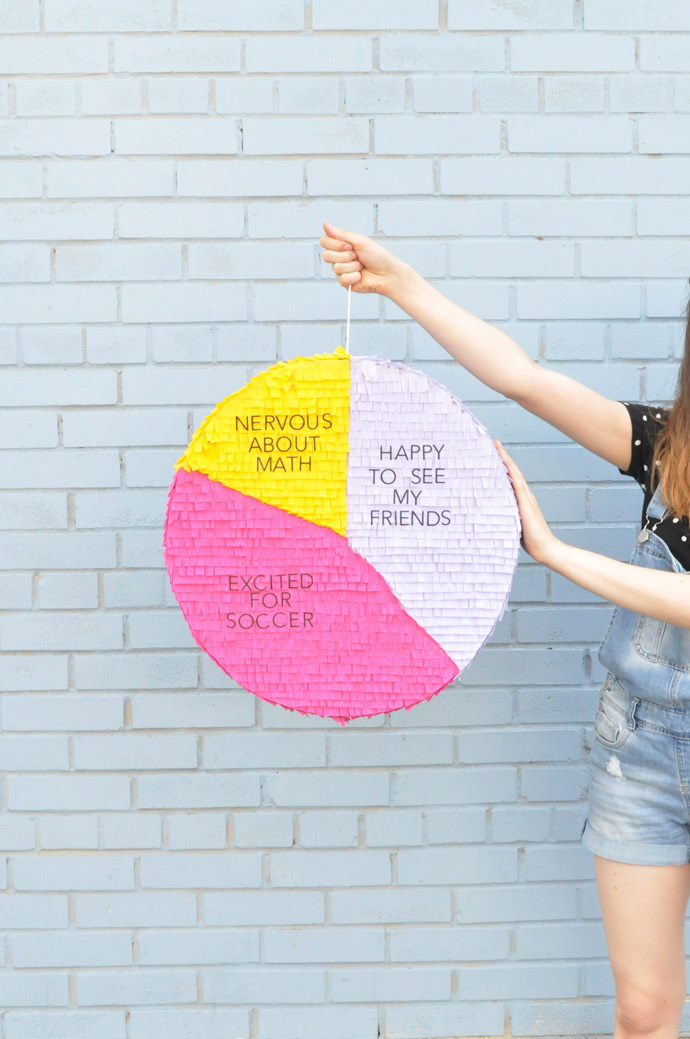
Make your own pie chart piñata to express the various feelings about back to school. Maybe you’re a bit nervous about math class (I know I was!) but at the same time you’re also really excited to try out for a sports team or the school play. You can feel both at the same time! And don’t forget to fill the piñata with back-to-school supplies for some extra fun!
What You Need
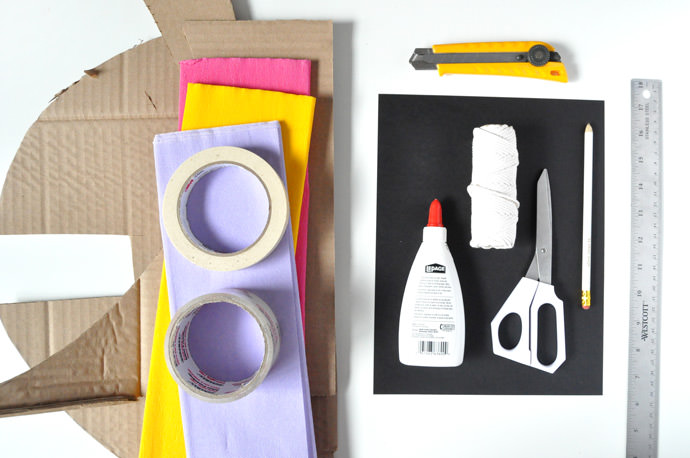
- Cardboard
- Crepe paper
- Masking tape
- Packing tape
- Black cardstock (or alphabet stickers)
- White glue
- Pencil
- Scissors
- String
- Craft knife
- Ruler
- Paper cutting machine (optional)
How-To
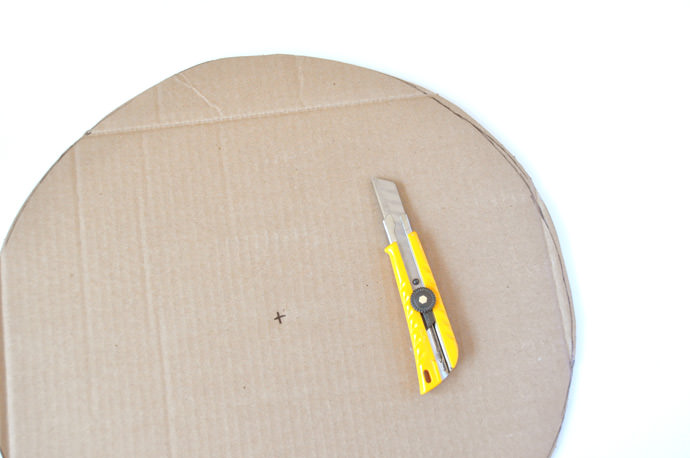
Step 1
Draw a giant circle (about 18” diameter) onto your cardboard and mark the center. Cut out using the craft knife and then trace and cut another circle to match this one.
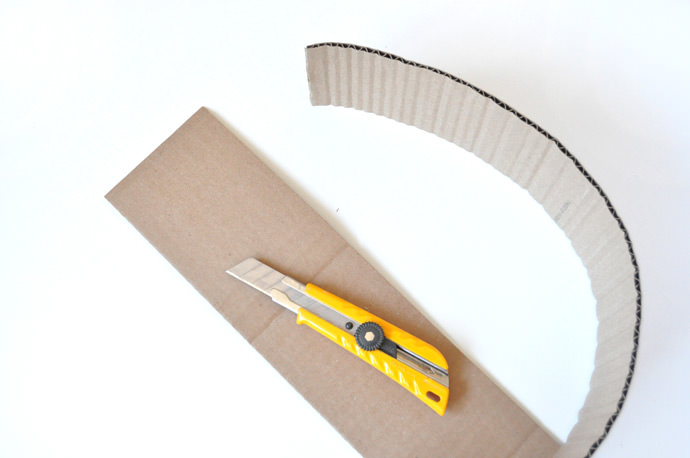
Step 2
Cut strips about 4 ½” wide from the cardboard and curl them so that they will sit nicely along the edge of the circle.
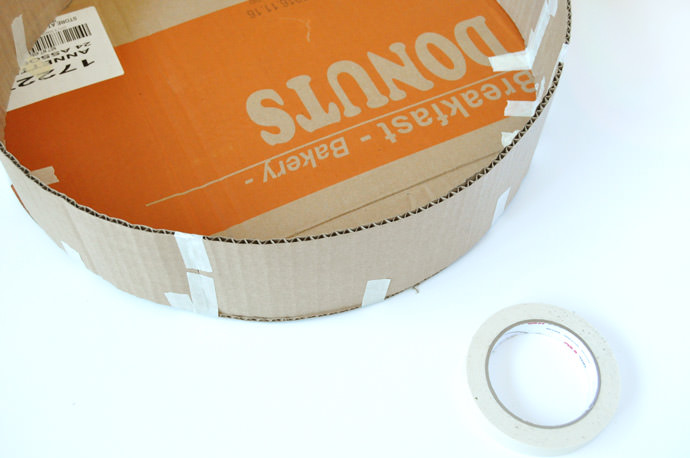
Step 3
Use masking tape to attach the strips onto the edge of the circle. Once the entire edge is attached, fill with candies, confetti, and back-to-school supplies.
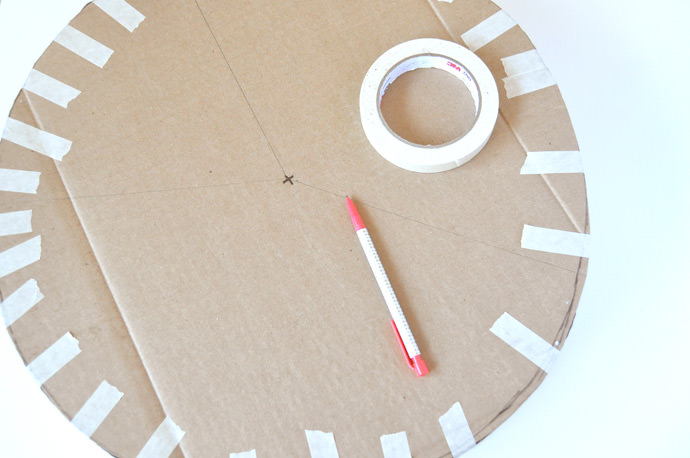
Step 4
Tape the second circle on top with more masking tape. Use a pencil and ruler to divide the circle into segments for the pie chart. If you want a string on your piñata, use packing tape to attach a piece of string onto the top edge – use lots of tape to make sure it’s secure.
Step 5
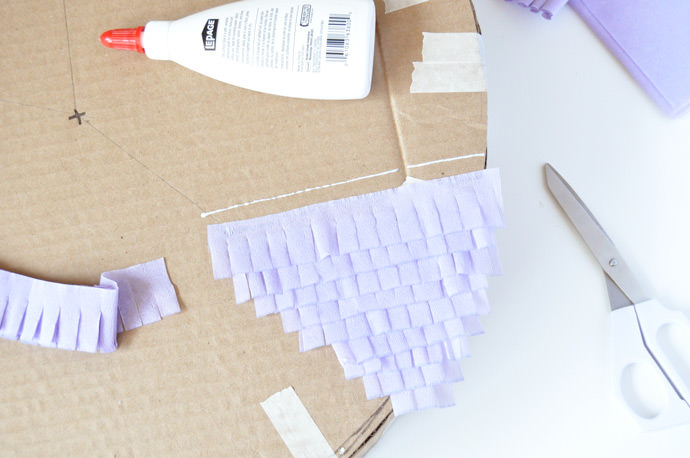
Cut a 1” chunk off the end of the crepe paper roll and fringe the edge. Use white glue to apply onto the piñata, following the lines of the segments you just drew.
Step 6
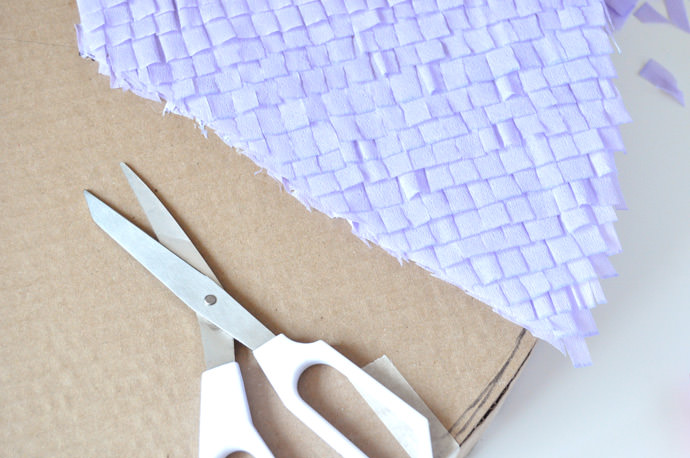
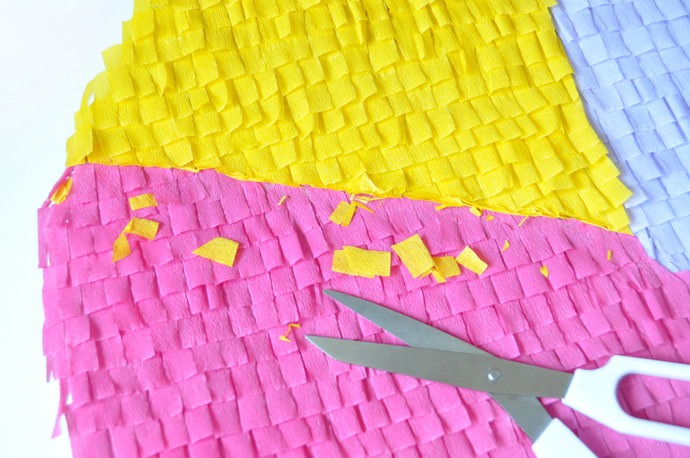
Once you finish a segment use scissors to trim the overhanging fringe so that you have a straight edge.
Step 7
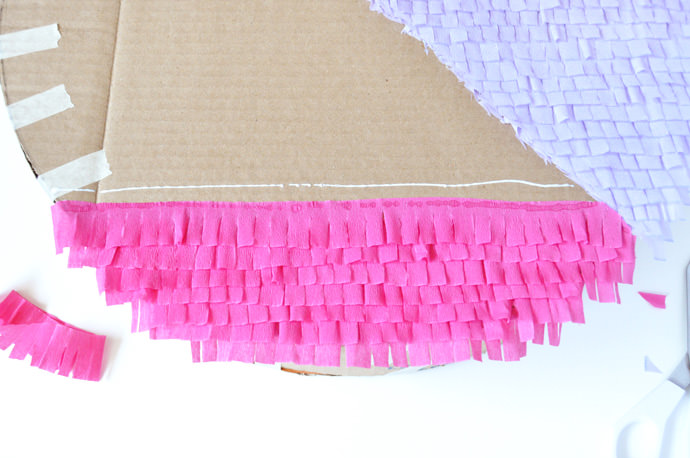
Glue another color of fringed crepe paper onto the next segment, following the edges and lines. When done, trim straight.
Step 8
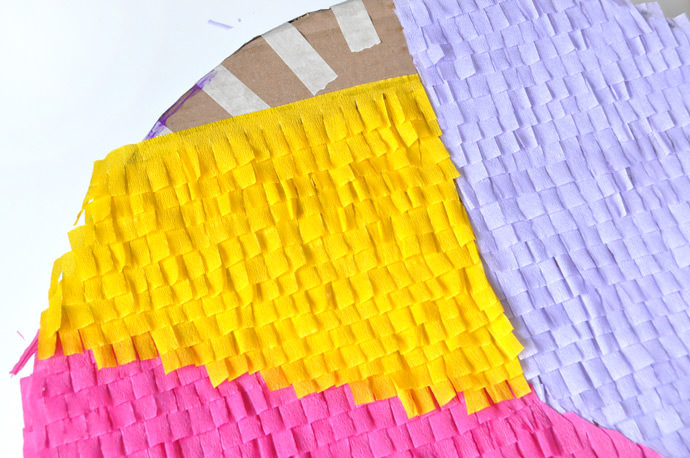
Finish up with the third color fringe.
Step 9
Trim the edge so that all the pie chart lines are now straight. Once the front is done, continue gluing the fringed crepe onto the sides following the lines from the front. For the back, you can repeat the front pattern or cheat a little and do it all the same color – no one will really see it.
Step 10
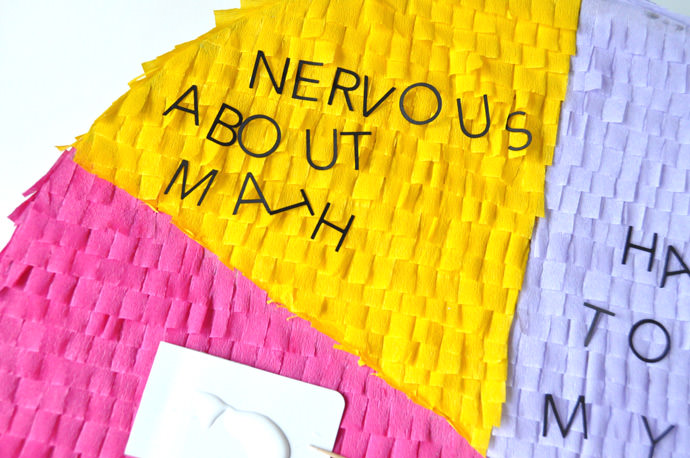
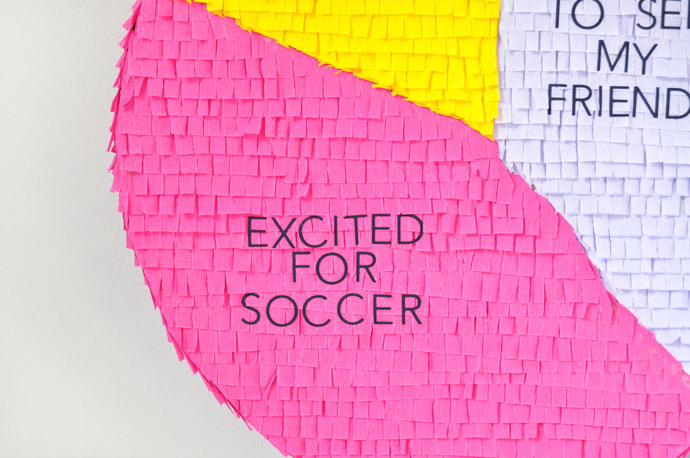
Cut the black cardstock into the letters needed to spell out your feelings labels – I used a paper-cutting machine to do this, but alphabet stickers would work too! Place them on their segments and use white glue to attach.

Happy crafting! :)