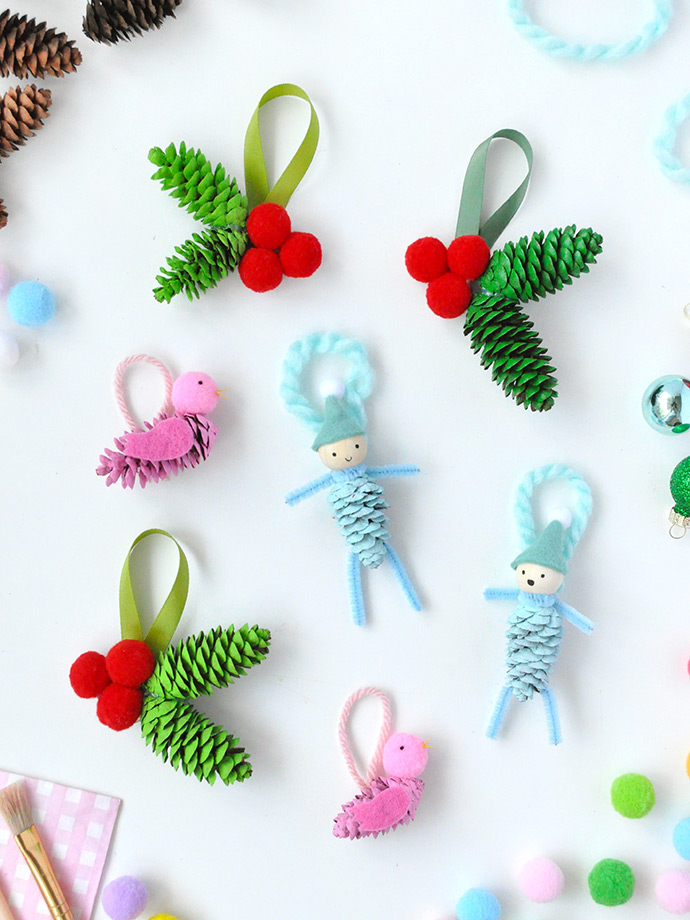
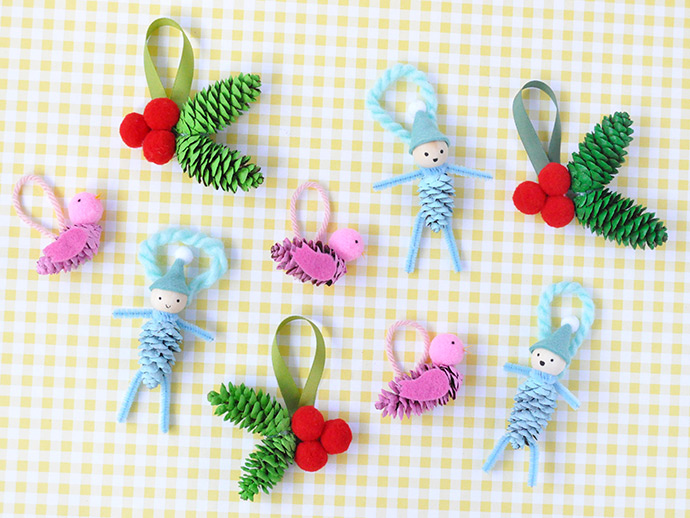
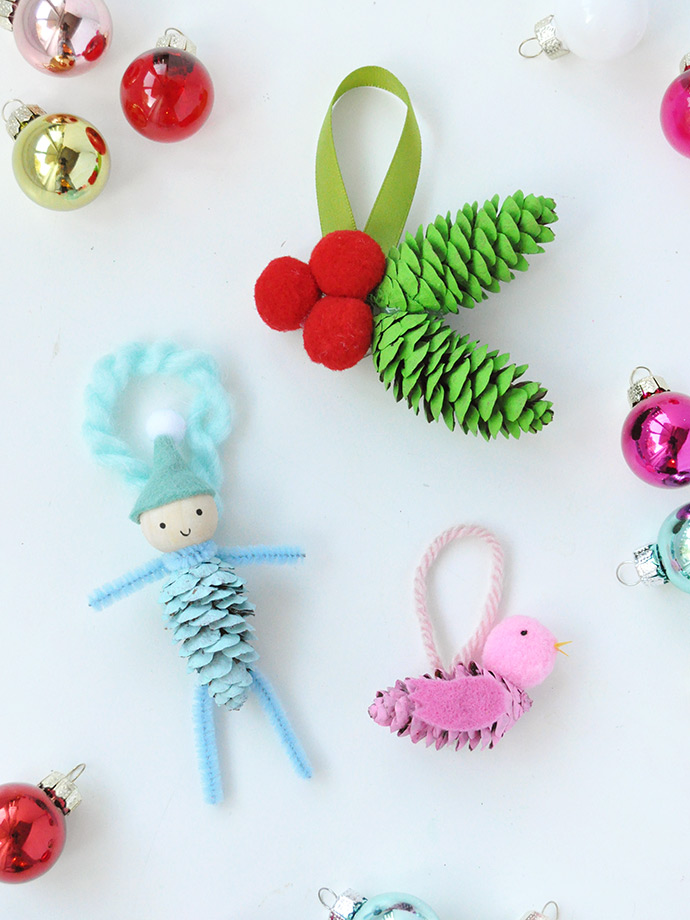
Before the snow starts falling in earnest, collect some pinecones on your next walk around the neighborhood or park – they’re just perfect for turning into these playful ornaments! We were inspired by vintage pinecone elves and ornaments from the 50s but put a simple spin on them – you probably already have all the supplies you need to get started!
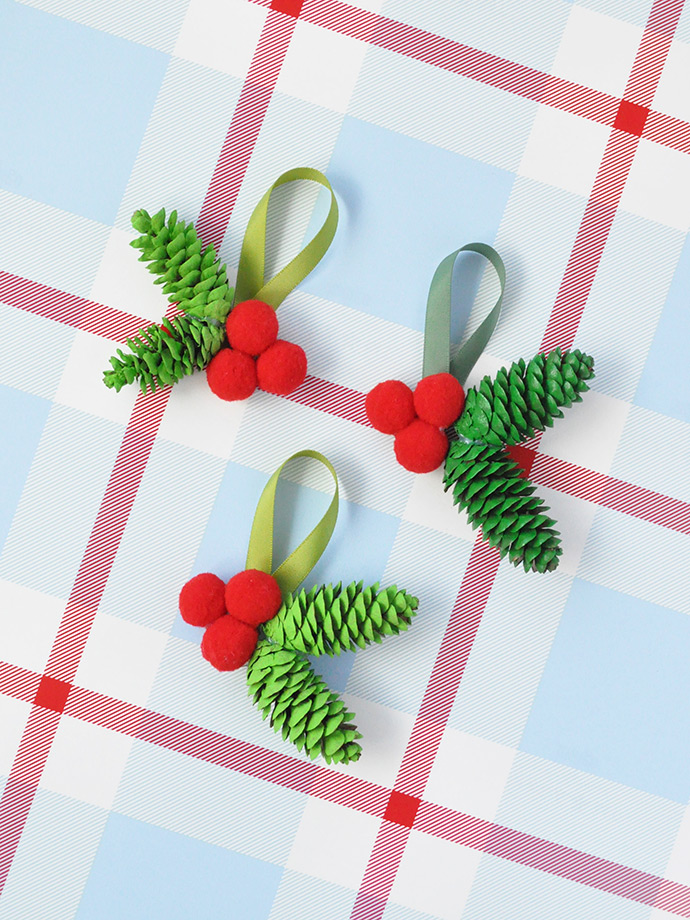
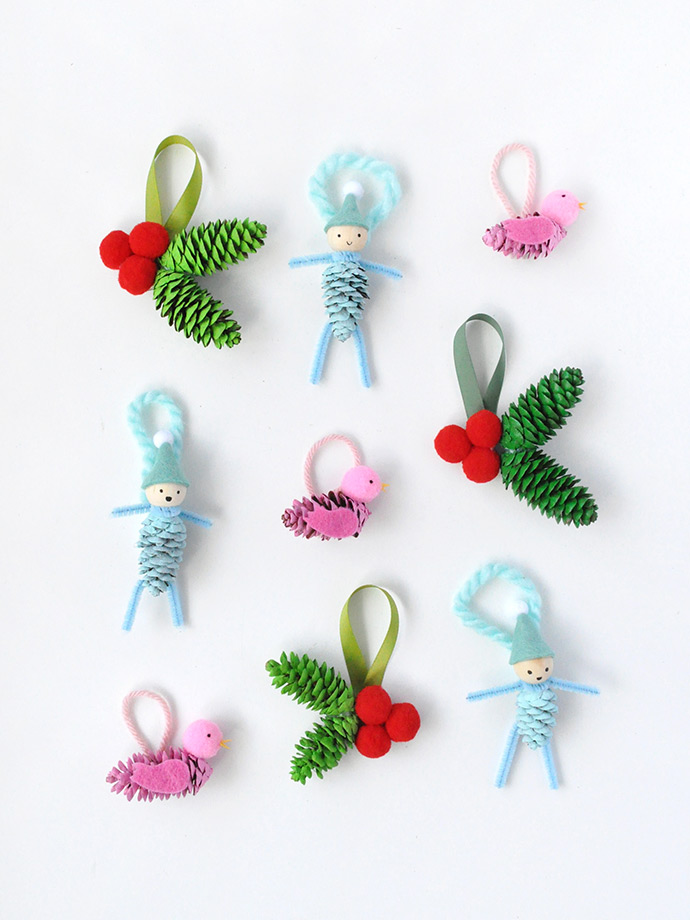
These ornaments make great DIY gifts, or keep them for yourself and deck out your Christmas tree with a whole crew of pinecone friends! You could also use them as gift toppers for all your holiday presents this winter!
what you need:
- Mini pinecones
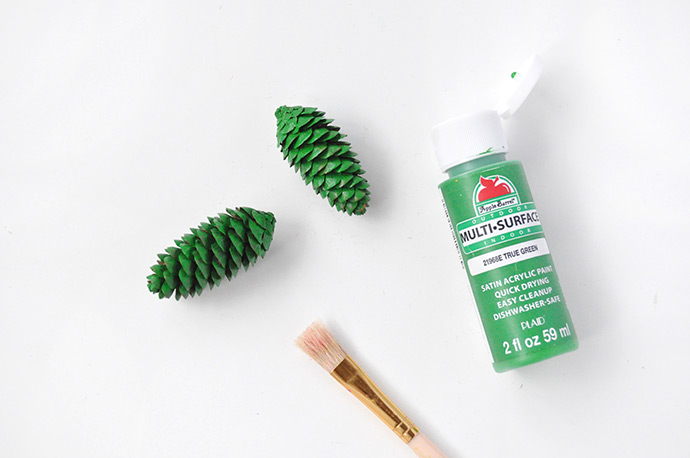
- Apple Barrel Acrylic Craft Paint
- Paintbrushes
- Pom poms (pink, blue, red, and white)
- Pipe cleaners (blue)
- Hot glue gun
- Paper (yellow)
- Felt (pink and blue)
- Ribbon or yarn
- Wooden bead
how-to:
For the holly ornaments:
Step 1
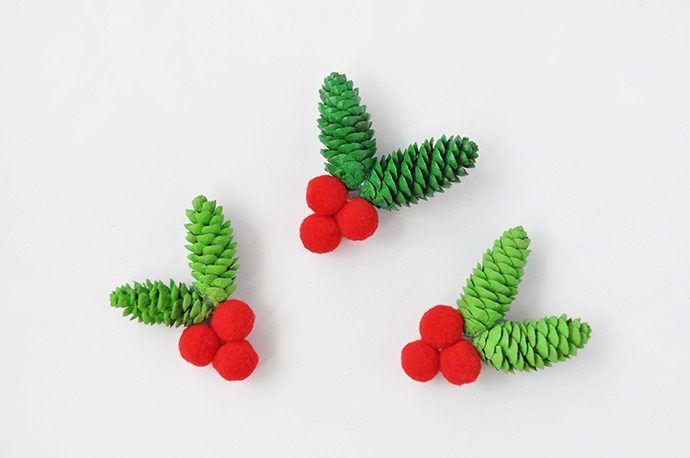
Paint the pinecones green and let dry.
Step 2
Hot glue three red pom poms together and then glue two green pinecones to the side.
Step 3
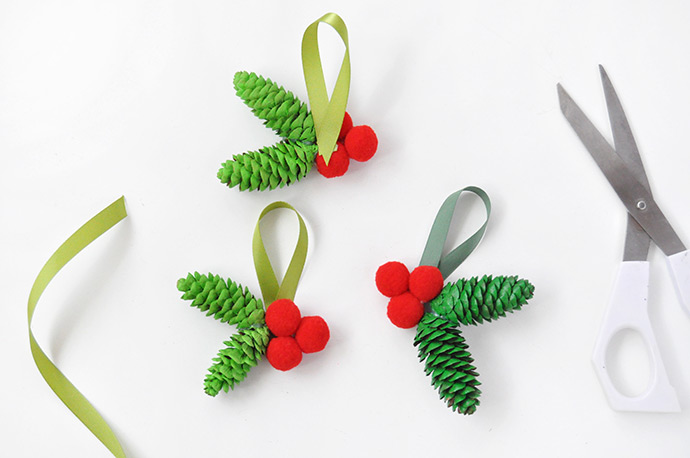
Form a loop with ribbon and hot glue to the back.
For the pink birds:
Step 1
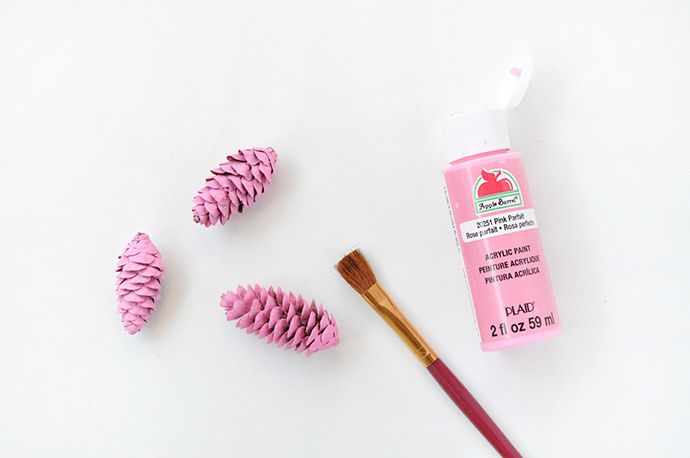
Paint the pinecones pink and let dry.
Step 2
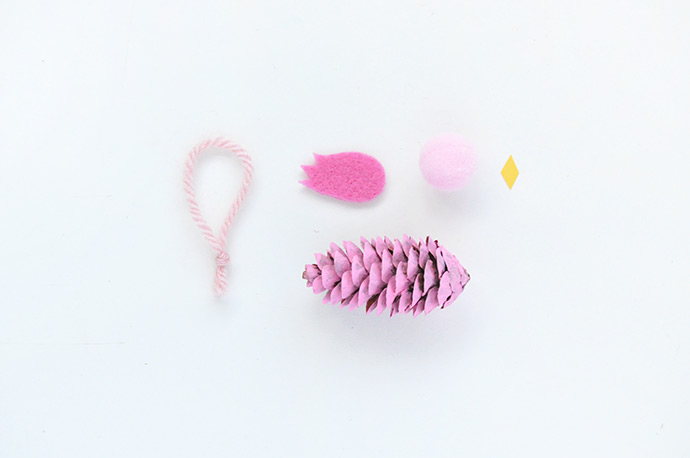
Cut and tie a loop of pink yarn and set aside. Cut a small felt wing and a mini diamond out of yellow paper.
Step 3
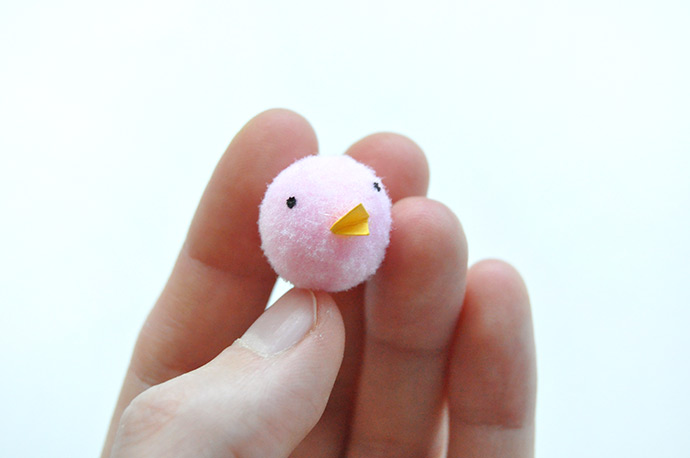
Fold the yellow diamond in half and hot glue onto the pink pom pom to form a beak. Use a tiny paintbrush to paint on eyes.
Step 4
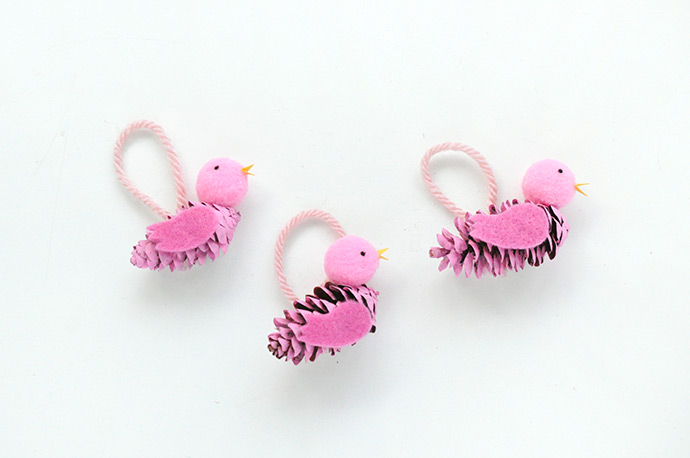
Hot glue the wings, heads, and yarn loops onto the pink pinecones.
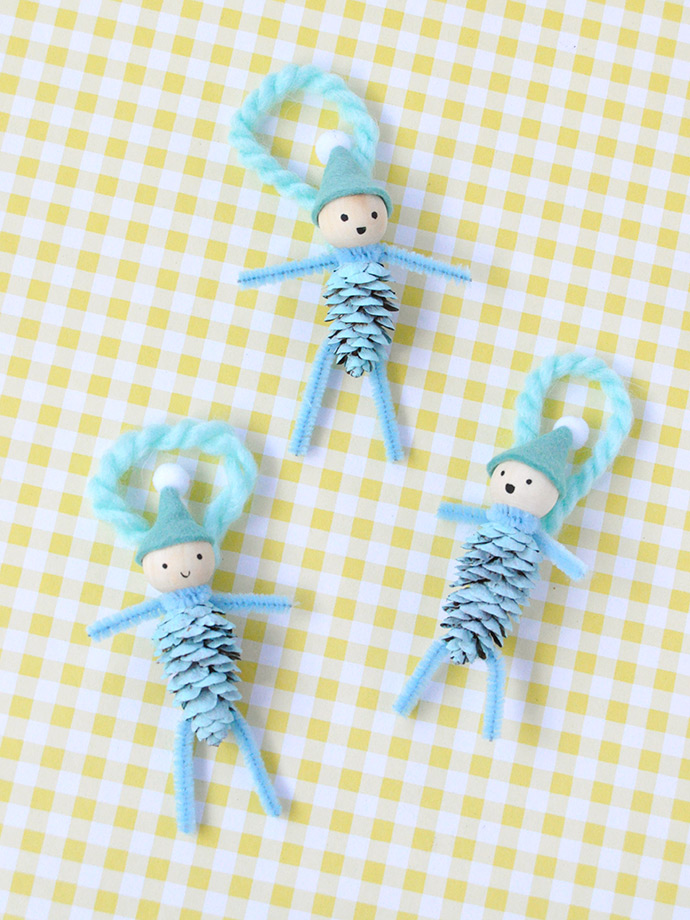
For the elf:
Step 1
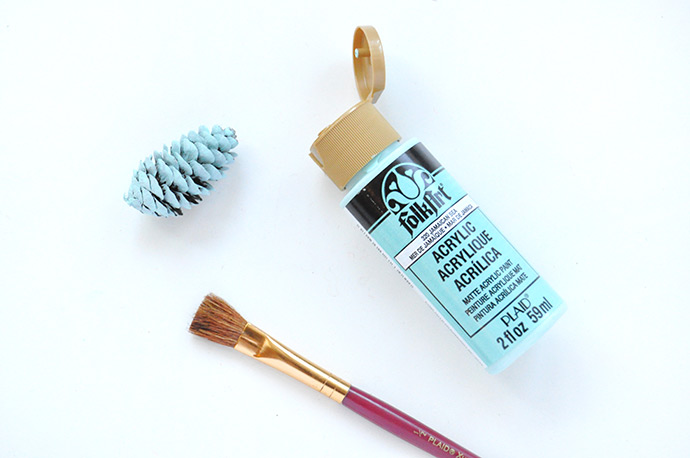
Paint pinecones pale blue and let dry.
Step 2
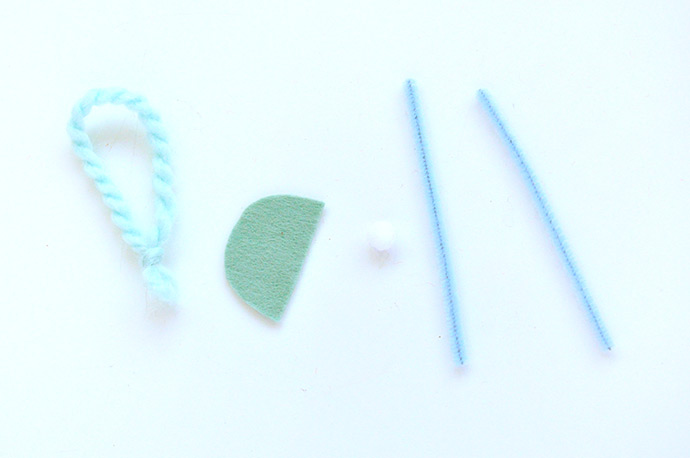
Cut and tie a loop of blue yarn and set aside. Cut a half circle out of blue felt for the elf’s hat. Grab two pale blue pipe cleaners.
Step 3
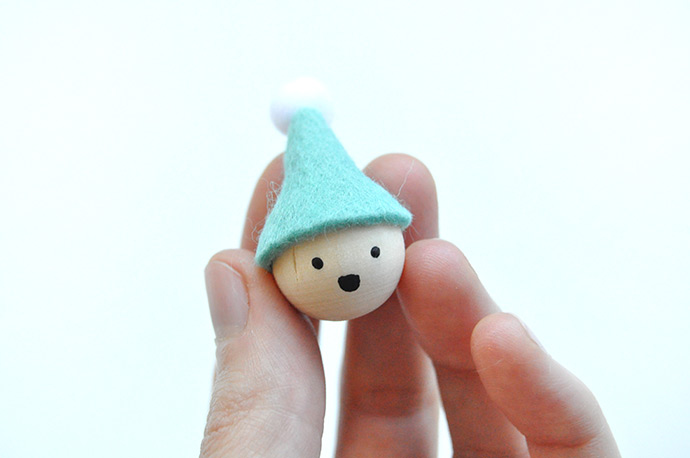
Hot glue the felt into a hat and glue the white pom pom onto the end. Glue the hat onto the wooden bead and paint the tiny face details on with a small brush.
Step 4
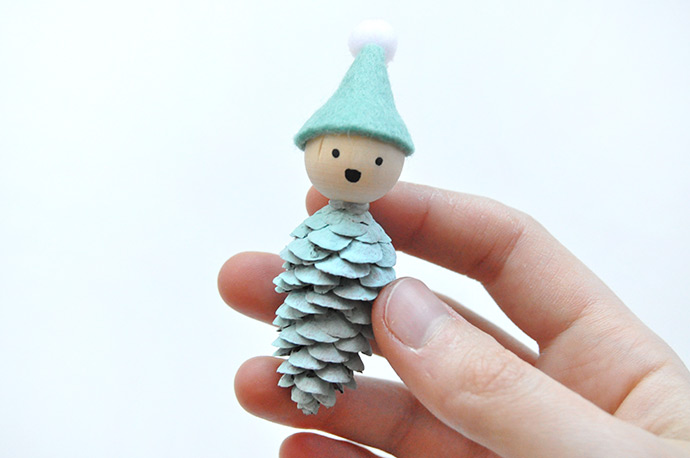
Hot glue the head onto the pinecone body.
Step 5
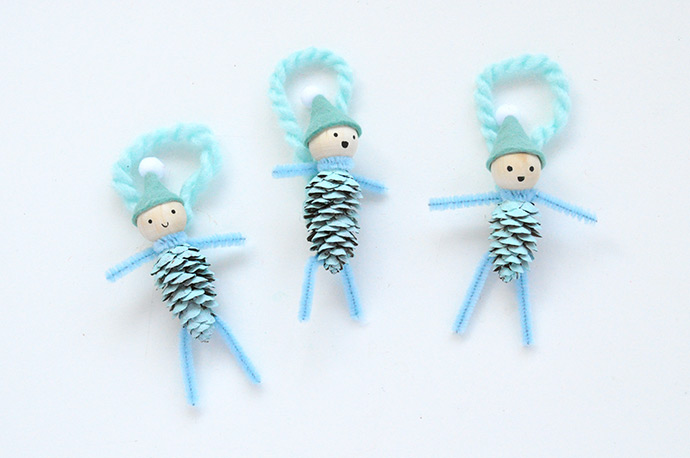
Twist one pipe cleaner around the neck to be the arms. Bend another into a U shape and hot glue to the back of the pinecone to be the legs. Hot glue the yarn loop to the back of the pinecone.
Happy crafting!