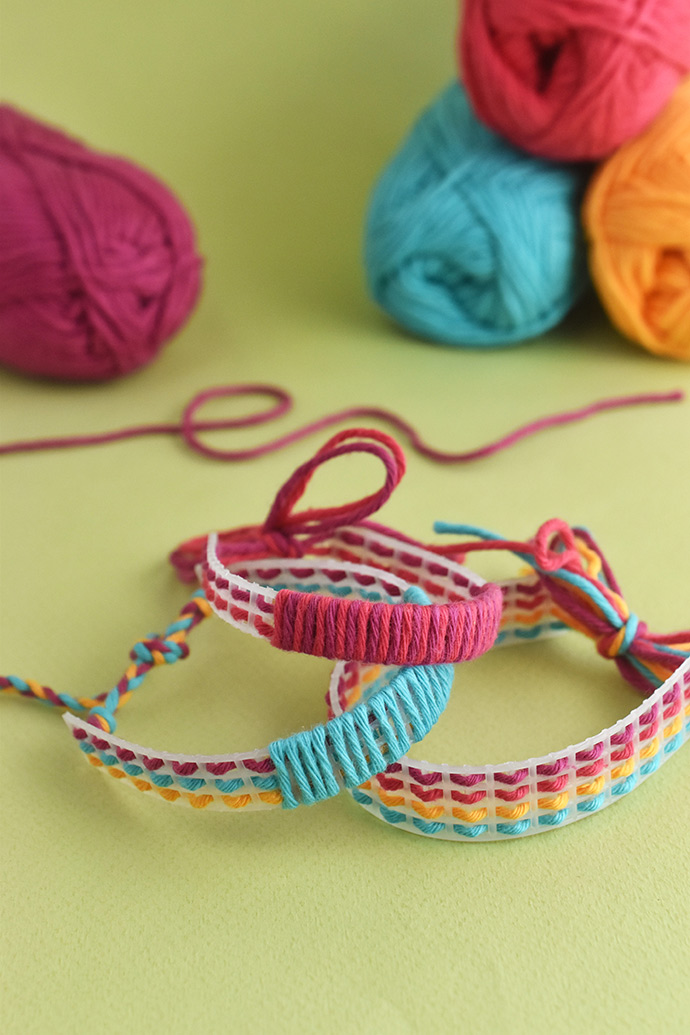
Show your friends you care when you make them some yarn and plastic canvas friendship bracelets! Everyone loves crafting bracelets, and these are quick, easy, and fun!
Young children can practice stitching (just like a lacing card) and older kids and teens will love trying different styles and designs for weaving and wrapping the plastic canvas.
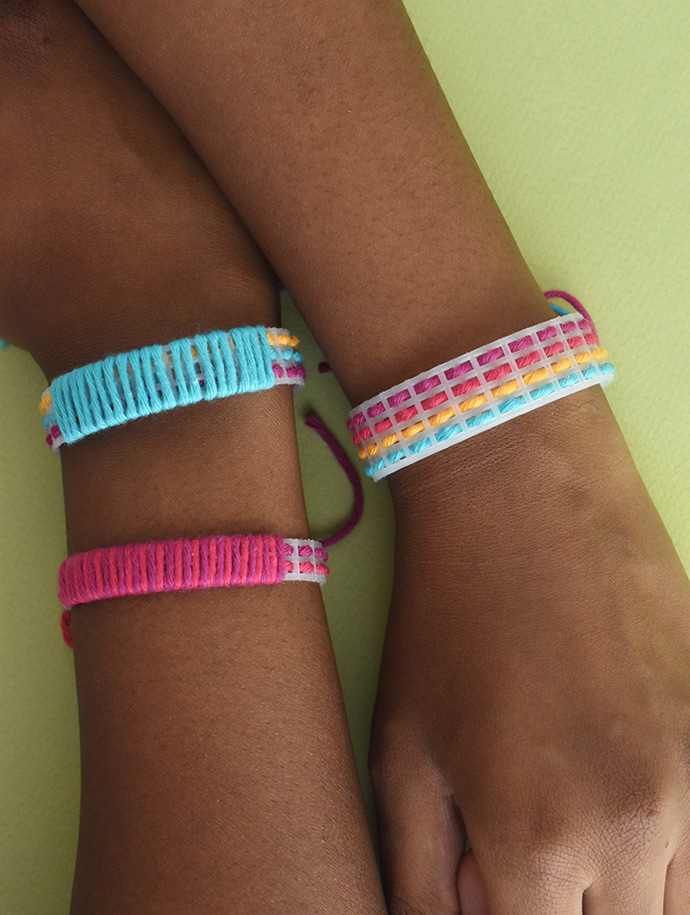
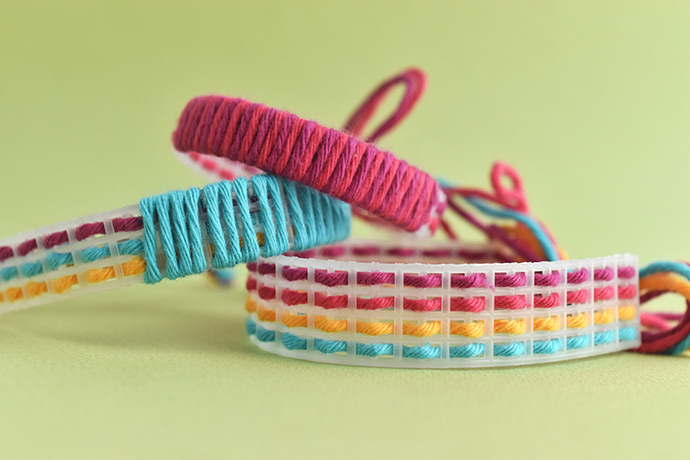
You can use any kind of yarn you have around for this. We used cotton yarn that’s soft and not itchy. Because who wants to wear something scratchy?
Whether friends are near or far, they’ll love making, wearing, and sharing this symbol of friendship. Why not plan a crafternoon to make these together (even on a video chat!)? To make it easier if you can’t make them in person, prepare the supplies and mail them to your friend. Be sure to include a plastic needle!
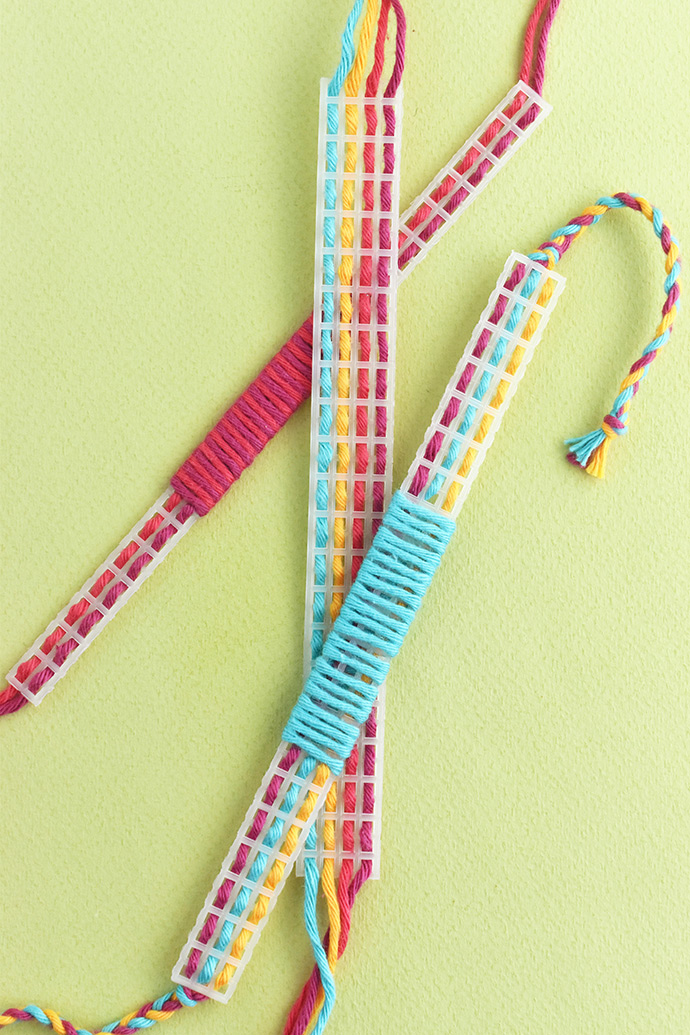
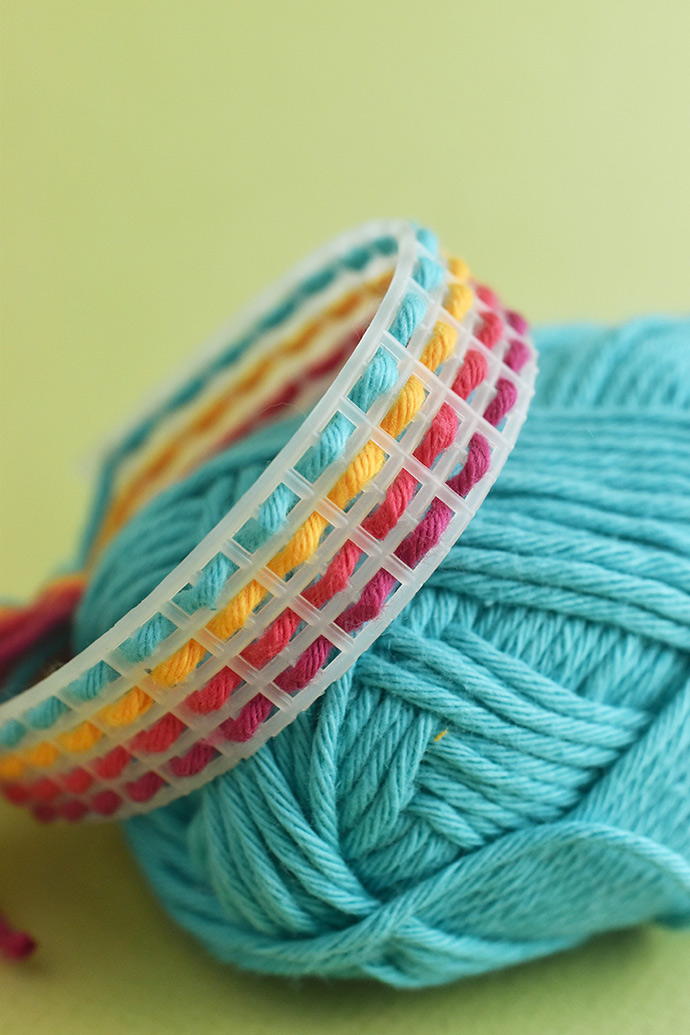
Now, let’s get wrapped up in this project!
what you need:
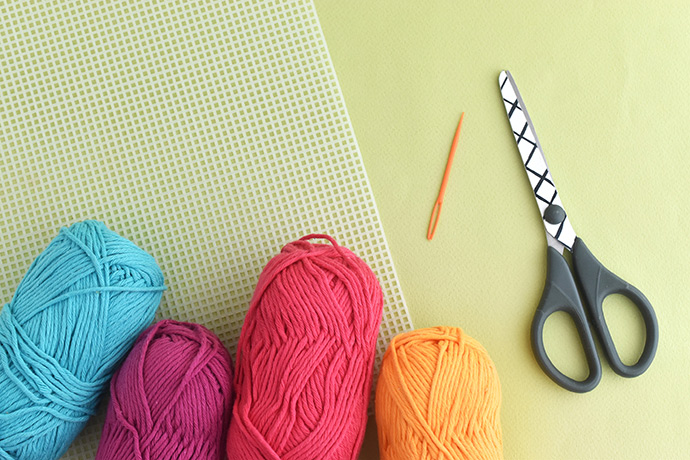
- Plastic Canvas
- Yarn
- Scissors
- Yarn Needle
how-to:
Step 1
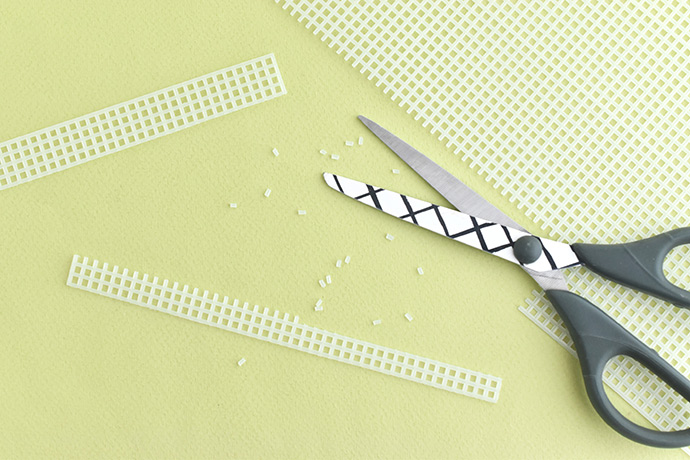
Cut a strip of plastic canvas. You can make it as wide as you want, but usually 2 to 4 squares wide is good. Measure around your wrist and cut the length so you have an even number of squares. We made ours 42 squares long.
As you cut more than one strip, you’ll need to trim off the extra little pieces so the edges are smooth.
Step 2
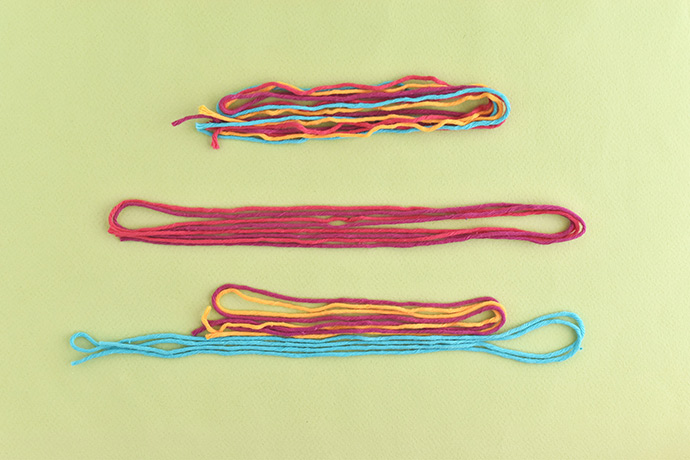
Measure and cut yarn for the bracelet.
If you plan on only weaving the yarn from one end to the other, cut the yarn so it’s about 4 times as long as the plastic canvas.
For bracelets with a section of wrapping, make those yarn pieces 6 or even 8 times as long as the plastic canvas.
Step 3
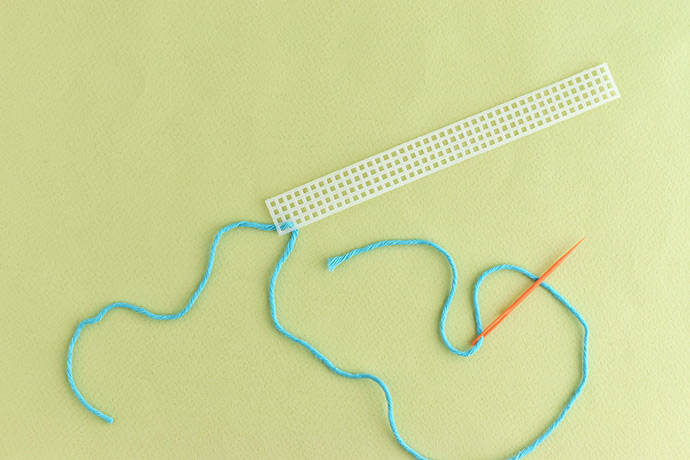
Thread the first piece of yarn through your needle and then start stitching on the canvas. Leave a starting tail that’s about the same length as the bracelet piece.
Bring the needle up through the first hole and then go back down through the next hole. Keep stitching across this way, then repeat with more pieces of yarn.
Step 4
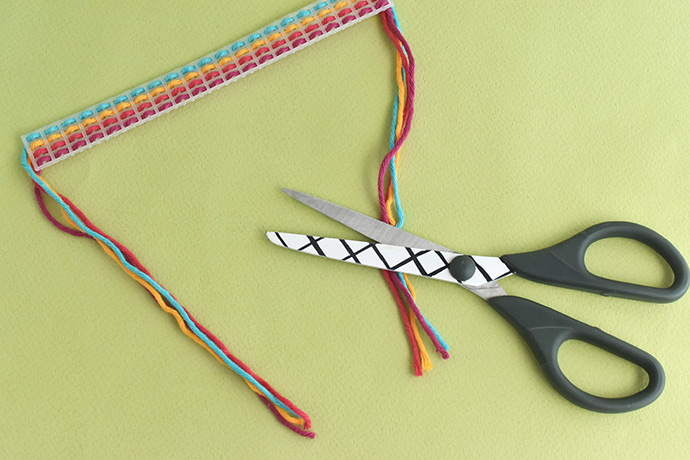
Trim all of the yarn ends to the same length, but leave them long enough to tie the bracelet.
Step 5
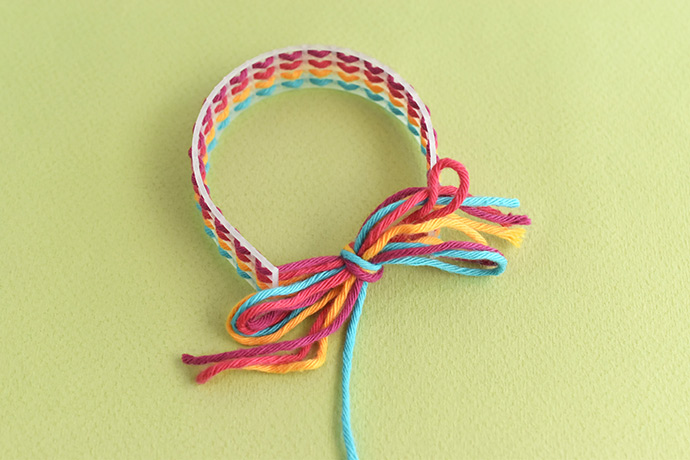
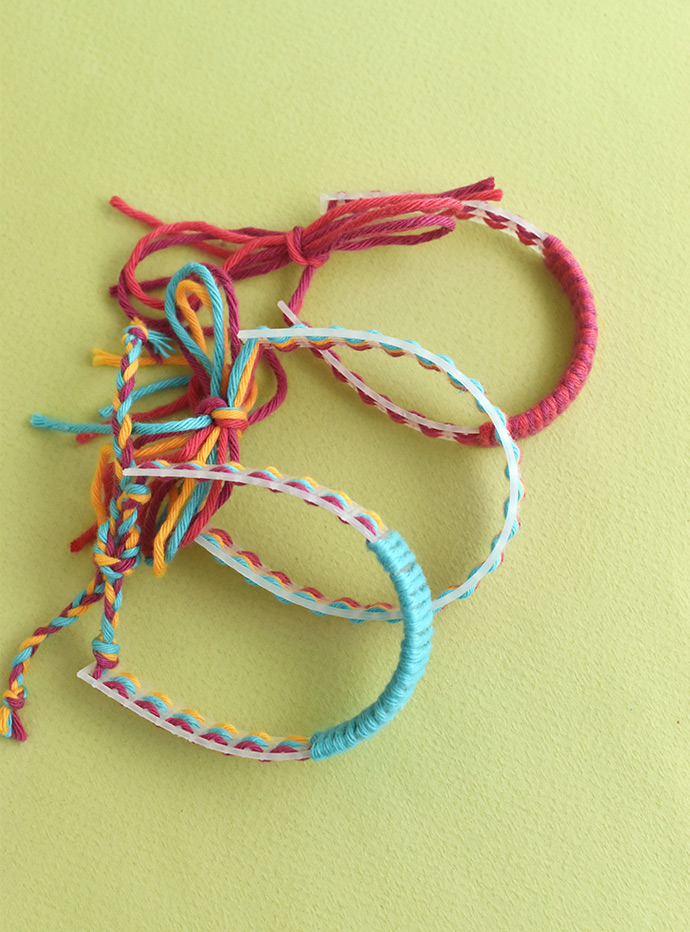
Tie the bracelet on with a bow or a knot. These four strands of yarn make a big fluffy bow that’s lots of fun!
Step 6
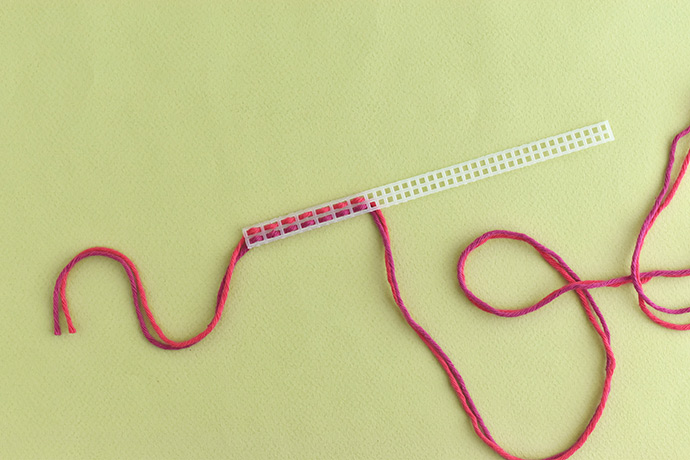
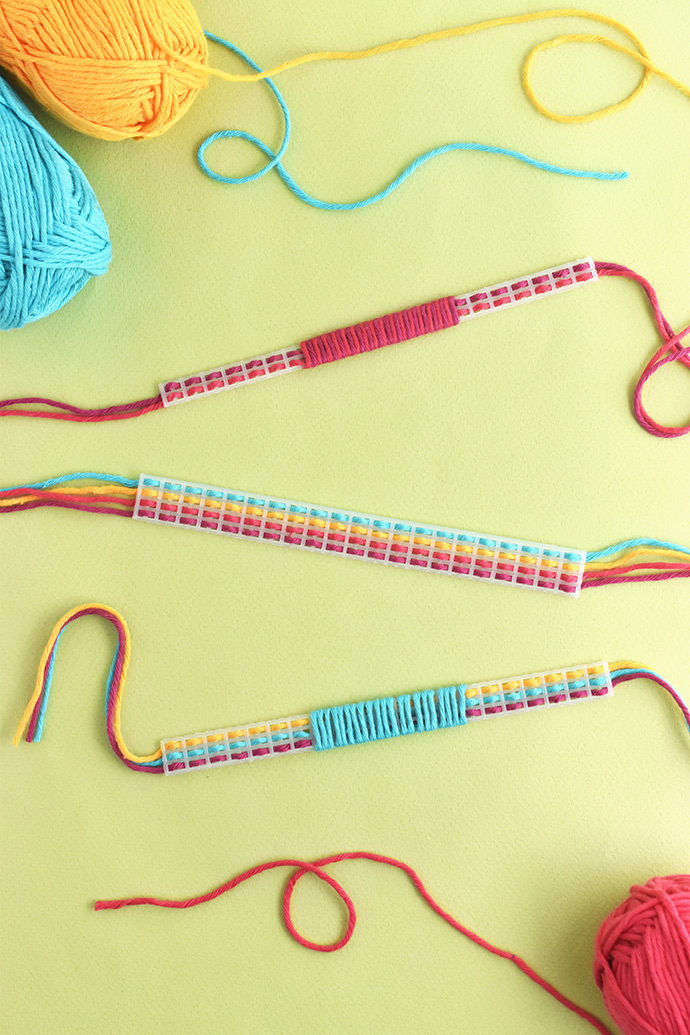
Want to make a bracelet with a wrapped section that uses all the strands of yarn? Weave all the yarn pieces until you get to the section you want to wrap.
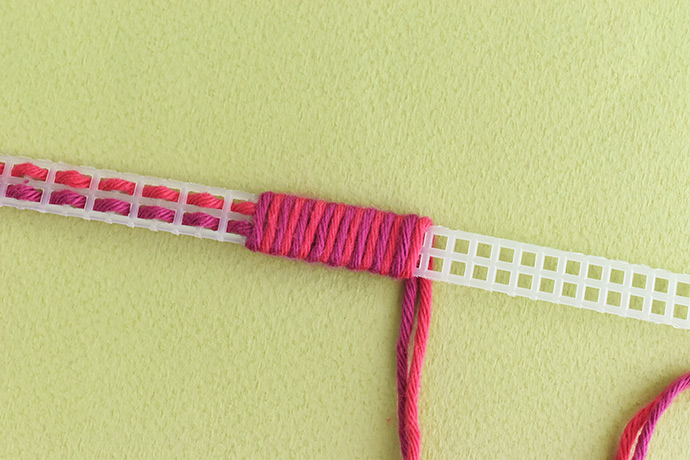
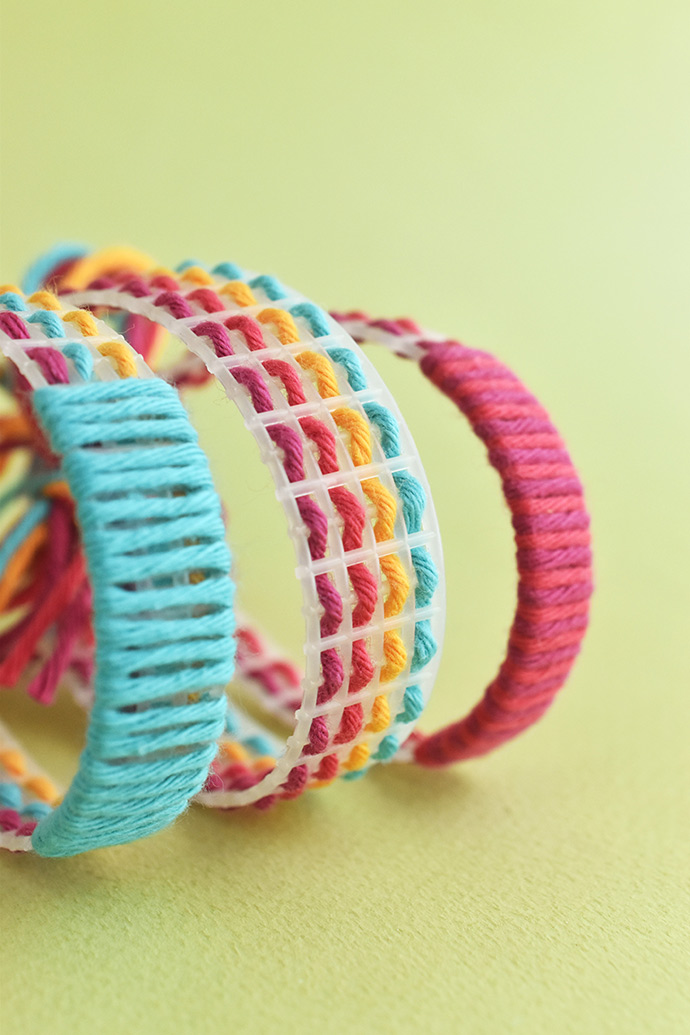
Hold the yarn together and wrap it around the plastic canvas. Make sure it lays flat so you see all the colors of yarn and they make a striped pattern.
Finish the bracelet by weaving the yarn again to the end.
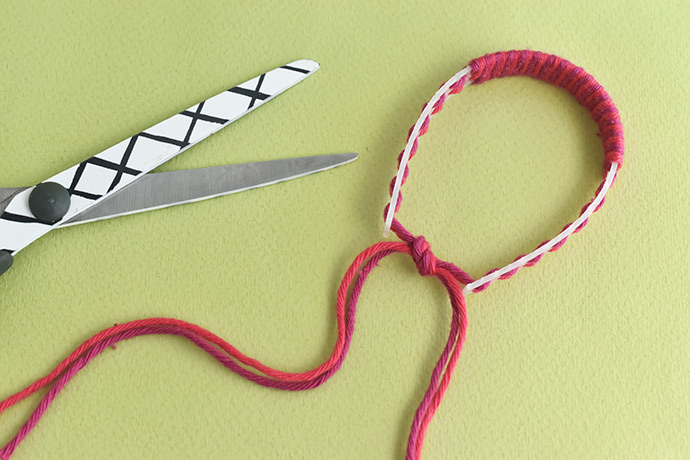
Another way to end off your bracelet is to tie a knot and then trim the ends. If you do this, you may want to make the bracelet loose enough to slide on and off.
Step 7
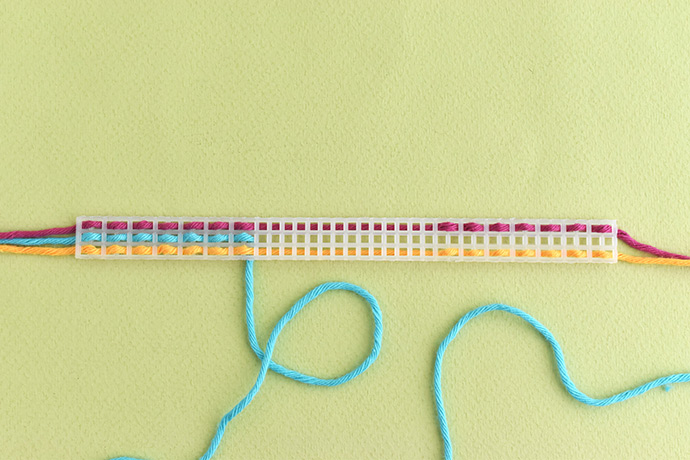
You can also make a version that has only one color of wrapping. For this one, weave the other colors, stretching them across the back of the section you’re going to wrap.
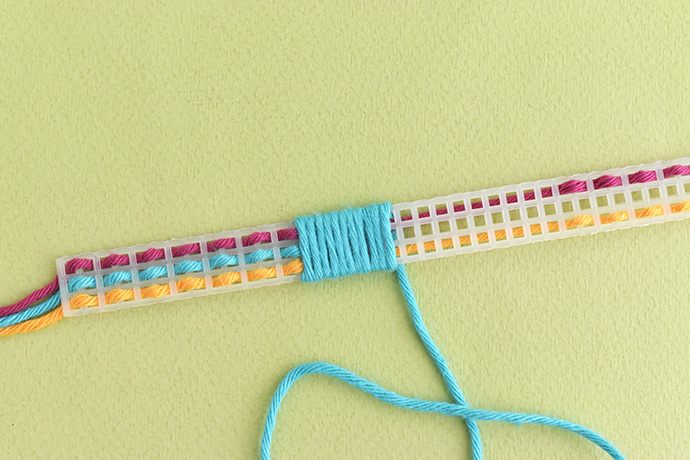
Wrap the remaining color around the middle section, covering the extra yarn on the back. You can wrap as loose or as tight as you want. (Just remember that close and tight wrapping uses more yarn.)
Finish by weaving the end of the wrapping yarn.
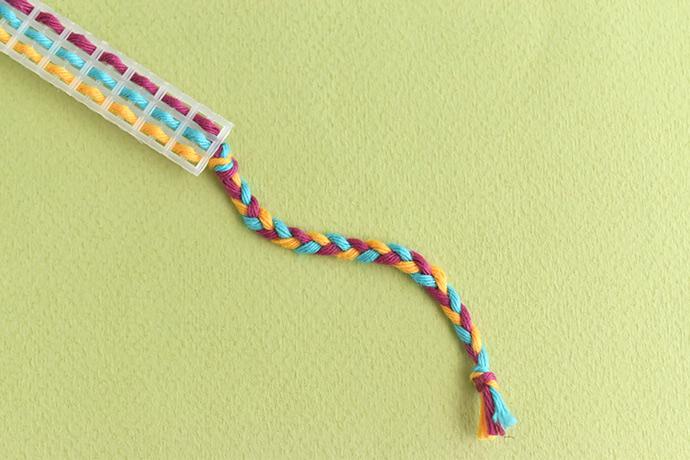
If your plastic canvas bracelet is 3 squares wide you can braid the ends of the yarn. Use the braids to tie the bracelet on your friend’s wrist!
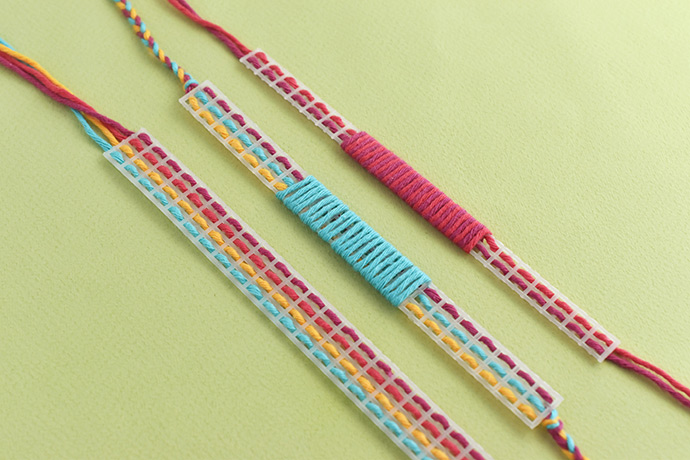
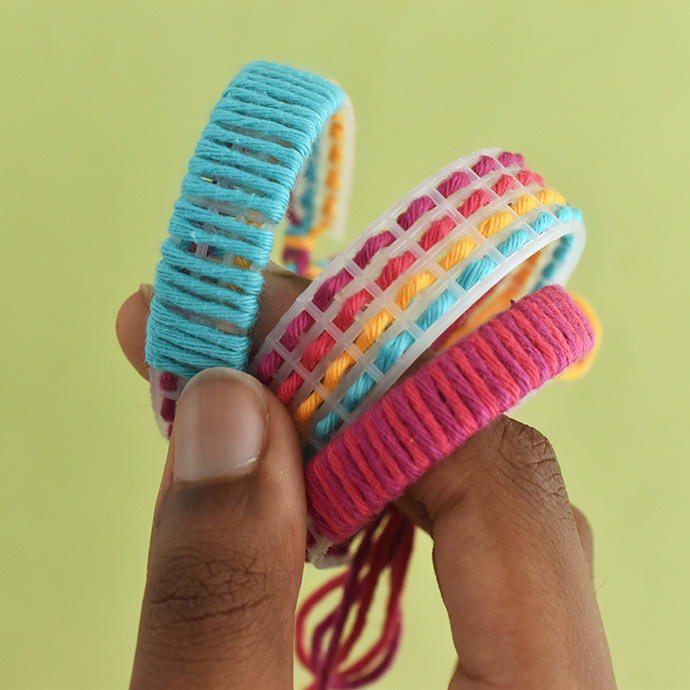
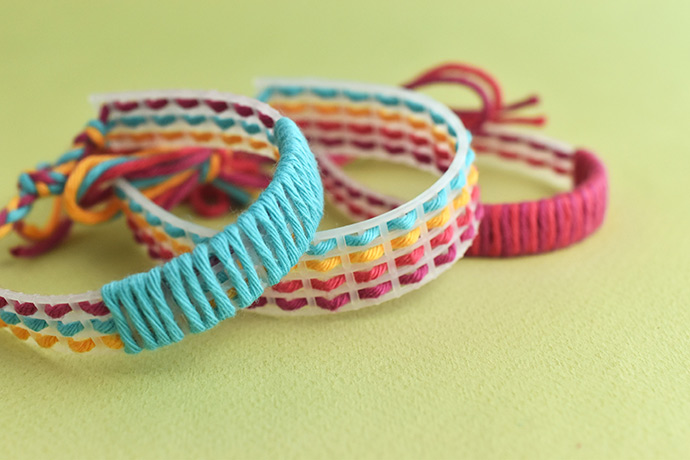
These bracelets really are so much fun to work on, no matter how old you are. And as you work on them, you might just come up with more ways to weave and wrap the yarn into new designs.
Wear one bracelet or a whole stack! Want to wear them in another way? Tie them on your ankle for an anklet!
Who will you share your plastic canvas friendship bracelets with?
Happy crafting!