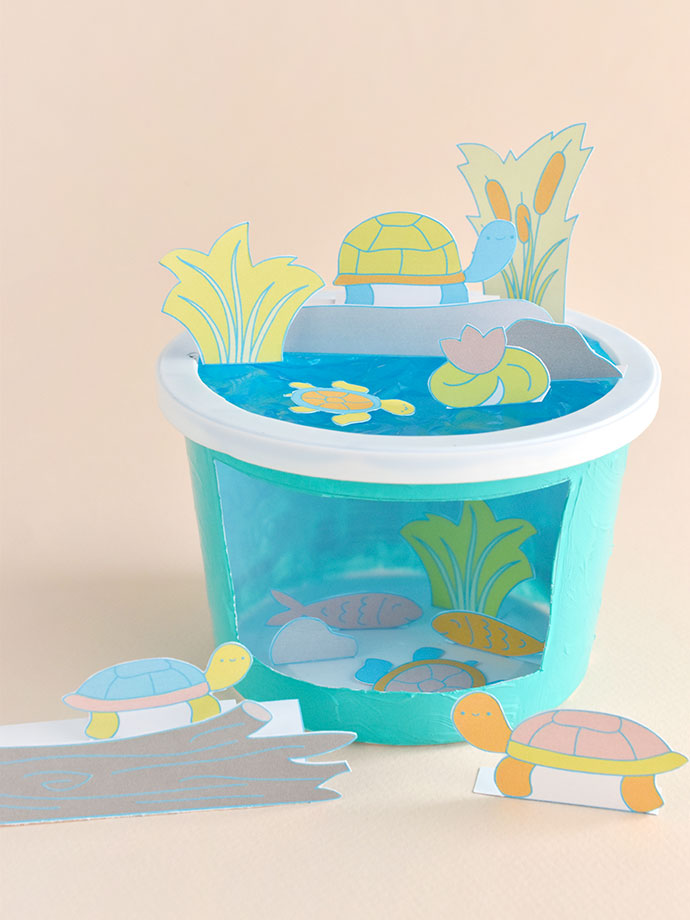
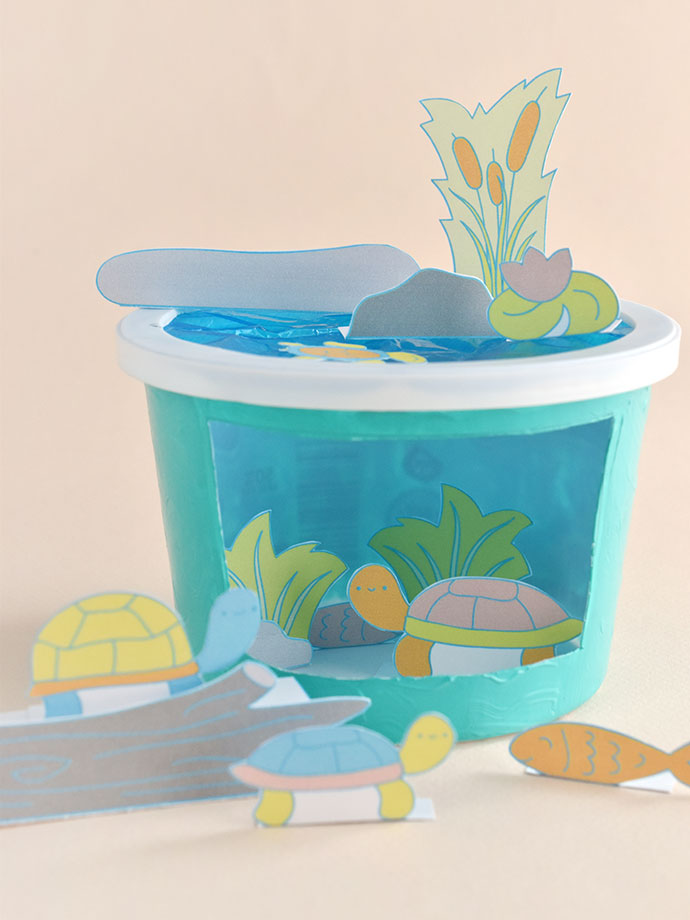
Turtle ponds can be in zoos, parks, and even backyards, and with this printable set they can also be in your kitchen or family room! All you need to do is print out some turtle friends a few plants and rocks. There’s even a version that you can color yourself. It’s a great way to spend an afternoon crafting!
To complete the diorama, transform a container from the recycling bin into a little pond for them to play in!
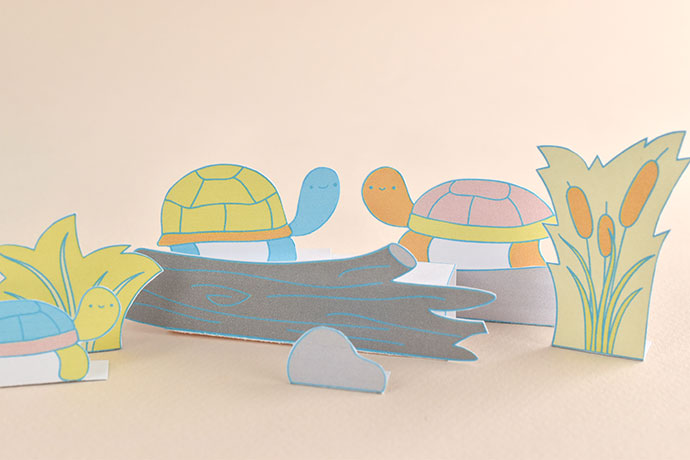
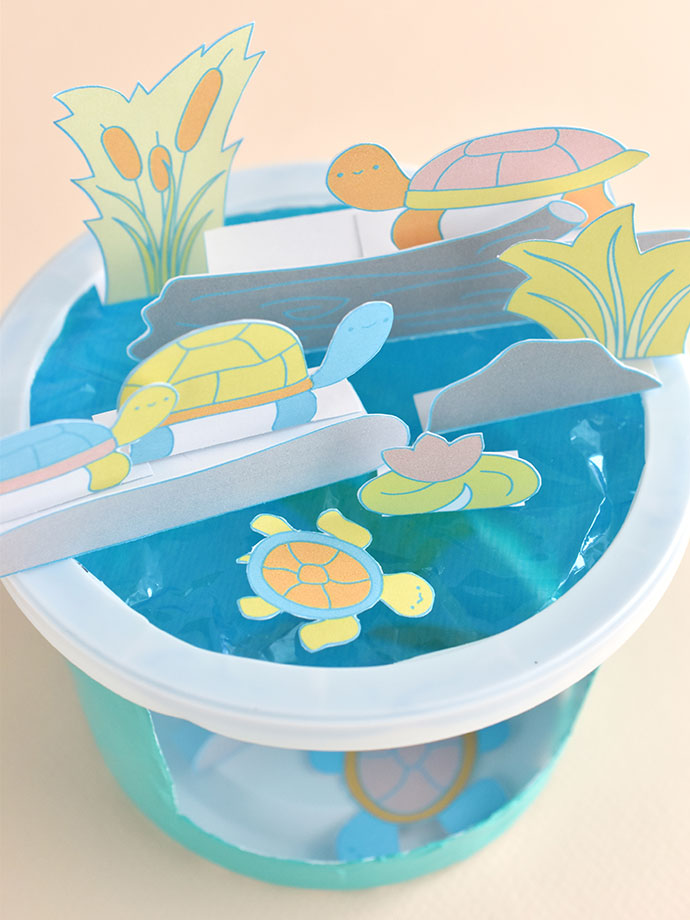
The biggest difference between turtle and tortoises is that turtles swim. Even the backyard variety! But turtles don’t just need water. They also need rocks and logs to climb on so they can get out of the water and sun themselves. Oh! And some plants they can eat or hide in!
You can print out the turtles and their supplies, but you can also create some of your own as you learn more about what turtles like and need.
These cheerful critters and their habitat are the third in a series of printable animal playsets. You can find the alpaca farm set here!
Ready to go to the turtle pond with us? Let’s start crafting!
what you need:
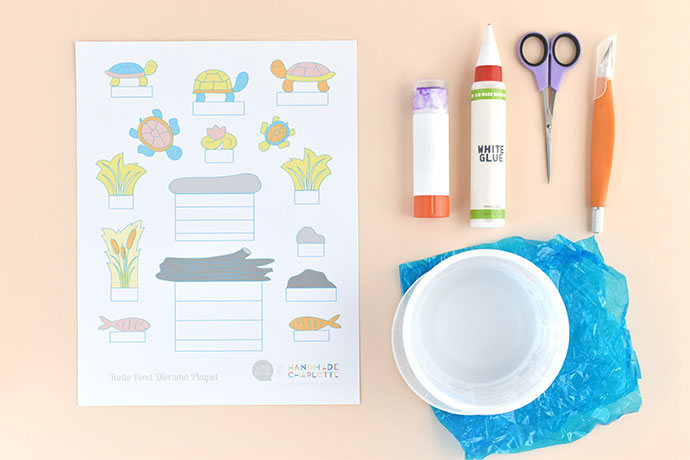
- Plastic Container with a Lid (we used a clean sour cream container!)
- Craft Knife
- Blue Cellophane
- Scissors
- Glue Stick and/or Craft Glue
- Blue Acrylic Paint and Paintbrush
- Card Stock
- Crayons, Colored Pencils, etc. (optional)
- Printable turtle playset
NOTE: If you don’t have blue cellophane, you can use blue paper, and it just won’t be see-through. You can also use a clear plastic bag, including the kind cereal comes in, and color it with a blue permanent marker!
how-to:
Step 1
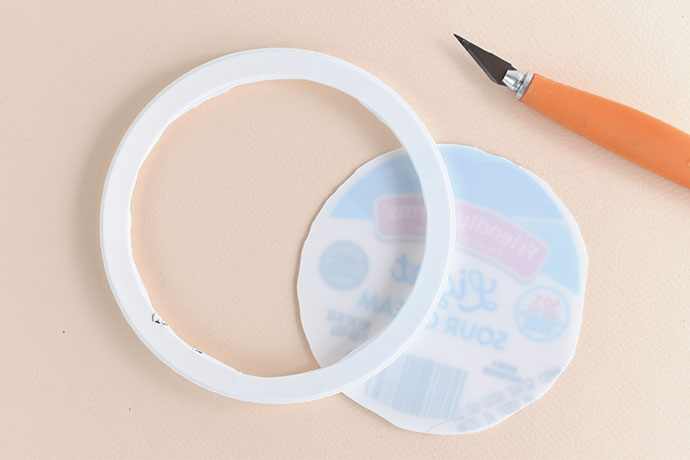
First, have an adult use a craft knife to cut a circle out of the lid of the container.
Step 2
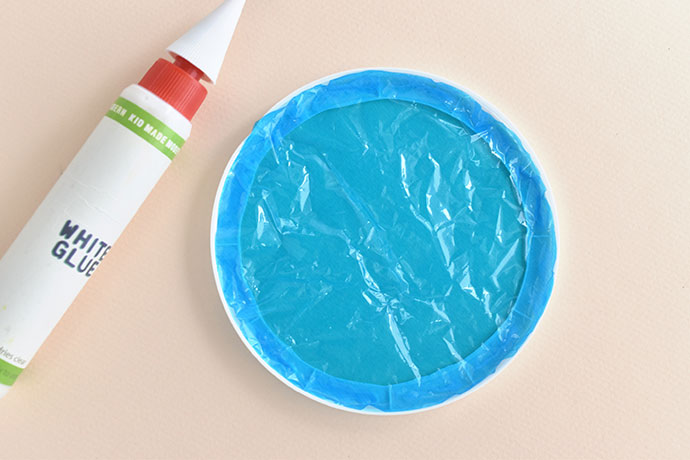
Cut a piece of blue cellophane in a circle that’s the same size as the lid. Use glue to attach the cellophane inside the bottom of the lid.
Step 3
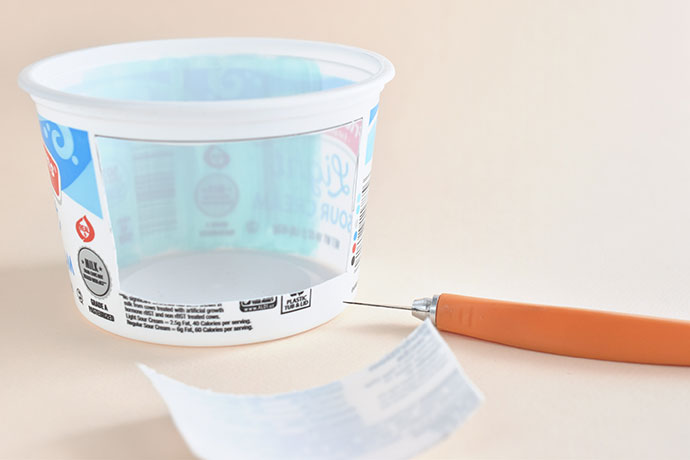
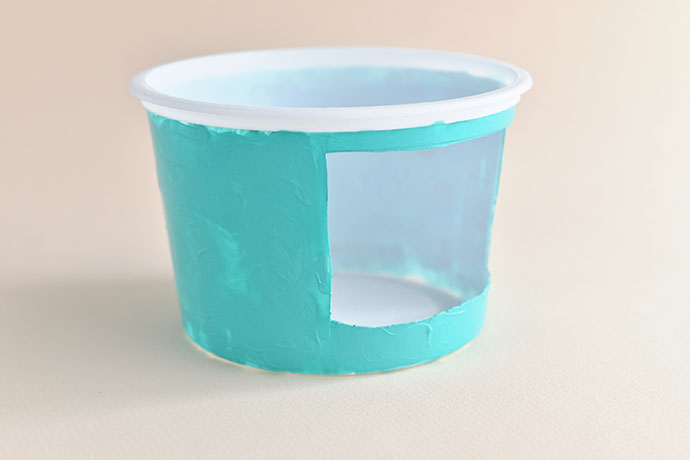
Have an adult use a craft knife cut a square or rectangular window in the bottom part of the container.
Step 4
Paint the outside of the container to cover up all the printing. It will take several coats, but if you make wavy lines of paint (like water!) it will actually cover the print faster.Between coats of paint, continue on with the rest of the steps.
Step 5
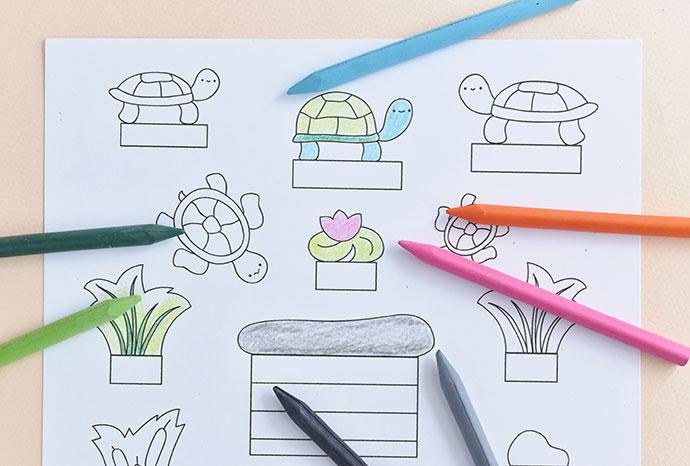
Print the turtle pond PDF on cardstock. The file has a full-color version and a black-and-white version so you can color it yourself however you want. If you’re going to color your own, do that now.
Step 6
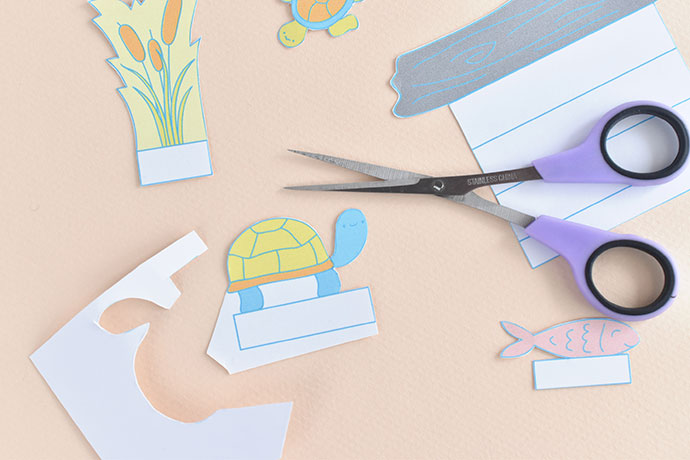
Cut out all the pieces for the turtle pond. On the tight corners, it helps to cut into them from two directions so the pieces don’t bend.Be sure to keep the white tabs attached to the pieces.
Step 7
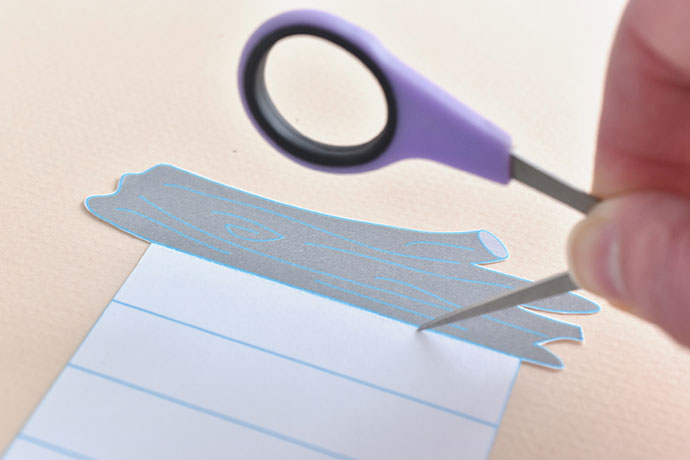
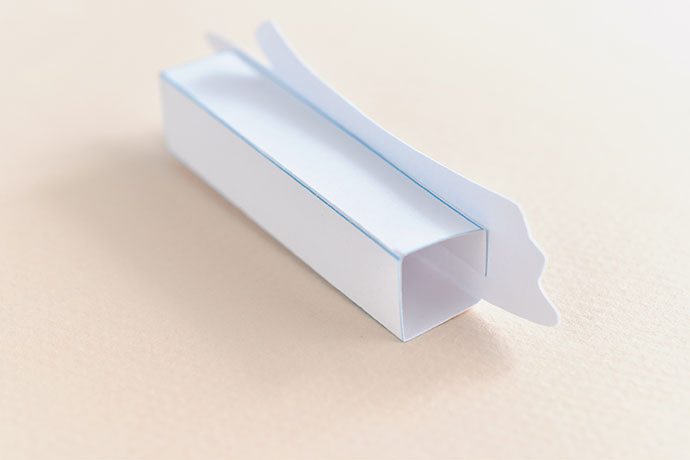
Use one blade of the scissors to score along the top of the white tabs. On the log and flat rock, score all the lines on the large tabs.
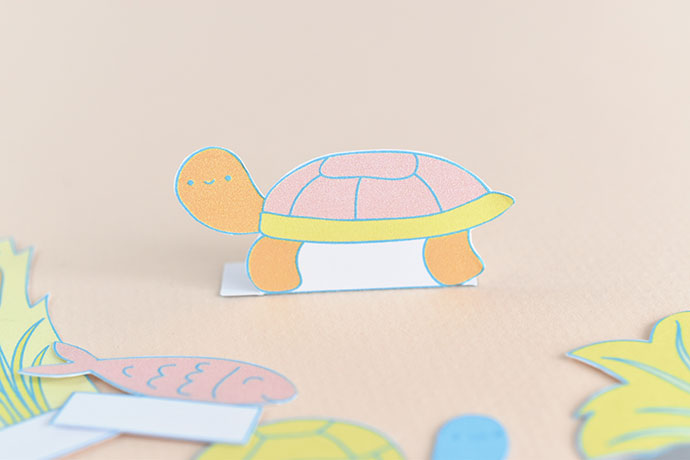
On the pieces with a small tab, simply fold the tab back so the pieces can stand up.
For the log and flat rock, fold the tabs back on all the scored lines so they form a square tube on the back. Use glue to hold the end tab to the back of the pieces. This lets them stand up while creating a place for the turtles to stand on top!
Step 8
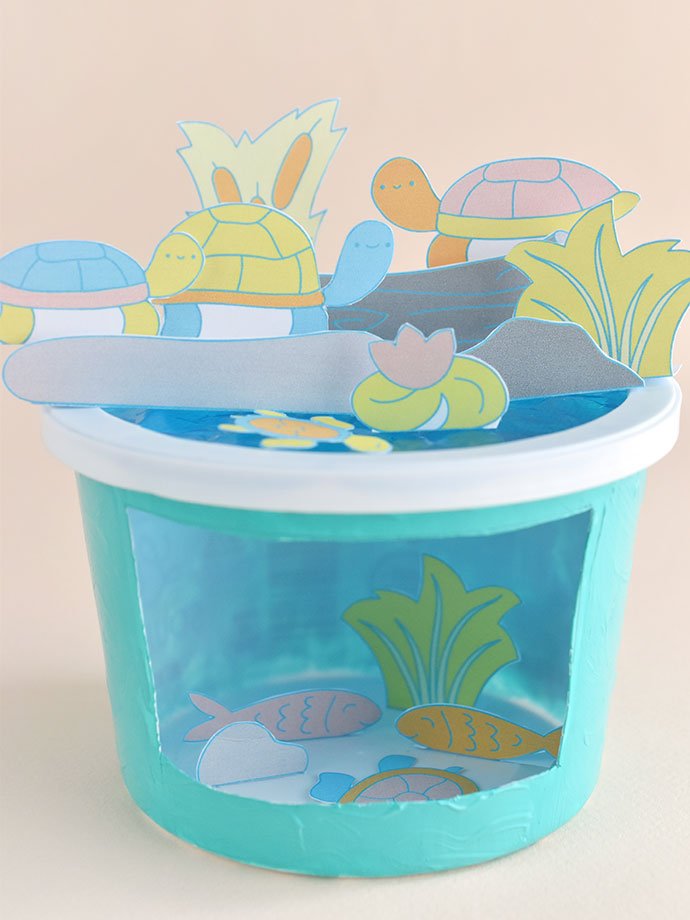
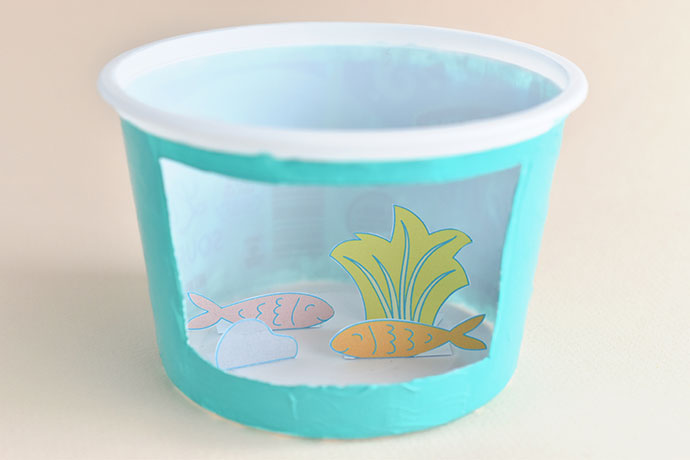
Once the paint is all dry on the container, it’s time to start setting up your diorama! Add pieces inside to make an underwater scene.
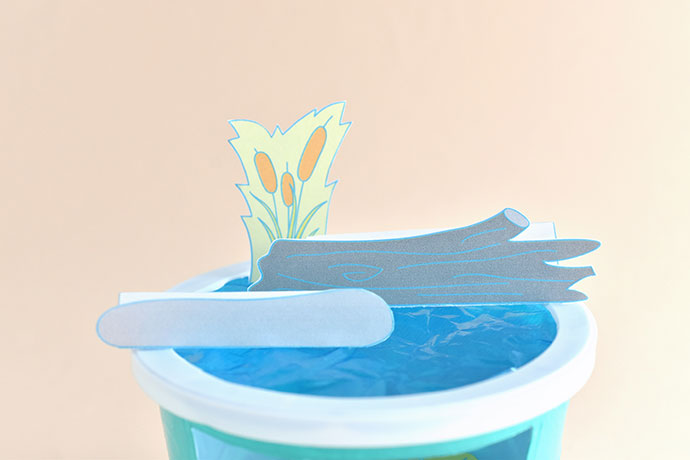
Place the lid on top and add some rocks and plants.
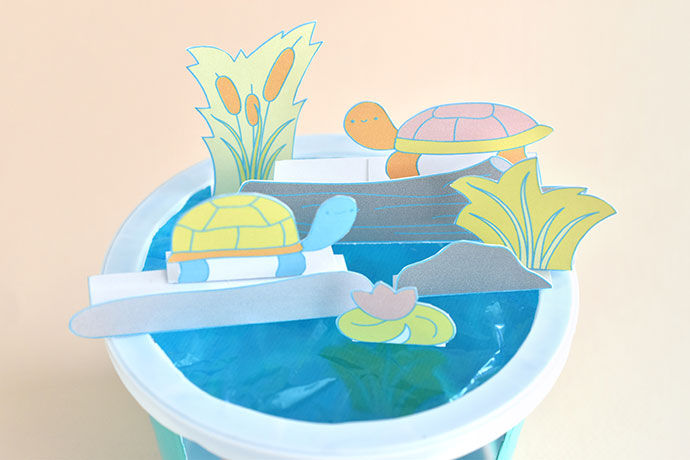
Finally, let the turtles join the scene so you have your own little turtle pond!
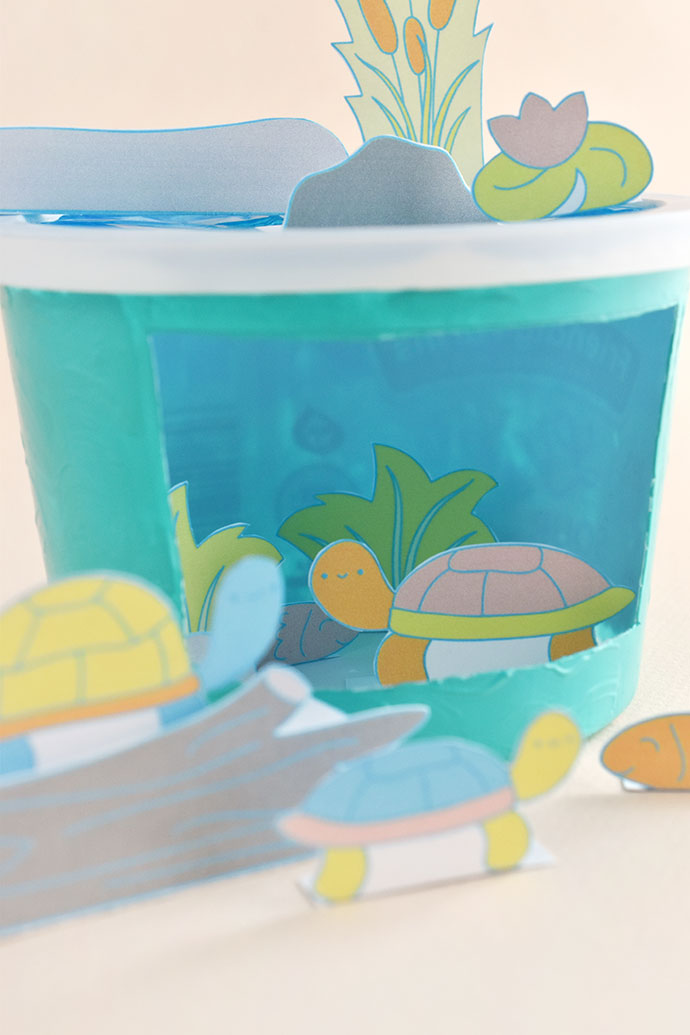
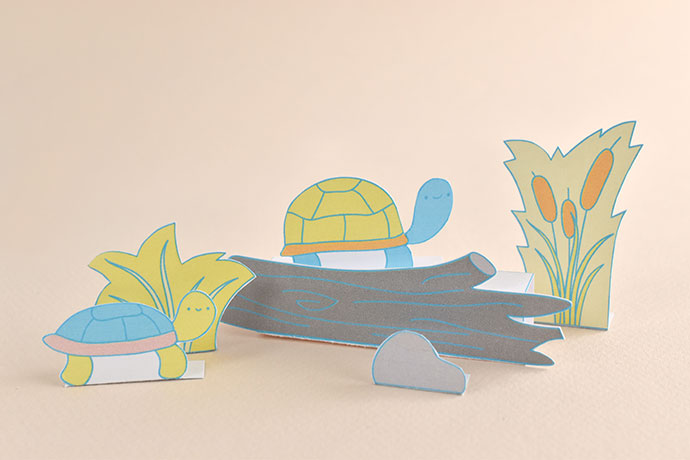
You can play with the pieces and move them between the levels of the pond or set up the scene as a display. To make your diorama more permanent, glue the pieces in place.
If you’re playing, you may want to pull the pieces out so it’s easier to move them around. You could even laminate them and let them play in some water!
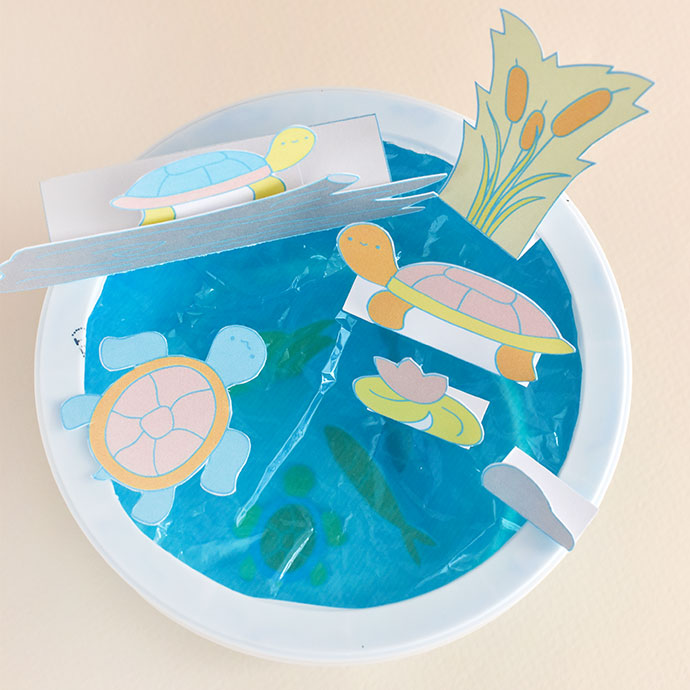
To extend your play, be sure to learn more about turtles and their habitats. You might even want to find out how to make a real turtle pond for your backyard!
Happy crafting!