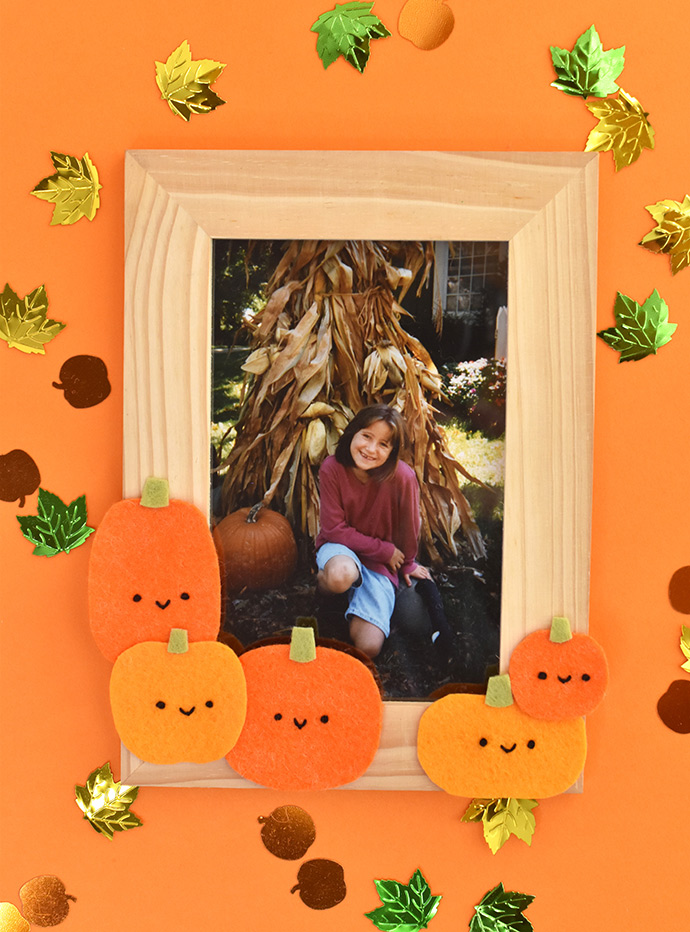
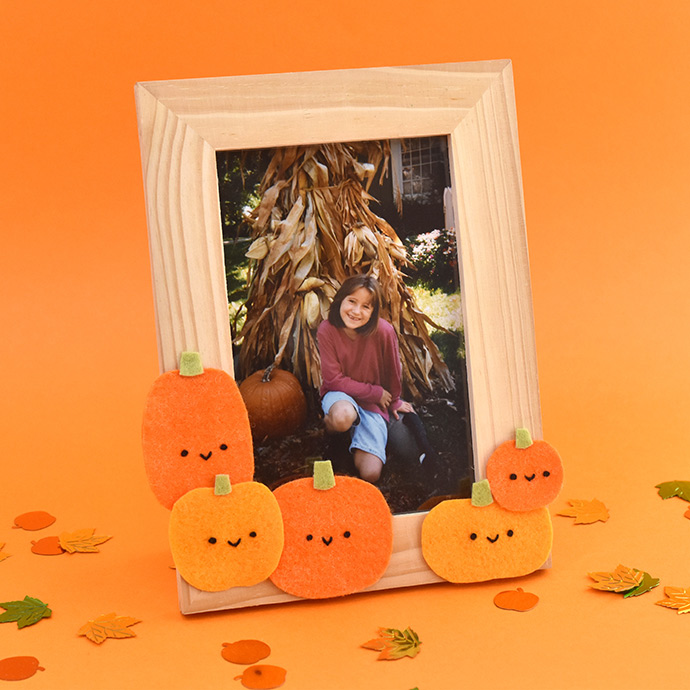
Does your family enjoy visiting the pumpkin farm or maybe getting outside to play in the leaves? Capture those memories and show them off in this kawaii pumpkin patch frame! It’s adorned with simple smiling pumpkins that want to celebrate the whole autumn season!
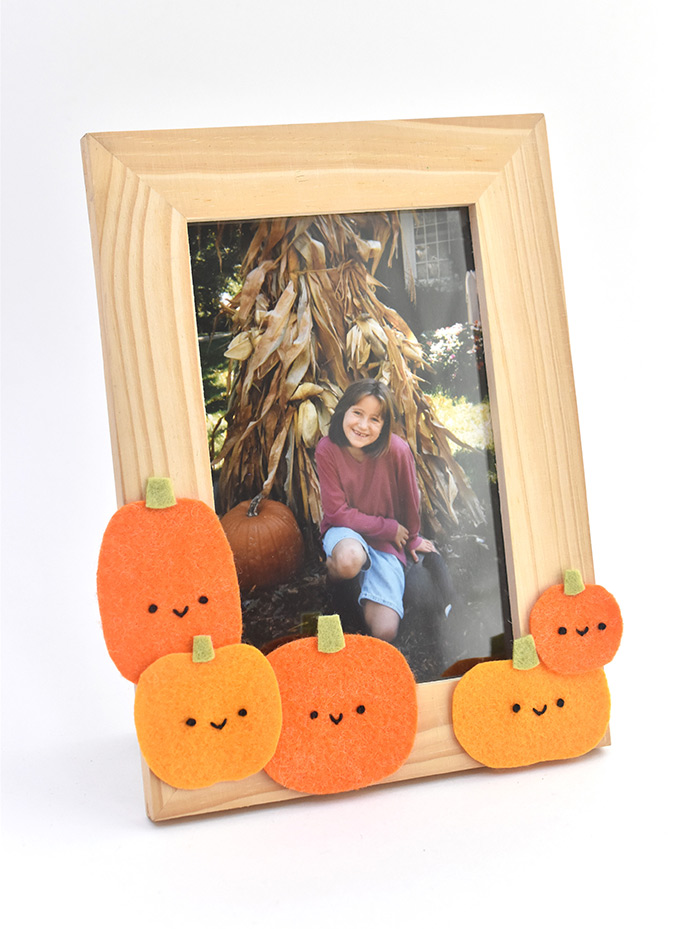
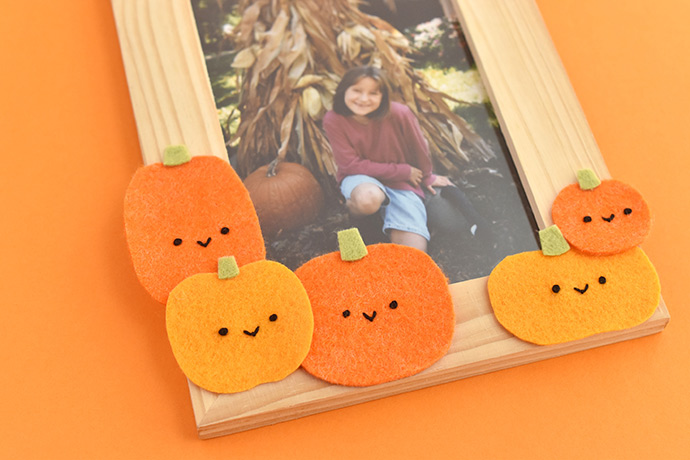
Even though these gourds have faces on them, they aren’t Halloween faces. These are just super cute and friendly pumpkins. Of course you could also skip the faces for a simpler style.
For ours, we added a small scattering of pumpkins, but you could go with a little as one pumpkin or as many as it takes to cover the frame!
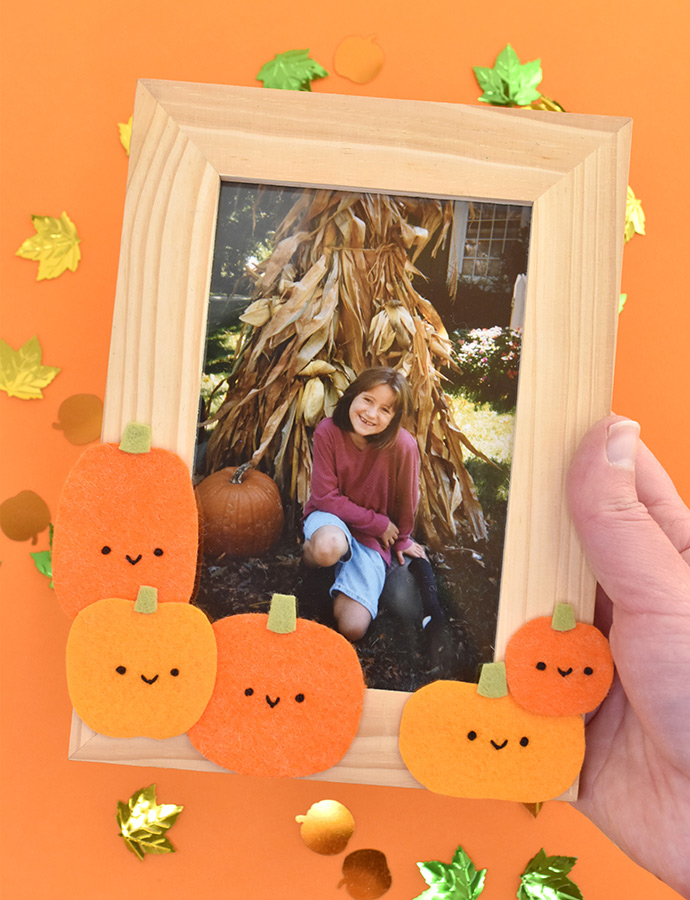
Now, let’s head to the felt farm and make a frame!
what you need:
- Orange Felt (you may want to have several shades of orange)
- A Scrap of Green or Brown Felt
- Black Embroidery Floss
- Plain Wooden Picture Frame
- Scissors
- Needle
- Craft Glue
- Printable pumpkin template
how-to:
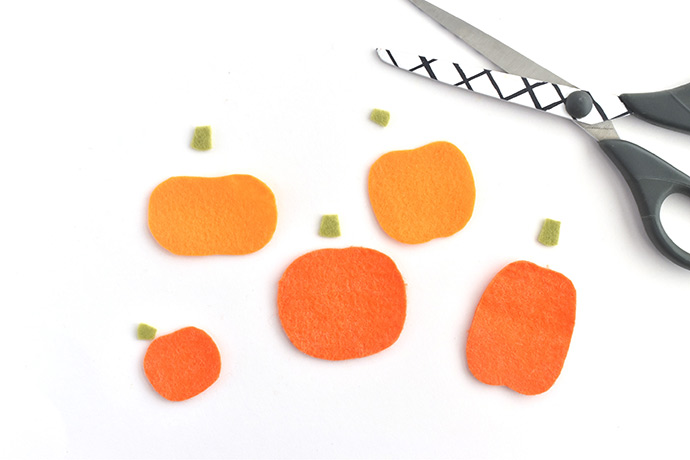
Step 1
Print the template page. Cut out as many pumpkins and stems as you want for your frame.
By using two or more colors of orange felt (or even creamy white for ghost pumpkins!), you can layer them and they’ll show up better.
Print the template page. Cut out as many pumpkins and stems as you want for your frame.
By using two or more colors of orange felt (or even creamy white for ghost pumpkins!), you can layer them and they’ll show up better.
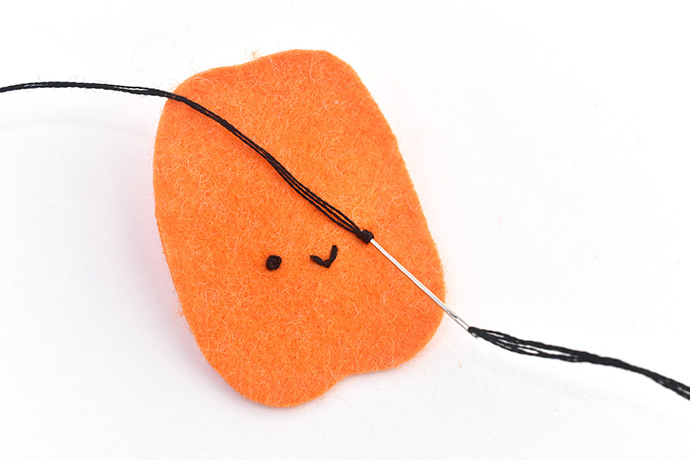
Step 2
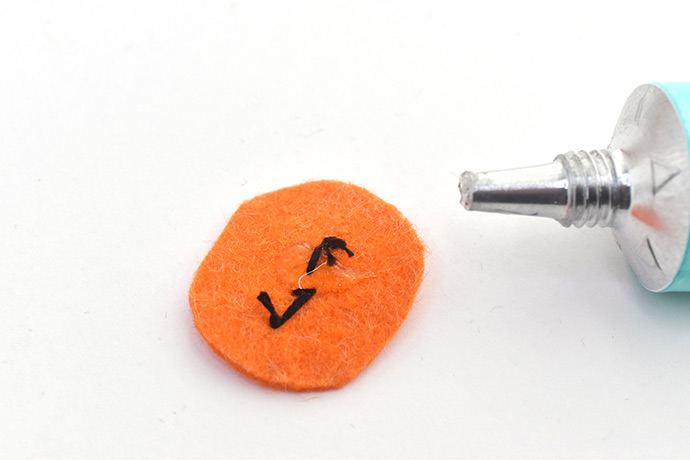
Embroider faces on the pumpkins using three strands of black embroidery floss. Make the eyes with French knots and the mouths with a scallop stitch, which is like a fly stitch.
TIP: If you want faces on the pumpkins, but don’t want to stitch, you can use a toothpick to paint them on with acrylic paint.
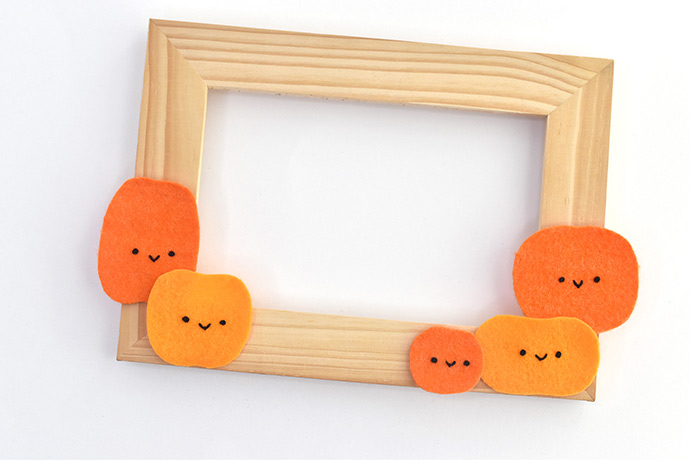
Step 3
Try out a few layouts for your pumpkins (you don’t need to worry about the stems yet!). You can arrange them with the frame going horizontally…
Try out a few layouts for your pumpkins (you don’t need to worry about the stems yet!). You can arrange them with the frame going horizontally…
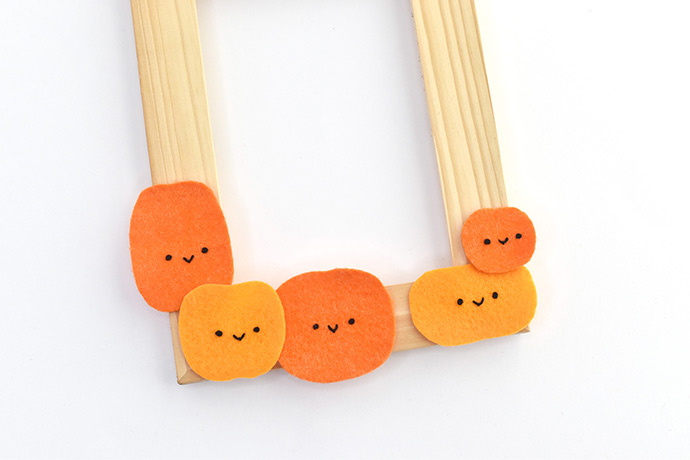
…or vertically! Find the grouping that you like best. To remember which way you want them, you can snap a quick phone pic!
Step 4
Next, start glueing the pumpkins onto the frame.
Next, start glueing the pumpkins onto the frame.

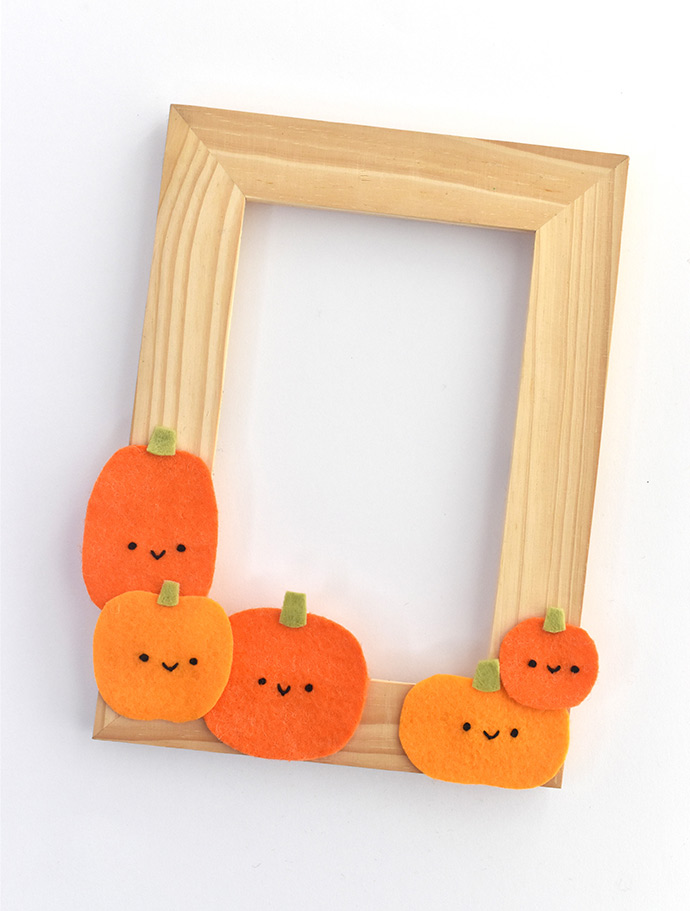
Once the pumpkins are in place, add the stems. You only need a tiny bit of glue on the bottom. This is especially important for the pumpkins that overlap the edge because you don’t want the glue exposed on the back.
Step 5
Your frame is finished, except for one thing…
Your frame is finished, except for one thing…
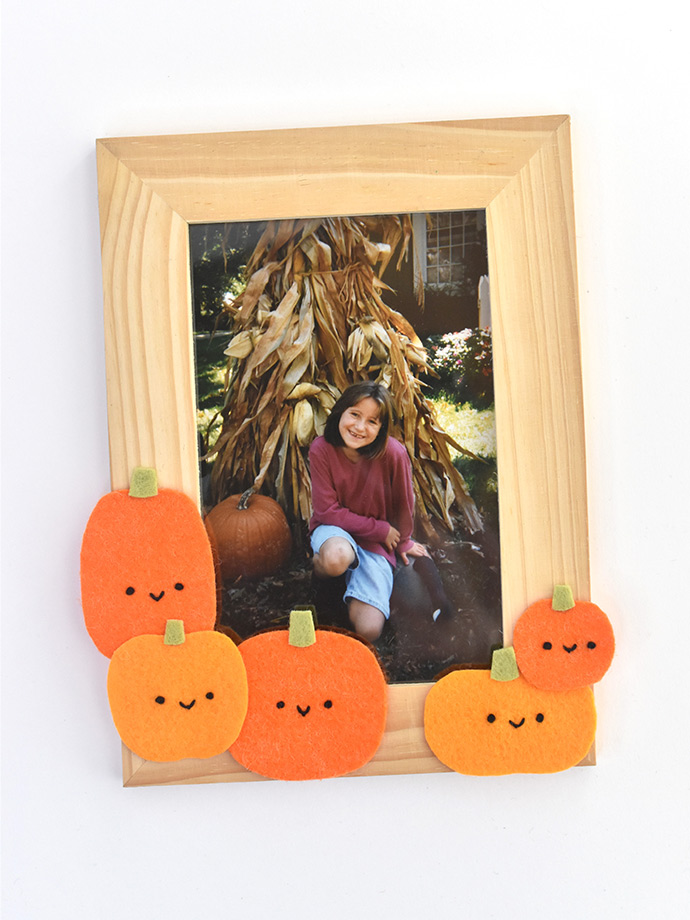
This frame needs a photo!
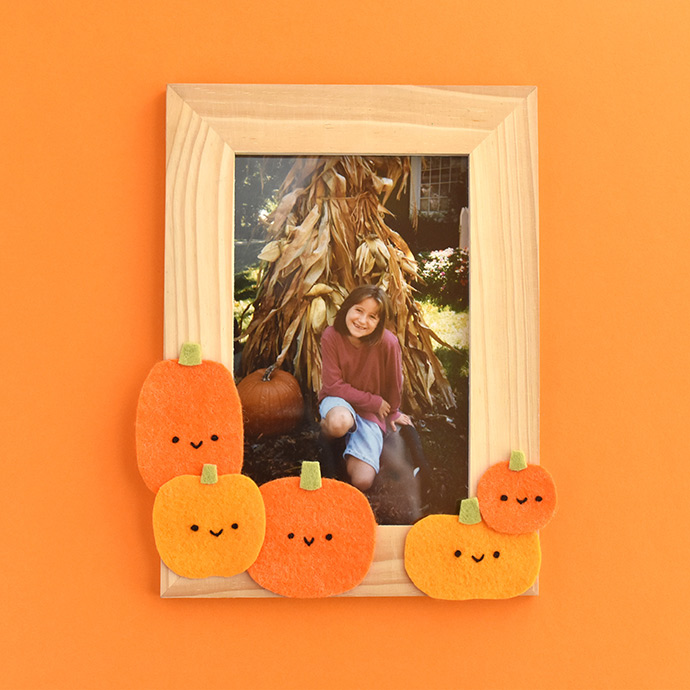
Display your frame during the fall as part of your decor and you’ll remember these moments for years to come.
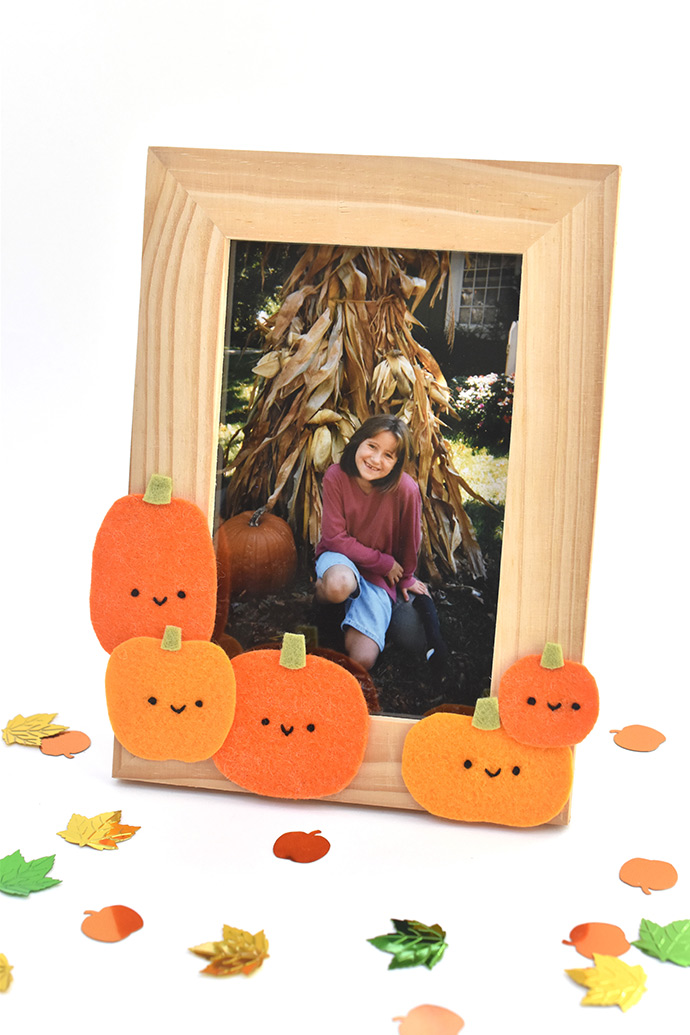
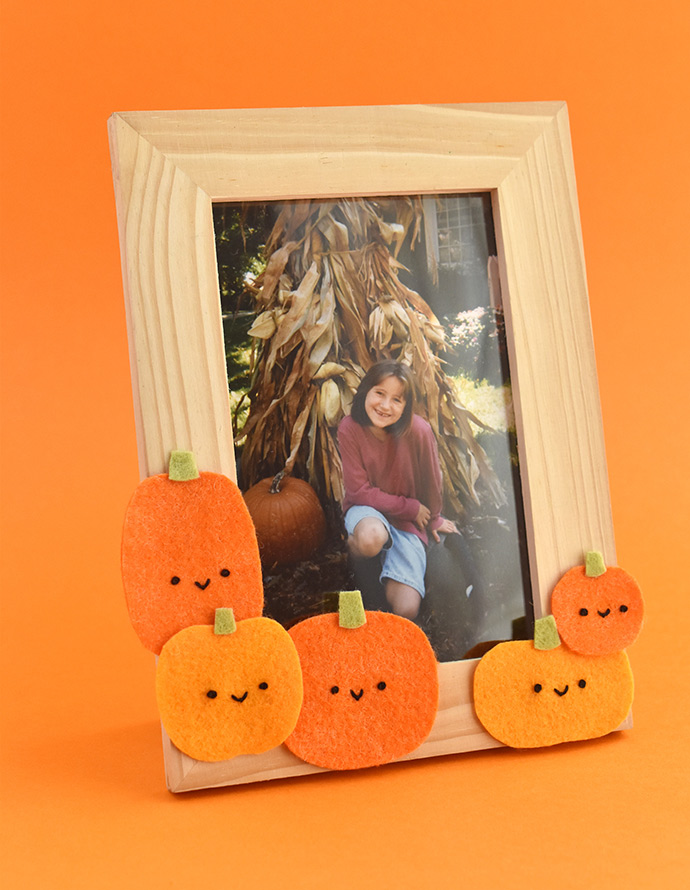
Frames like this also make great gifts for grandparents. Not only do they get a photo to treasure, but also a fun way to show it off!
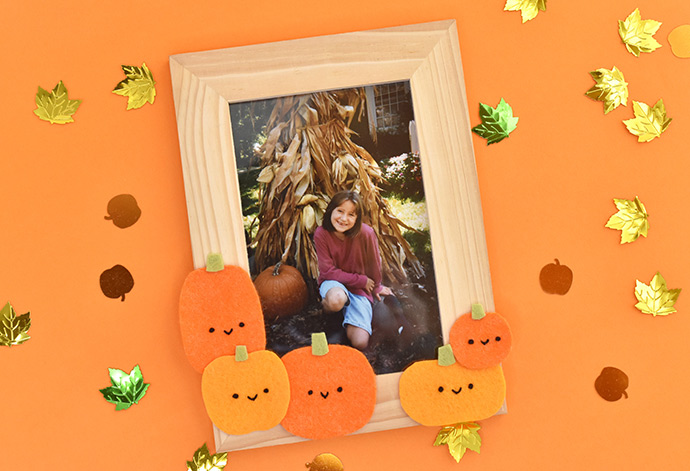
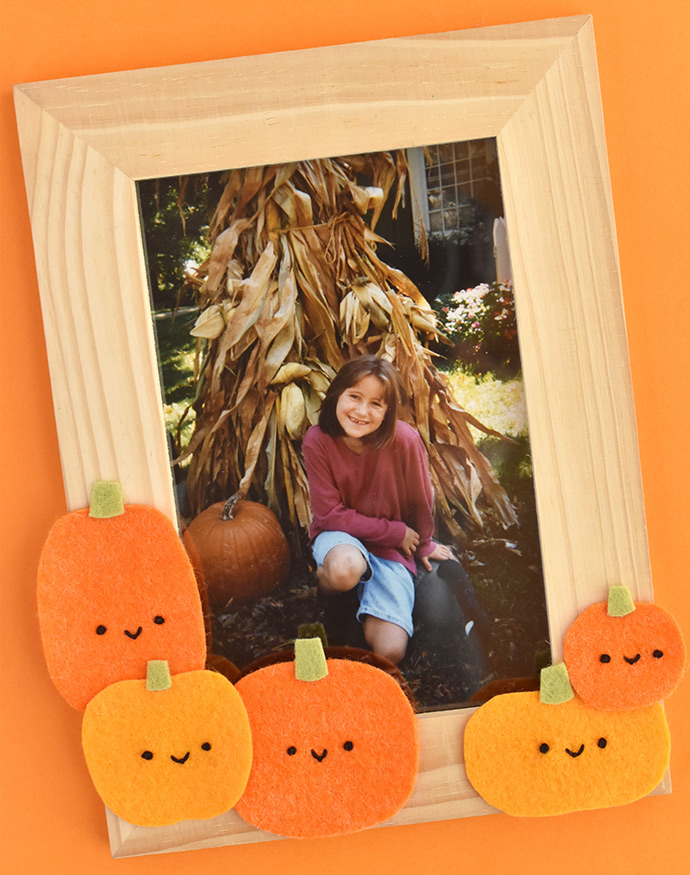
Try this same idea with other felt shapes for holidays and seasons like felt snowflakes for winter, hearts for Valentine’s Day, or eggs in the spring. You could even use simple shapes like triangles to make a frame for year round!
Happy crafting!