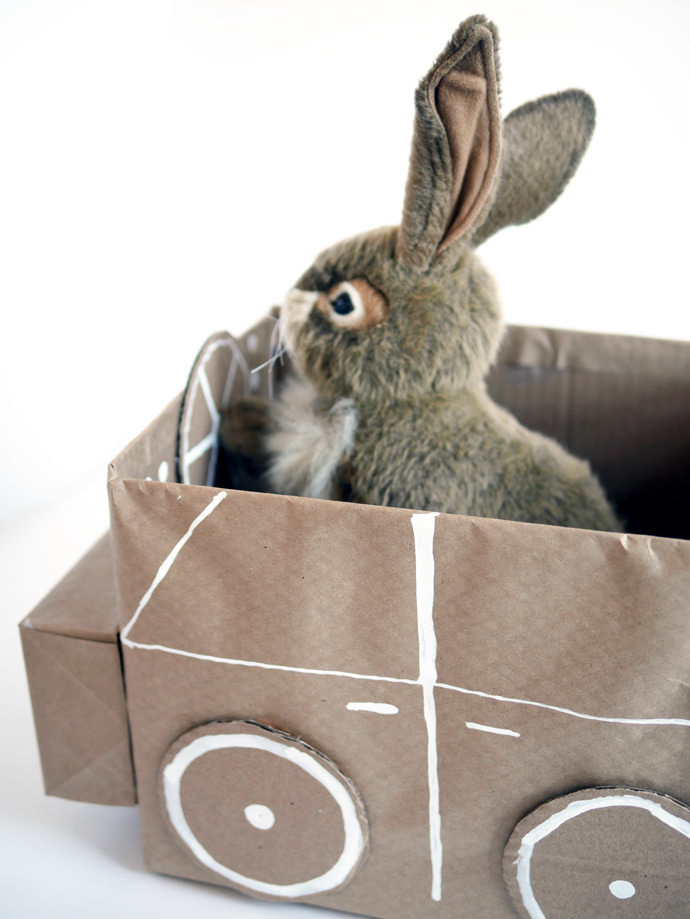
Now that the hectic back-to-school season is safely behind us, it’s the perfect time to help our kids straighten out another major task that’s often overlooked: organizing their bedroom. Here’s a fun and easy project that will encourage your child to pick up their things and put them away.
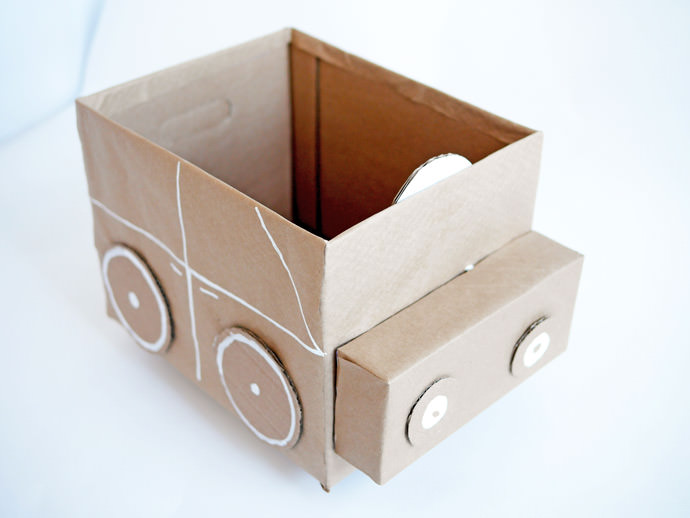
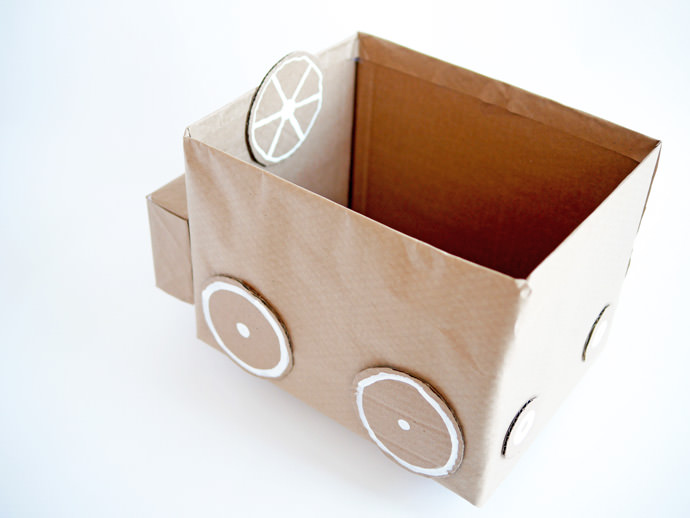
My son Roman needed a new storage box. Nothing major, just a small one to carry his toy cars, wooden train tracks, and best friends (a.k.a. stuffed animals). Instead of heading to the store, I decided to whip up a storage box of my own. I try to take advantage of any opportunity to recycle wasted materials into something useful, and I’m a huge fan of cardboard crafts.
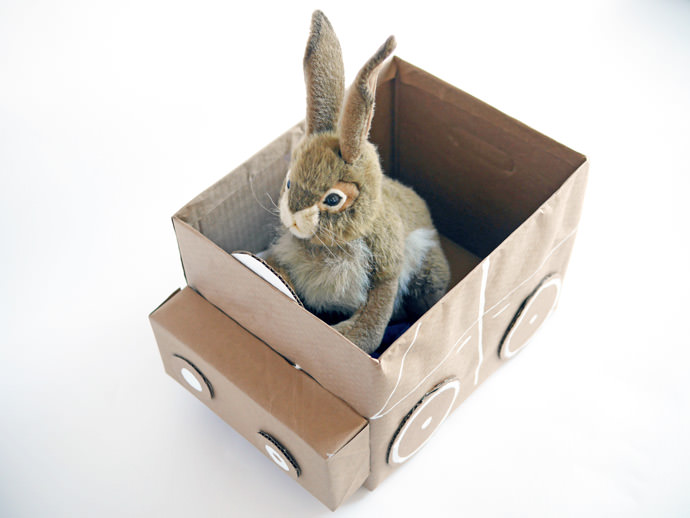
Why not turn old cardboard boxes into toy storage? The car theme was obvious. All it took was a couple of boxes, some glue, a pair of scissors, a little paint, and we were off and running. Now Mister Rabbit is the happiest friend in the whole world and I have the perfect solution to the challenge of getting Roman to put his toys away.
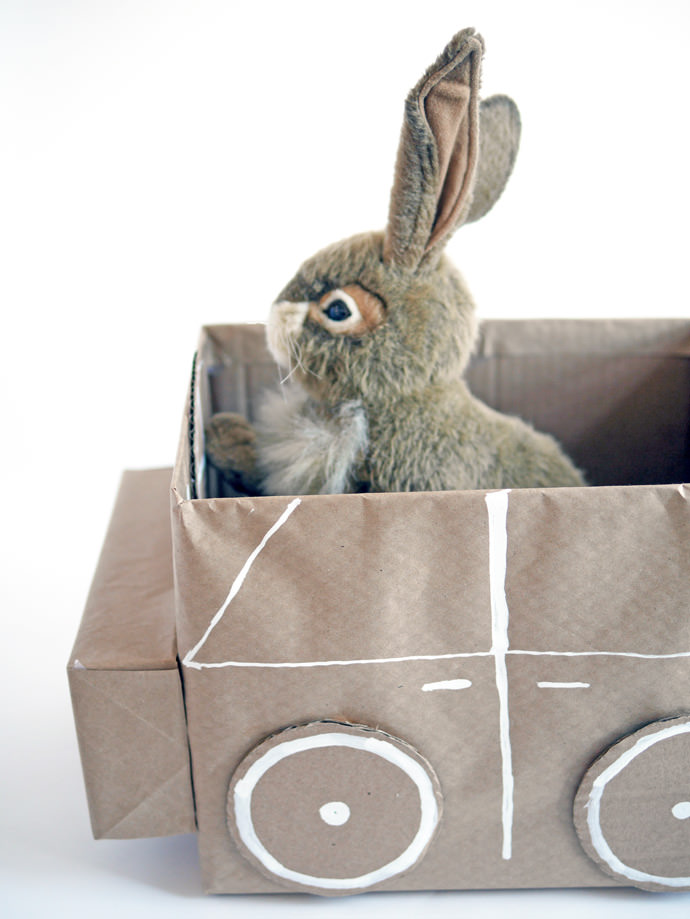
Obviously, the possibilities are endless with this craft. You can make the box larger or smaller to accommodate your child’s needs.
Let’s get started!
What You Need

- 1 medium cardboard box (diaper box, etc.) + leftover cardboard
- 1 smaller box (yogurt box, cereal box, etc.)
- Kraft paper
- Tape
- Glue
- Scissors
- Paint + paint brush
- Pen
How-To
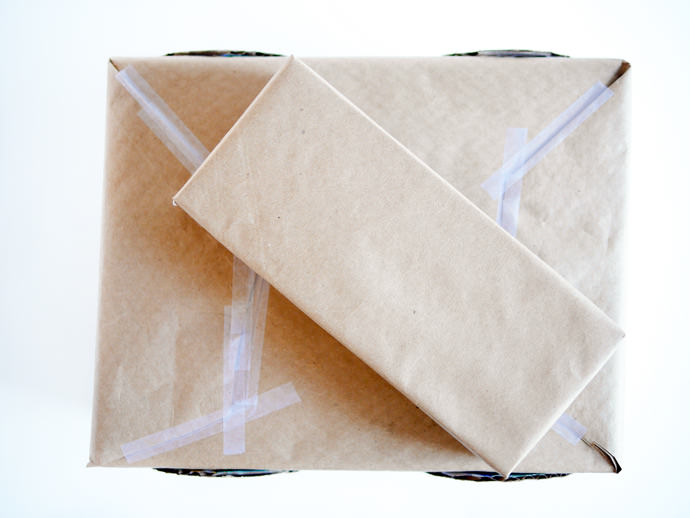
Step 1
Wrap the boxes with Kraft paper (like Christmas presents).
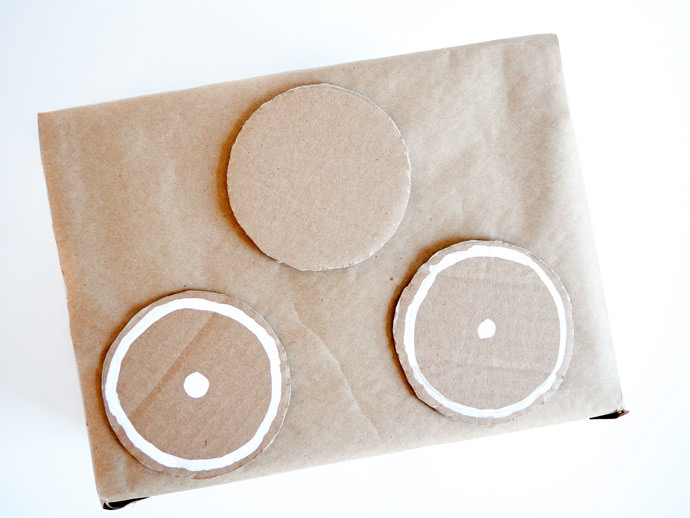
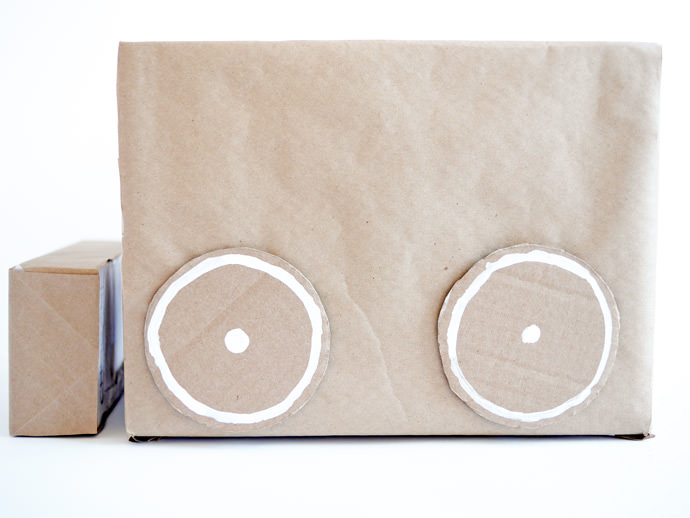
Step 2
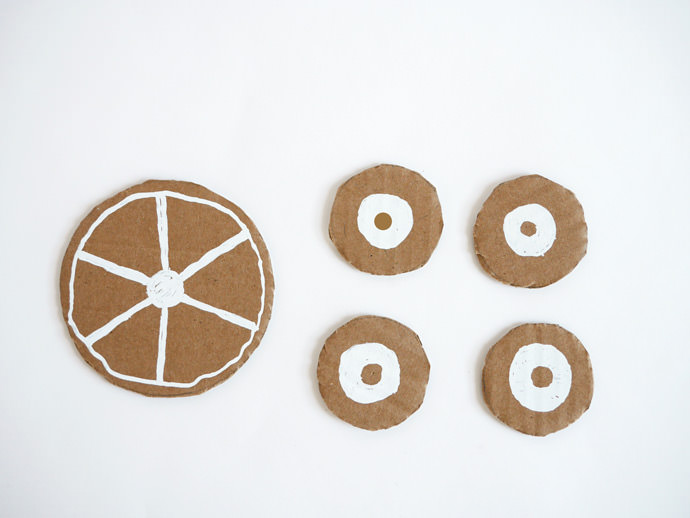
Cut four circles out of the leftover cardboard for the wheels. Paint and glue the circles to the larger box.
Step 3
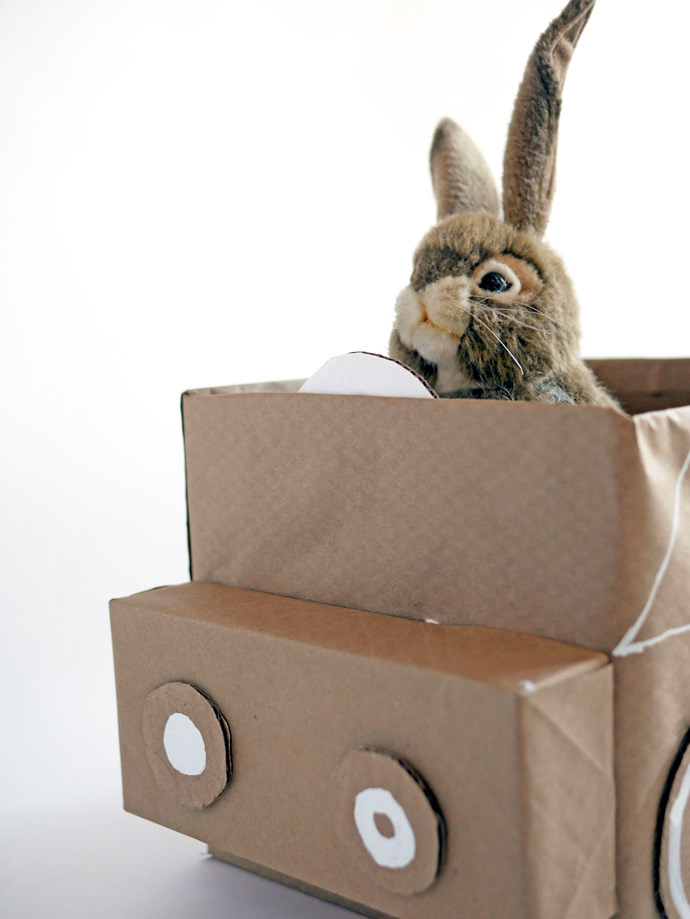
For the front & rear lights of the car, cut 4 smaller cardboard circles. Paint and glue two to the smaller box and two to the larger box. Cut another circle (the same size as the wheels) for the steering wheel and glue to inside of the larger box.
Step 4
Glue the smaller box to the front of the larger one. That’s it! Now you can decorate and play with your new storage car.
Happy crafting!