
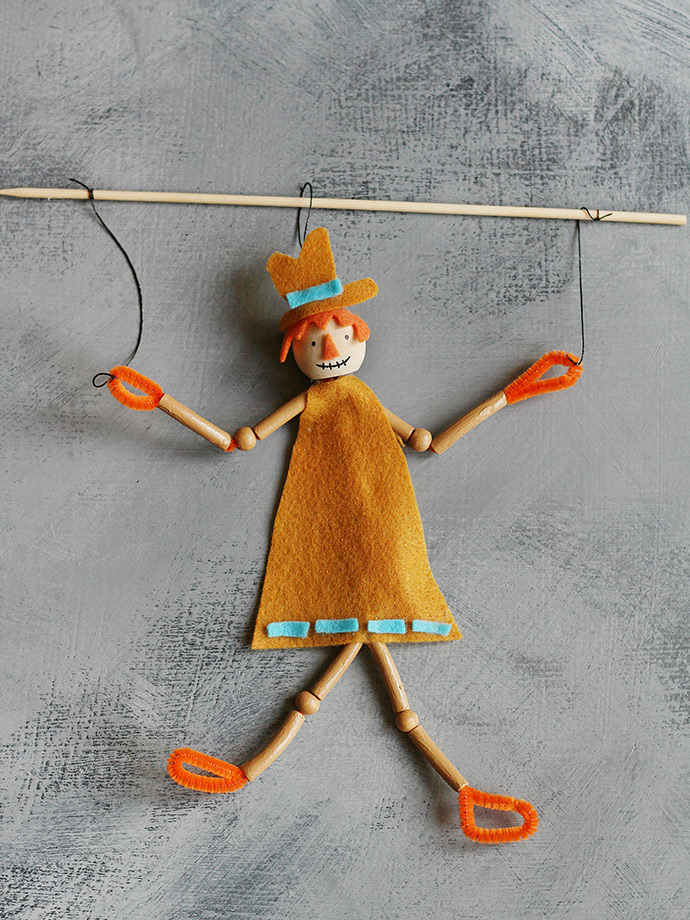
Fall is right around the corner and this scarecrow couldn’t be happier about it! We’re back with another pasta puppet today and are so excited with this fall addition to our pasta puppet collection. As usual, you just need a few supplies and you’ll have your very own scarecrow friend in no time! Watch the video below and read the step-by-step instructions below.
what you need:
- Elastic string
- Pipe cleaners
- Apple Barrel Acrylic Paint
- Paintbrush
- Felt (brown, orange, and blue)
- Black marker
- Wooden skewer
- Scissors
- Hot glue gun
- Wooden beads
how-t0:
Step 1
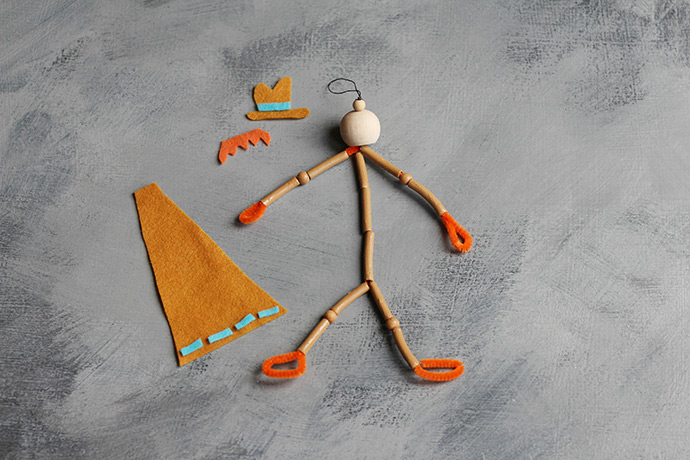
Cut a piece of elastic cord and put 1 smaller and 1 larger wooden bead at the top to be the scarecrow’s head. Bend two orange pipe cleaners in half and place on the string as shown in the video – these will be the arms and legs. Put three pasta noodles along the body between the pipe cleaners, two on the pipe cleaner arms separated by a small wooden bead, and two on the legs again separated by a small wooden bead.
Step 2
Give the pasta noodles a coat of brown paint and let dry.
Step 3
Thread the brown-painted noodles and beads onto the pipe cleaners to form arms – bend the end into a little loop to be the hand. Do the same for the legs.
Tie a loop at the top of the string and then thread on the two wooden beads. Next tie the string around the center of the arms pipe cleaner, string on the torso pasta noodles, and then tie the string around the legs pipe cleaner.
Step 4
Time to cute the felt accessories: we cut a tunic out of brown felt and a matching hat too. Add blue details along the bottom of the tunic (cut the felt into stitches) and cut a band for the hat. Finally, cut a fringey haircut for the scarecrow out of orange felt, and a little triangle nose too!
Step 5
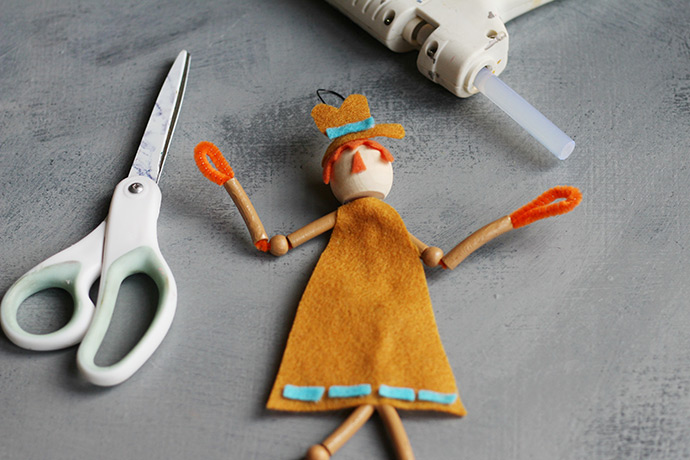
Glue down the stitch and hat details and then glue the tunic onto the torso, the hair onto his head, and then the hat on top. And don’t forget his nose! Then use a black marker to draw on eyes and a mouth.
Step 6
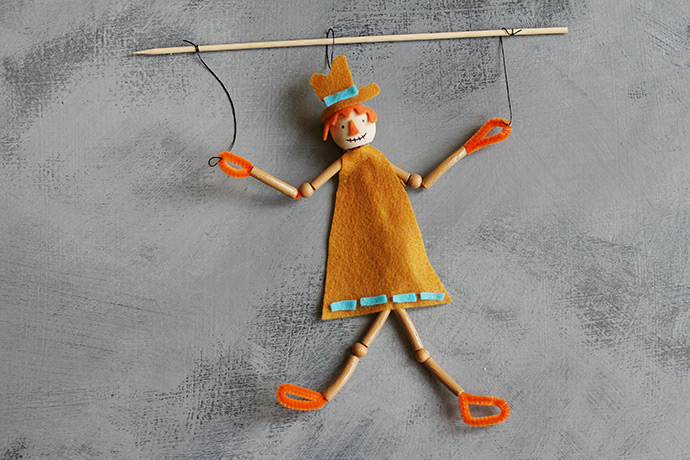
Put the head loop onto a wooden skewer and tie a string onto one arm and then the skewer, and another string from the other arm to the skewer. There you have it!
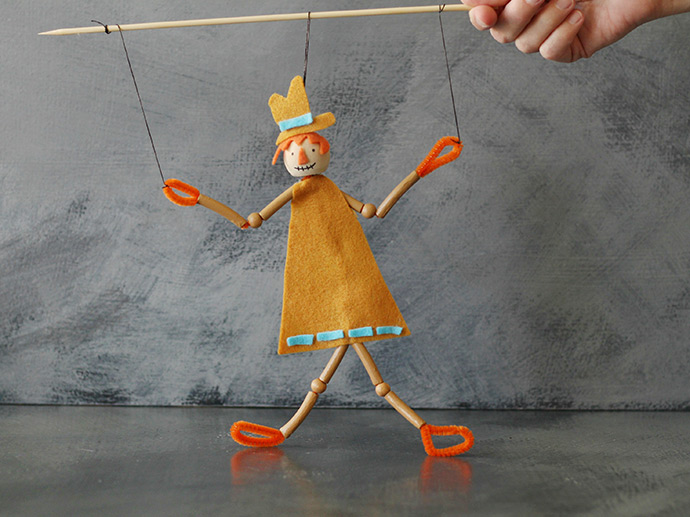
Happy crafting!
Photo and video by Caroline Gravino
Creative direction by Handmade Charlotte