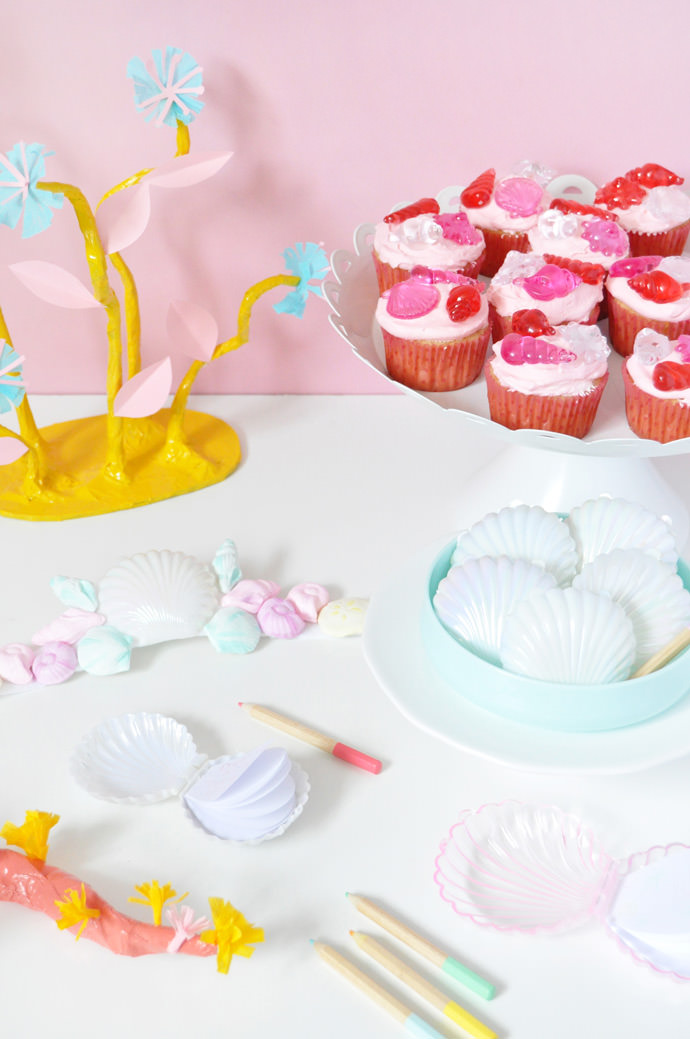
I love all the seashell, mermaid, and under the sea images that have been taking over my Pinterest feed recently. The colors and shapes are so much fun! In today’s post, we’ll share three DIY projects to help you throw the best under the sea party around
We’ll be making paper mache seaweed decorations, pastel shell crowns, and mini shell diaries for party favors. Plus, dress up plain cupcakes with an unexpected cake topper. Keep reading for all the details!
Project #1: DIY Paper Mache Seaweed Décor
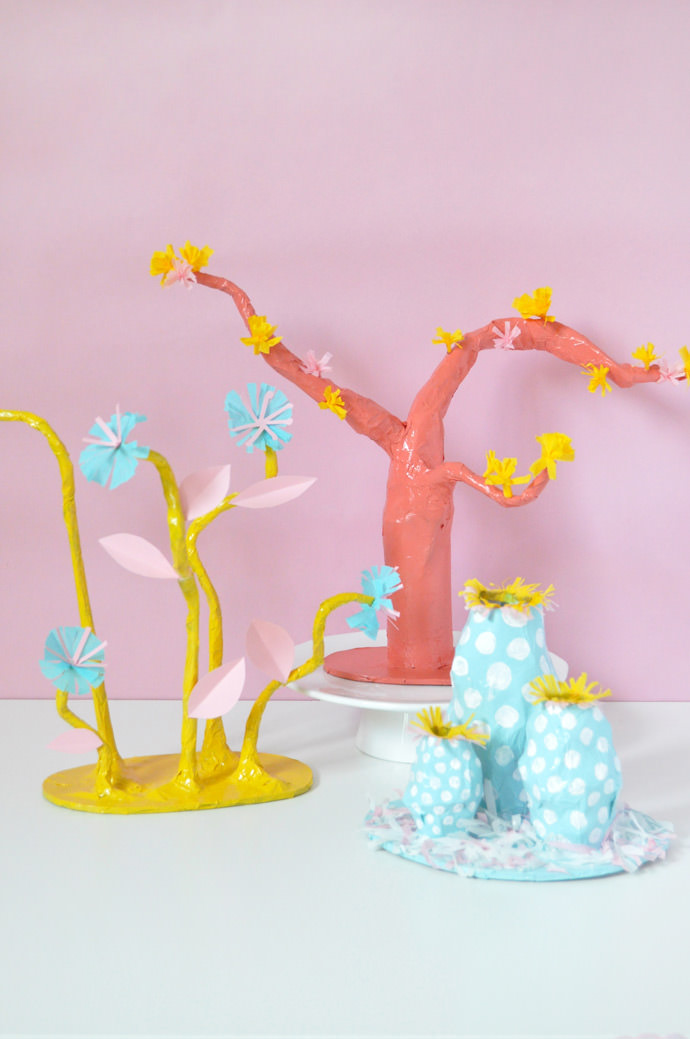
These seaweed and coral structures are a lot of fun to make – use your imagination to dream up playful shapes and decorate with bright colors. When you’re done, use these to decorate a sweets table, or as a fun centerpiece.
What You Need
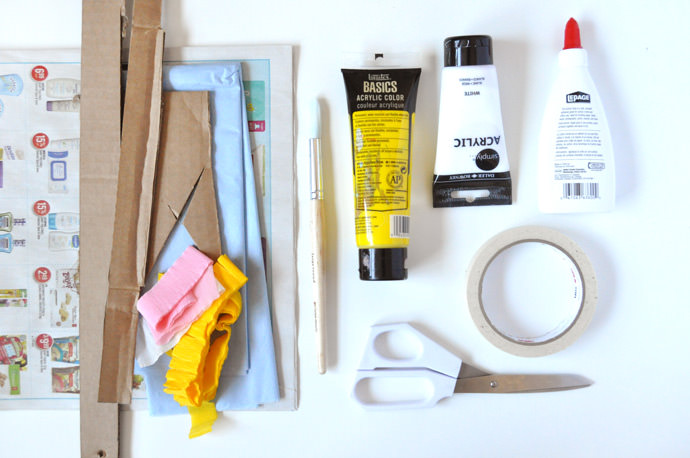
- Newspaper
- Tissue paper
- Cardboard scraps, empty toilet paper rolls, gardening wire, wooden skewers, scrap paper, etc
- Crepe paper
- Paintbrush
- Paint (acrylic or spray paint)
- White glue
- Scissors
- Masking tape
How-To
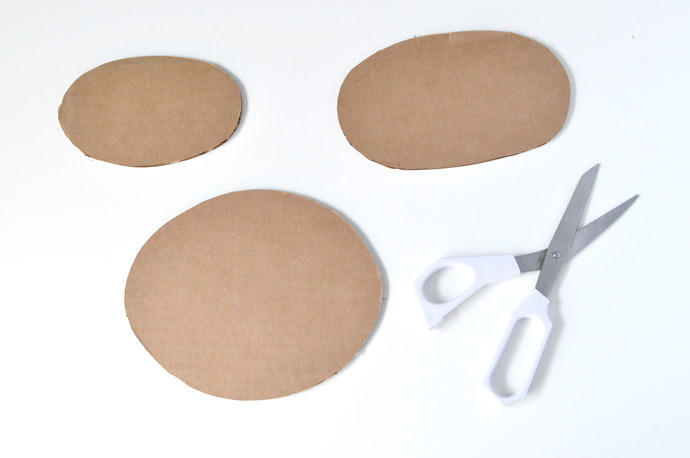
Step 1
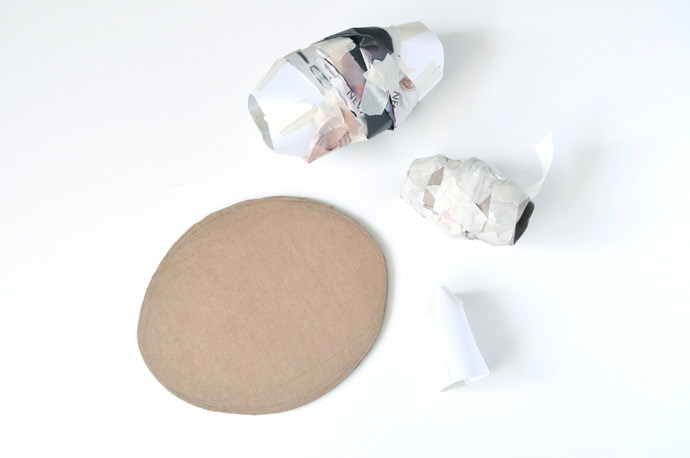
Cut round shapes out of cardboard – you’ll use these as bases from the seaweed/coral.
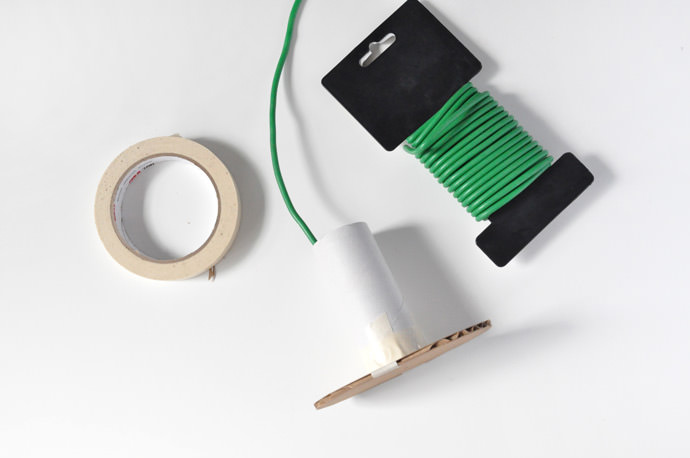
Step 2
Empty toilet paper rolls are great to use as a base for the seaweed/coral structure. I taped one down onto the base and then cut a piece of rubber-coated gardening wire in the center to build on.
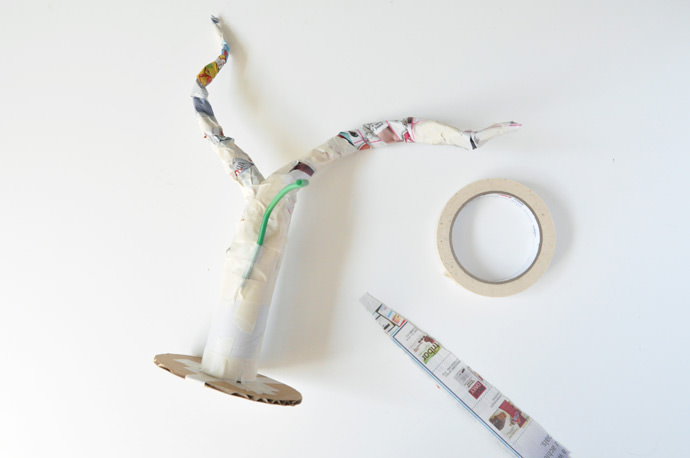
Step 3
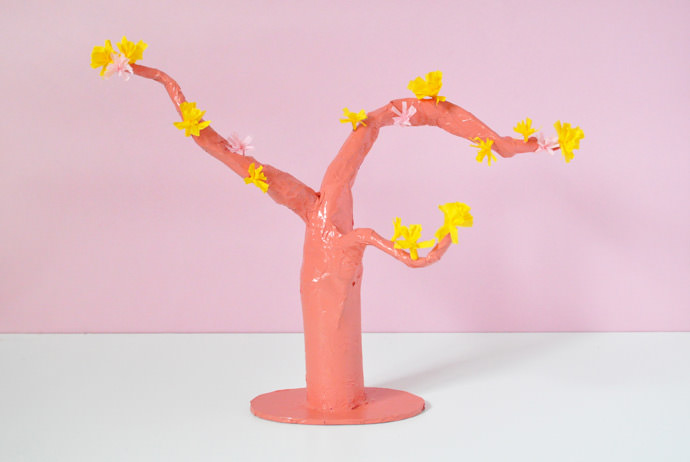
Tear strips of newspaper and wrap around the wire, using masking tape to secure. This one ended up looking like a miniature tree.
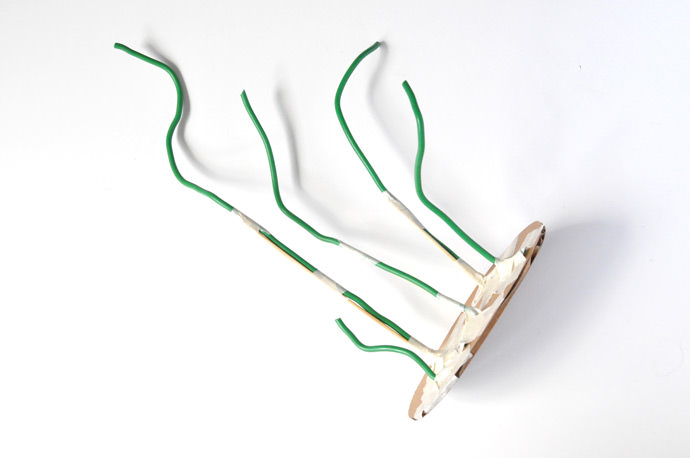
Step 4
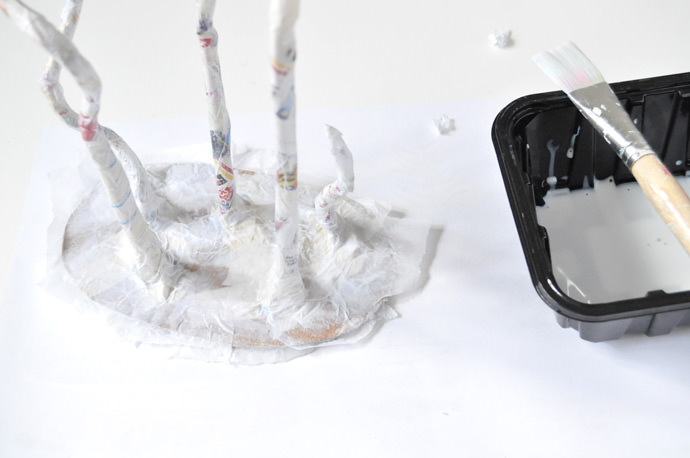
Another way to build a base structure is to tape the gardening wire directly onto the cardboard base. I taped pieces of wooden skewers onto the wires to help keep them upright.
Step 5
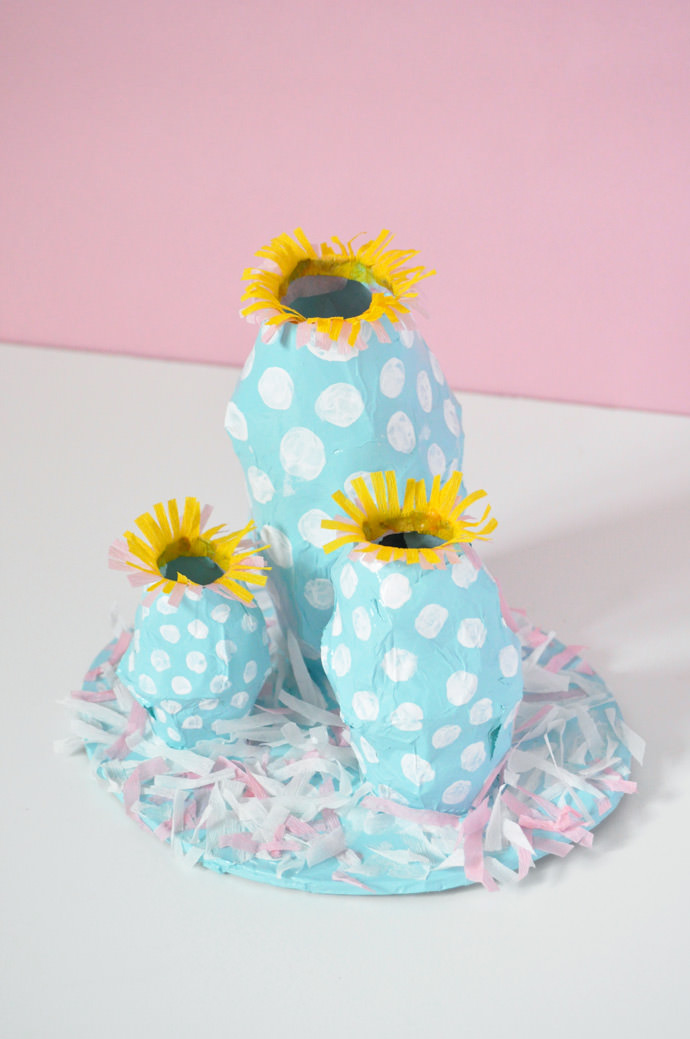
I also made a barnacle-inspired structure – I rolled scrap paper into three tubes of various sizes (or use toilet paper rolls) and then cut four snips into the top and bottom of each tube, making four flaps on each end. Overlap the flaps and tape in place so that the top and bottom of the tube curl in a little bit, making an almost rounded shape. Wrap strips of newspaper around the center of the tubes to build them up a bit, enhancing the rounded shape. Tape onto the cardboard base.
Step 6
Mix white glue with a little bit of water and paper mache tissue paper onto all of the structures. Let dry completely.
Step 7
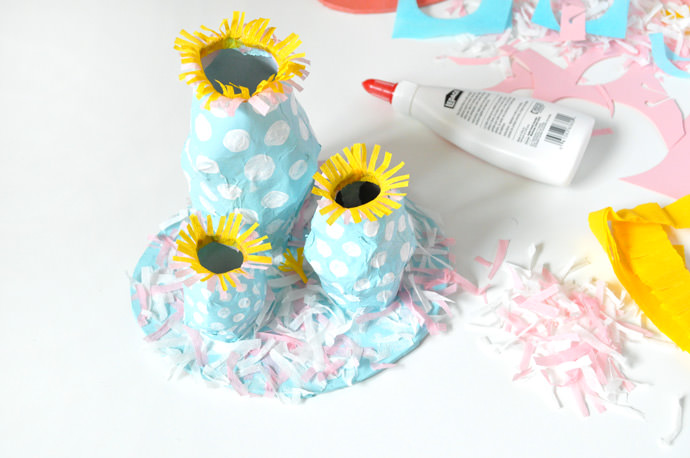
Time for the fun part – decorating your seaweed and coral! I use spray paint for the base color, and painted polka dots on with acrylic paint. Fringe crepe paper and use white glue to attach onto the openings of the barnacles. I also glued some loose crepe confetti onto the base.
Step 8
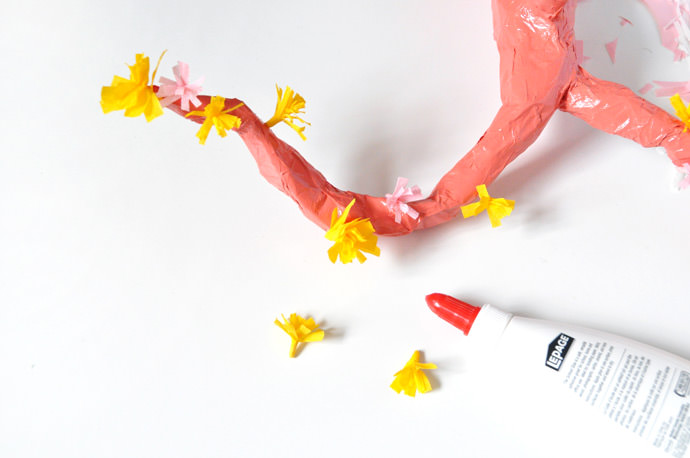
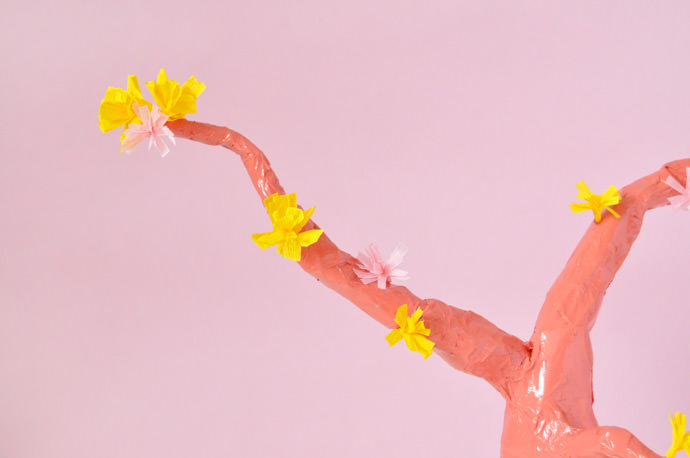
For the tree-like seaweed, I again use spray paint as a base. Once dry, I fringed some crepe paper, rolled them into little flowers, and glued in place onto the branches.
Step 9
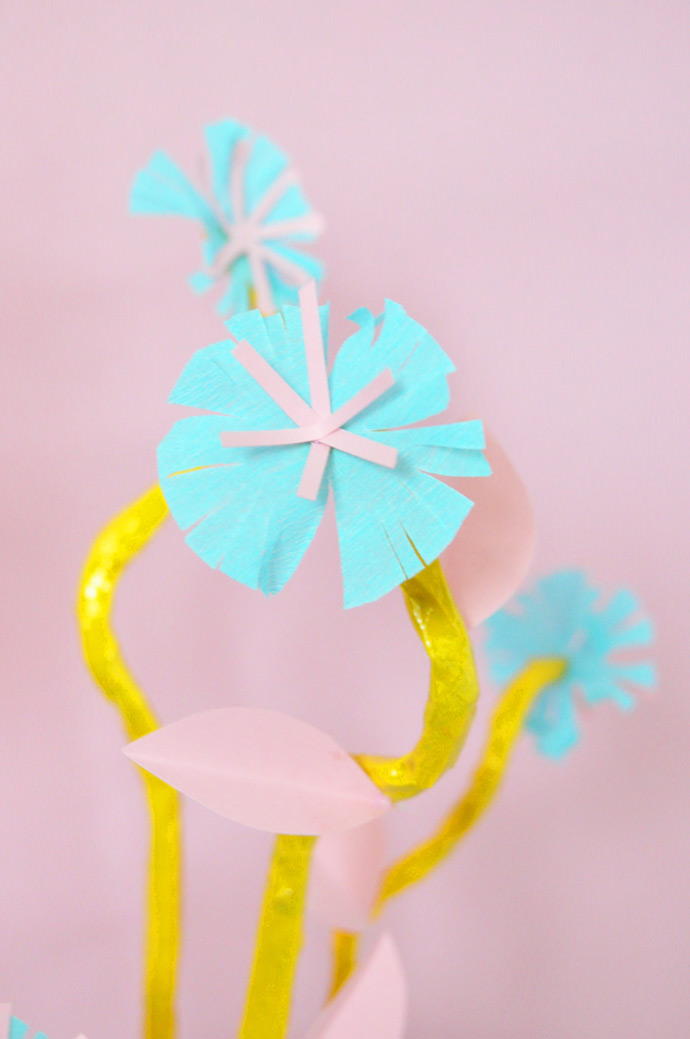
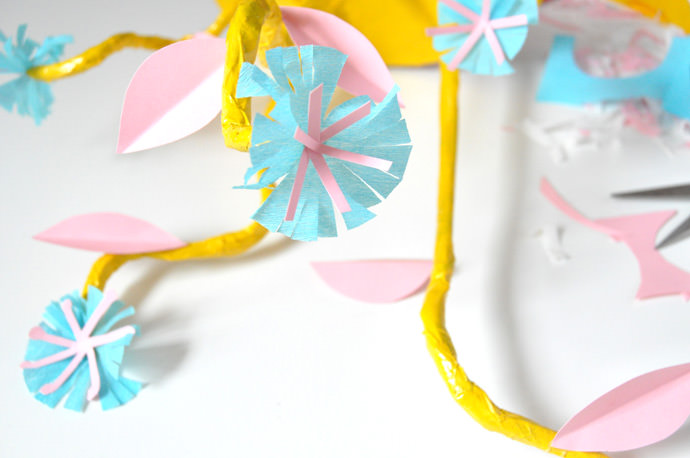
For the last seaweed décor, I sprayed painted the structure yellow, and then cut circles out of crepe paper and fringed the edges. I glued one onto each stem, and glued paper stamens on top. I also cut pink paper leaves and glued a few onto each stem as well.
Project #2: DIY Pastel Shell Crown
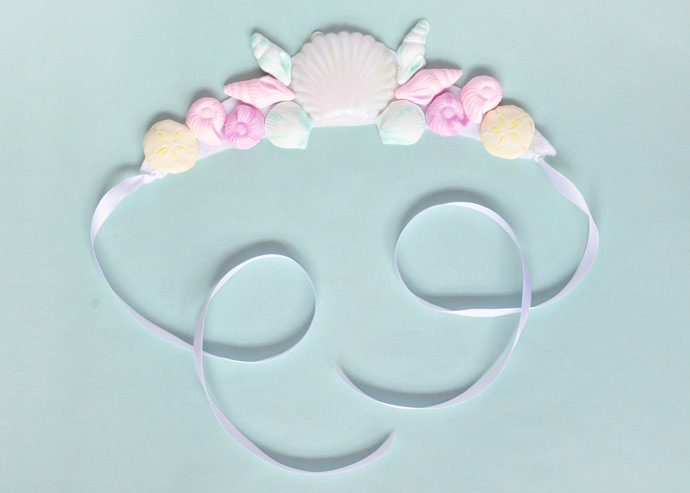
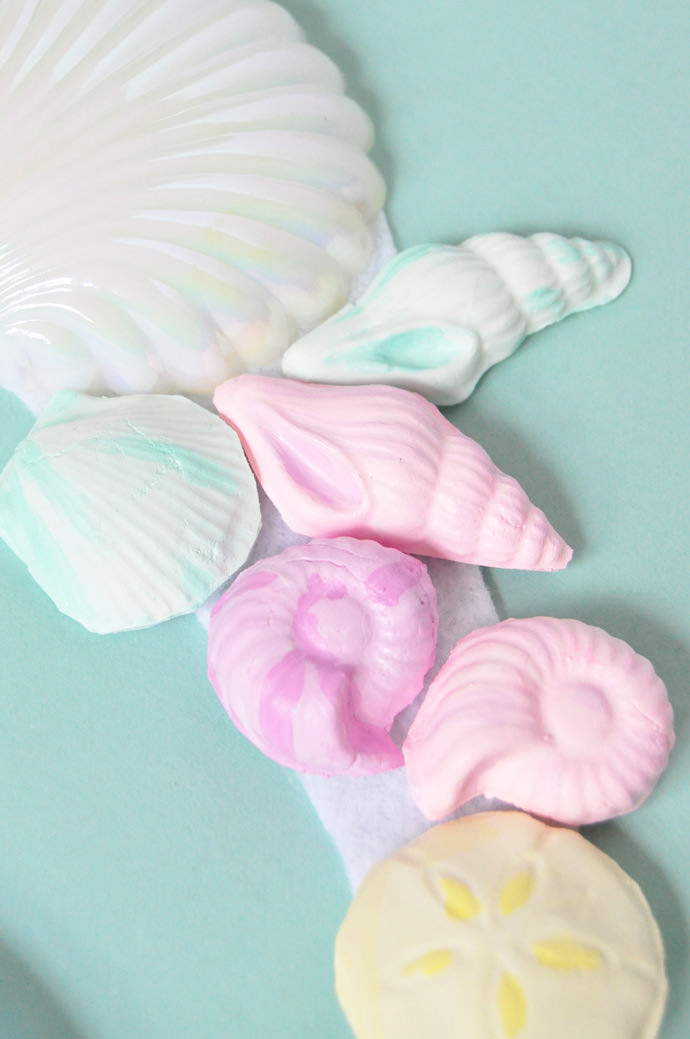
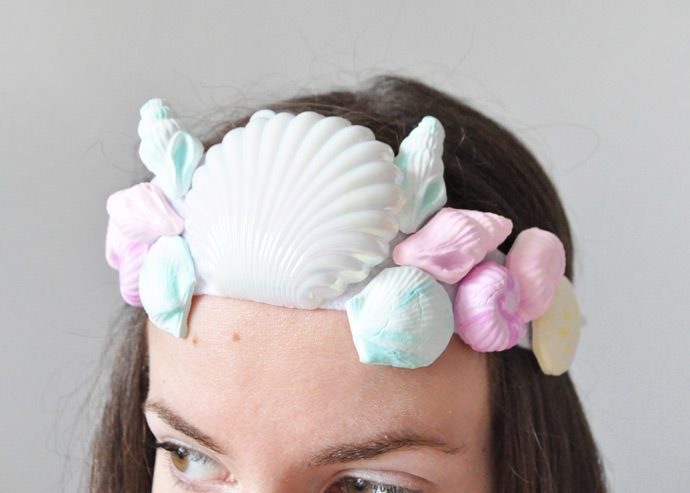
In my opinion, no party is complete without some sort of hat or wearable accessory. Is there anything better than a shell crown? I use lightweight clay and a plastic seashell mold to keep these crowns light and easy to wear, but you can mix in some real shells too if you like!
What You Need
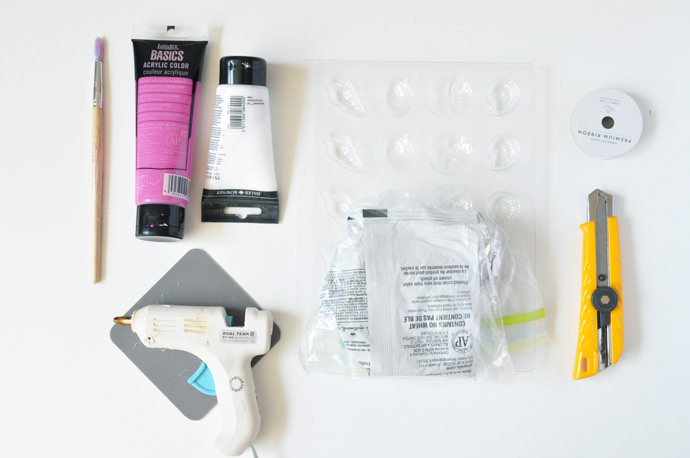
- Plastic seashell chocolate mold
- Crayola Model Magic clay
- Paint
- Paintbrush
- Hot glue gun
- White ribbon and felt
- Craft knife
- Plastic shell (optional)
Project #3: DIY Shell Diaries
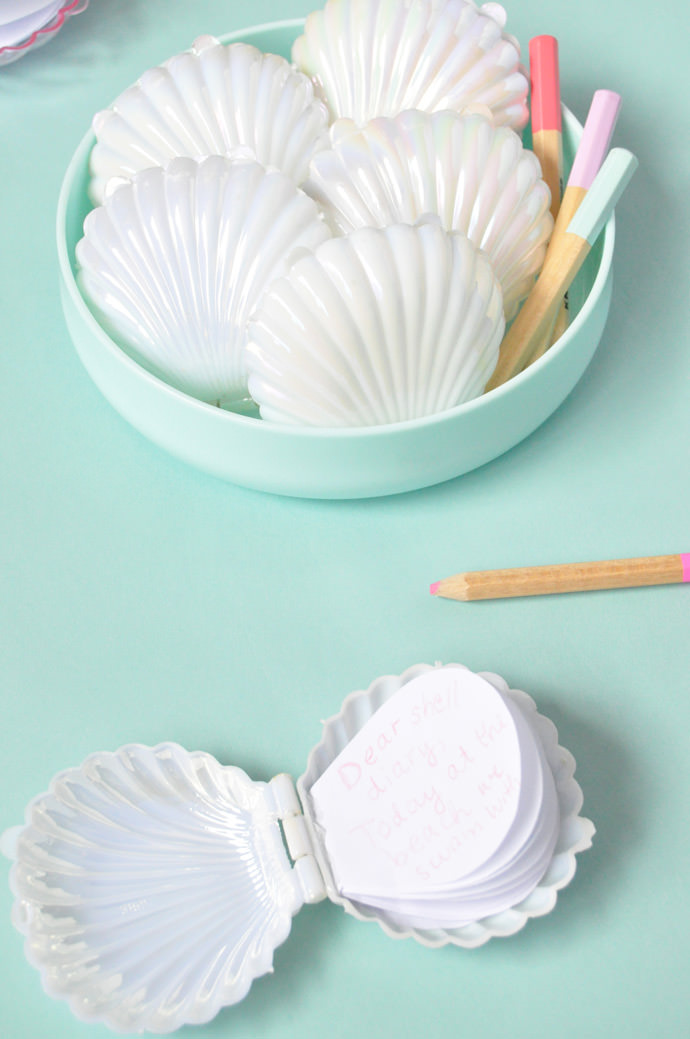
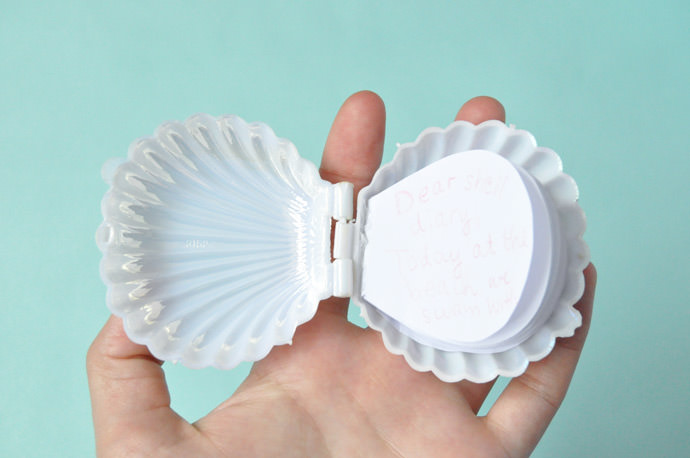
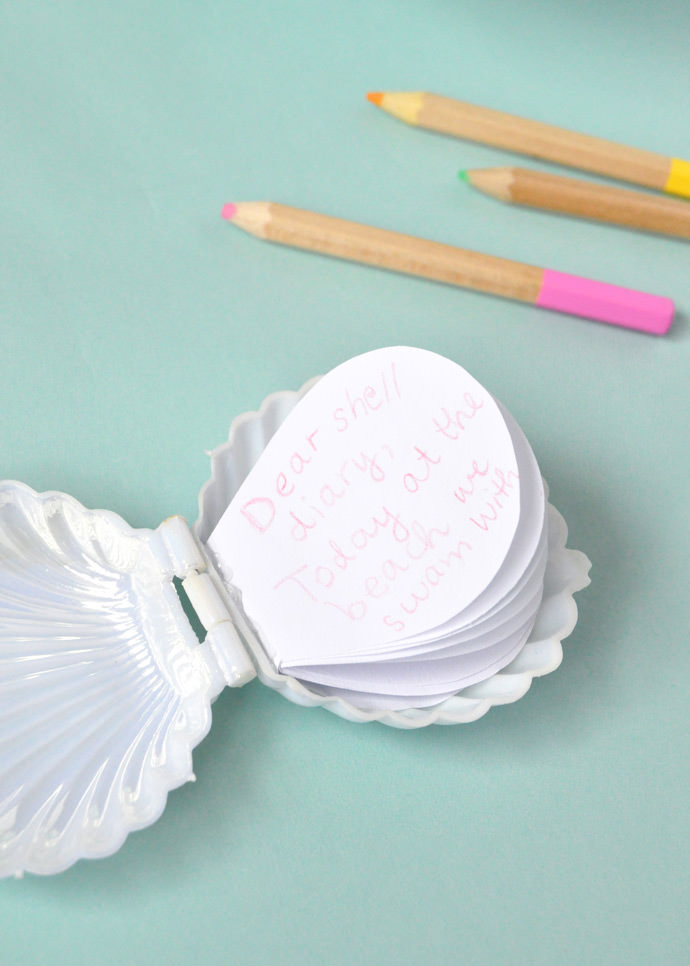
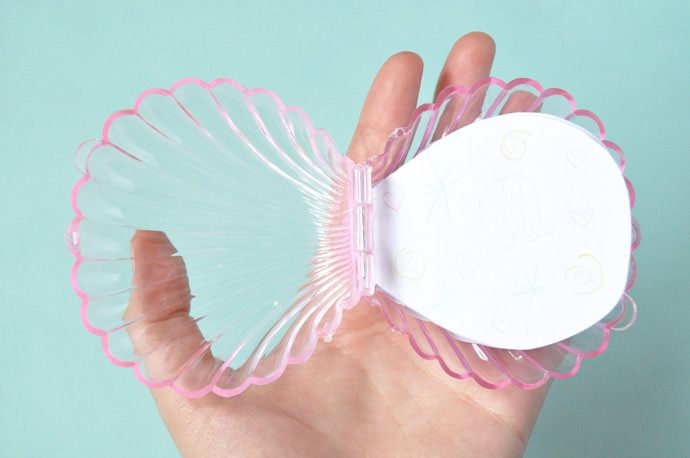
Aren’t these mini shell favors the best? I especially love the pearlescent ones – so cute! These mini shell diaries are the perfect favors for your under the sea party. Make a diary for each guest and use a ribbon to attach a mini pencil to each one.
What You Need
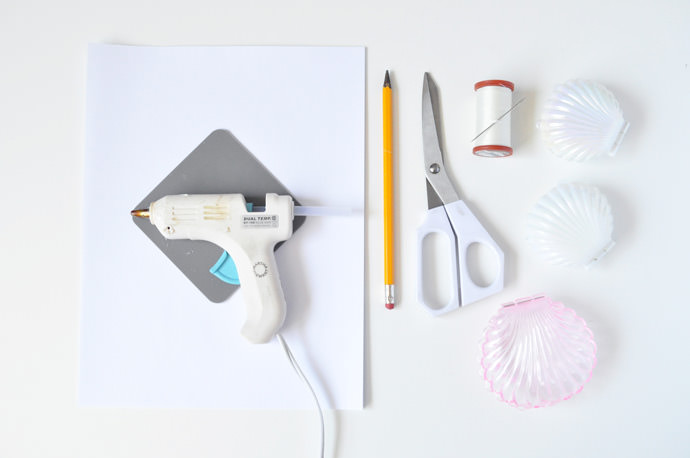
- White paper
- Hot glue gun
- Pencil
- Scissors
- Needle and thread
- Plastic shell favors (like these http://www.amazon.com/Medium-Plastic-Shell-Candy-Favors/dp/B001CBHMS4)
How-To
Step 1
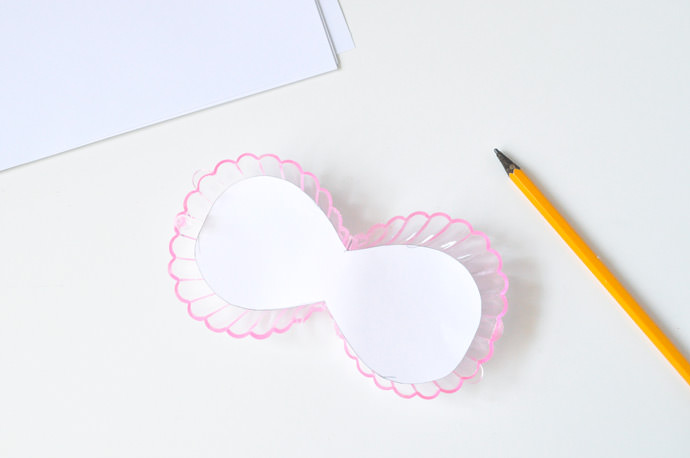
Using your shell favor as a guide, draw and cut out a template of the pages you can fit into the shell.
Step 2
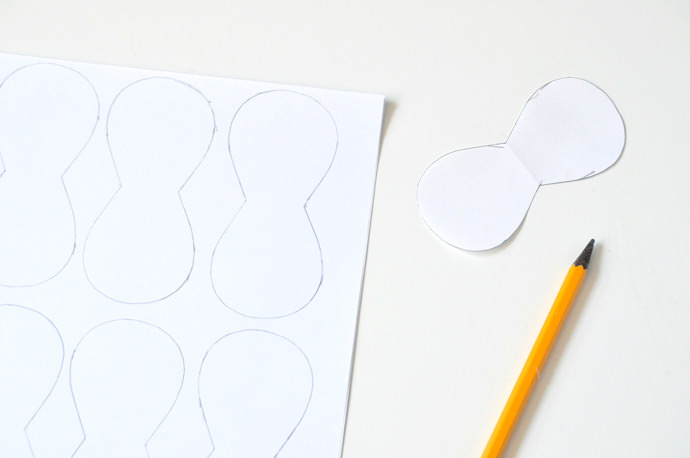
Trace the template onto blank white paper.
Step 3
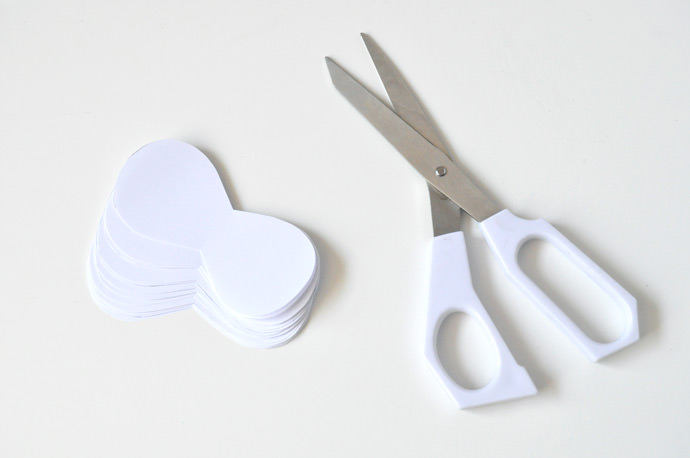
Cut out the pages – you can cut through a few pieces of paper at once to speed this process up.
Step 4
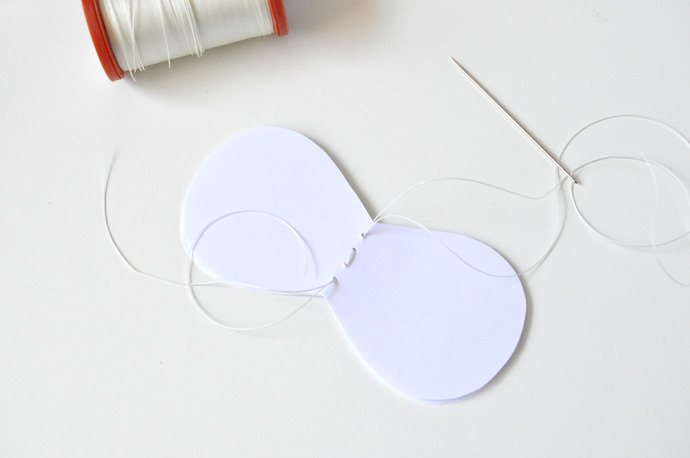
Layer a few pages together (I used five) and fold along the center. Thread a needle and pierce through the fold, making a few stitches. Tie the thread securely and trim off any excess.
Step 5
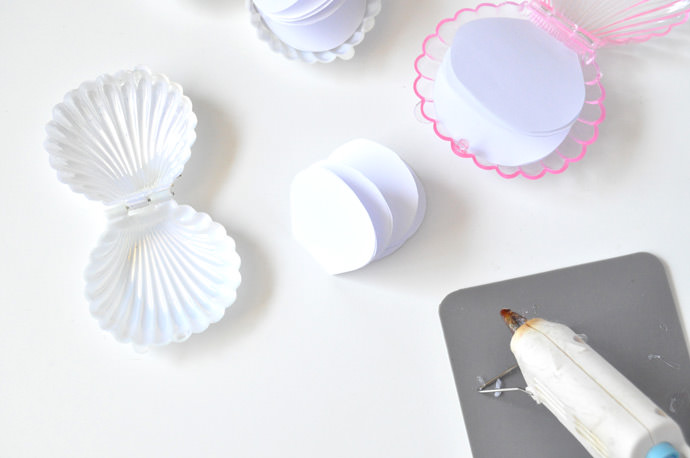
Use a hot glue gun to attach the back page into the shell. Repeat!
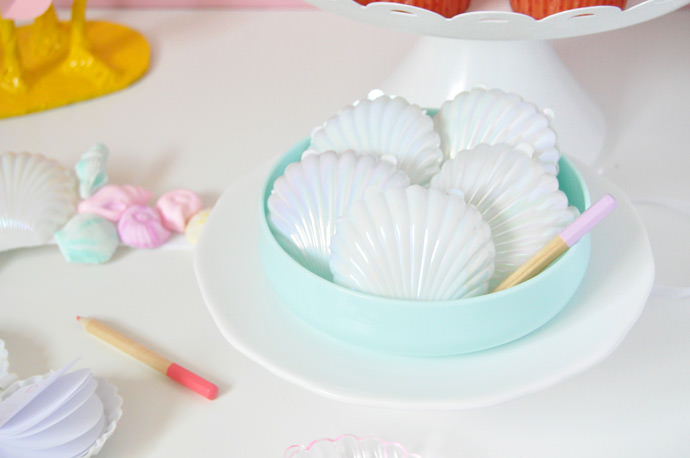

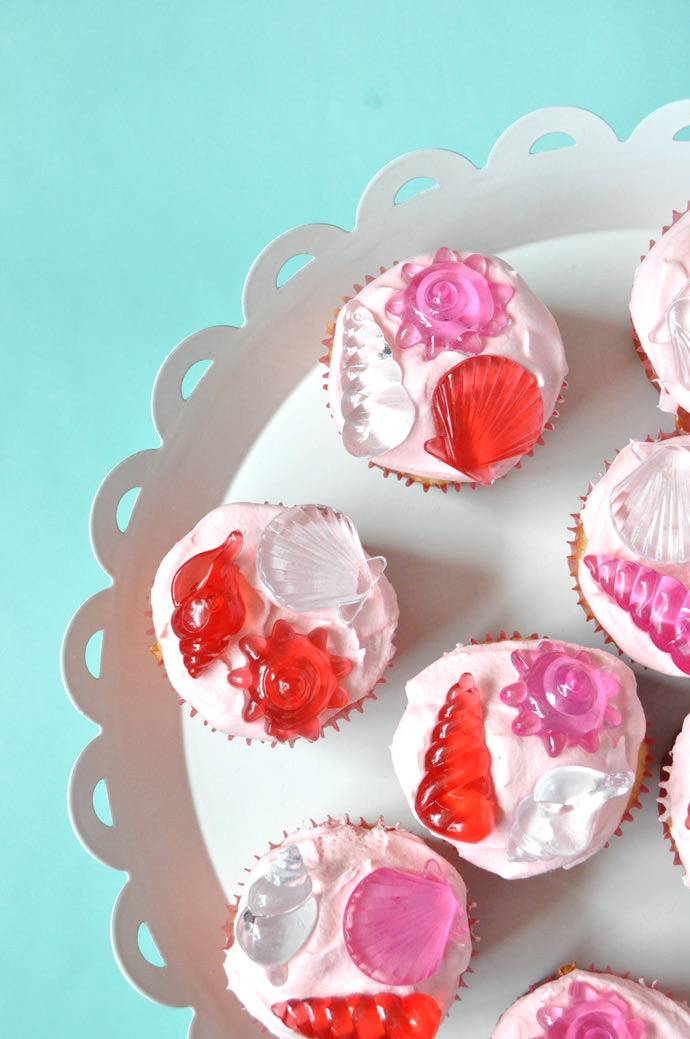
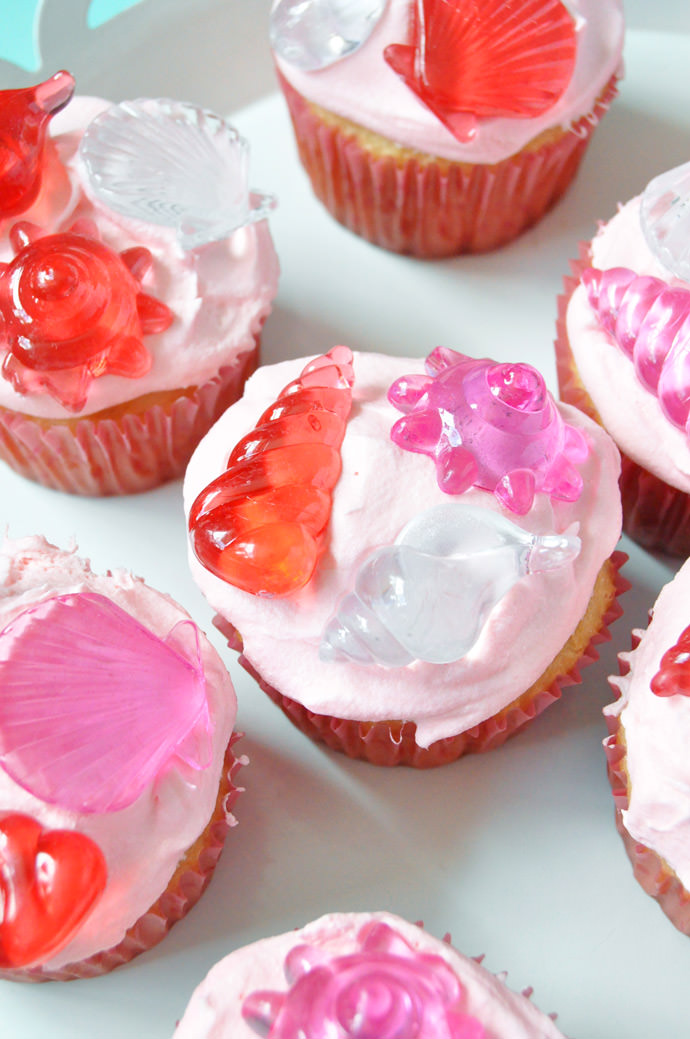
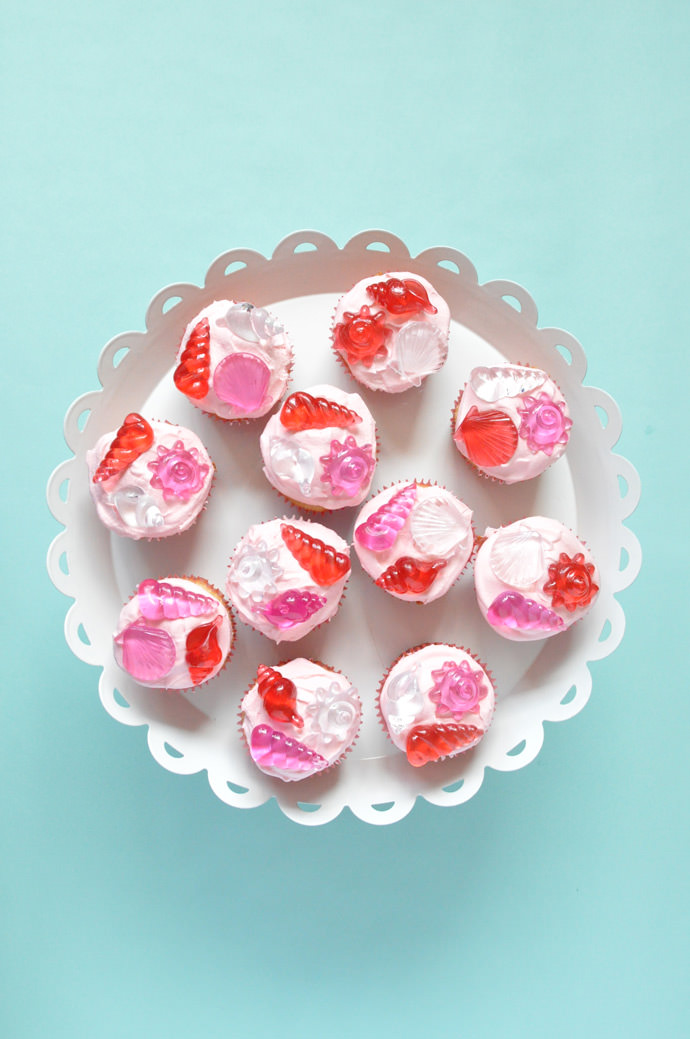
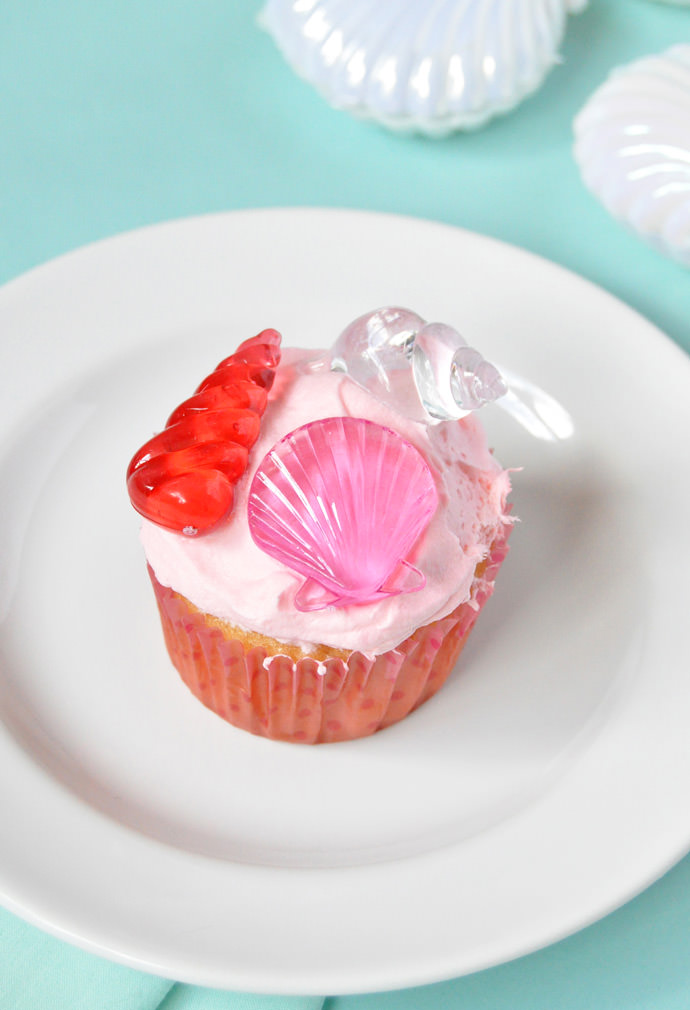
And a final tip: try decorating plain cupcakes with decorative plastic shells from the aquarium aisle at the pet store!! The colors are so fun – I actually used them a little while back in this under the sea gift-wrap tutorial.

Happy crafting!! We hope your under the sea party is a great success :)